
14 Cardboard Craft Ideas for a School Fundraiser

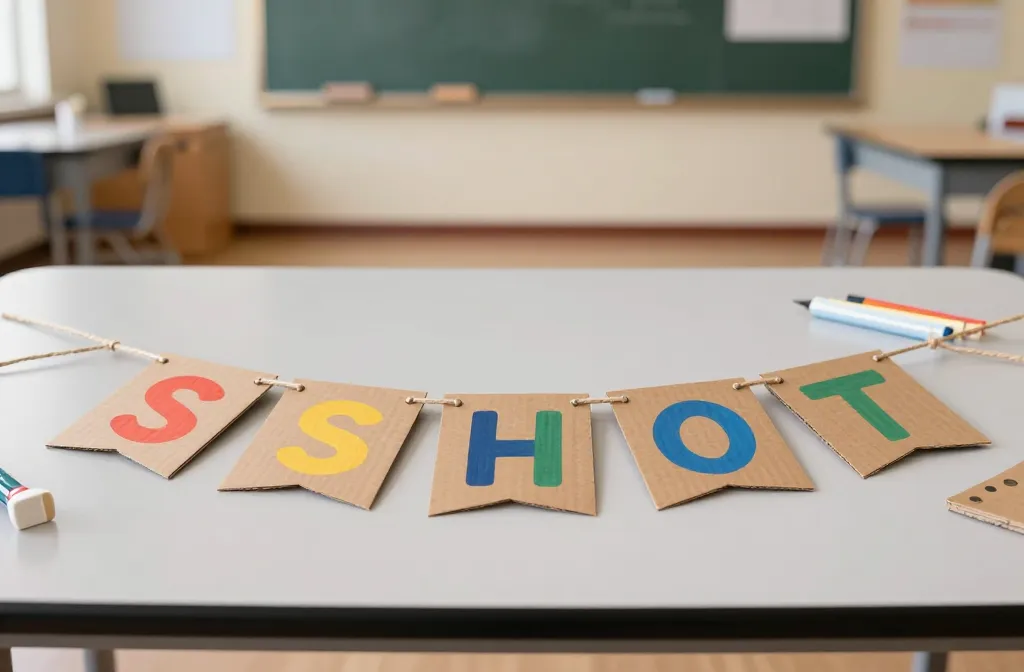
You want quick, affordable, kid friendly crafts that actually raise some funds and don’t create a mess you’ll regret later. Cardboard is often overlooked, but it’s sturdy, flexible, and easy to customize with paint, markers, and tape. These ideas solve common fundraising pain points: low participation, tight budgets, and décor that feels homemade instead of rushed. You’ll find practical steps, clear supplies, and tips to keep the mess under control. Each idea is doable this week and sells well with a little display flair. Let’s dive into concrete, ready to copy ideas that work in a school gym or classroom.
Throughout the list you’ll see variations on color, height, and level of involvement so you can match what you have on hand. Use the core brick of cardboard and imagination to build a cohesive fundraiser display.
1. Cardboard Colorful Banner Letters
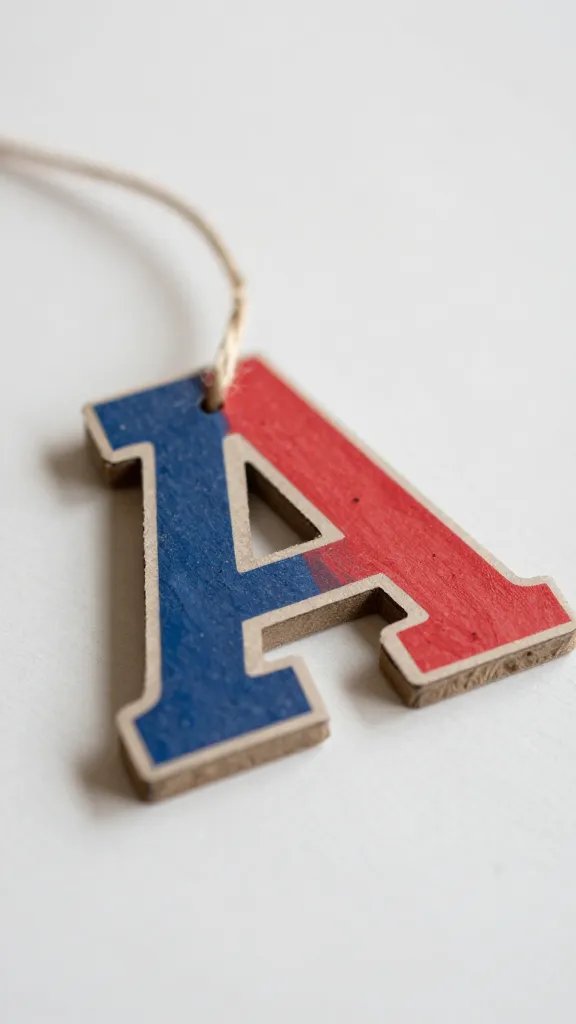
Turn a stack of cardboard into a bold party style banner that spells out the event name or a fundraiser theme. The goal is mass impact with minimal cost and effort. Cut large block letters, paint them in two or three school colors, and string them with twine. Add a border of polka dots or stripes for punch. This is the kind of display kids can help with, either painting or tracing letters. Time wise, expect about 60 minutes for cutting plus 30 minutes to dry and assemble.
Use what you have: Borrow a spare roll of painter’s tape to help keep neat edges while painting.
2. Balloon and Cardboard Backdrop Frame
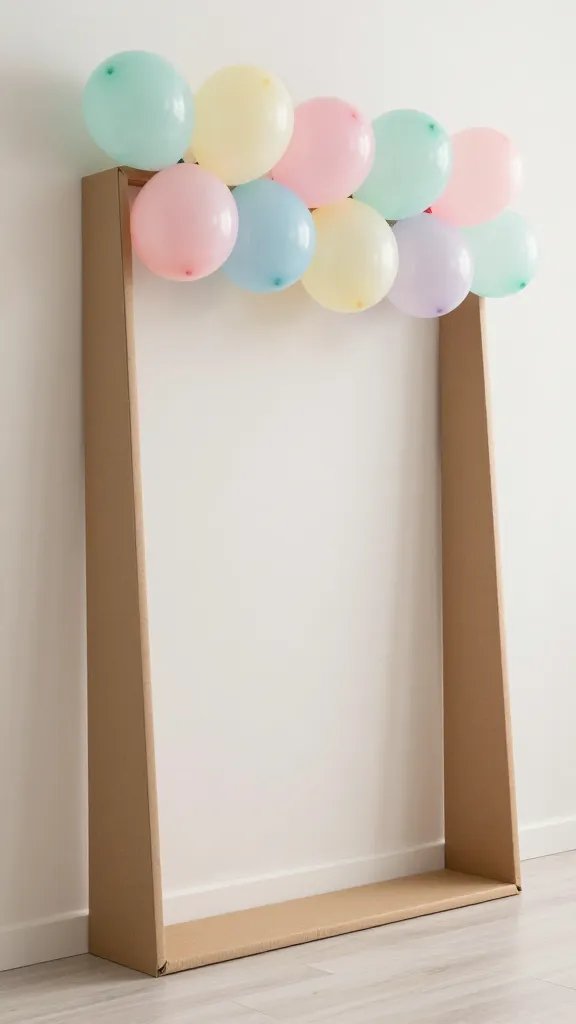
A simple frame of cardboard panels can support a balloon garland or paper lanterns, giving a sense of a finished photo area without breaking the budget. Cut slim frames to a 4 by 6 foot footprint, cover with a single color, and add a small cardstock label with the school name. It takes about 90 minutes to assemble and you can reuse the frame for future events. Attach a few suction cups with string to hold balloons if you want a floating look.
Best for: middle school science night or book fair, where a backdrop boosts photos without a big setup.
3. Donut Stop Cardboard Trophies
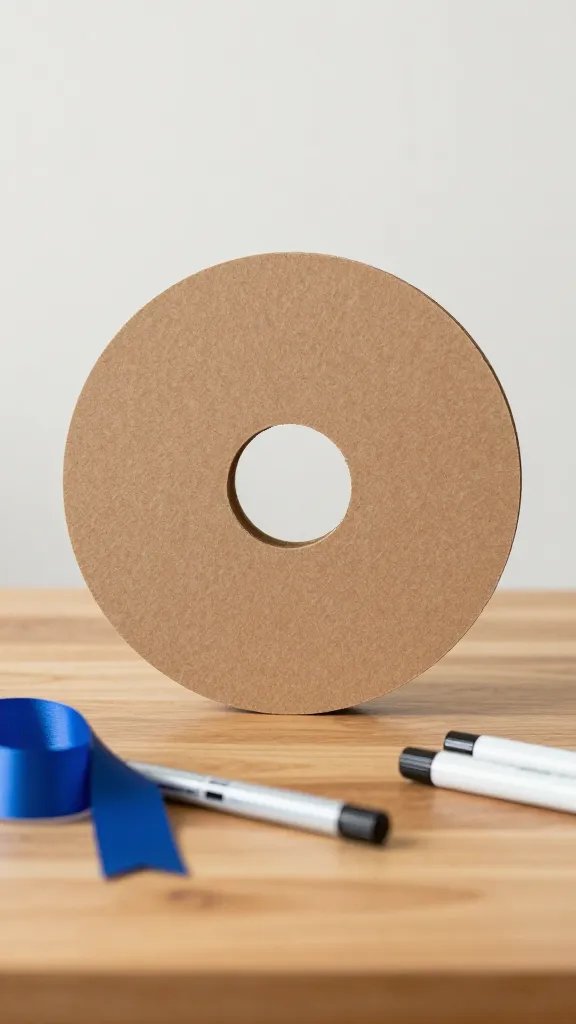
Little, cheap trophies made from cardboard tubes and discs can be awarded to students who raise the most funds or bring in the most sponsors. Cut tubes into short blocks, layer discs for the trophy top, and decorate with markers and stickers. Add a ribbon or string to hang. The idea works in 60 minutes or less and packs flat for easy storage. A child friendly way to celebrate effort while keeping costs low.
Color note: Use school colors for the discs to tie the fundraiser theme together.
4. Recycled Cardboard Coasters as Auction Bids
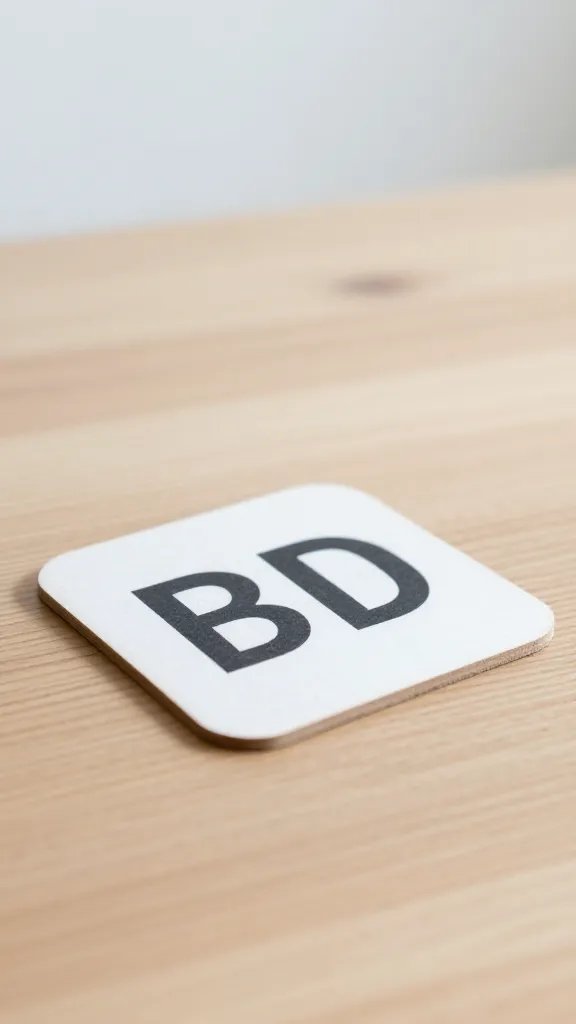
Take flat cardboard circles, make them into sturdy coasters with a quick layer of paint, and label each with a bid number. These can double as keepsakes from a silent auction or an activity station. It’s a quiet, low cost project that adds to the event’s feel while giving attendees a practical reminder of the fundraiser. Plan for about 45 minutes to complete a batch of 20. Kids can help with painting large circles as a supervised activity.
Safety note: Keep glue and small gears away from younger children.
5. Cardboard Puzzle Wall Display
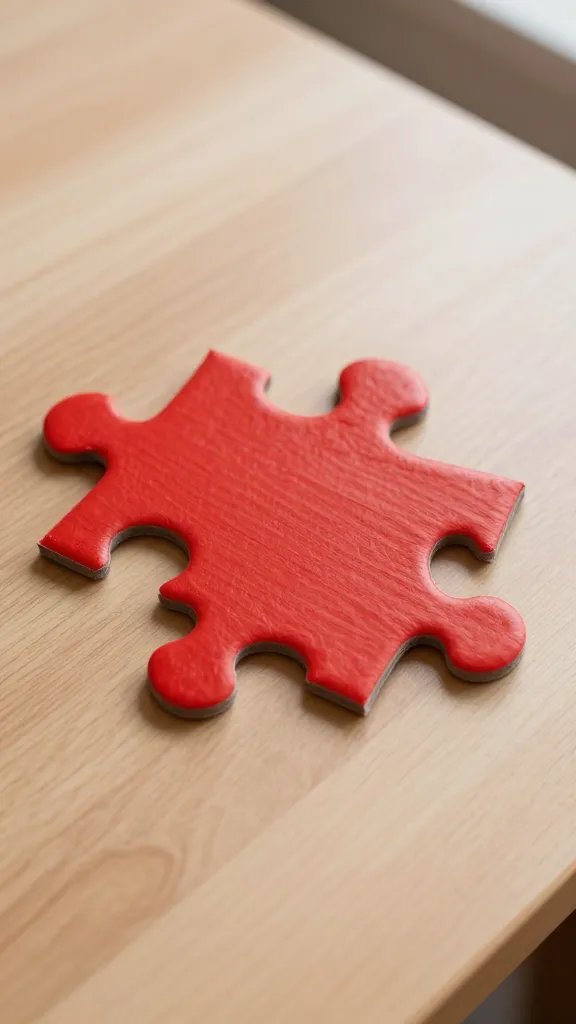
Sketch a large grid on cardboard and cut it into 12 puzzle pieces. Each piece is painted in a bold color and signed by a student sponsor. When the wall is assembled, it forms a colorful mosaic that also serves as a backdrop and a visual reminder of donors. It’s a two hour project if you involve many volunteers, but you can speed it up by pre-cutting pieces and focusing on painting only. Assemble during the event for a satisfying reveal.
Why it works: It creates a sense of community and a tangible donation track.
6. Cardboard Photo Frames for a Photo Booth
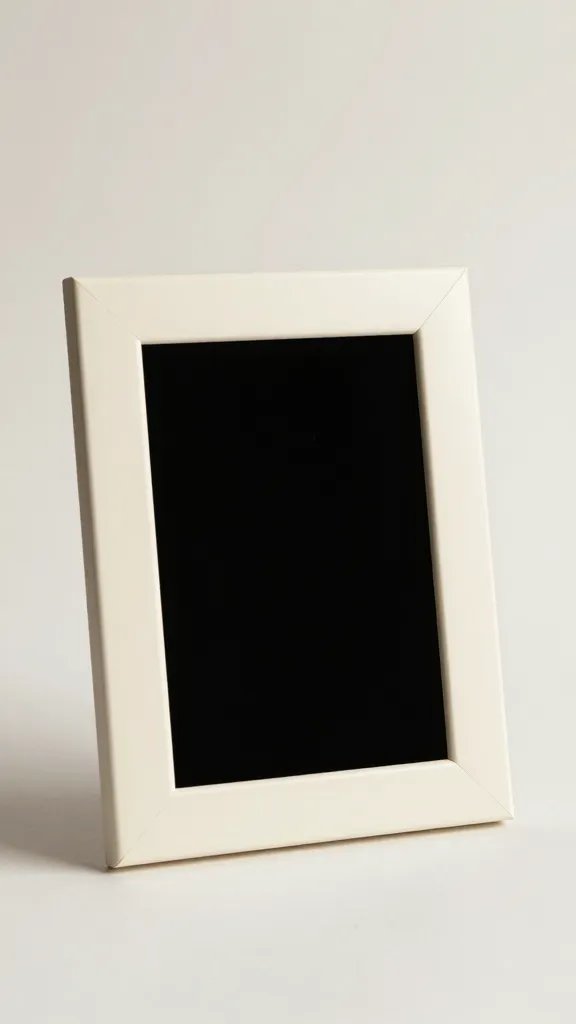
Cut and fold three sizes of frames from cardboard and staple them into a mini photo booth. Decorate with washi tape, markers, or scrap fabric. Keep the frames light by using a single layer of cardboard and a simple stand from cardstock folded into a triangle. The assembly takes about 60 minutes if you have a group helping. Offer props from a dollar store for extra fun and a quick cleanup after the event.
Copy the look: Paint the frames in the fundraiser colors for a cohesive theme.
7. Stackable Cardboard Block Displays
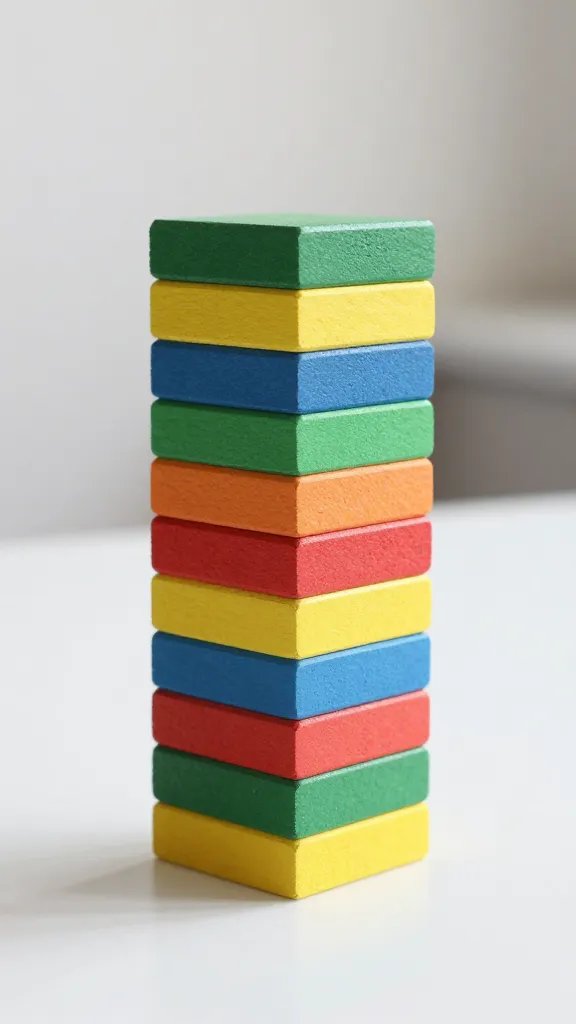
Construct large, stackable blocks from thick cardboard to create a tiered display for their donation jars or baked goods. Cut into 12 inch squares, glue into towers, and paint in alternating colors. The blocks can be used again for future fundraisers by swapping the color order. It’s a straightforward build that takes about 90 minutes with a small team and dry time between coats. Keep the weight light and the joints taped for stability.
Dollar store swap: Use foam boards for lighter weight blocks if needed.
8. Puzzle Piece Garland

Cut cardboard into interlocking puzzle shapes, paint each piece in a school color, and string them together for a garland. It creates a fun banner that doubles as decor and a memory item if you write a year or theme on the pieces. It’s a quick 60 minute project that can be done by families during a pre-event workshop or at home. Hang across the entrance to draw attention and invite donations.
Placement note: Tape ends to a string so it’s easy to remove after the event.
9. Cardboard Treasure Chest Donation Box
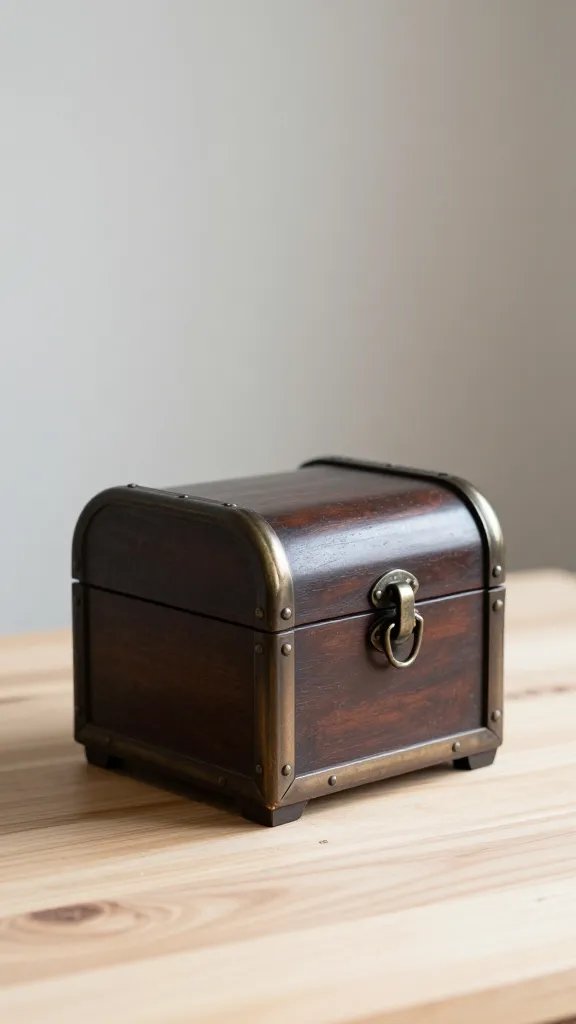
Transform a small cardboard box into a treasure chest with a lid, faux metal details drawn with a marker, and a slot cut at the top. Provide a few in different shapes to serve as donation boxes for teachers and students. It’s practical for collecting funds and charming enough to display on a table. Expect 40–60 minutes per chest to build and decorate.
Safety note: Use kid friendly markers and supervise the cutting with a craft knife or scissors.
10. Chalkboard Panels from Cardboard
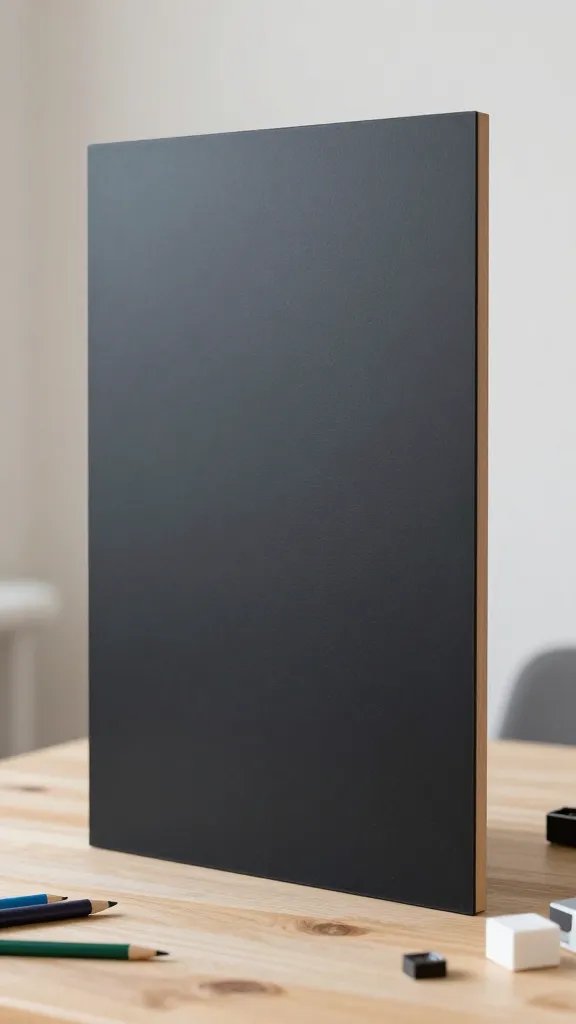
Turn a flat cardboard panel into a chalkboard by painting with chalkboard paint. Write the fundraiser’s goal or a welcome message and let students customize the panel during the event. It gives a reusable, interactive display and a keepsake for the school. It takes about an hour to coat and dry, plus a small setup time for writing.
Best for: a science fair night where you want interactive signage.
11. Cardboard Table Runner with Chalkboard Labels
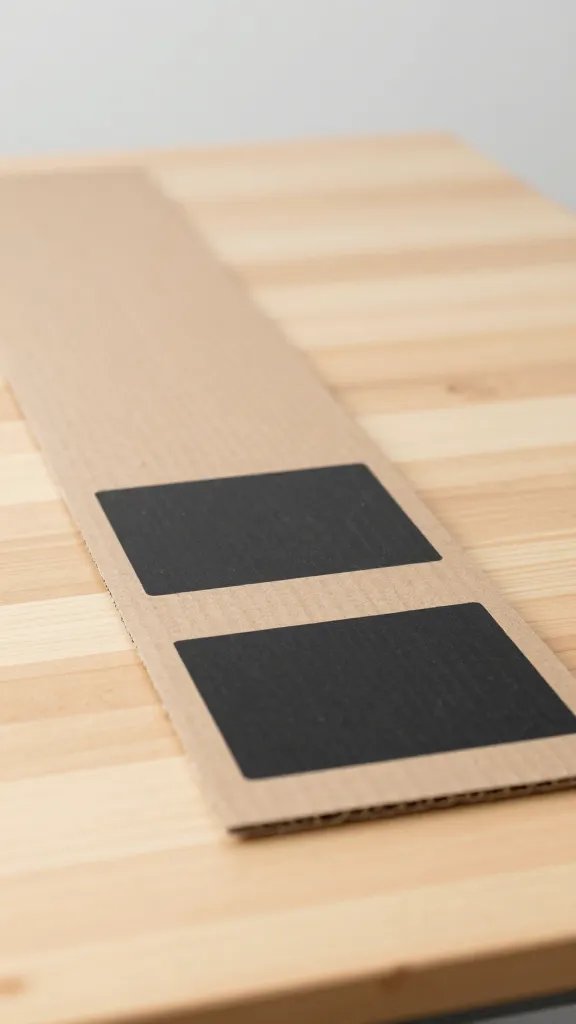
Cut a long strip of cardboard to cover a table, then divide it into labeled sections with chalkboard paint. Use the sections to display donation levels, auction items, or event schedules. It’s a simple, two hour project that yields a practical table setup and looks polished with minimal effort. Finish with a spray seal to reduce smearing during the event.
What to avoid: too many tiny labels that are hard for guests to read from a distance.
12. Mini Cardboard Stacking Shelves
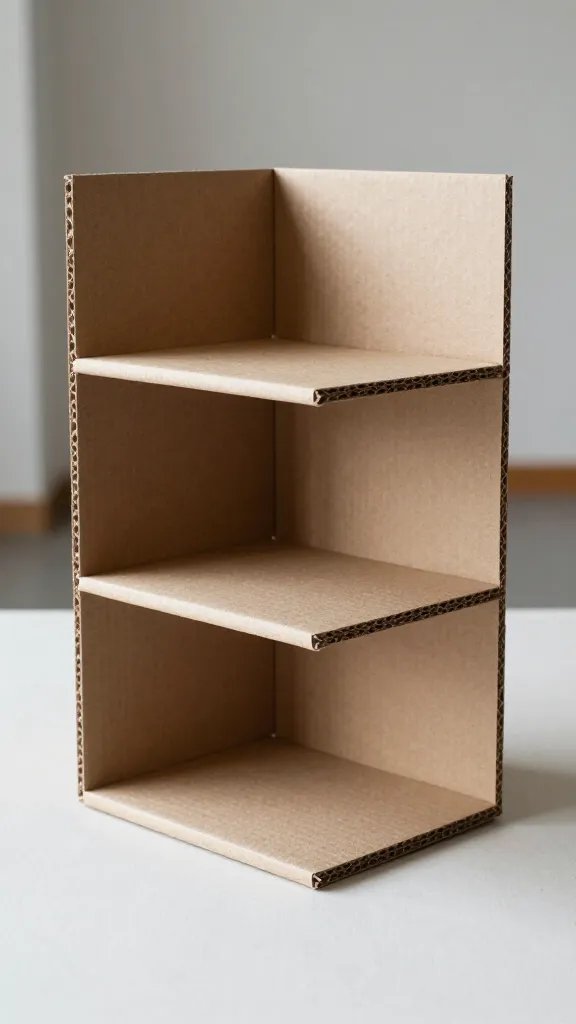
Make small shelves from cardboard to elevate prize displays or bake sale items. Cut a few rectangular supports, glue them into staggered levels, and cover with a single color for a cohesive look. This is a hands on project that scales with volunteers; you can produce several in a short afternoon. The shelves are light, sturdy enough for small items, and easy to move around during the fundraiser.
Use what you have: Reuse leftover cardboard panels from old shipments to save on costs.
13. Cardboard Cone Banners
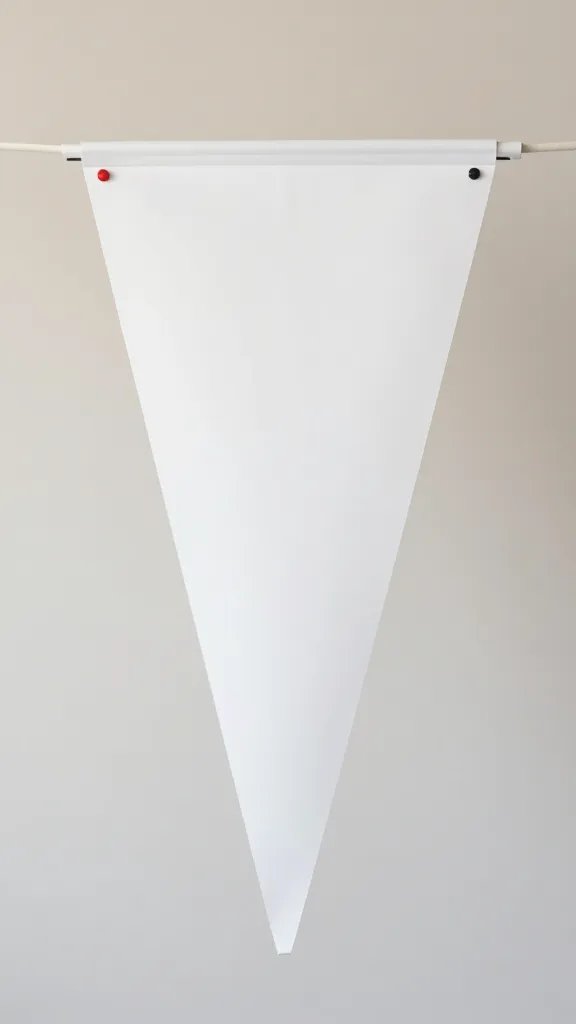
Roll cardboard into a cone shape and secure with tape to create a vertical banner. Each cone can be painted in a different color or wrapped with wrapping paper to create a rainbow effect. String the cones together with twine to form a tall, eye catching installation near the entrance. It’s a quick build, about 50 minutes, and uses minimal materials. It pairs nicely with a photo backdrop for grab photos.
Small space fix: Place cones along a short wall to maximize impact in a compact room.
14. Tug of War Cardboard Game Stand
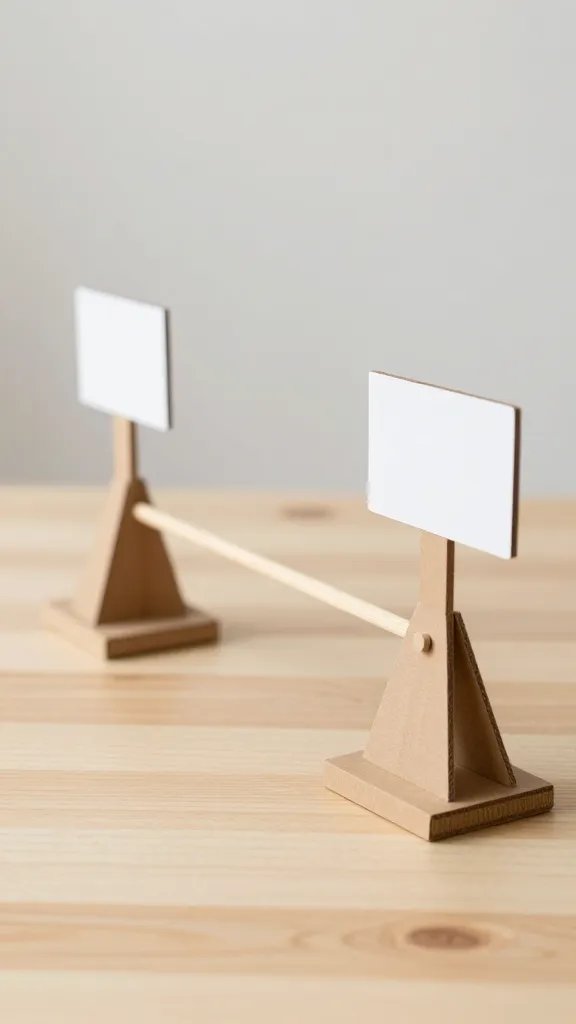
Build a small cardboard stand to hold game signs for a quick fundraiser activity like a mini tug of war or ring toss. Cut a base, sides, and a back, then decorate with the school colors and a bold donation prompt. Set up in about an hour and a half, and you can reuse the same stand for other events by swapping the game sign. It’s practical for longer fundraisers that need a steady flow of participants.
Hosting tip: Keep a bucket of masking tape handy for quick fixes during the event.
Count on cardboard and a little imagination to pull off a strong school fundraiser with style. Pick a few ideas that pair well with your space, time, and volunteer help, and start building this week. Save this list for the next fundraiser that sneaks up on you.