
16 Craft Ideas for Teens Who Love Music

Teens love music, but party decor and gift ideas can feel louder than the playlist. The real challenge is crafting quick, budget friendly pieces that feel personal and stay out of the trash bin after the party. This collection blends rhythm inspired details with simple steps you can actually pull off this week. Each idea fixes a common party snag, from flat photo walls to generic favors that disappear in a sigh of glitter. Read through and pick a few to mix and match with the music theme you already have in mind.
Across these ideas you’ll see easy materials, clear steps, and options to scale for a small living room or a crowded dorm party. If you’re short on time, start with two ideas that work together, like a mini banner and a coordinating table backdrop. Let’s turn teen music love into hands on setup that feels earned, not rushed.
1. Lightweight Lyric Banner
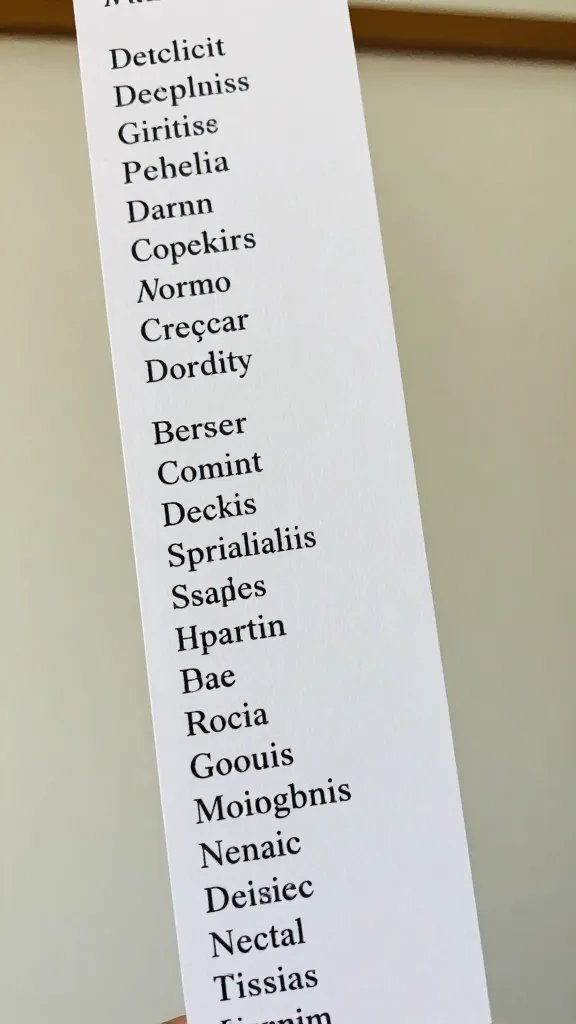
The wall looks bare and you need a quick focal point for photos. Create a banner using printable lyric strips and lightweight, hangable shapes. Cut squares from poster board, punch a hole in the corner, and thread with baker’s twine. Print one line of a favorite chorus on each piece, then glue on a simple musical note sticker or a mini panel of colored paper. It takes about 45 minutes start to finish and uses items you might already have around. Safety note: avoid sharp edges when kids help with cutting.
Use what you have: If you lack a printer, write lyrics by hand in block letters on colored paper for a hand made look.
2. Drumstick Favor Jars
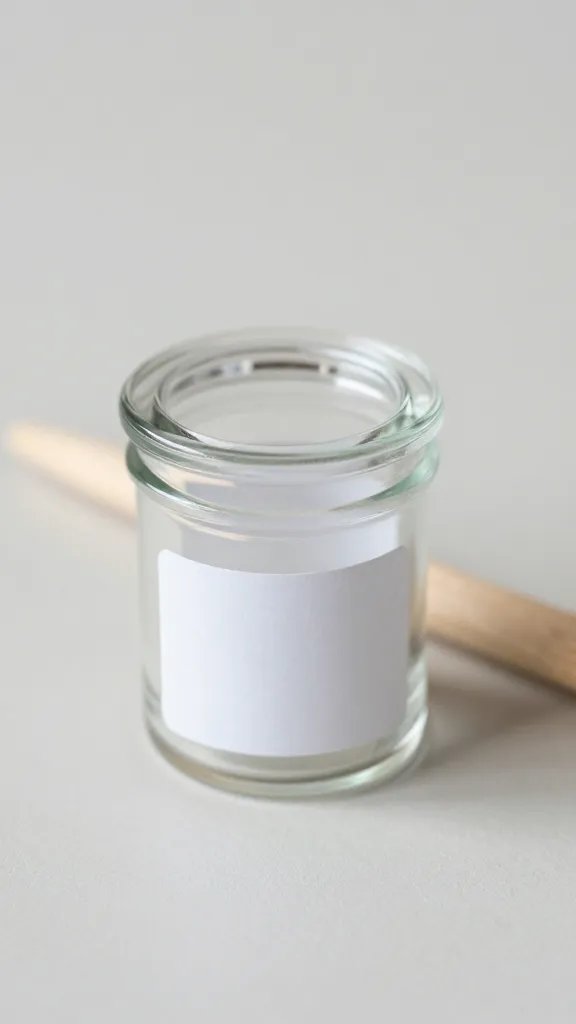
Nothing says music lover like a tiny drumbeat in a jar. Fill small glass jars with candy or gum and top with a label that reads a short drum line or beat. Attach a printed mini drumstick image on the lid with a brad or glue dot. This is a simple favor that doubles as a party game prop if you jot down a beat challenge on the back of each label. It can be assembled in under an hour for a dozen guests.
Copy the look: Use wooden skewers painted black and white to imitate drumsticks if you can’t print stickers.
3. Vinyl Record Photo Booth Frame
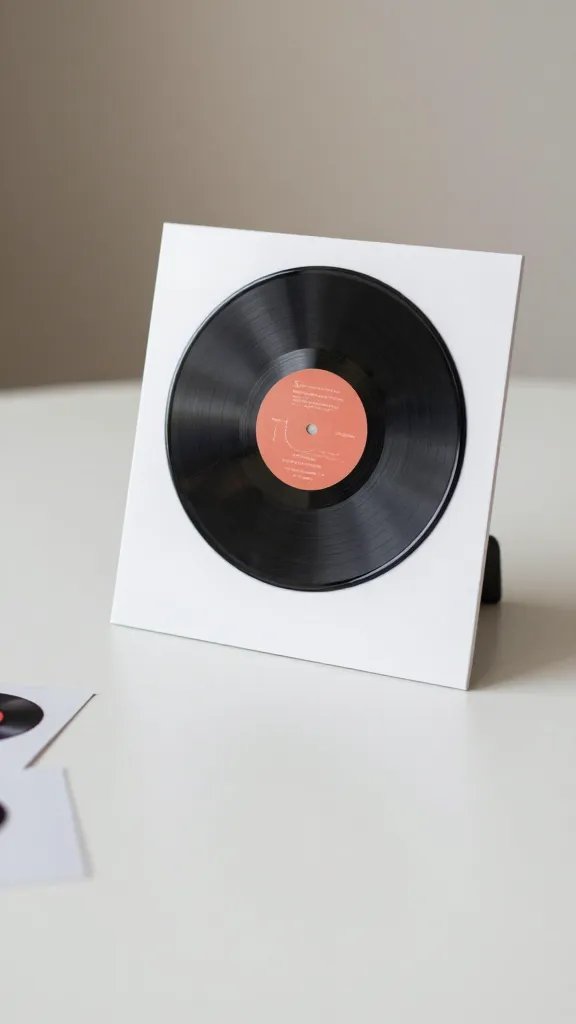
A small, portable photo booth frame is perfect for teens who love music and selfies. Cut a square frame from cardboard, paint it black, and place retro style vinyl record stickers on the corners. Add a spot in the center cutout for a phone or camera view. Keep a few props handy: fake microphones, tiny sunglasses, and a faux mic stand made from a pealed cardboard tube. The setup takes about an hour and can be done with a single adult guiding younger hands.
Team tip: Use masking tape to tape fake props to a cardboard stand so guests can grab and go.
4. Echo Wall Garland
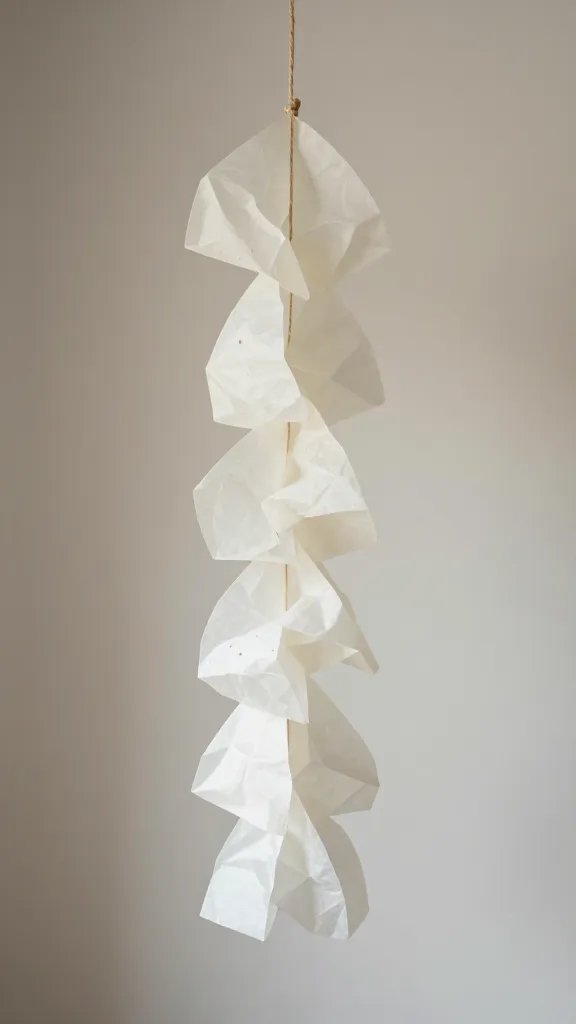
Two colors of tissue paper streamers create a simple motion backdrop that photographs well in any space. Twist several long strips into a loop and secure to a length of twine. Space the loops about three inches apart so the wall looks full from a distance. This idea solves the problem of a boring wall and costs almost nothing. It takes about 25 minutes to assemble a 6 foot garland and looks polished in photos.
Budget swap: Use grocery bags cut into strips as an alternative to tissue for a more sustainable look.
5. Mini Guitar Pick Coasters
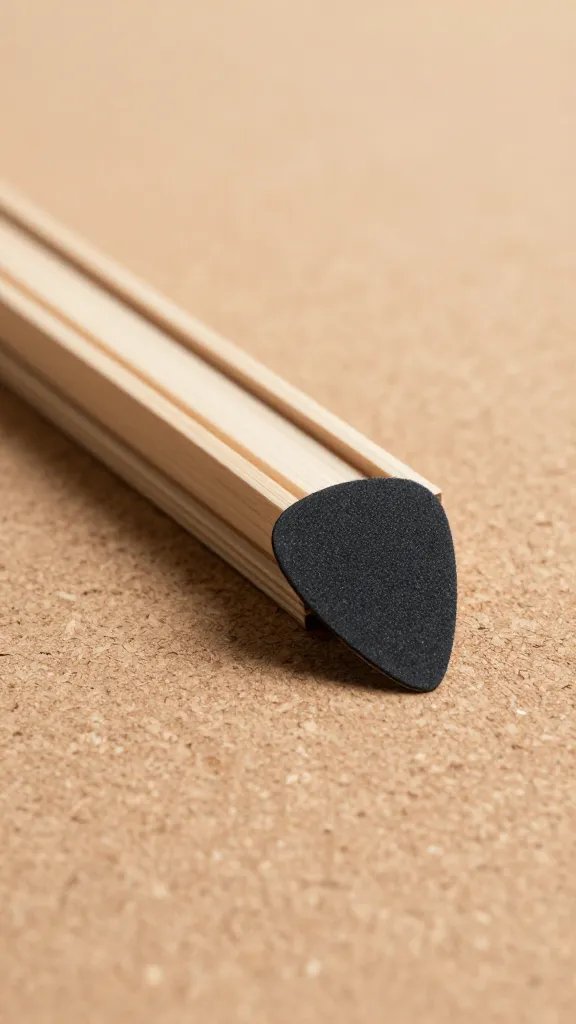
Protect the table and add a rock vibe with craft foam guitar picks glued to plain cork coasters. Trace a small pick shape on foam, cut, and glue onto cork. Seal with a clear spray if you have it, or leave as is for a matte finish. You’ll have six to eight coasters in under an hour. They’re sturdy enough for everyday use and make a nice, low cost party favor option for guests.
Safety note: Avoid small parts for very young kids; keep to teens and adults at the table.
6. Song Title Wall Magnets
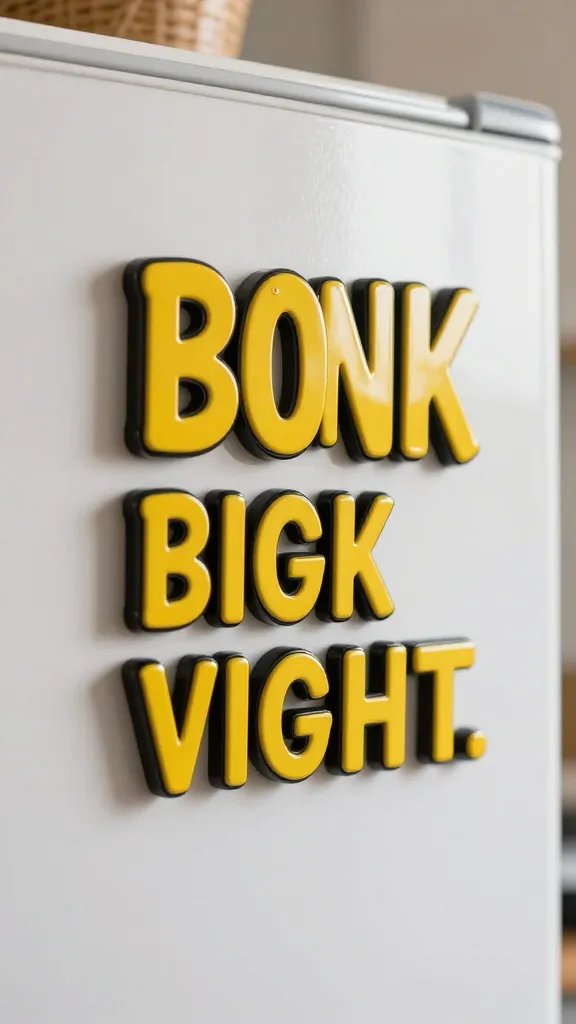
Turn favorite song titles into fridge magnets by printing a bold font of a chorus line, then laminating and adding a magnet strip on the back. If you don’t have laminating sheets, cover with packing tape for a quick gloss. These magnets are easy to swap out as tastes change and offer a personal touch to the kitchen or dorm fridge. Plan for about 20 minutes per title, depending on how many you want.
Little hands tip: Pre cut the titles to speed up the process for younger crafters.
7. Beat Board Game Tie In
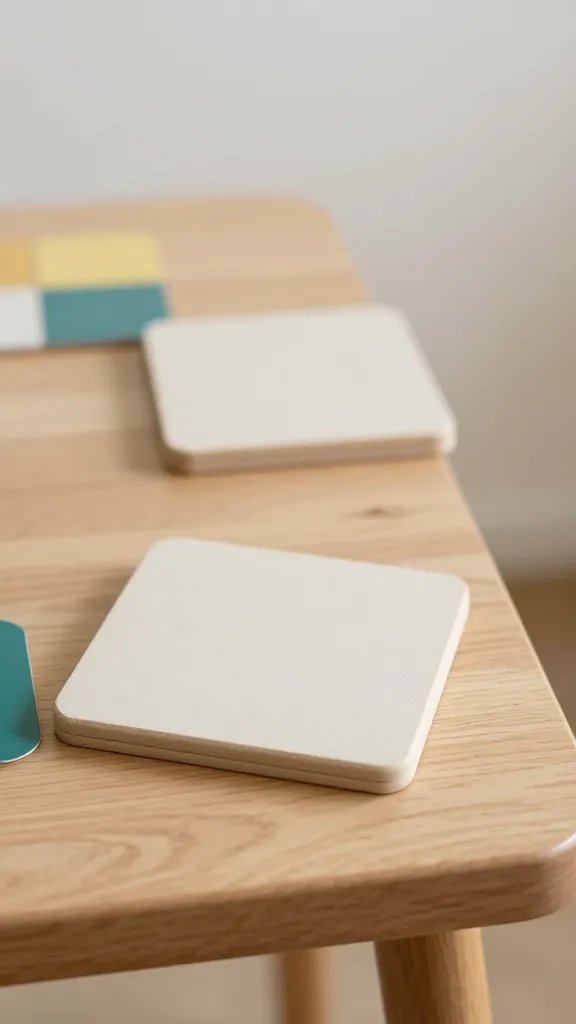
Make a small table game that fits a music theme. Create a simple beat board using a cardboard base, a few painted drum pads as spaces, and a checkered path of pebbles or buttons for players to move. Each stop on the path could require performing a beat or humming a short tune. It’s a three station game that fills a corner of the room and gives guests something to do during a lull in conversation.
Make it ahead: Print the rule sheet and the prompt cards a day before and keep them in a folder for easy setup.
8. Guitar Strings Garland
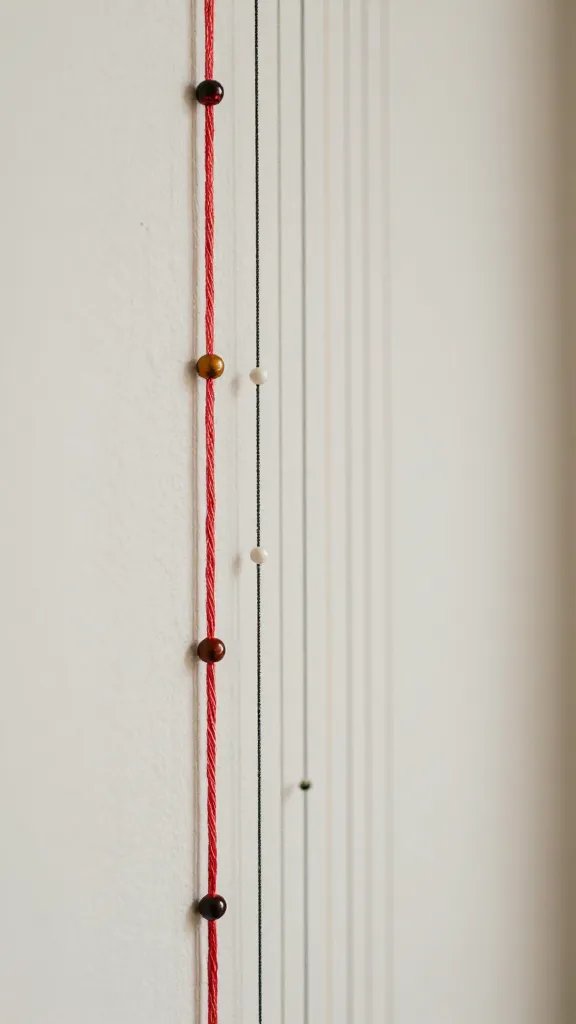
Use colored embroidery floss to mimic guitar strings stretched between two nails or tacks on a wall. Tie small beads at intervals for color, or clip tiny clothespins to hold photos or notes. This is a flexible, lightweight backdrop that stays put without a lot of hardware. It takes about 30 minutes to string four lines of floss across a space and can be adjusted for any wall width.
Placement note: Use removable adhesive hooks to avoid wall damage when moving after the party.
9. Music Note Place Cards
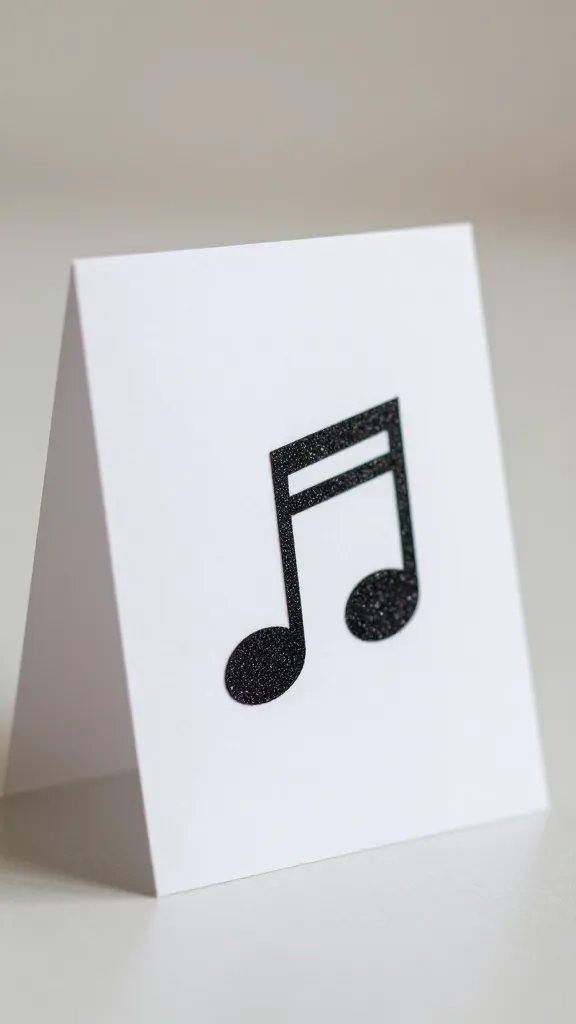
Create simple place cards by cutting music note shapes from glitter paper or card stock and writing guests’ names with a fine point marker. Glue to a small folded rectangular back so they stand on the table. It adds a personal touch to the dining area and doubles as a keepsake. Allow 25 minutes for a set of 12 and a quick dry time for marker ink.
Use what you have: If you do not have glitter paper, paint or color card stock with a metallic marker for the same effect.
10. Portable Backdrop on a Budget
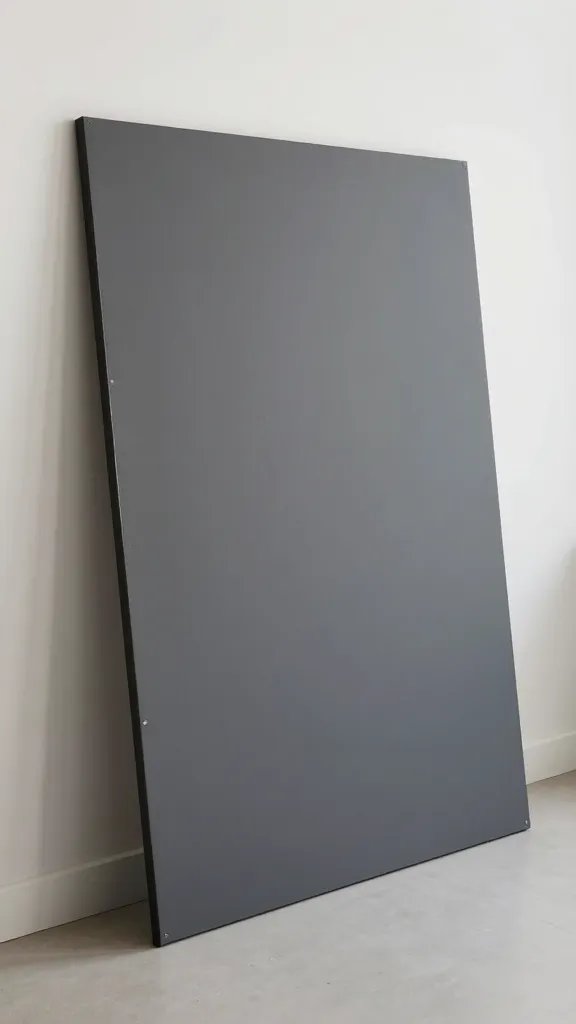
Three large poster boards painted in a two tone color scheme forms a simple, portable backdrop. Add a few bold music notes or a big neon style numeral representing the year or the age of the teen. Lean the backdrop against a wall or prop stand so you can photograph against it. This is a two hour project but you can break it into two sessions and still have it ready in time.
Best for: Small spaces that need a sharp focal wall without a big investment.
11. Album Cover Gallery Wall
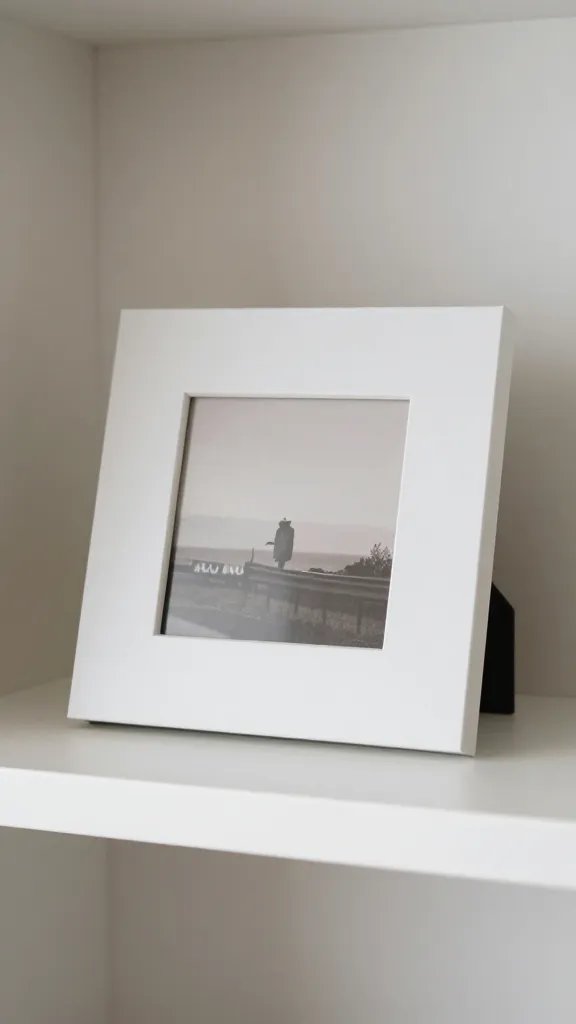
Print or cut out small reproductions of favorite album covers or create four to six abstract art pieces that evoke a band you love. Frame them in thrifted frames or clip them to a string with mini clothespins. It is a visually strong setup that can be built over a weekend, or within an afternoon if you print at home. You’ll have a gallery feel without the cost of professional prints.
Copy the look: Use black and white prints with a single color accent to keep the wall cohesive.
12. DIY Microphone Centerpiece
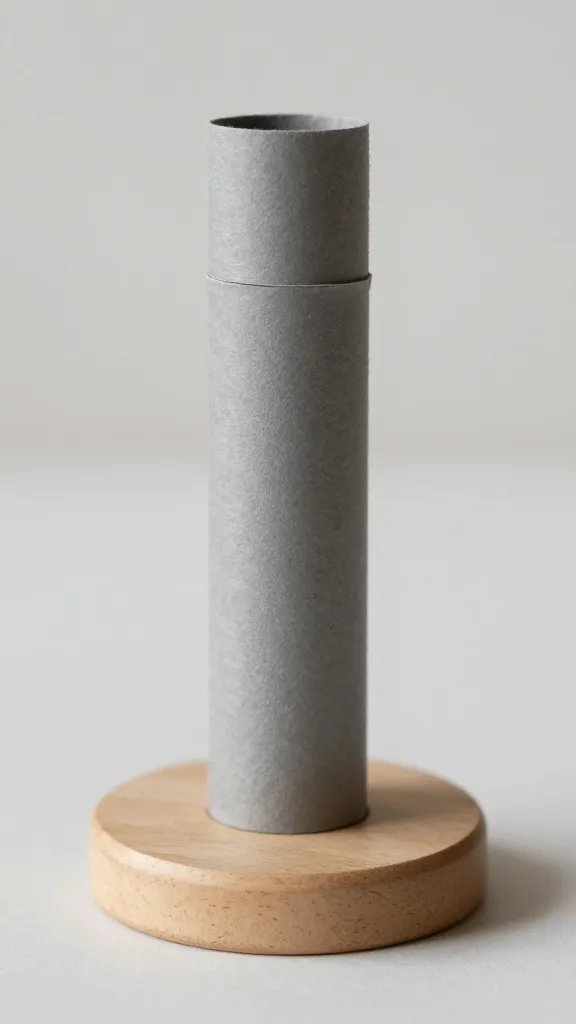
Turn a few cardboard tubes into a faux microphone centerpiece. Wrap the tube with gray paper, add a black tip, and secure to a sturdy base with hot glue. Glue a ribbon or twine handle to the base for a few extra inches of height. It reads as stage ready and provides a tangible prop for photos. This takes around 40 minutes to assemble for several centerpieces.
Safety note: Use low heat glue and keep fingers away from the hot tip; supervise younger crafters.
13. Music Notes LED Jar Lights
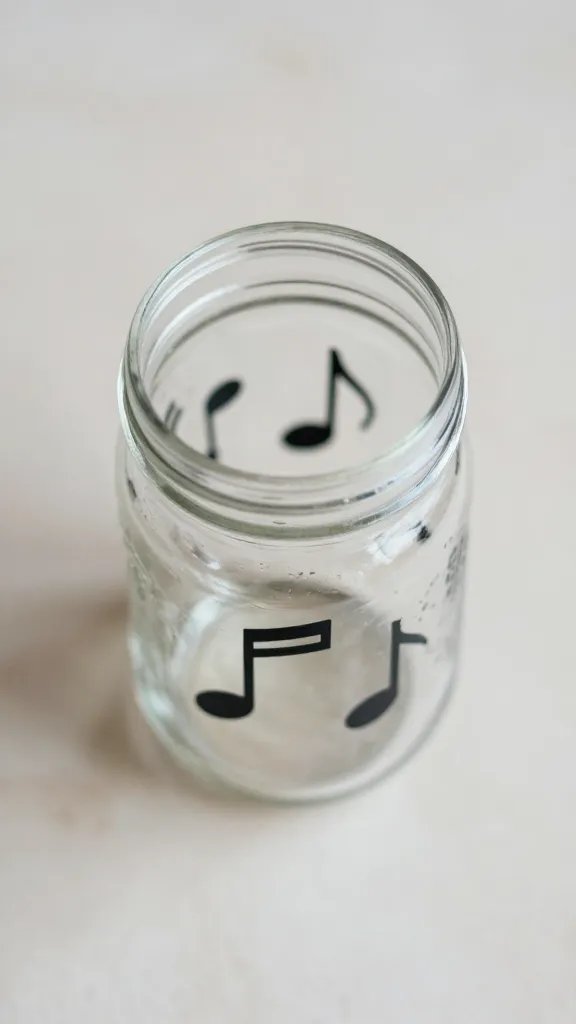
Fill a clean mason jar with battery powered fairy lights and clip small music note cutouts to the inside with a dab of glue. When the lights go on, the notes glow softly. It creates a warm glow around the dessert table. This project is quick; a single jar takes about 20 minutes including the note cutouts and drying time for a light coating of glue.
Heidi swap: If you don’t have LED lights, use a string of battery powered glow beads for the same effect.
14. Banner of Band Lyrics
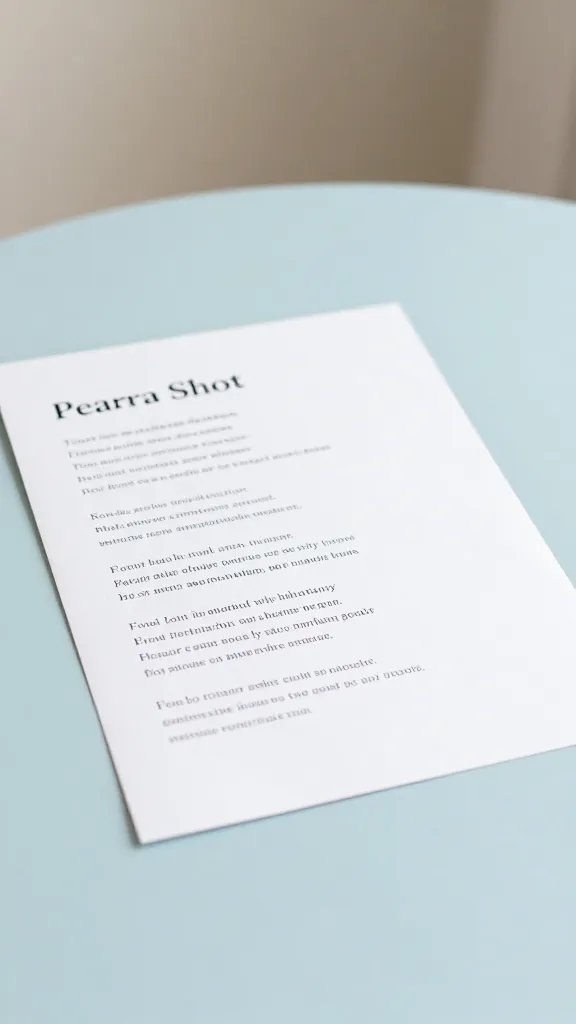
Print crisp band lyrics in a large font on colored cardstock, then punch holes and string them along a length of twine. Space the lines so guests can read one to the next as they walk by. The visual rhythm helps the room feel curated and reduces the need for a large dessert display. It should take about 50 minutes to assemble a longer banner spanning 8 feet.
Make it ahead: Write or print the lines a day before and lay flat to dry.
15. Chalkboard Song prompts
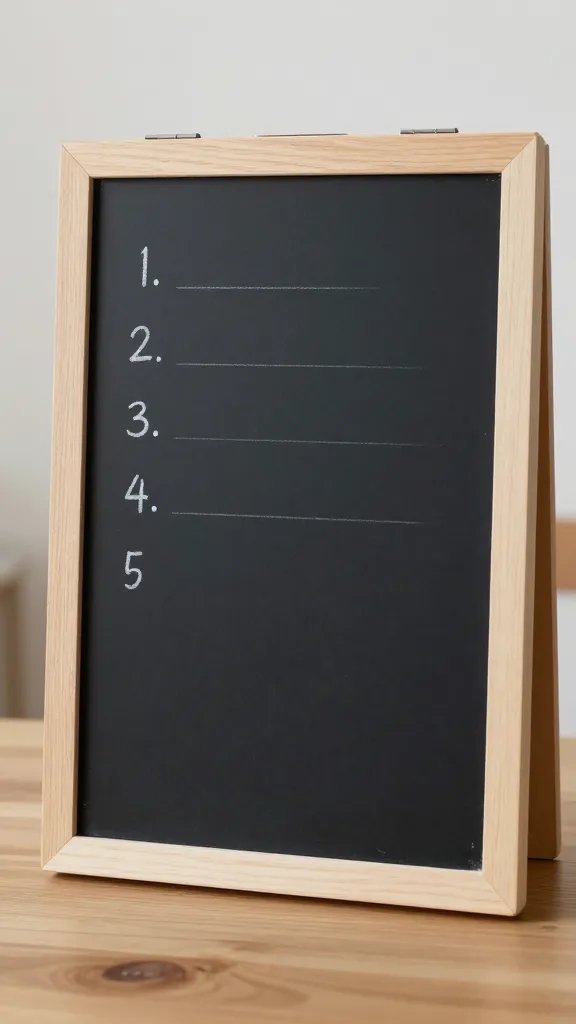
Paint a small chalkboard panel with a simple border and write prompts like “Name a song that starts with A.” Guests can answer by writing on the board or on slips of paper you place nearby. It gives guests something to do if conversation stalls and creates a playful, interactive corner. Setup takes about 15 minutes and you can reuse the board for future events.
Use what you have: If you don’t have a chalkboard, use a leftover picture frame with glass removed and a sheet of chalkboard paint inside.
16. Quiet Amped Table Runner
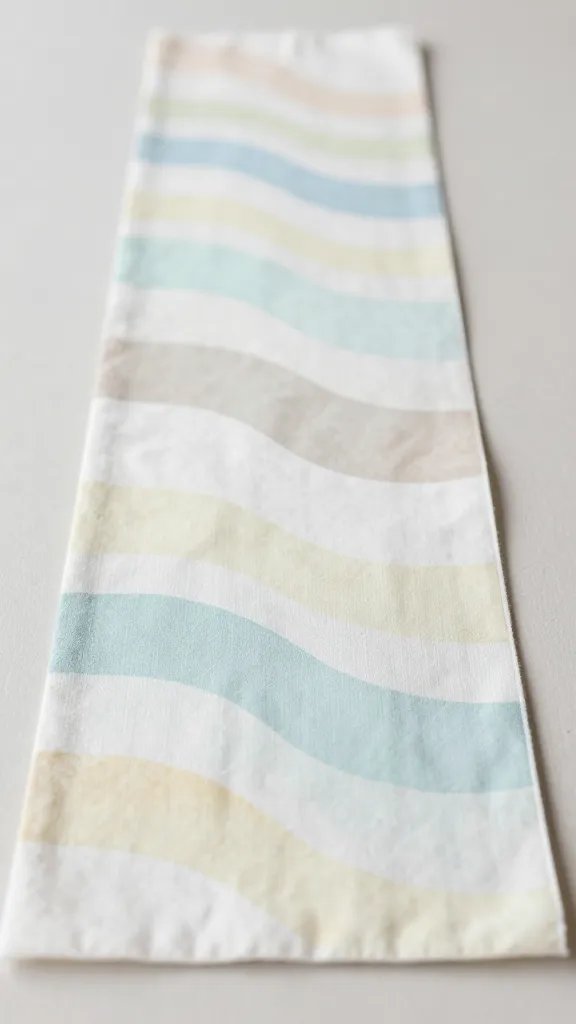
Transform a plain fabric runner into a music themed piece by painting or stamping simple wave patterns that resemble sound waves. Choose two colors that match the party palette and pop a few music notes along the edges. This adds a cohesive look to the table without costly decor. It takes about 45 minutes to paint and dry; you can sew a simple hem if you have a sewing machine or hand stitch for extra durability.
Big tip: Choose a washable fabric to cut down on cleaning afterward.
Teens who love music deserve decor that moves with them. These ideas keep craft time short, budget friendly, and highly personal. Pick a couple that fit your space, add a few printable elements, and you’re set for a week night gathering that feels crafted and thoughtful. Save this for the next birthday that sneaks up on you.