
13 Craft Ideas for Teens Who Hate Glitter and Pink

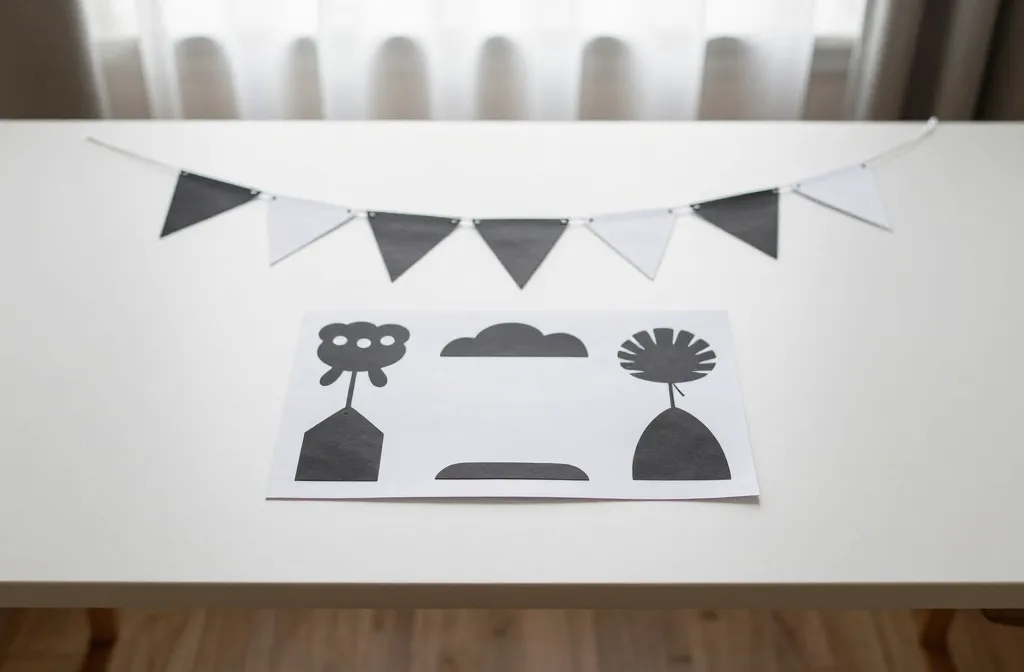
Teens want something cool that fits their style, not a room full of glitter or bubblegum pink. If you’re stuck with a party that needs direction in a hurry, these ideas solve practical problems without the fuss. You’ll find fast, affordable, low glitter options that still feel thoughtfully put together. The key is to pick a vibe they actually like and keep setup simple so you can enjoy the party too. Each idea includes a quick path to get it done today. Let’s dive in and plan a weeknight friendly setup that still photographs well.
From a minimal banner to a bold snack wall, these ideas are designed for teens who don’t want pink confetti everywhere. Use the core craft as a starting point and swap colors to match the guest list. The goal is to set a scene that feels intentional, not DIY chaos. Ready to start? Here are 13 concrete ideas you can make this week.
1. Monochrome Paper Banner in a City Map Style
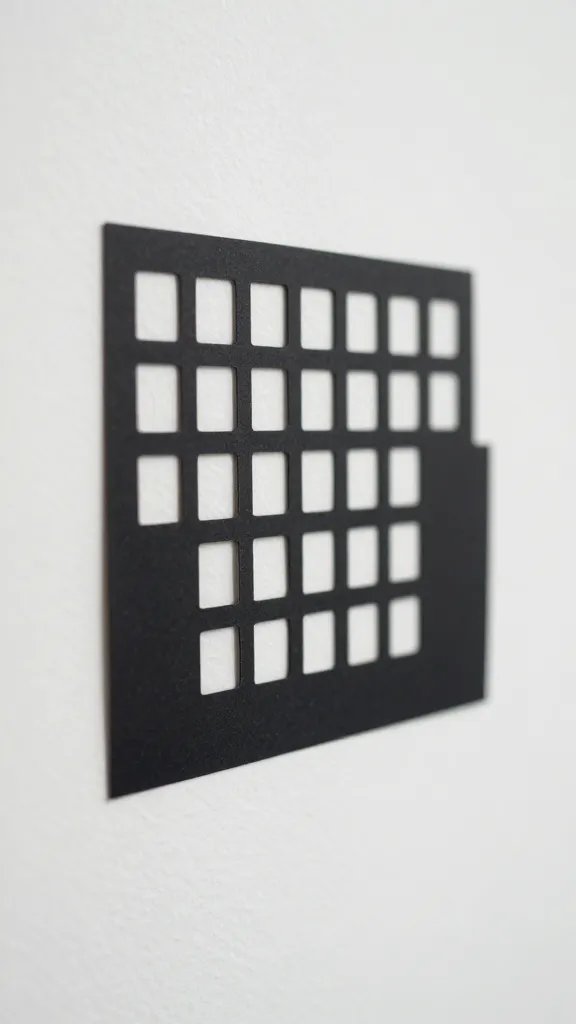
A plain wall looks lonely and the dessert table reads empty without a backdrop. Cut simple shapes from black, white, or gray paper to resemble a minimalist city grid. String them on a thin line across the wall. The result is a bold backdrop that reads as design rather than craft, and it costs almost nothing.
Copy the look: Use recycled cardboard for letters or shapes and keep the color palette tight to avoid busy visuals. This works best with a straight ceiling line so photos look clean.
2. Balloon Arch Without Gel or Confetti Confetti
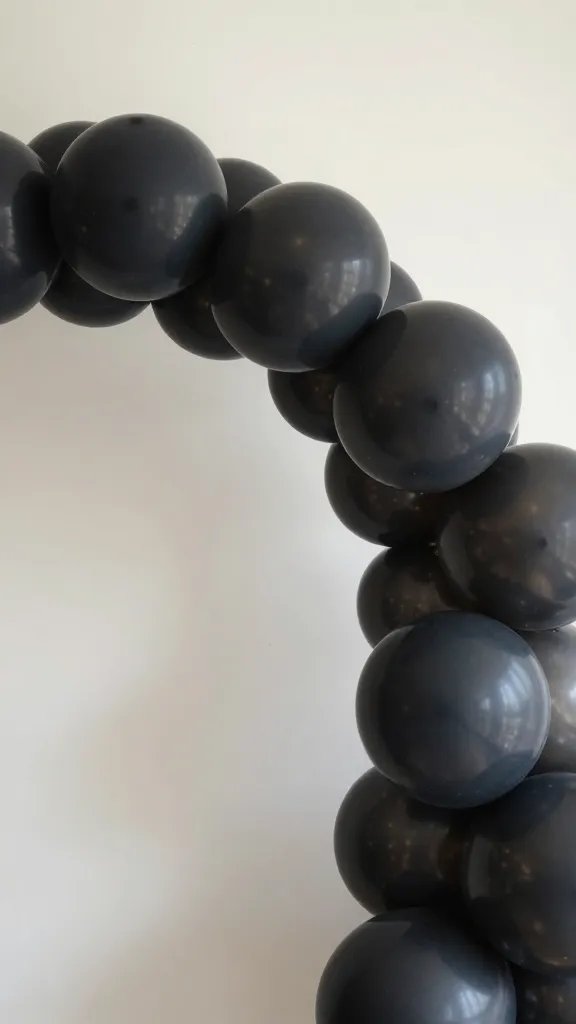
Balloon arches can feel grand, but they don’t have to be flashy. Build a simple arc using three sizes in matte black, white, or a bold primary color. Attach with fishing line and a few clear clips. It creates a party moment without a lot of glitter or pink and still photographs beautifully. Plan to complete in about an hour with two helpers.
Hosting tip: Keep balloons away from direct sunlight to prevent color fading during the party.
3. Chalkboard Menu Board with Quick Snacks
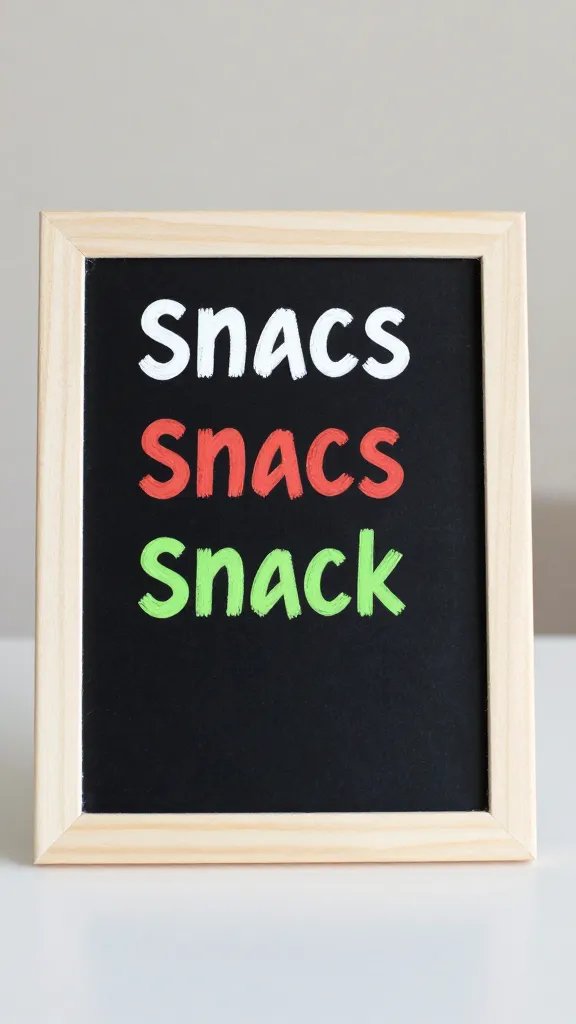
A small, framed chalkboard or a DIY cardboard panel becomes a design feature rather than a craft. List a few go-to snacks like cheese sticks, pretzels, fruit cups, and a simple dip. Use white and one accent color for headings. It guides guests and adds a polished touch to a room that feels unfinished without a table display.
What to avoid: Don’t overload the board with long descriptions; short labels read better in photos.
4. Fabric Banner Soaked in Color, Not Glitter
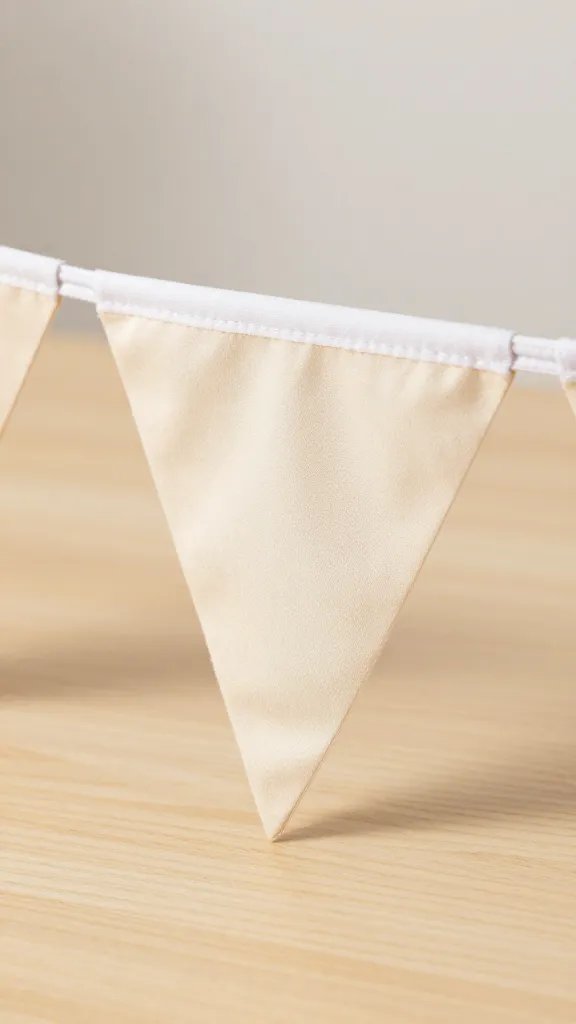
Folded triangles of fabric in two or three colors create a soft, modern banner that doesn’t scream craft. Use a ribbon or twine to string them. The texture adds depth to photos and the colors can be swapped out for different themes. It’s quick to assemble and easy to store after the party.
Little hands tip: Pre-cut triangles in a single sitting to speed up the final stringing.
5. Photo Wall with Polaroids and Simple Frames
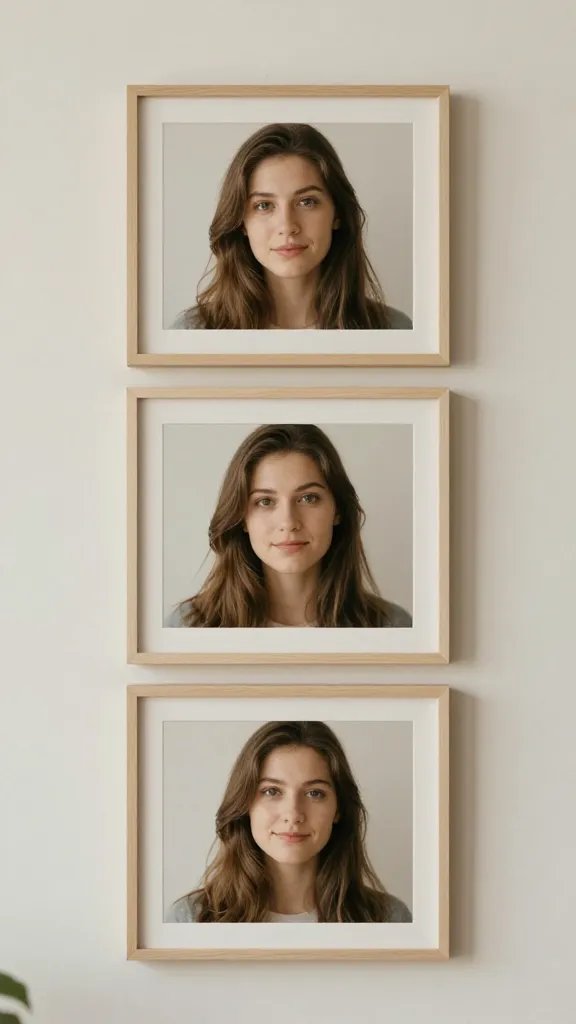
Grab a blank wall and hang a grid of guest photos or favorite moments from a phone camera. Print them on regular printer paper, back them with neutral cardstock, and frame with quick DIY frames using craft sticks or mini clip boards. It creates a personal focal point and doubles as a conversation starter without extra glitter.
Best for: A small crowd where guests will enjoy looking back at memories together.
6. Geometric Confetti-Free Centerpiece Sticks
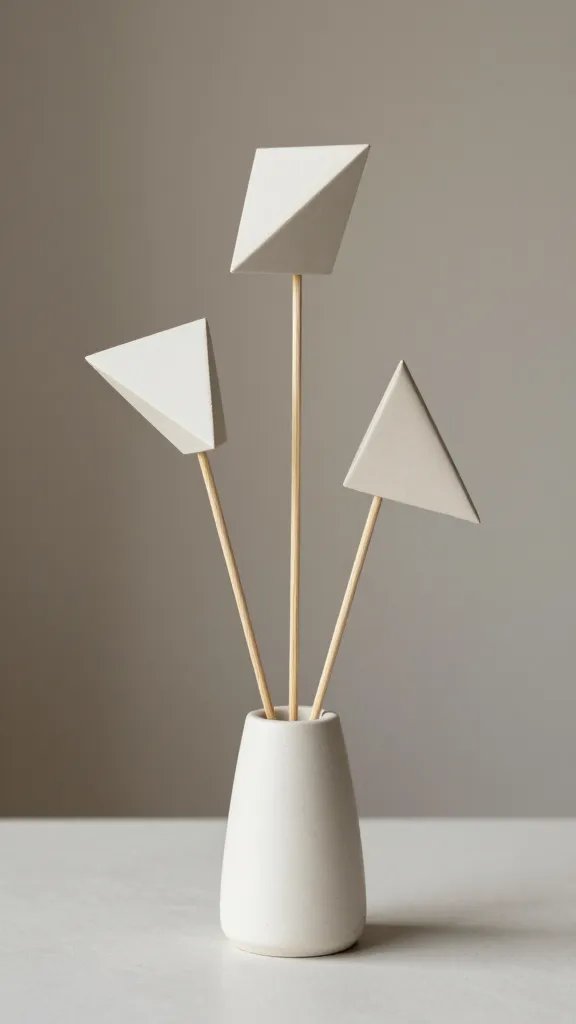
Cut cardboard into geometric shapes and mount them on painted skewers. Stand them in a high vase or a Mason jar with foam inside. Choose two colors for a clean, contemporary look. This adds height and interest to the table without any glitter or pink tones, and it’s simple to adapt for any color scheme.
Safety note: Use craft glue and allow to dry away from curious hands; keep sharp skewers out of reach of small kids.
7. DIY Light Tape Wall for Atmosphere
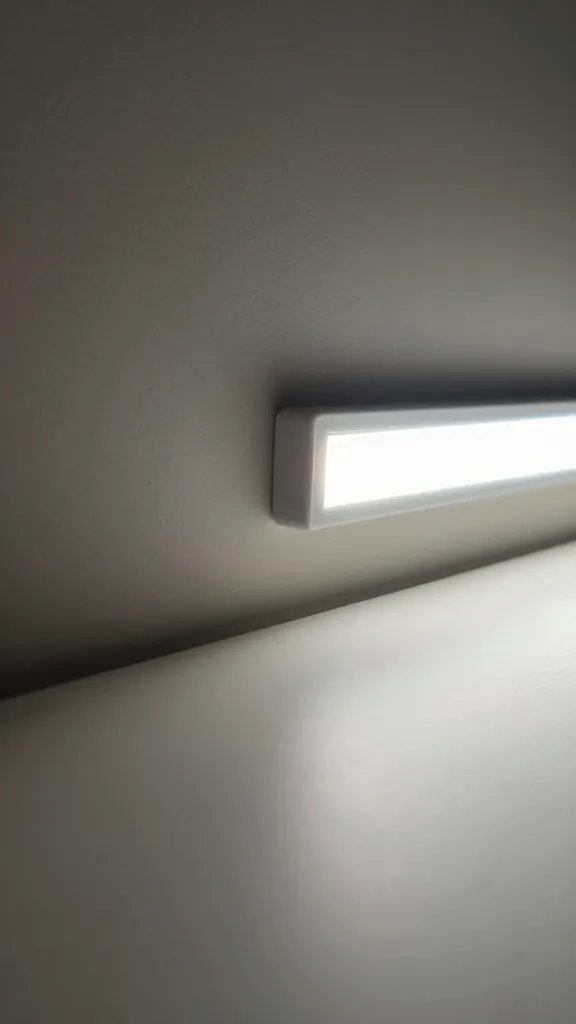
Adhesive LED light strips or simple string lights along a wall create a warm glow that looks intentional in photos. Pair with a dark backdrop or a single color to keep the vibe modern. It costs little and can be reused for future gatherings, all while avoiding the glam aesthetic teens often dislike.
Placement note: Tape the power cord along the baseboard to keep the surface clean and safe.
8. Snack Station with a Minimalist Palette
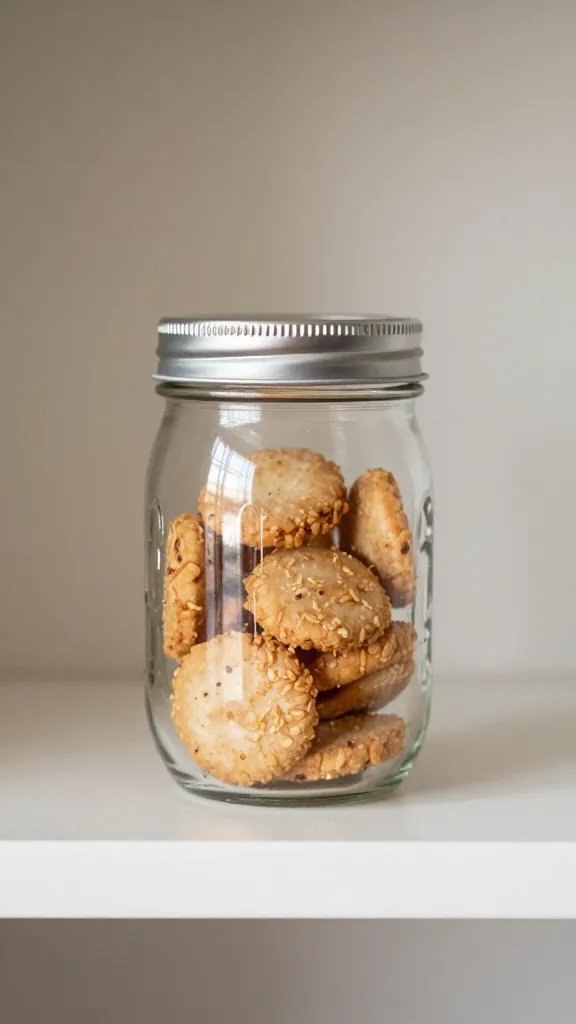
Showcase a few jars of snacks on a plain shelf or table with a fabric runner in a single color. Use simple label tags and a small sign that reads the theme. A neat, organized display reads high-end in photos and is surprisingly quick to assemble the same day.
Use what you have: Reuse a couple of old mason jars and a cardboard display shelf for a budget-friendly setup.
9. Fabric-Waced Banner with Monogram Letters
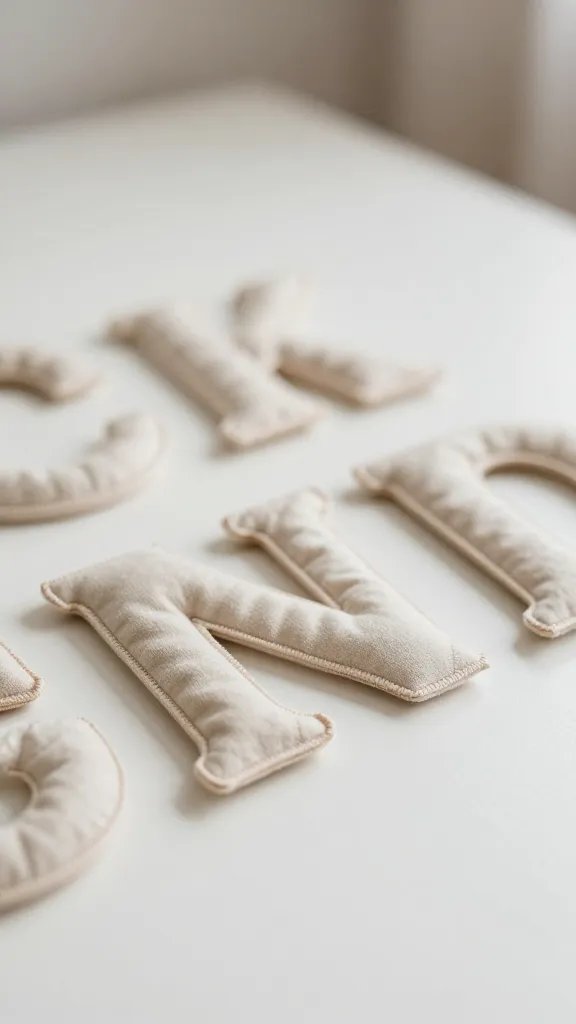
Cut fabric into large letters and mount them on a contrasting strip of ribbon. Hang in a doorway or on a blank wall to spell out the teen’s initials or a short word. It gives a touch of personality without the usual party decor fuss and remains inexpensive if you shop secondhand fabrics.
Make it ahead: Iron small folds flat and press letters before mounting to avoid puckering.
10. The Silent Vibe Board
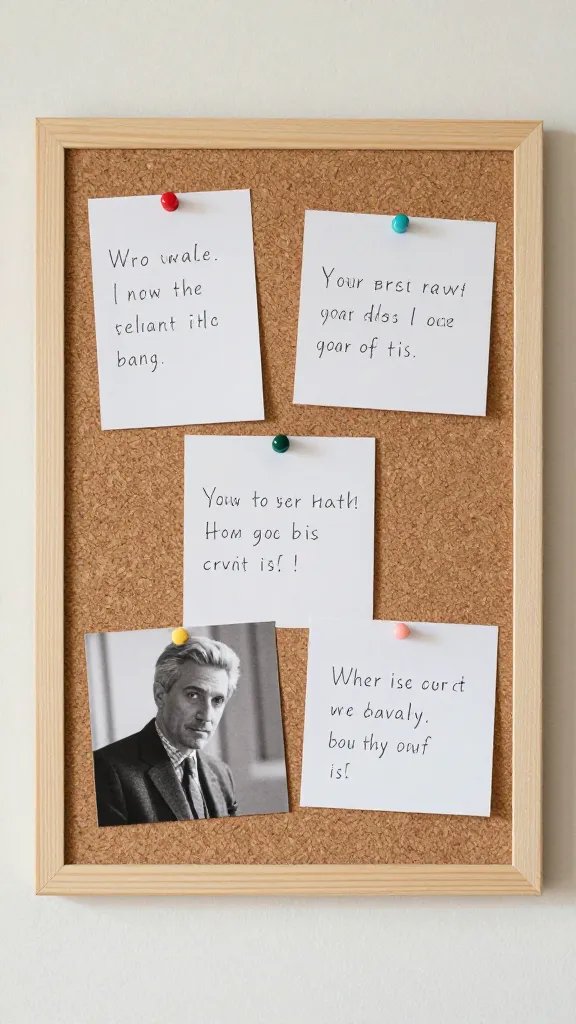
Cover a corkboard with a single color fabric and pin inspirational quotes, movie posters, or memes that match the party vibe. It becomes a talking point and a photo backdrop without any need for glitter or pink. Guests can add a note or doodle with dry erase markers as they arrive.
Color note: Use one calm color rather than several hues to keep the board cohesive and photogenic.
11. Tiered Tray of Everyday Snacks
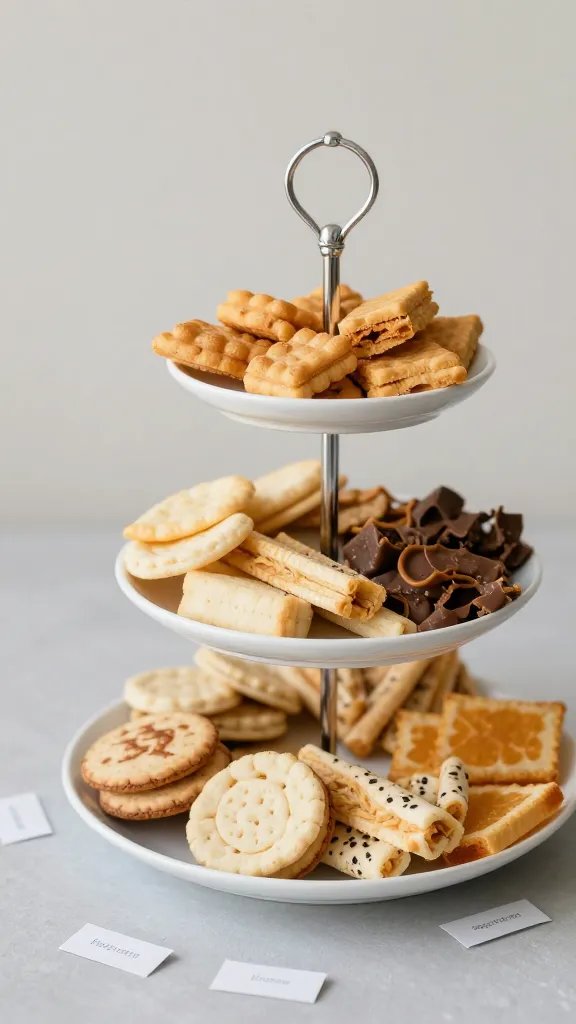
Stack a few baking trays or cake stands to create height for a snack display. Place a simple label on each tier and swap in fruit cups, chips, and dips. This reduces clutter and keeps the party spread organized, which is especially helpful in small spaces.
Seasonal swap: Change up the snack lineup to match the season or the guest favorites.
12. Cardboard Plaque Wall with a Bold Font
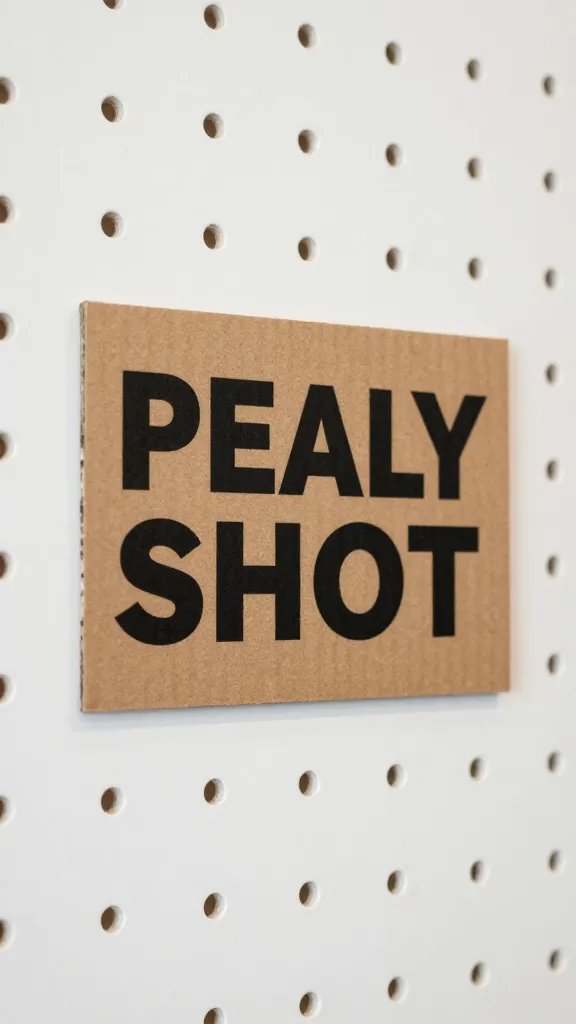
Cut simple shapes from cardboard and paint with a bold, single-color font phrase like “Chill Zone” or “Game Night.” Hang on a wall or door to define a zone for activities. It looks intentional rather than makeshift and uses materials you likely already have on hand.
Copy the look: Secure with removable adhesive so you can reuse the plaque later for another party.
13. Night Sky Lanterns over the Dessert Table
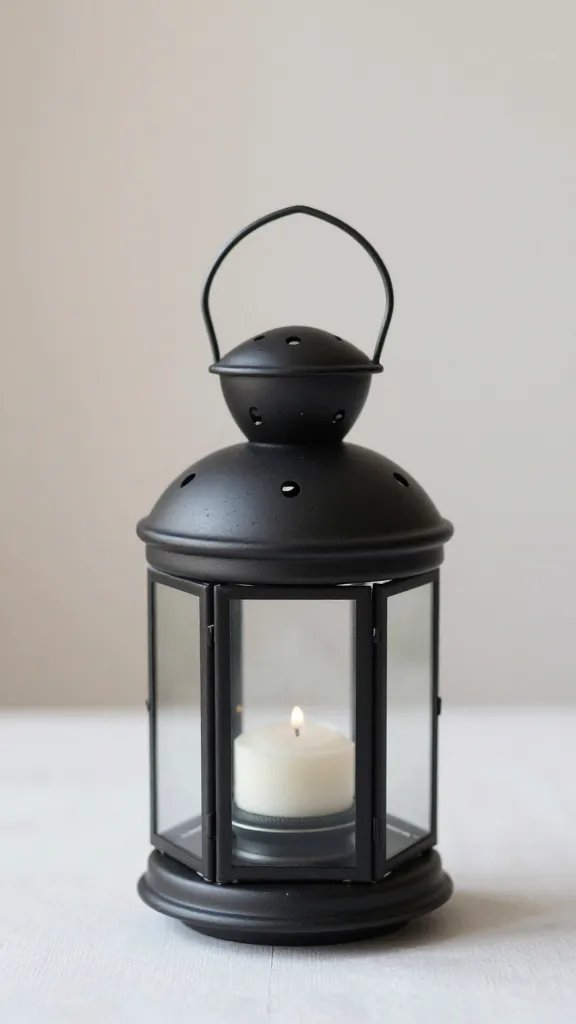
Hang a few paper lanterns in dark colors from the ceiling above the dessert table. A sparse cluster of lanterns adds vertical interest without extra glitter or pink. They’re inexpensive, light to hang, and photograph well as a backdrop for treats and drinks.
Make it easier: Confirm ceiling hooks are present or use removable adhesive to avoid damage.
Want a quick, teen-friendly finish? Stick with two or three of these ideas, mix in a few neutral neutrals, and you’ll have a cohesive look that feels polished. Save this for the next birthday that sneaks up on you.