
13 Cardboard Organizer Ideas for a Craft Desk

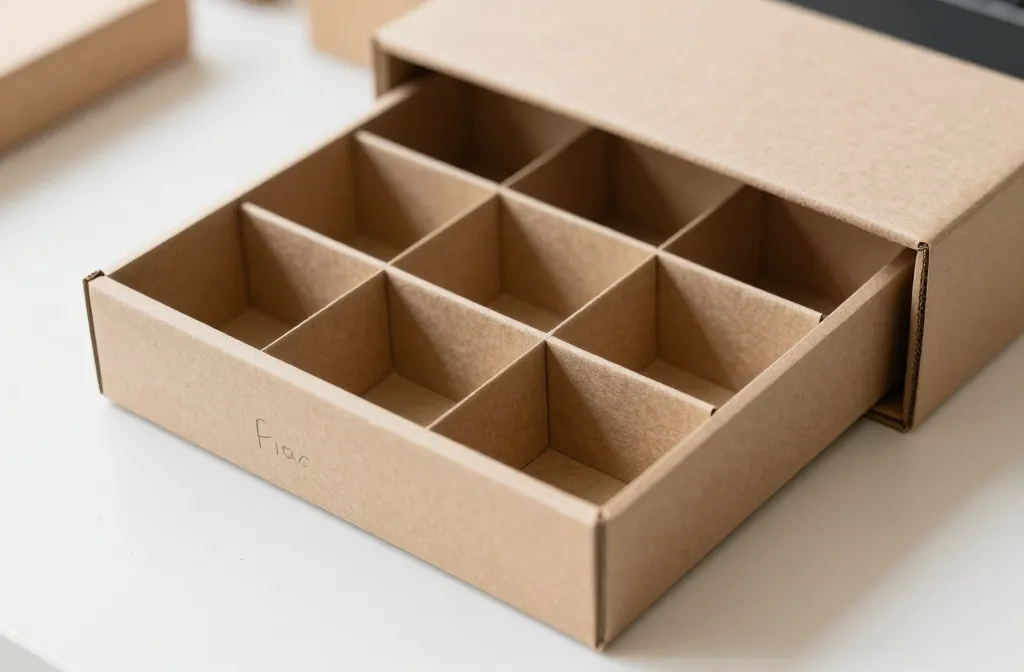
Staring at a sea of brushes, scraps, and half-finished projects, you need a simple system that actually sticks. Cardboard is cheap, forgiving, and easy to tweak as your desk evolves. The goal here is to tidy up your space fast without buying a ton of gear or committing to a full studio makeover. You’ll get ideas that you can assemble in under an hour, and in some cases, with items you already have on hand. Each idea fixes a real problem, from chasing down tiny tools to creating quick, photo-ready setups for blogging or classrooms. Let’s get you organized this week with things your future self will thank you for.
Using cardboard creatively keeps costs down and encourages you to swap in what you already own. You’ll see how simple scraps turn into practical organizers that look intentional, not home made. Ready to clear a surface and reclaim a workspace? Here are 13 ideas you can start today.
1. Drawer Inserts From Cardboard for Small Supplies
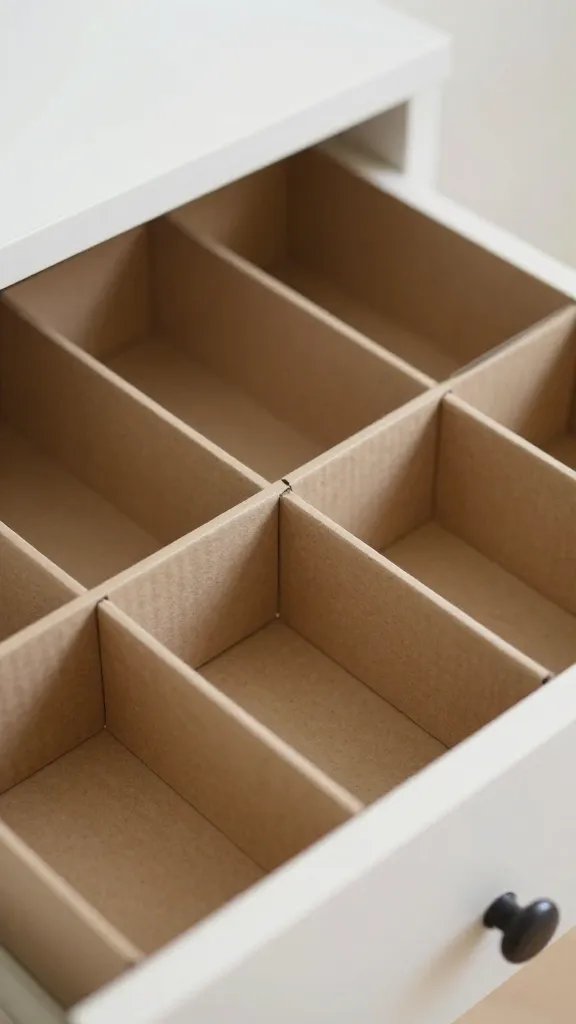
A cluttered craft desk often hides in plain sight: tiny bits roll to the back of a drawer and vanish. Cut cereal boxes into slim inserts that fit a drawer width, then glue or tape them in place to create compartments for beads, pens, and loose buttons. This solves the problem of lost items and saves time when you need a quick supply. Label each slot with a small sticky note or a piece of washi tape for easy scanning. It takes about 20 to 40 minutes, depending on how many dividers you make, and you can finish with a quick layer of contact paper for durability.
Use what you have: Reuse the extra card panels from a gift box to form a few wider sections. Safety note: If you use sharp blades to trim cardboard, supervise children and keep blades away from edges.
2. Wall-M mounted Clipboard Tool Board
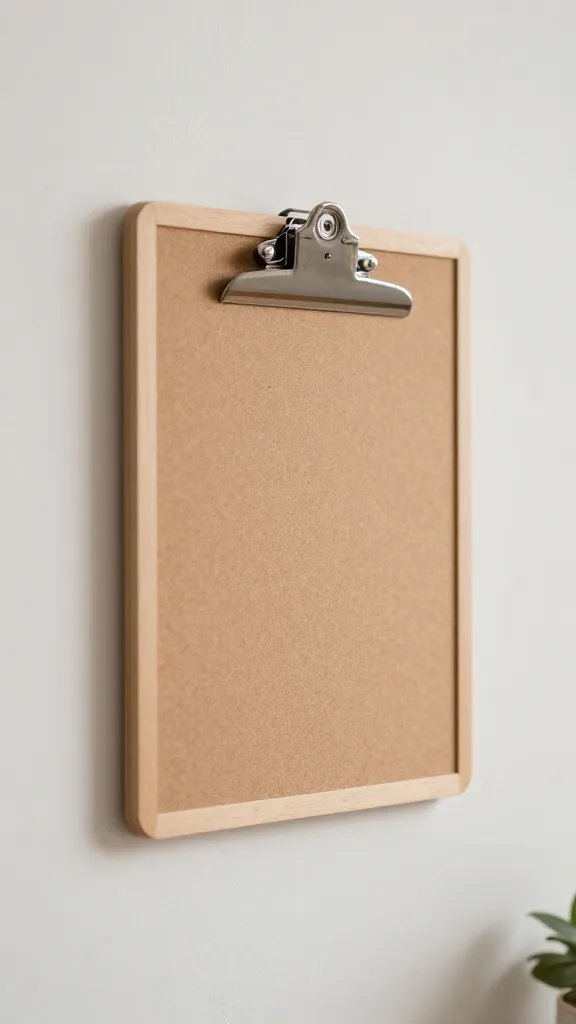
When you’re chasing inspiration, a quick hand-held surface doesn’t cut it. Attach a corkboard or thin cardboard to the wall, then add clipboards for pattern sheets, swatches, and step-by-step guides. This keeps projects visible at eye level and frees up desk space. It’s a simple, sturdy solution that grows with you; swap sheets in and out as you move from one project to another. Expect about an hour to mount and customize, plus a steady stream of new ideas ready at a glance.
Best for: small apartments needing vertical storage. Copy the look: use neutral or themed paper on the boards to tie into your craft space palette.
3. Tiered Stand from Cardboard Tubes
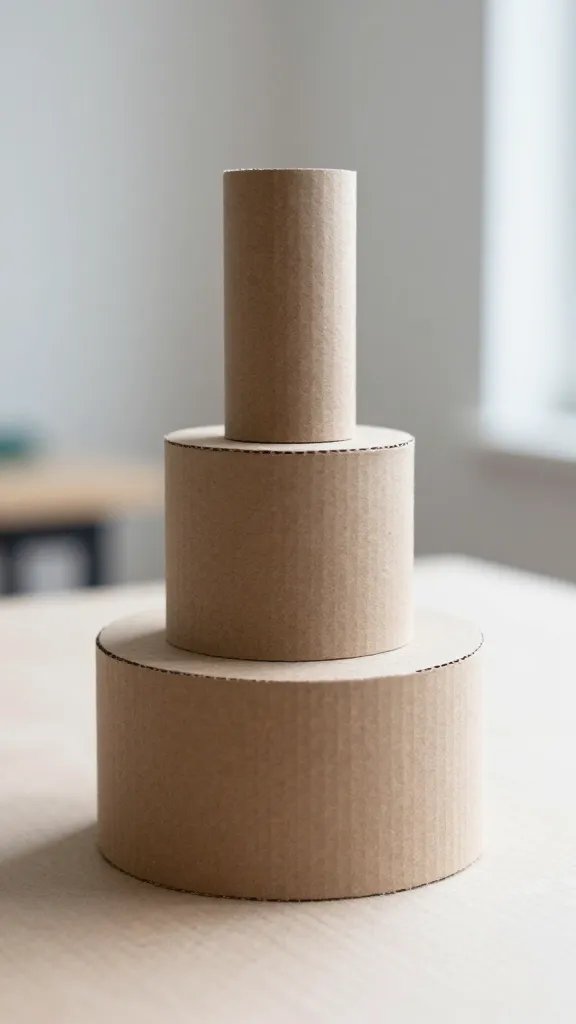
Grab a paper towel tube, a few cereal boxes, and a hot glue gun. Build a tiny tiered riser with three levels to hold brushes, scissors, and rulers. It keeps the most used tools within reach and lifts clutter off the desk surface. The result looks intentional and is surprisingly sturdy when you reinforce the corners with extra strips of cardboard. It’s quick to assemble, and you can decorate with strips of colorful paper or masking tape to suit your vibe. In about 30 minutes you’ll have a robust, reusable display piece.
What to avoid: don’t glue too tightly at the seams or the tower can wobble; add a small base if needed.
4. Cable Caddy From a Flattened Box
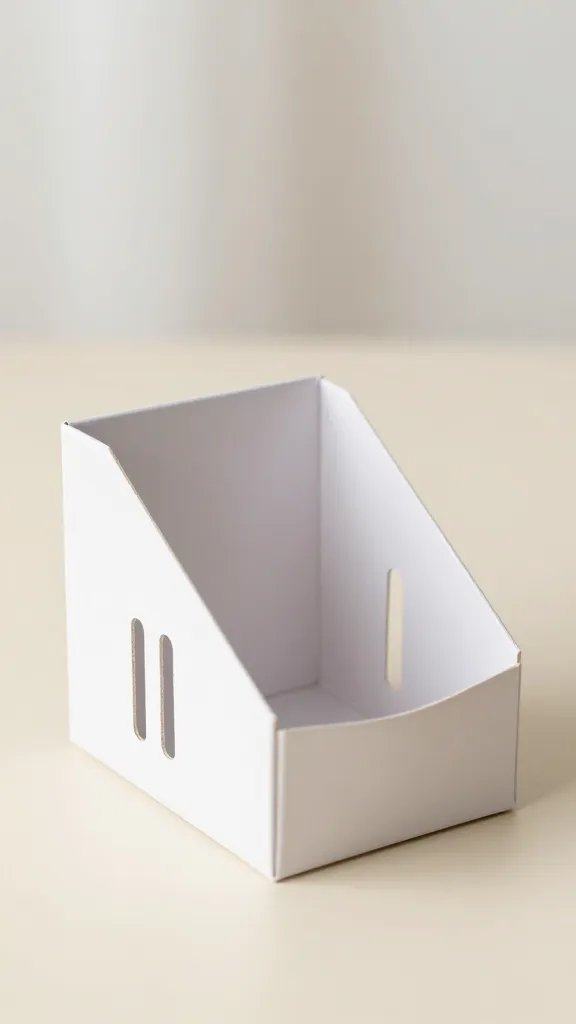
Wires and cords turn a crafting afternoon into a tangled minefield. Flatten a sturdy box, cut a long half circle from the front, then glue in vertical slits for cords. Clip a label on the front to remind yourself what each cord does. This fixes the common problem of cord chaos and makes it easy to grab what you need without unplugging half the desk. It takes about 25 minutes to prepare and can be tucked along the back edge of the desk for a clean look.
Storage tip: Keep a small pair of scissors and a USB plug handy in the same caddy so you’re ready to sew, iron, or connect.
5. Self-Wupported Paper Card Tray
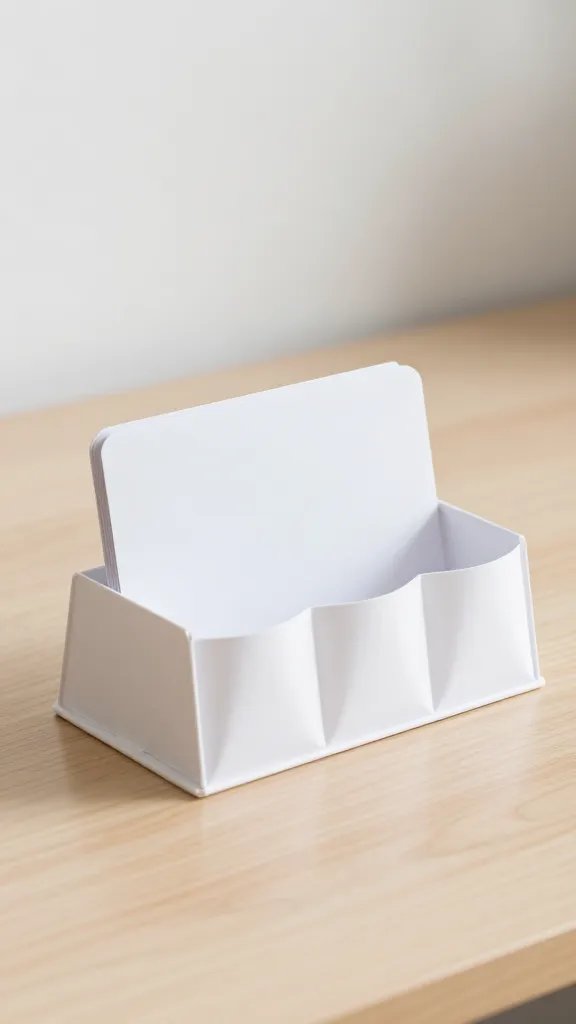
Cut a small tray from a thick piece of cardboard and glue in two or three smaller pockets inside. This tray holds pattern papers, scrap bits, and washi rolls in one central place. It’s a quick, inexpensive fix for the “where did that pink scrap go?” problem. You can stain or paint the outside for a finished look. Expect about 40 minutes from start to finish, plus drying time if you’re painting.
Make it ahead: Paint the exterior a day before to prevent smudges while you assemble other items.
6. Letterboard Card Organizer
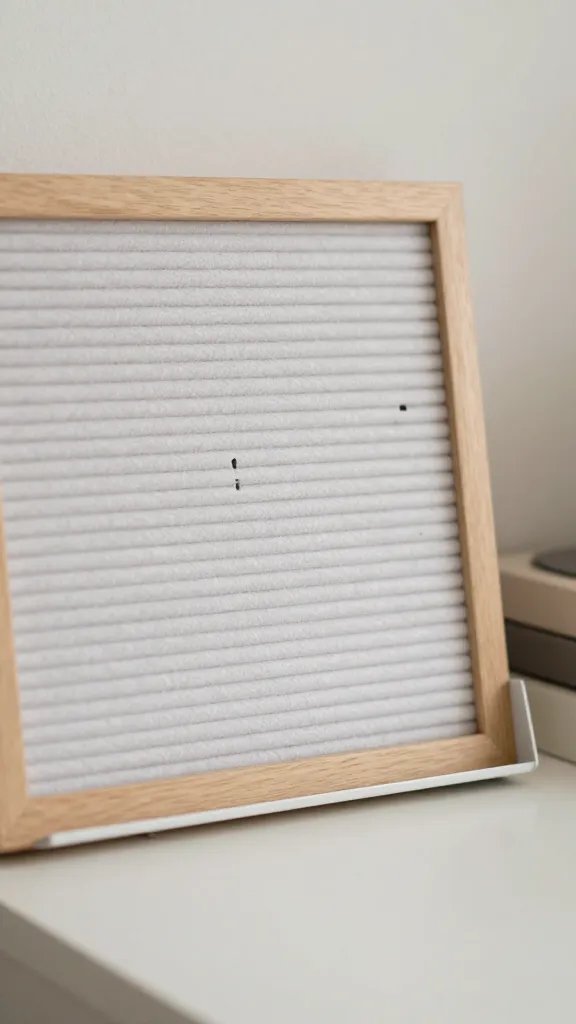
Turn a small letterboard into a mixed media organizer. Use the letter slots to label zones like “glue sticks,” “scissors,” or “stamps.” Glue a thin strip of cardboard along the back to create a shallow tray that sits on the desk, keeping essential items in one place. This approach is especially helpful when you’re prototyping with new supplies and need a quick, visual cue for where everything belongs. Time to adapt is about 30 minutes, with a little paint and tape to finish.
Beginners version: skip the tray and use the board as a wall hook for lightweight tools.
7. Scrap Bin with a Flip Lid
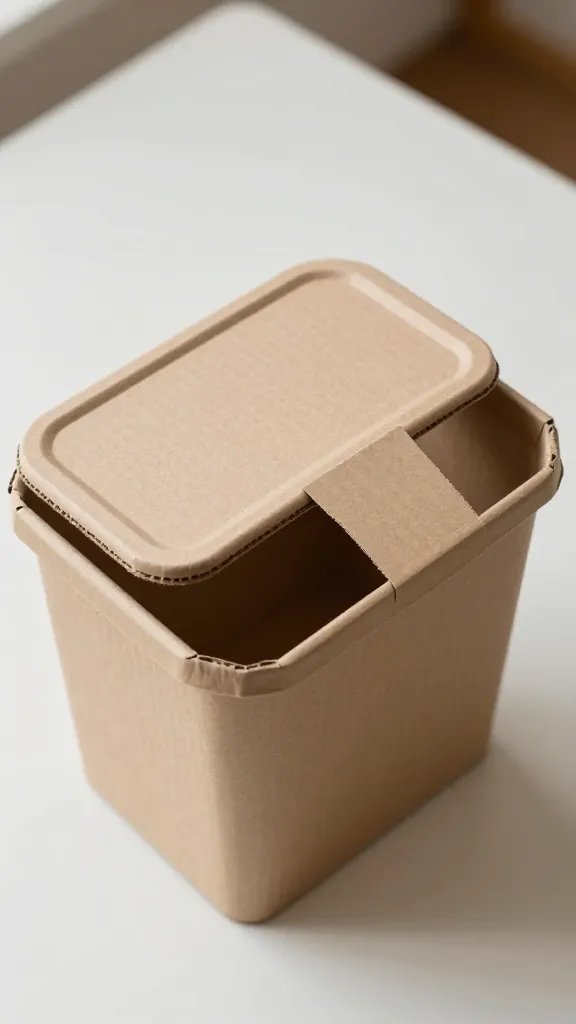
A flip lid makes it easy to drop scraps without creating a mess. Build a shallow box from cardboard, add a hinged lid with a strip of tape, and divide the interior with a few vertical cardboard dividers. Use this to catch tiny scraps of fabric, paper, and ribbon, so you can reach for them when needed rather than scouring the bin. It’s a simple build that can be completed in an afternoon and won’t take up much desk space when you’re finished.
Cleanup tip: keep a small bin bag nearby to remove offcuts at the end of the session.
8. Mini Drawer Unit for Beads and Buttons
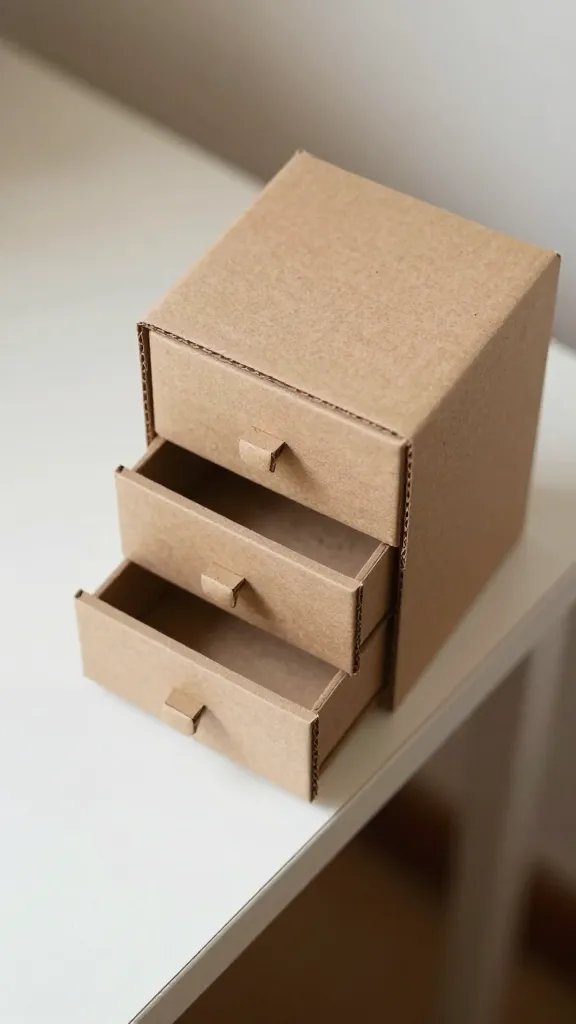
Cut a stack of thin boxes into shallow drawers with small handles cut from cardboard scraps. Stack them to form a mini unit that slides on your desk edge. This fixes the problem of loose beads and tiny pieces scattering across the surface. It’s cheap and customizable. A quick sanding and a coat of craft paint will make it look neat, and you can label each drawer with a marker. Expect about 60 minutes from start to finish, including dry time for paint.
What to avoid: avoid overloading each drawer; keep the items light and small and rotate frequently.
9. Pegboard Tray With Cardboard Slats
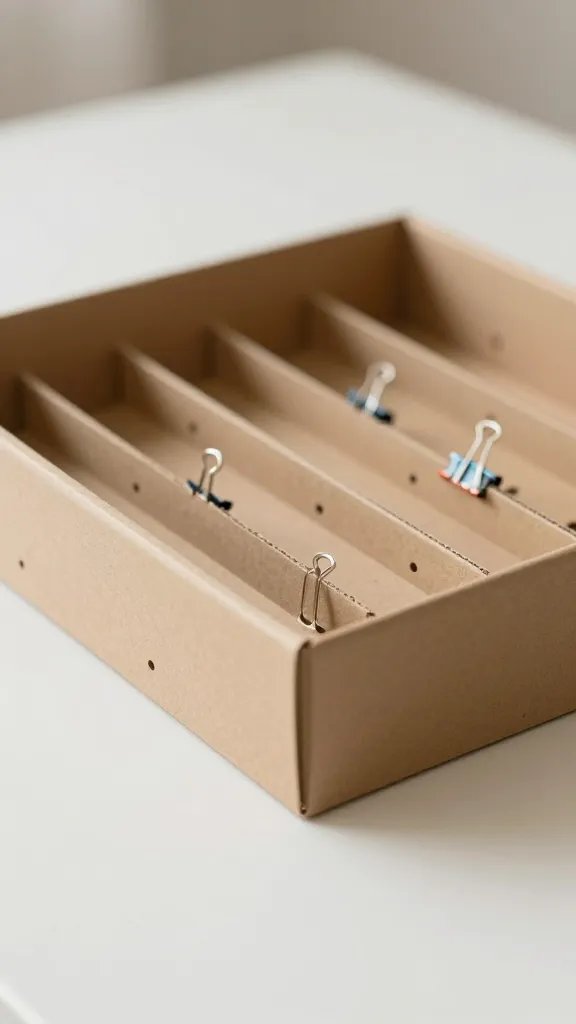
Cut a cardboard frame and add evenly spaced slats to create a pegboard-like tray for brushes and sculpting tools. Use binder clips or small hooks to hang items from the slats, increasing accessibility and reducing desk surface clutter. This is a sturdy, adaptable solution that you can repaint or cover with patterned paper to match your space. It takes about 45 minutes to complete and can be expanded as you add tools.
Placement note: mount or place near the edge of the desk for easy reach without crowding the workspace.
10. Cardboard Ring Binder for Small Dies and Stamps
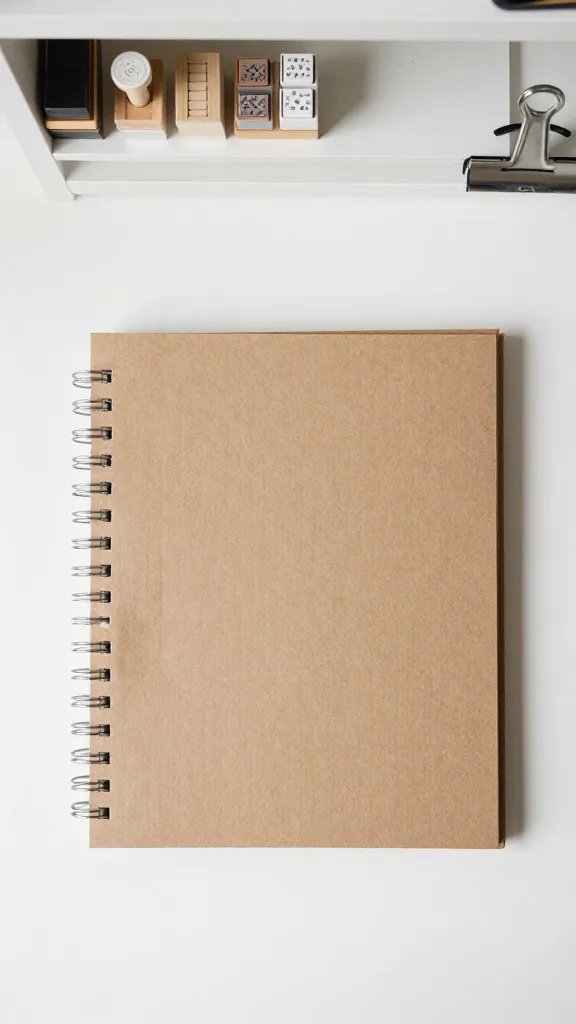
Roll a long strip of cardboard into a ring binder shape and press flat to create a shallow shelf. Use this to hold small dies, stamps, or punch shapes. You can clamp the ring to the desk edge with a bit of tape or a small clip to keep it in place. It’s a clever, compact way to store minis without losing them in a bin. This idea can be done in about 25 minutes, with just glue and a pair of scissors.
Little hands tip: have kids help tape the ring and stamp a label on the outside for a sense of ownership.
11. Cardboard Washi Tape Dispenser
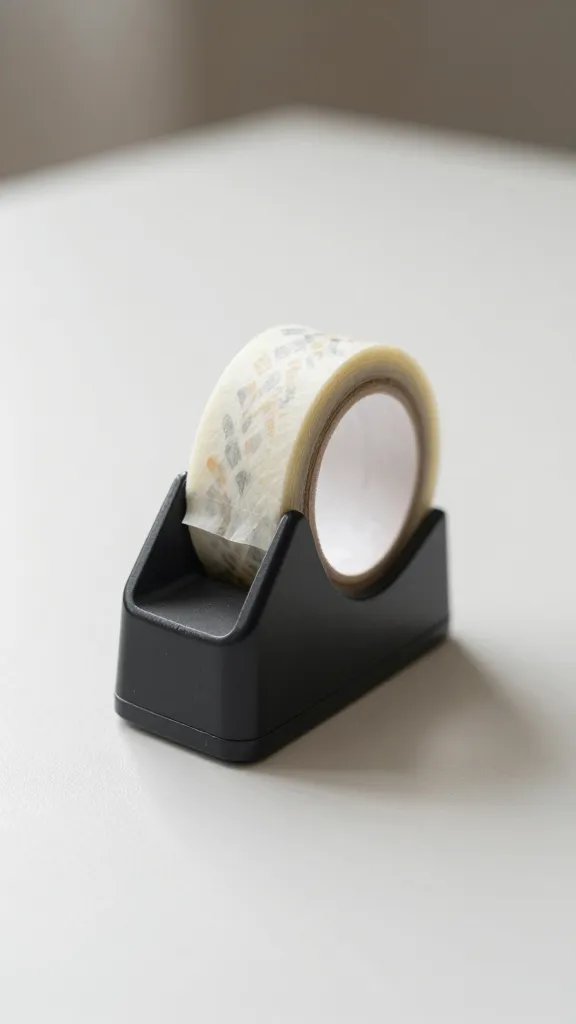
Slice a shallow box into a vertical holder, add a cut-out slot at the top for the washi tape roll to spin and dispense easily. This keeps tape helpers tidy and ready, which reduces the habit of tearing off too much and wasting supplies. It’s quick to assemble and can be decorated with stripes or a bold color to bring a smile to your desk. Plan for about 20 minutes to build and decorate.
Use what you have: reuse the lid as a step to lift the roll for a cleaner tear.
12. Desktop Divider Wall From Cardboard
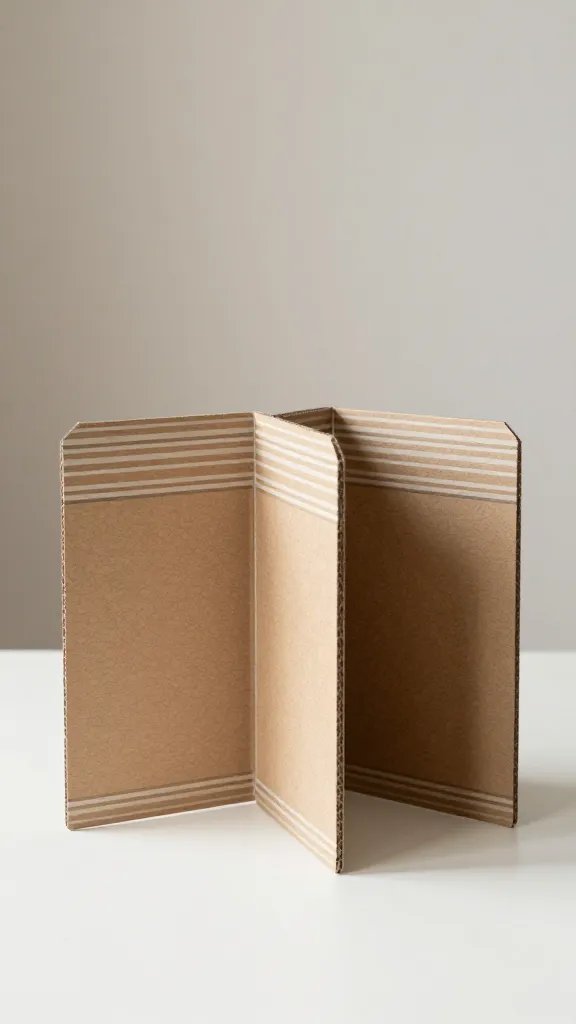
Build a small, freestanding panel to section off a part of your desk for a dedicated project or a clean photo backdrop. Glue multiple cardboard panels together for height, then cover with decorative paper or painted stripes. This creates a visual boundary that reduces distractions and helps you stay focused. It can be a weekend project, but you’ll see the payoff in steady, organized work sessions and cleaner photos for your feed.
Best for: photos or filming spaces where you need a tidy, temporary backdrop.
13. Mini Rolling Cart From Boxes
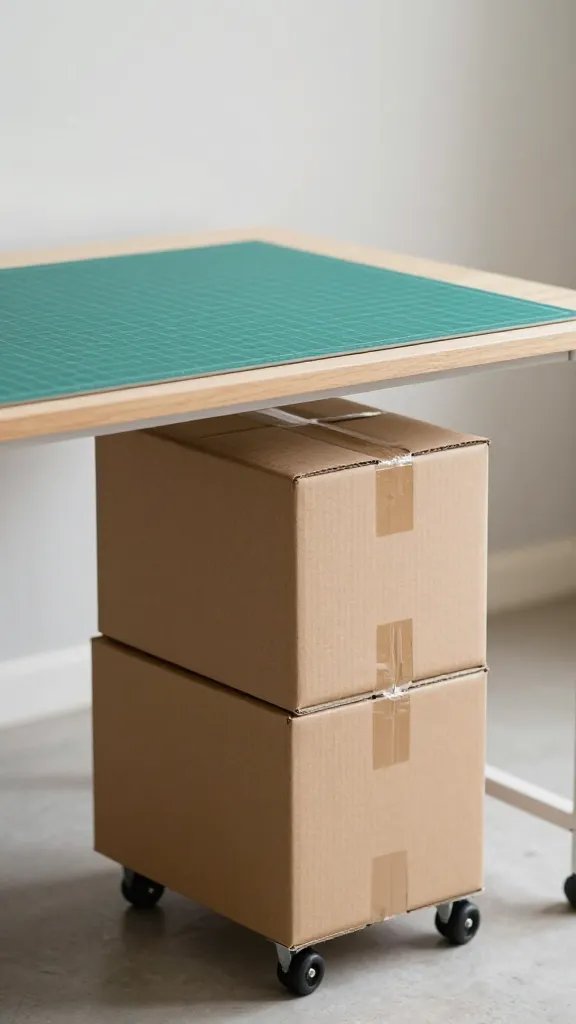
Turn stacked boxes into a rolling cart with a couple of casters or sturdy DIY feet. Use the top as a cutting mat and the shelves to store frequently used items. A small, movable unit makes it easy to clear the desk for a quick project or a blog shoot. This takes a little longer, perhaps a couple of hours, but you’ll gain a durable, flexible workspace helper you can reconfigure as needed.
Safety note: do not place heavy items on the top without reinforcing the base and ensure wheels tilt-lock to avoid drifting during use.
Keep your desk space inviting and functional with these 13 cardboard organizer ideas for a craft desk. They’re budget friendly, adaptable, and designed to save you minutes every day. Save this for the next time your craft space needs a quick refresh, and you’ll be ready to roll.