
13 Decorative Craft Ideas for a Kids Room

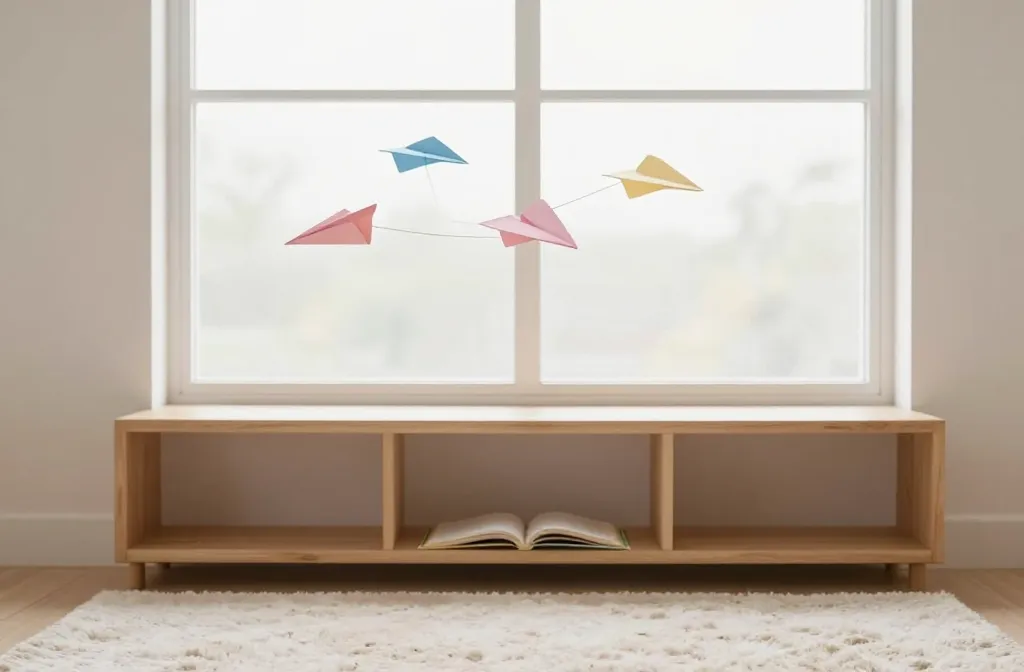
Kids rooms deserve small, smart upgrades that don’t break the bank or steal hours. You want decor that feels personal, kid friendly, and easy to reset as tastes change. This list gives 13 concrete crafts and setups you can actually finish this week, with clear supplies and quick timelines. Each idea solves a common snag like dull walls, clutter, or bored eyes drifting after a play session. Use variations of the core approach to fit your space and supplies.
Remember: these are practical, not perfect. A little glue shows and a few handmade touches look cozy, not rushed. Let’s start with ideas you can copy today and finish before bedtime.
1. Floating Paper Plane Mobile
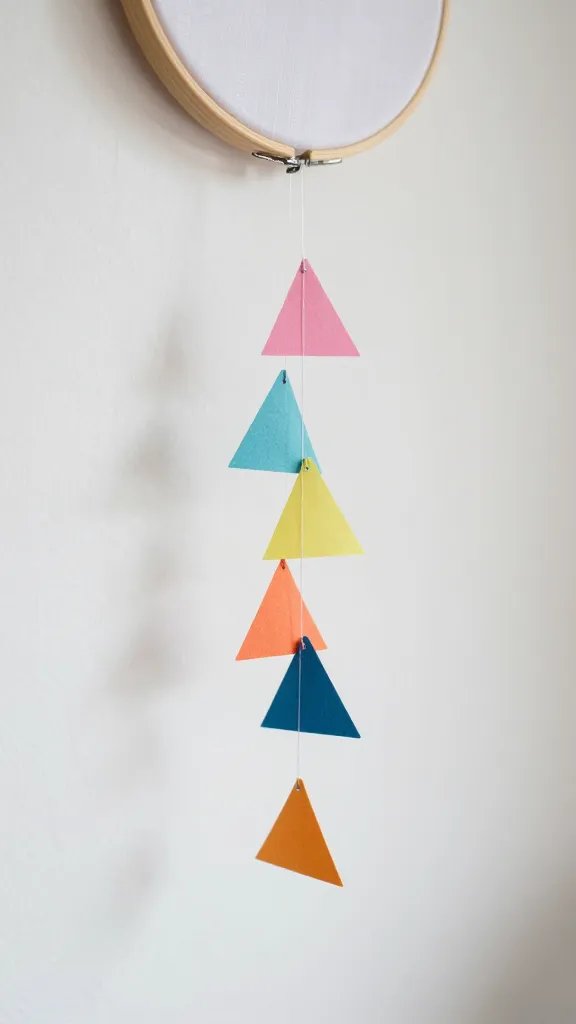
Lightweight, airy, and adjustable to any ceiling height, this mobile adds motion without taking up floor space. Cut triangles from scrap colored paper or old book pages, punch small holes, and thread them onto fishing line. Space the strands at different lengths and attach to a cheap embroidery hoop. Hang near a window or above a reading nook for subtle color. Time: 40 minutes plus drying. Materials: colored paper, embroidery hoop, fishing line, scissors, glue. Safety note: avoid small pieces in the reach of very young children.
Place note: Hang from a ceiling hook or a tension rod to avoid wall damage.
2. Felt Animal Gallery Wall
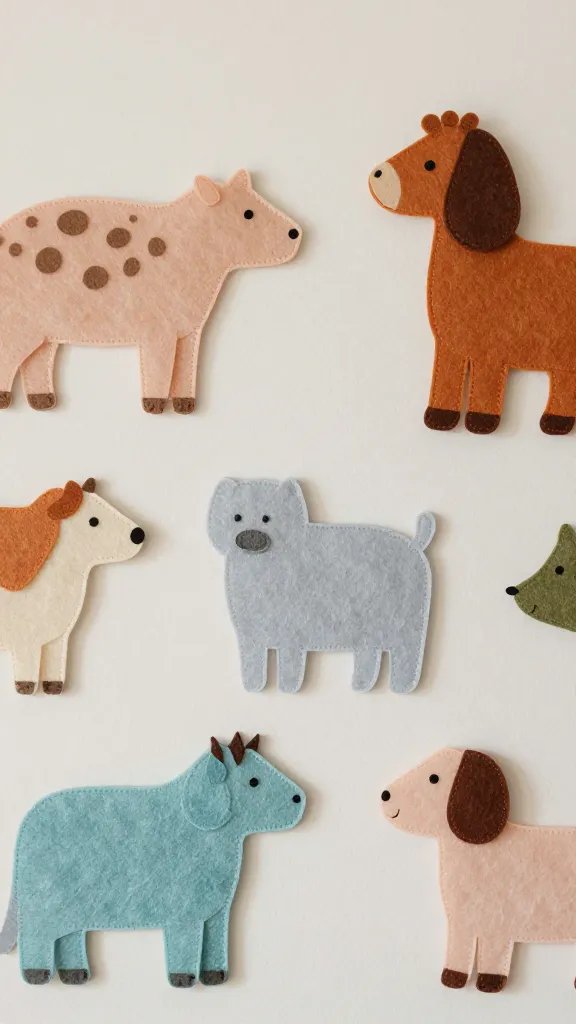
Create a soft, tactile display using felt cutouts of favorite animals. Pick 4 to 6 shapes in coordinating colors and attach with removable adhesive dots or double sided tape on a blank wall. Mix two sizes for interest, and layer some on top of a shelf for dimension. Time: 60 minutes. Supplies: colored felt sheets, scissors, chalk or fabric marker, adhesive dots. Beginner version: use pre-cut felt shapes from a craft store.
Why it looks store bought: Clean edges and stacked layouts create a polished vibe without a frame chase. Use what you have to keep costs down.
3. Magnetic Chalkboard Wall Patch
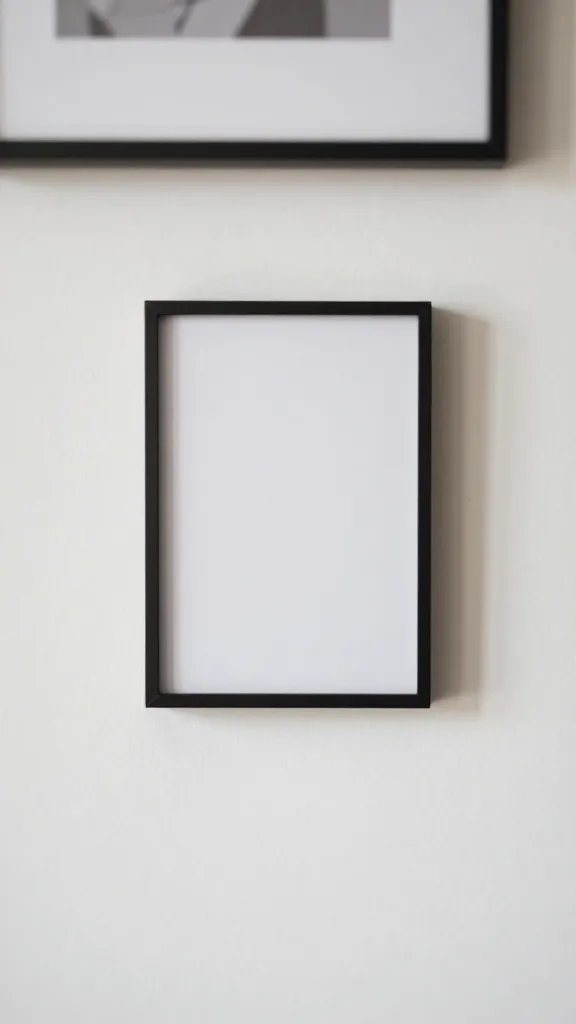
Turn a small wall section into a sketch pad and note board with magnetic paint and a frame. Paint a rectangle with magnetic primer, then cover with chalkboard paint. Add a simple wood frame from a thrift store or build a quick border with inexpensive moulding. Time: 2 hours plus setup. Materials: magnetic primer, chalkboard paint, foam brush, small frame or trim, magnets. Safety: use markers designed for chalkboard paint; ventilation is helpful during painting.
Best for: a homework corner or art wall that doubles as a display area for kept masterpieces.
4. Balloon Shadow Box Garden
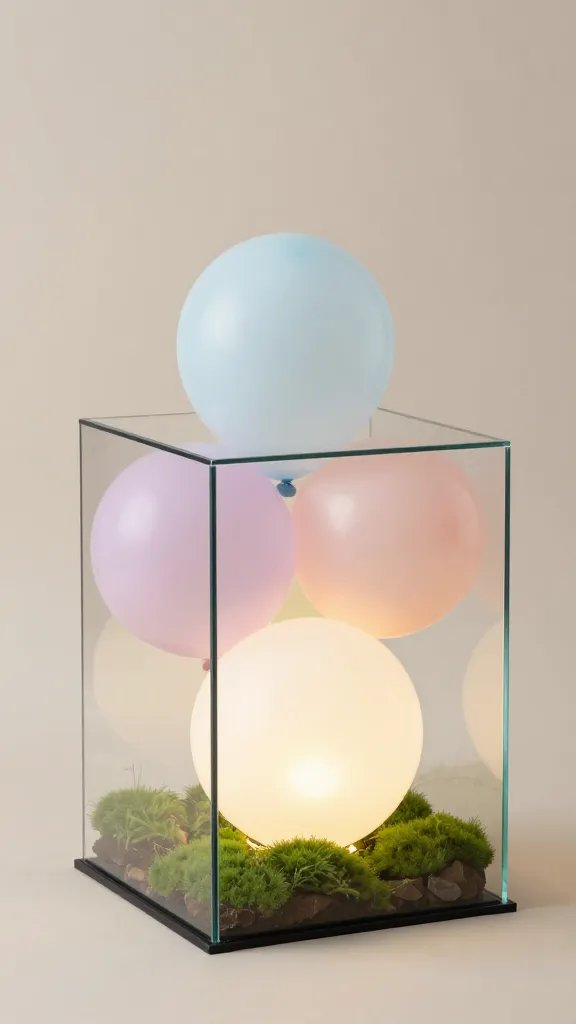
Transform a shallow shadow box into a mini garden using faux moss, tiny plastic animals, and a few painted toothpick stakes. Place a few pastel balloons behind the glass and let them float near the back for a soft glow when light hits. Time: 45 minutes. Supplies: shadow box, faux moss, tiny ornaments, pastel balloons, glue. Make ahead: inflate balloons just before setting on display to avoid sagging too soon.
Copy the look: keep the color palette light and cohesive; this reads as a calm nook rather than busy chaos.
5. Ribbon Curtain Tiebacks
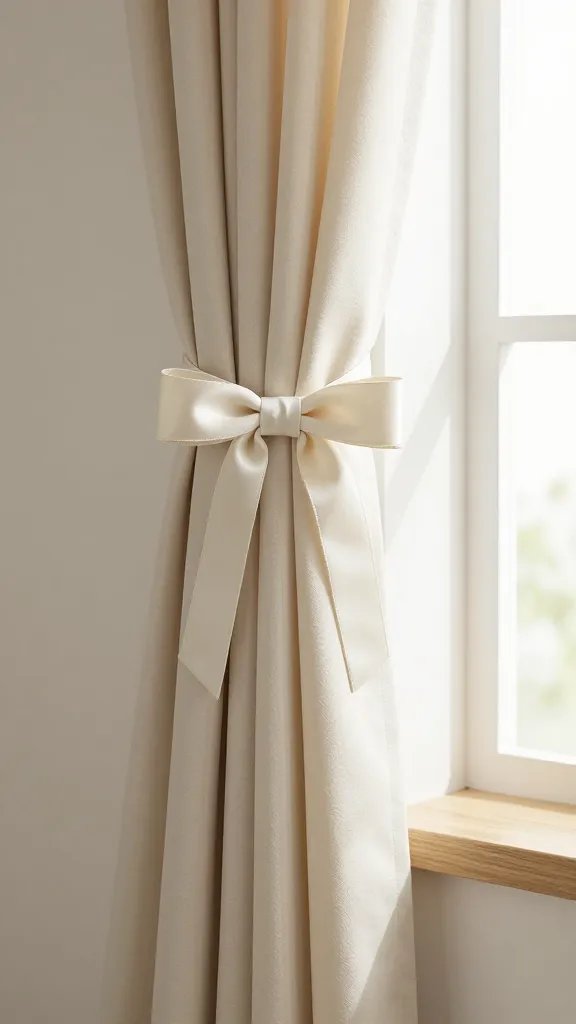
Give a window a gentle facelift with fabric ribbons tied around simple rings or hooks. Choose 2 or 3 colors that match the room and cut ribbons to 12 to 18 inches. Tie a bow behind each curtain tieback and secure with a dab of glue if needed. Time: 25 minutes. Supplies: fabric ribbons, curtain rings or hooks, scissors, optional hot glue. Little hands tip: let kids make the bows and place the ties to encourage involvement.
Why it works: small color pops at the windows draw the eye upward and make the space feel cohesive without a full redecoration.
6. Tape-Shape Wall Canvas
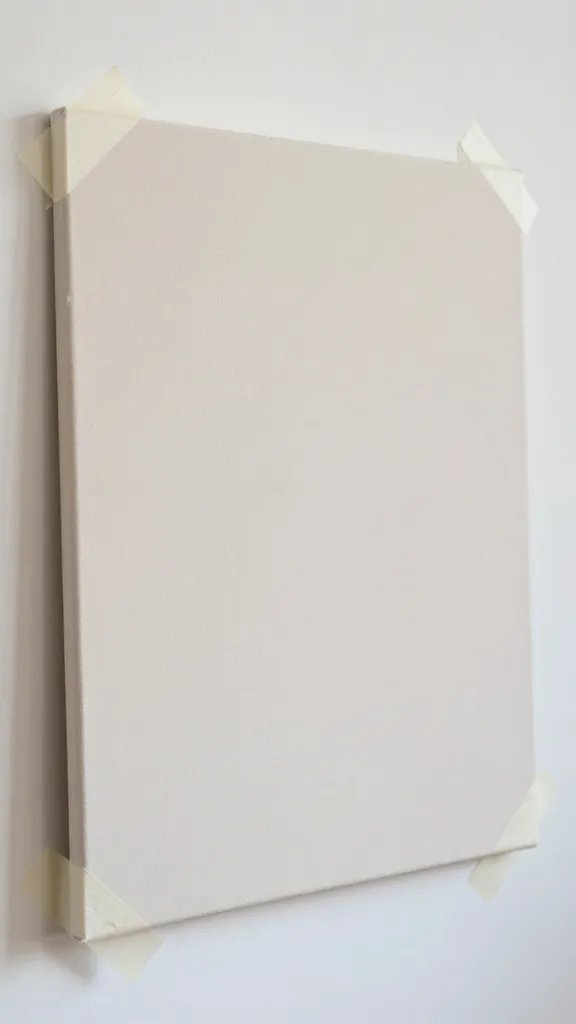
Forget framed art; go for bold shapes using painter’s tape on a blank canvas or a tri-board. Plan a simple composition—circles, triangles, or a house outline—and fill with two contrasting colors. Peel away tape to reveal crisp edges. Time: 30 to 40 minutes. Supplies: blank canvas or poster board, painter’s tape, two paint colors, brush or foam roller. Make it easier: use pre-cut tape shapes to speed up layout.
Best for: a modern corner with sharp lines that mirrors an adult gallery wall while staying kid friendly.
7. Sock Puppet Theater Stage

Repurpose a small bookcase or a low table into a mini theater. Drape a bright scarf as a curtain and create sock puppets from old socks with buttons and yarn. Add a simple stuffed bench and a few fabric banners for a backdrop. Time: 90 minutes. Supplies: bookcase or low table, scarf, socks, buttons, yarn, fabric scraps. Safety note: supervise small beads or buttons used for eyes.
Make it ahead: cut out fabric pieces and sew or glue on where kids can help later.
8. Cardboard City Wall Strip
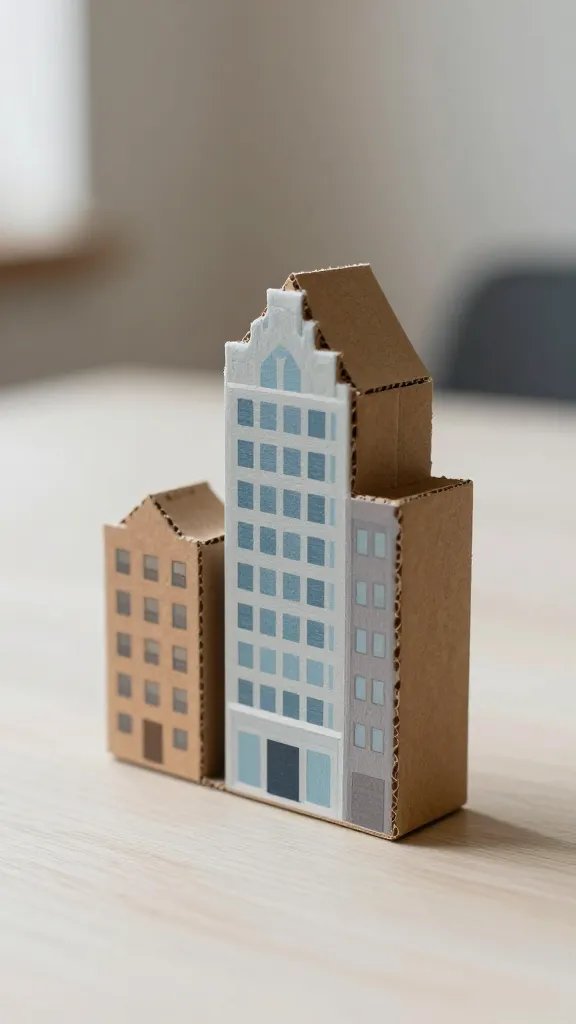
Use small boxes or flat cardboard pieces to build a cityscape along a section of wall. Paint or wrap each piece in craft paper to match the room’s color story. Mount with removable adhesives or double sided tape so you can rearrange as tastes change. Time: 60 to 75 minutes. Supplies: assorted cardboard, craft paper, tape, scissors, paint or markers. Thrift swap: repurpose packaging from around the house for city elements.
Why it works: big art payoff from a few simple shapes makes the wall feel alive without expensive framing.
9. Cupcake Liner Pom Wall
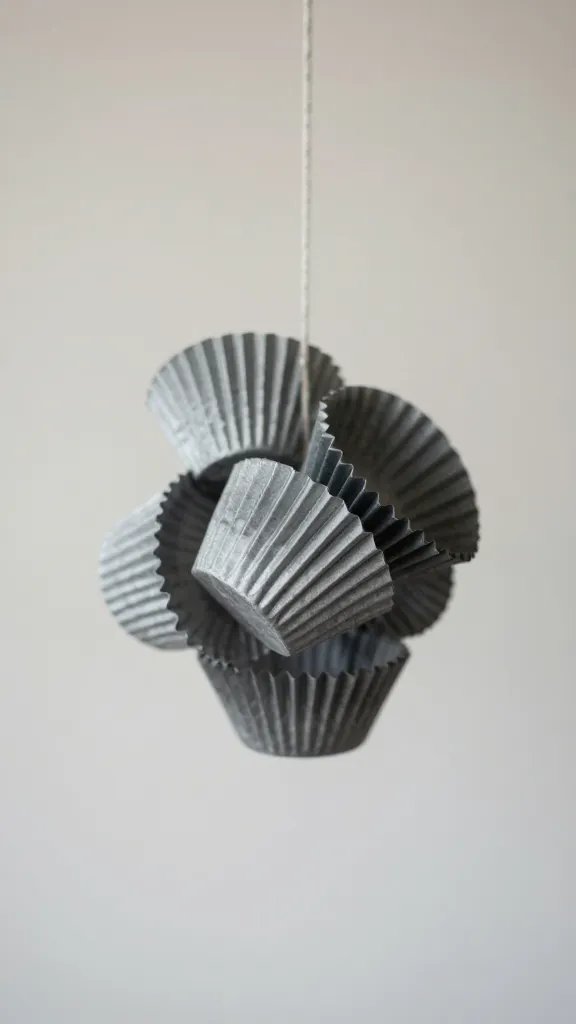
Clip folded paper cupcake liners to a string or directly onto the wall in a clustered shape. Use 3 to 5 colors and group them in a gentle curve high on the wall. Time: 20 to 35 minutes. Supplies: cupcake liners, string or twine, clothespins or tape, scissors. Safety: avoid small parts that could come loose from windy corners.
Use what you have: switch out liners seasonally for a quick refresh with minimal effort.
10. Fabric Banner with Kids’ Names
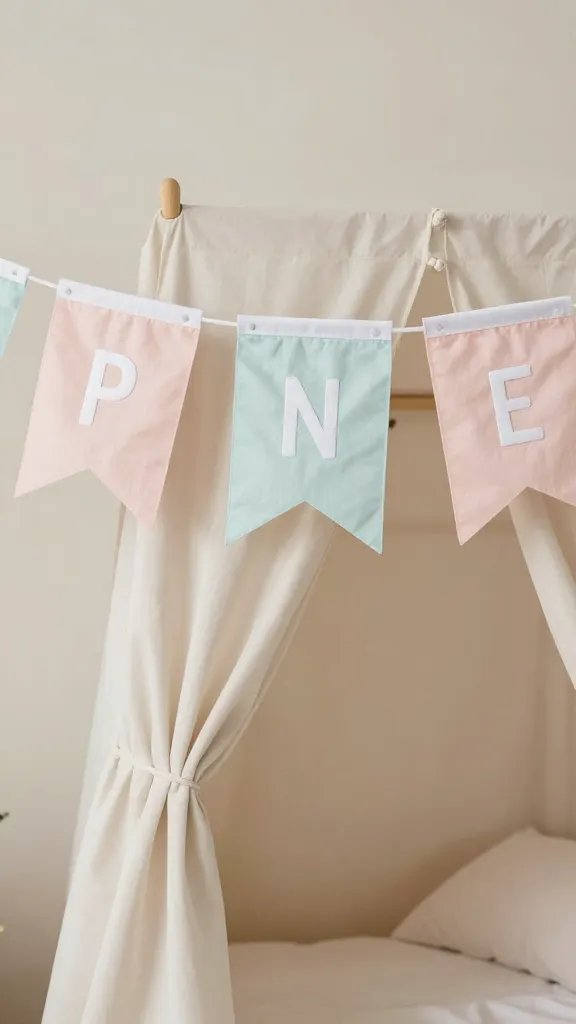
Cut three or four fabric flags from old shirts or scrap fabric. Paint or write each child’s name with fabric markers. Thread them on a ribbon or twine and hang above a bed or reading nook. Time: 40 to 50 minutes. Supplies: scrap fabric, fabric markers, ribbon or twine, scissors, needle or glue. Make ahead: wash fabric first and iron to remove wrinkles for a cleaner look.
Copy the look: simple typography and soft fabrics add warmth and texture to the room.
11. Nature Shadow Lanterns
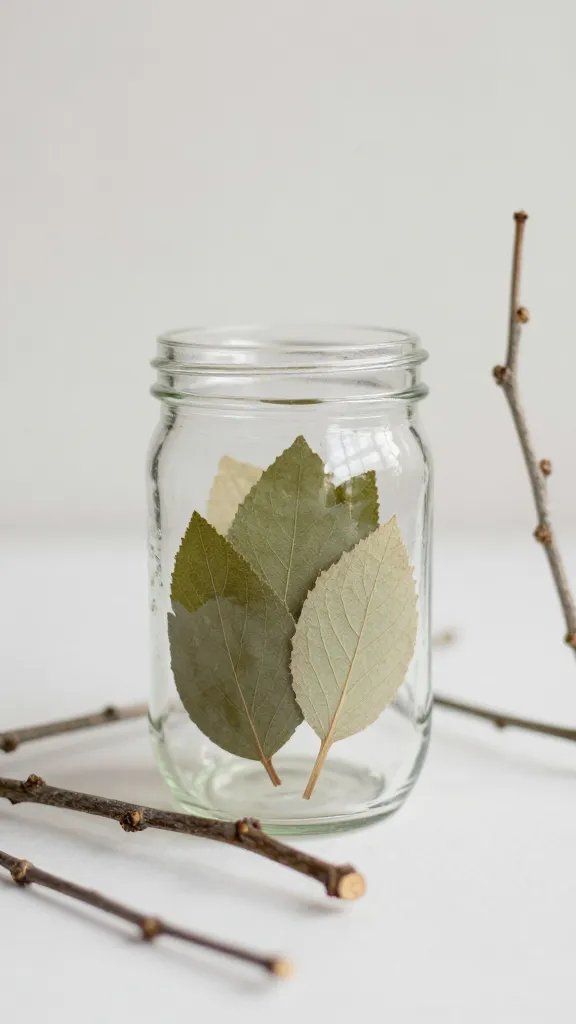
Collect small twigs, dried leaves, and washi tape to create lanterns that glow softly from LED tea lights. Make a little frame with twigs around a mason jar and press leaves into the tape. Time: 45 minutes. Supplies: mason jars, LED tea lights, twigs, dried leaves, washi tape. Safety: never leave lit candles unattended; use LEDs only.
Best for: a nature-inspired corner or bedtime wind-down space that feels calm.
12. Wood Slice Alphabet Pegboard
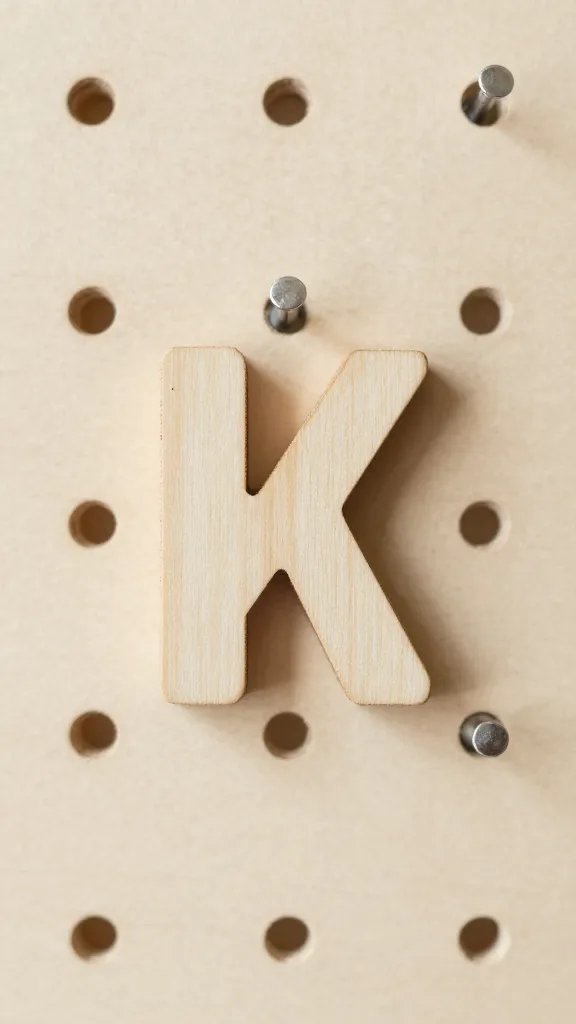
Sand small wooden slices to shapes like letters and paint a single letter per slice. Attach to a thin pegboard or a piece of wood with small nails or permanent adhesive. Create a growing display that kids can contribute to by adding new letters as they learn them. Time: 70 minutes. Supplies: wood slices, paints, small nails or heavy-duty glue, pegboard or base board, hammer or glue. Upgrade: seal with a light varnish for years of display.
Why it works: tactile letters become a learning tool while adding a rustic touch to the room.
13. Upcycled Jar Terrariums
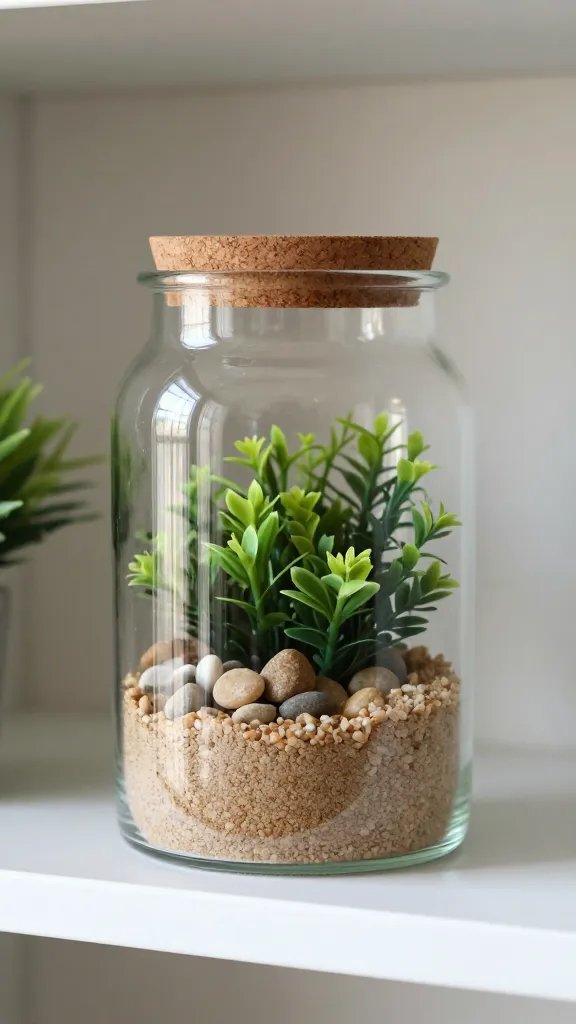
Fill clean jars with layers of colored sand, pebbles, and faux greenery. Cap with a cork and a simple label. Hang jars from a string or place on a shelf at different heights for a playful vertical garden effect. Time: 45 minutes. Supplies: clean jars, colored sand, decorative pebbles, faux plants, string. Safety: keep corks away from small children who might try to remove them.
Small space fix: vertical plant vibes without real soil or mess.
Conclusion: These 13 ideas give practical, finish-this-week options that feel personal and usable. Pick one or two to start, then add a couple more as you see how the space settles. Save this for the next birthday that sneaks up on you.