
13 Paper Garland Ideas for Party Decor

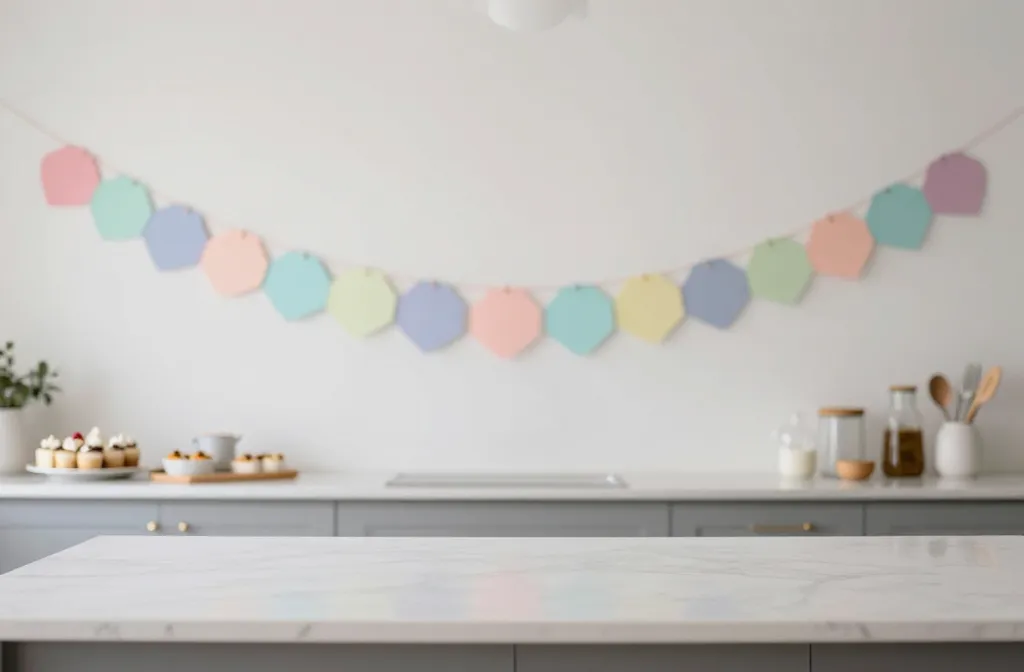
When a party is just hours away, a bright garland can pull the room together and save a photo moment. These ideas use simple paper, a few tools, and quick steps you can finish in an afternoon or while the cake is cooling. You’ll find options that fit tight spaces, tiny apartments, or a long dessert table that needs a bit more color. The goal is decor that looks thoughtful, not rushed, and easy to tweak to your theme. Use the ideas in any order that suits your setup and crowd.
The following ideas stay practical and friendly to beginners, with tips you can adapt as you go. We’ll mix in some budget swaps and quick upgrades so you can finish a dozen banners without a fashionably late sigh. Read through and pick the ones you can actually pull off this week using supplies you already have.
1. Twine and Paper Hex Garland
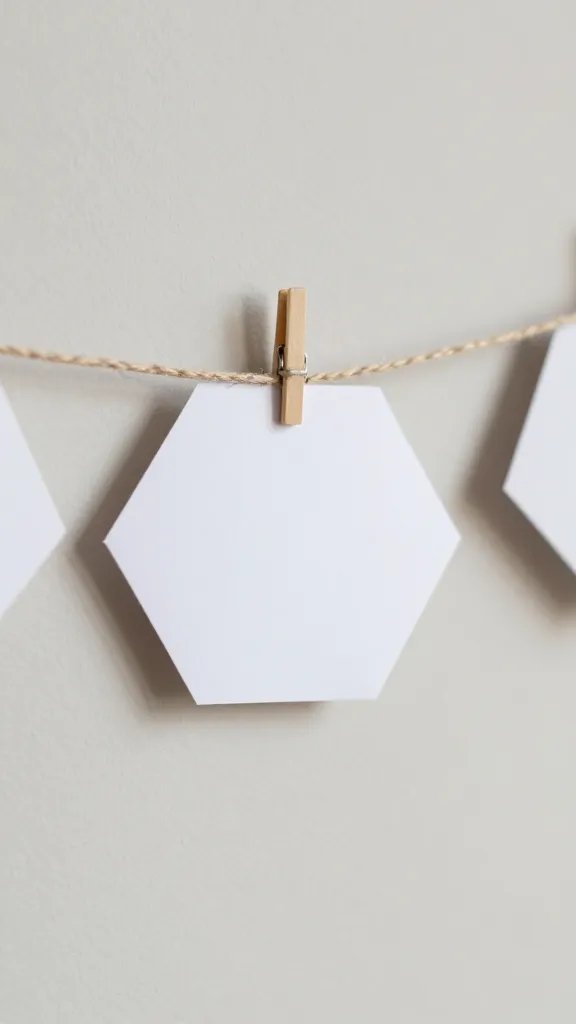
A clean, modern shape like hexagons adds subtle geometry to a wall or entry. Cut several hexagons from colored printer paper, punch a small hole in each corner, and thread them onto cotton twine. Space them evenly and hang between two doorways or above the dessert table for a structured look. If you want more color, alternate two or three paper colors for a two tone effect. This can be put up in under an hour and requires only a scissors, a hole punch, and twine.
Size note: Use standard printer paper to keep the shapes uniform. Safety note: supervise small children with the punch and string to avoid sharp edges near fingers.
2. Tissue Paper Fan Streamer
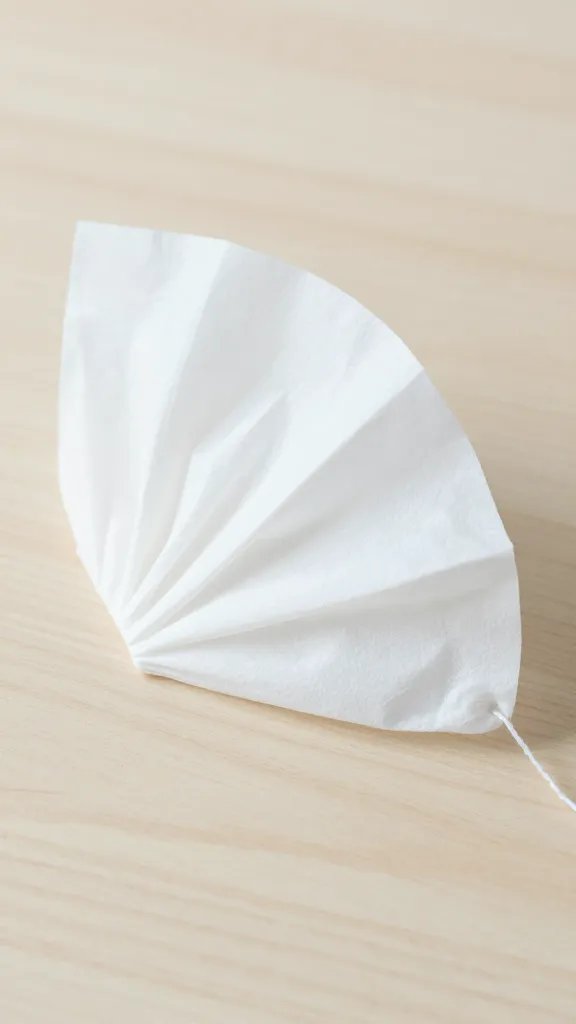
Combining fans with streamers creates texture without bulk. Cut open tissue paper fans in two sizes, flatten the smaller ones, and glue to a long strip of lightweight string or ribbon. Alternate colors to echo your theme, and leave extra length on both ends to create a swaying banner. Hang across a kitchen doorway or along a staircase to frame photos and snacks. A baker’s dozen fans takes about 45 minutes to assemble, depending on how many colors you use.
Make it ahead: Assemble fans a few hours before guests arrive so glue can dry and the streamers lay flat.
3. Mini Card Banner with Letters
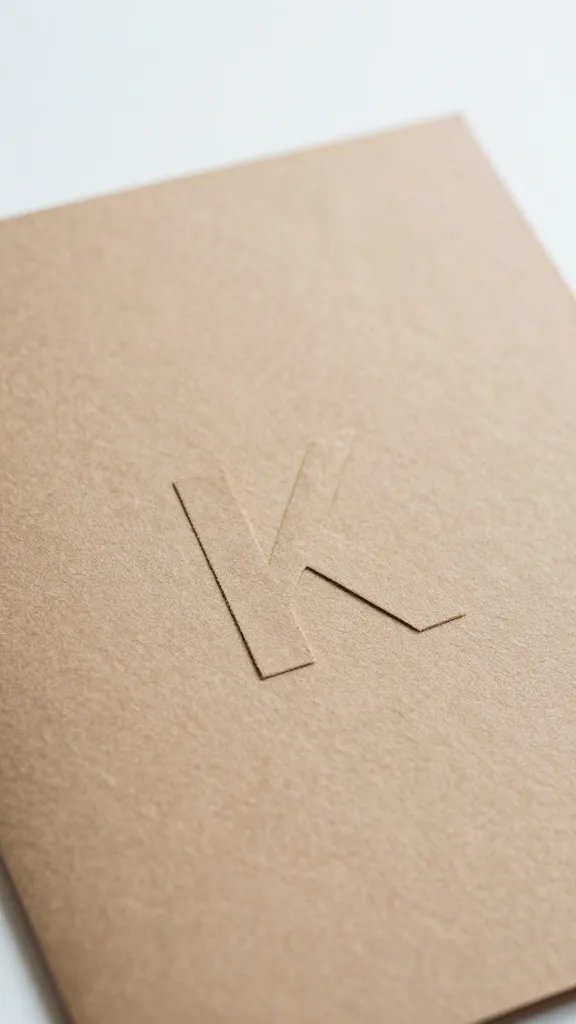
Turn ordinary kraft or colored paper into a playful alphabet garland. Cut 2 inch squares, fold a small tab at the top, and glue a single letter on each card. String over a length of baker’s twine or ribbon. Space cards evenly to spell a party message or initials. This is perfect when you want a personalized touch on a budget and can be done with a printer or hand lettering.
Copy the look: If you don’t want to hand cut letters, print them on sticker paper and stick to the cards for cleaner edges.
4. Simple Pom-Pom Garland
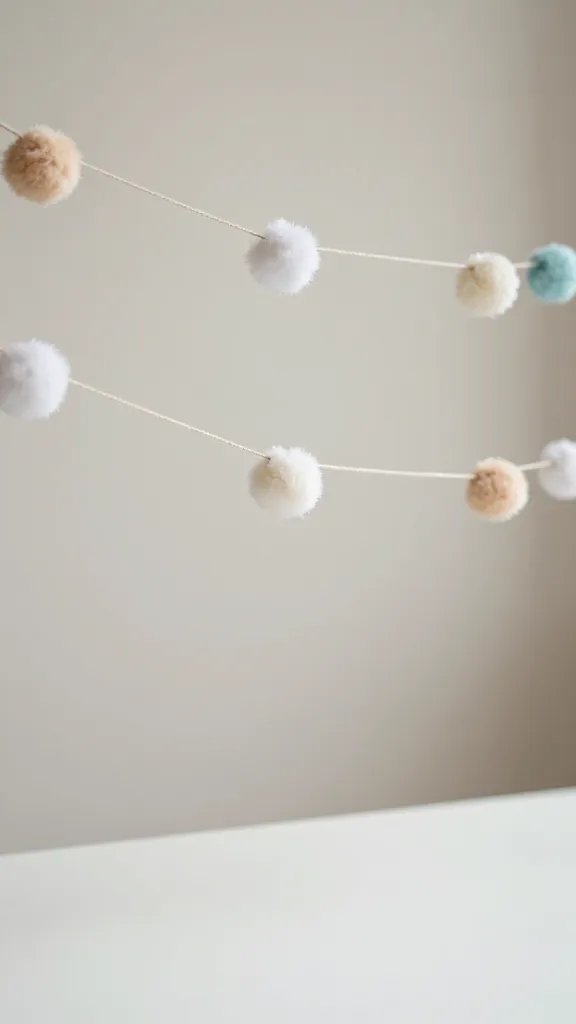
Use tissue paper to create fluffy pom-poms, then thread them onto a thin cord. Vary sizes by using different numbers of tissue layers. This soft, festive look works well behind a cake table or as a backdrop for a gift or memory board. It’s forgiving if some pom-poms are a little wonky and can be completed in an afternoon with a paper trimmer or scissors and a hot glue gun.
Little hands tip: Kids can cut sheets into strips and help fluff the poms while you glue them to the cord.
5. Christmas Light Color Banner
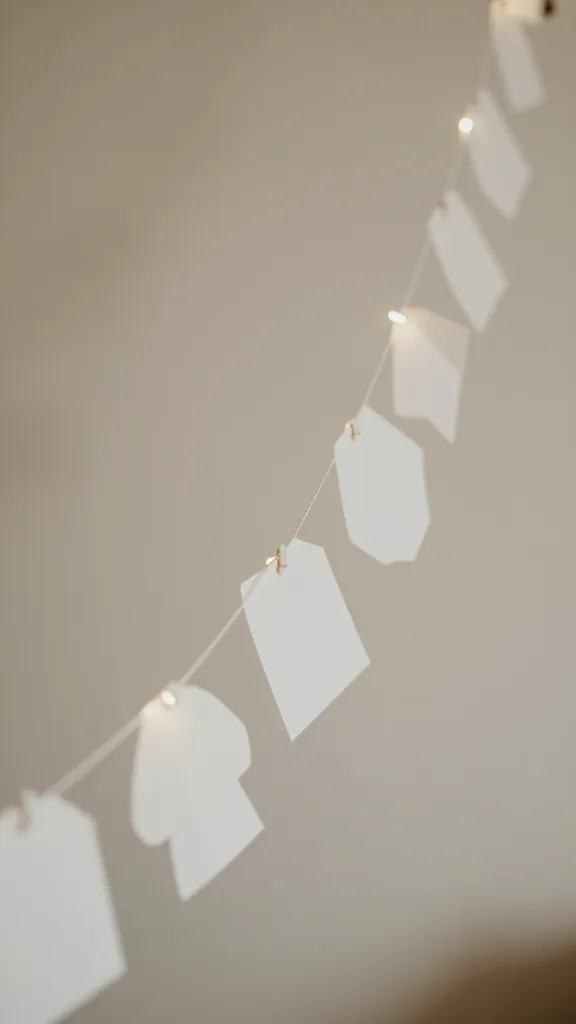
For a party with a cozy vibe, paper cutouts paired with string lights add warmth. Cut shapes from colored paper—stars, circles, or diamonds—and sandwich them with a small fold so they slide onto the light cord. Keep the shapes loose enough to move along the lights, then plug in for a soft glow. It’s fast to assemble and you get two uses out of the same string of lights.
Use what you have: Recycle lights from last year or a thrift store strand to keep costs down and avoid new purchases.
6. Polka Dot Garland Pipeline
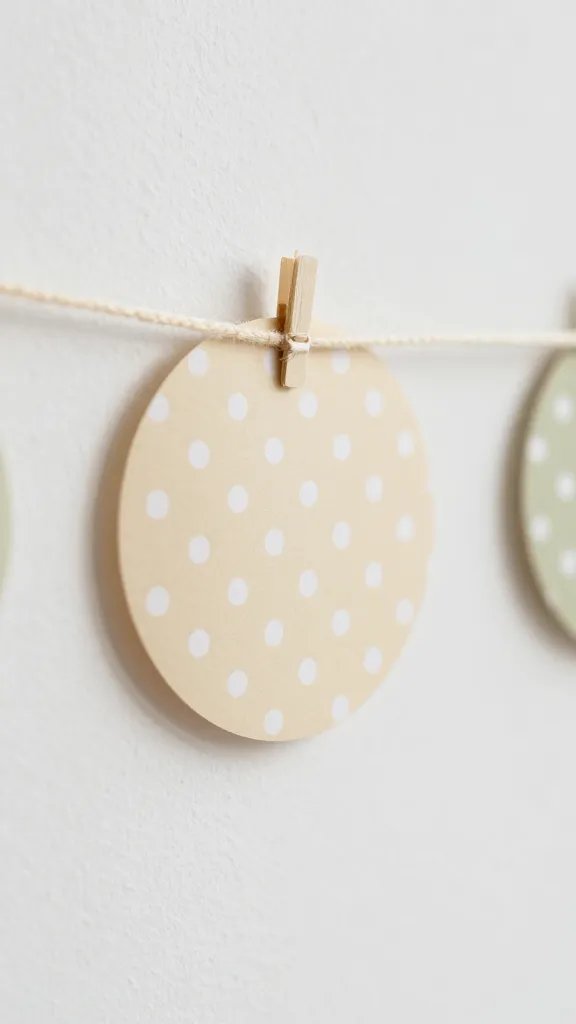
Create a playful air by punching two holes in each paper circle and lacing them onto a thin ribbon. Use a mix of white and the party color for contrast. Space dots tightly for a dense stripe, or loosely for airiness. This garland fills a wall in a compact way and can be assembled in one evening with a standard punch and some patience.
Safety note: If kids help, pre punch holes and guide the ribbon to avoid finger pinches.
7. Color Block Banner
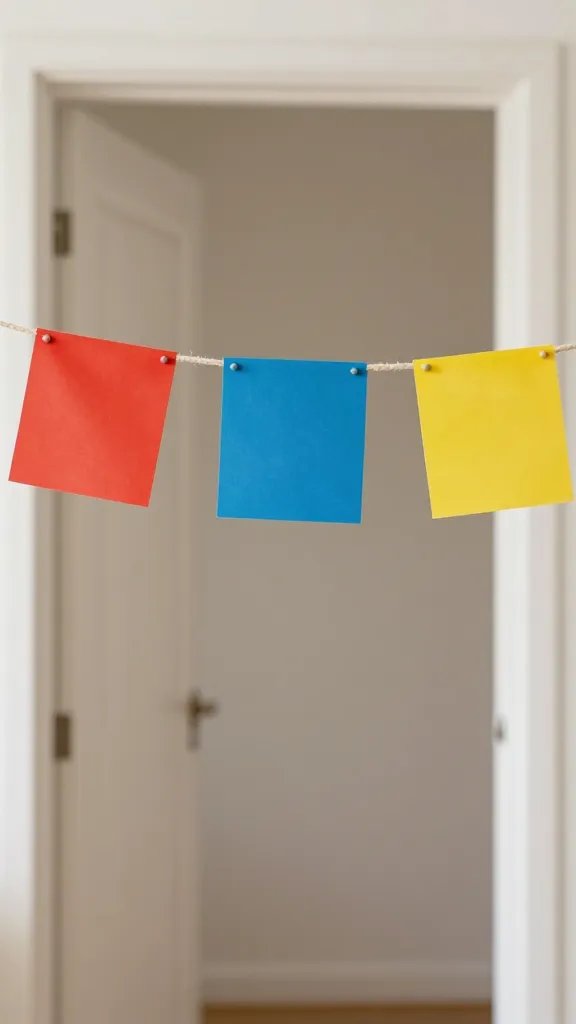
Choose three to four colors and cut equal squares. Glue neighboring colors on a string to form a bold color block look. Keep the squares uniform for a neat finish or stagger the order for a more handmade feel. Hang this along a doorway or above a snack table. It’s quick and visually impactful without requiring intricate folding or cutting.
Make it ahead: Pre-cut all squares the night before and assemble while the cake bakes or cools.
8. Book Page Garland
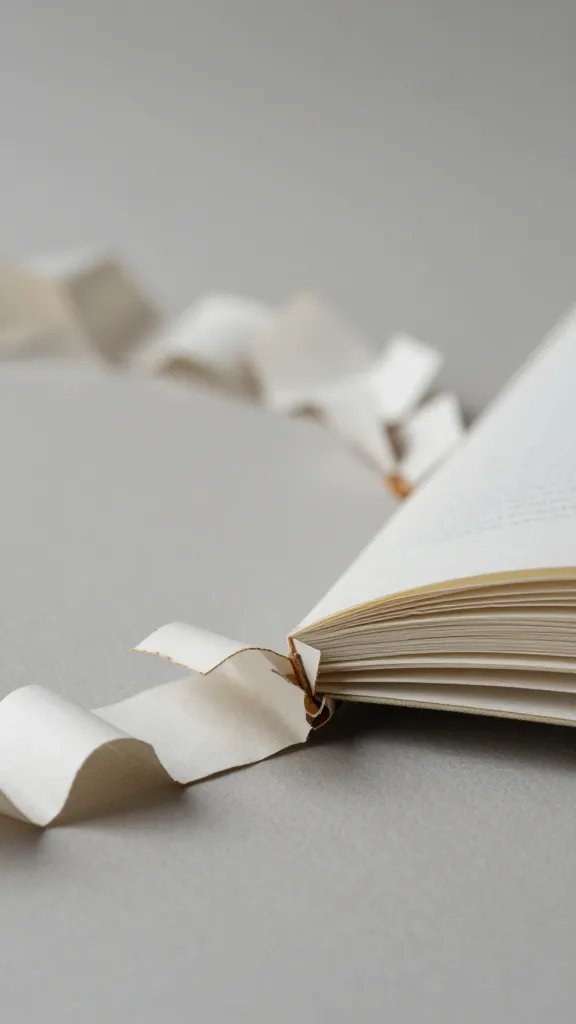
Thread tidy rectangles from old book pages or magazine pages for a vintage vibe. Use a hole punch or careful slits and string them onto a light cord. The neutral tones pair beautifully with floral or pastel colors and create a quiet, literary mood. This garland is budget friendly, requires only a few supplies, and can be finished in a couple of hours while you supervise kids or tidy the kitchen.
Placement note: Hang away from direct sunlight to keep ink from fading and avoid delicate pages if you have little ones nearby.
9. Bubble Wrap Confetti Garland
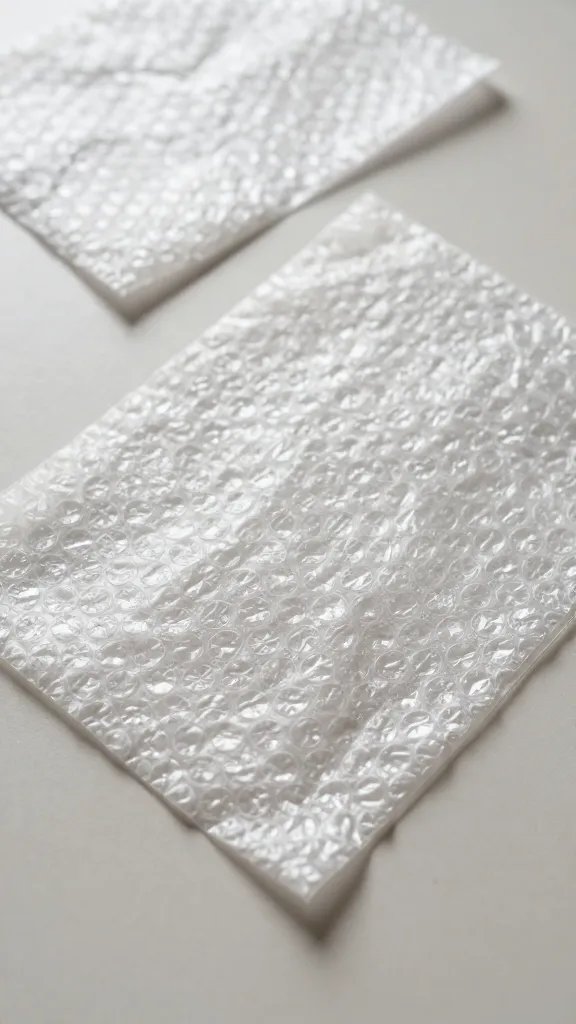
Lay flat sheets of bubble wrap on a table, cut into small diamond shapes, and stitch together with thread. The subtle texture catches light and draws the eye without overwhelming the room. This is a clever repurpose and quick to assemble once you’ve trimmed the sheets. If you’re worried about popping bubbles, choose one that’s already punctured and use a simple running stitch to secure.
What to avoid: Do not place near heat or open flames; keep away from kids who might bite small shapes.
10. Newspaper Banner with Color Corners

Take sections of newspaper, trim into rectangles, and add a colorful corner with paint or washi tape. Laminate lightly with packing tape on the back to help them hold shape. Thread the rectangles onto a string and hang as a witty, eco friendly nod to party decor. It’s inexpensive and often quicker than you think, especially if you have old papers around the house.
Best for: Mature audiences who appreciate a tongue in cheek, budget friendly style while keeping things light and bright.
11. Chevron Paper Garland
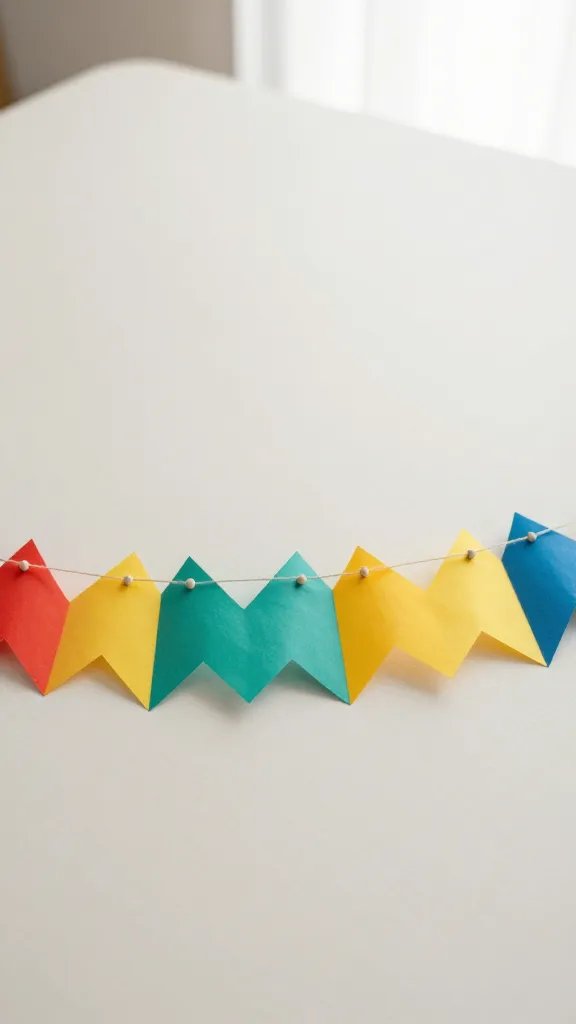
Cut long chevron shapes from two contrasting colors and glue them back to back on a string. The zigzag pattern gives a graphic vibe that photographs well and suits modern party themes. You can make a full banner in under an hour if you keep a consistent size and spend less time on perfect alignment. This version is easy to adapt for a two color scheme.
Copy the look: If you don’t want to cut triangles, pre printed chevron shapes from a craft store can speed up the process.
12. Rainbow Paper Chains
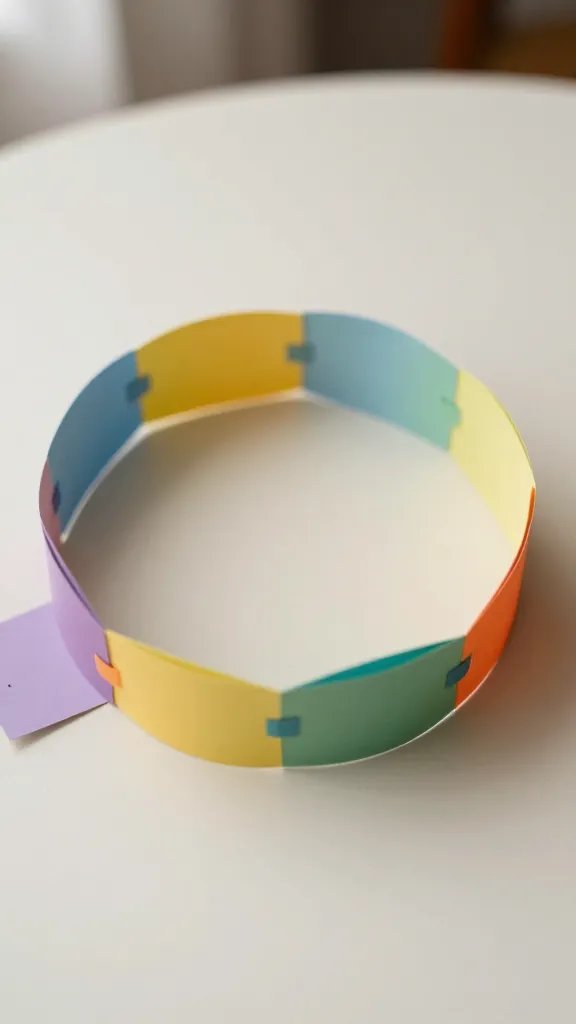
Cut strips about 1 inch wide and 6 inches long, glue ends together to make linked loops, then color the chains in a rainbow gradient. This classic garland is sturdy, easy to store, and scales to fit long walls. It is perfect for birthdays and classroom style parties alike. It’s quick to assemble with just glue sticks and scissors, and you can stretch it across a doorway or along a mantle to great effect.
Safety note: Make sure all loops are secure so children do not snag threads while playing around the banner.
13. Monogram Backdrop Banner
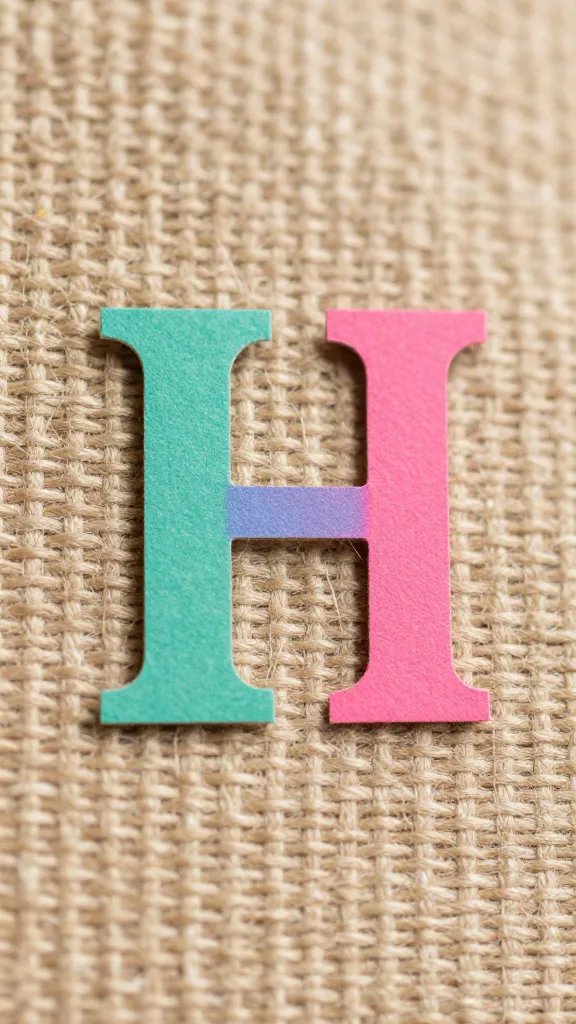
Cut large letters from colored card stock and glue them to a string of twine with small gaps in between. This creates a bold focal point behind the dessert table or cake. You can reuse the same letters for future celebrations by changing the color or adding a few paper accents around the edges. It’s a straightforward project that looks polished and helps guests spot the birthday or occasion in photos.
Make it ahead: Pre-cut letters and punch the holes the night before so you can assemble after dinner.
Conclusion
Those thirteen paper garlands cover a range of looks from delicate and airy to bold and graphic, all without costing a bundle or taking forever. Pick two or three that fit your space, and you’ll have a ready set up in just the afternoon you have free. Keep the rest in a little tote for the next time you need a quick party mood boost—save this for the next birthday that sneaks up on you.