
14 Craft Ideas for Teens Who Love Thrifting

Finding secondhand treasures is one thing. Turning them into something you actually want to keep, wear, or show off takes a different kind of creativity. Teens who love thrifting often come home with bags full of potential but aren’t sure where to start.
These fourteen craft ideas for teens who love thrifting work with the kinds of finds that turn up most often at thrift stores: outdated frames, mismatched dishes, oversized tees, and furniture that needs a refresh. Each one turns something cheap into something personal without requiring advanced skills or a full workshop.
Pick the idea that matches what’s already sitting in your room waiting for a second chance.
1. Paint Over Thrifted Frames and Group Them on One Wall
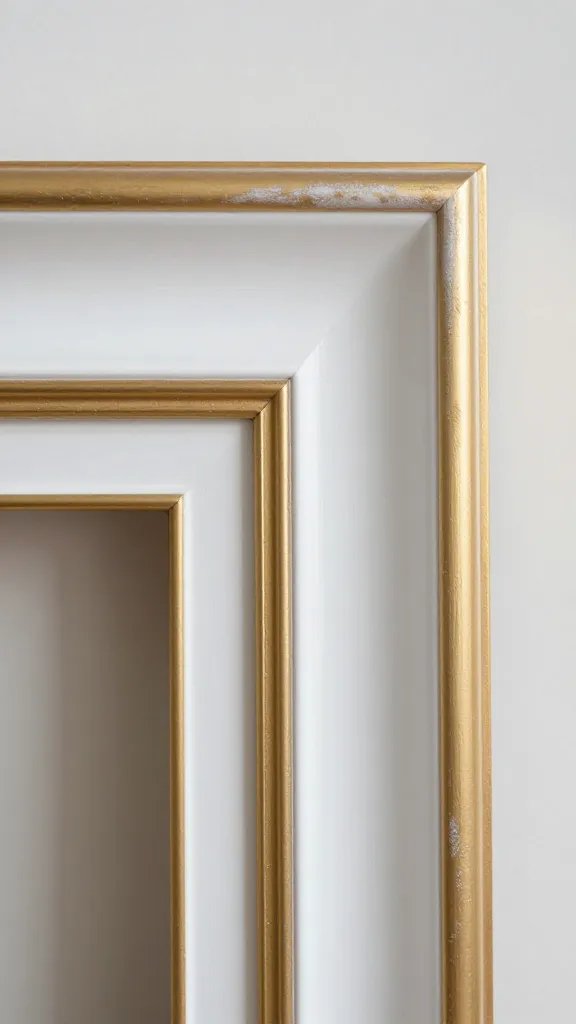
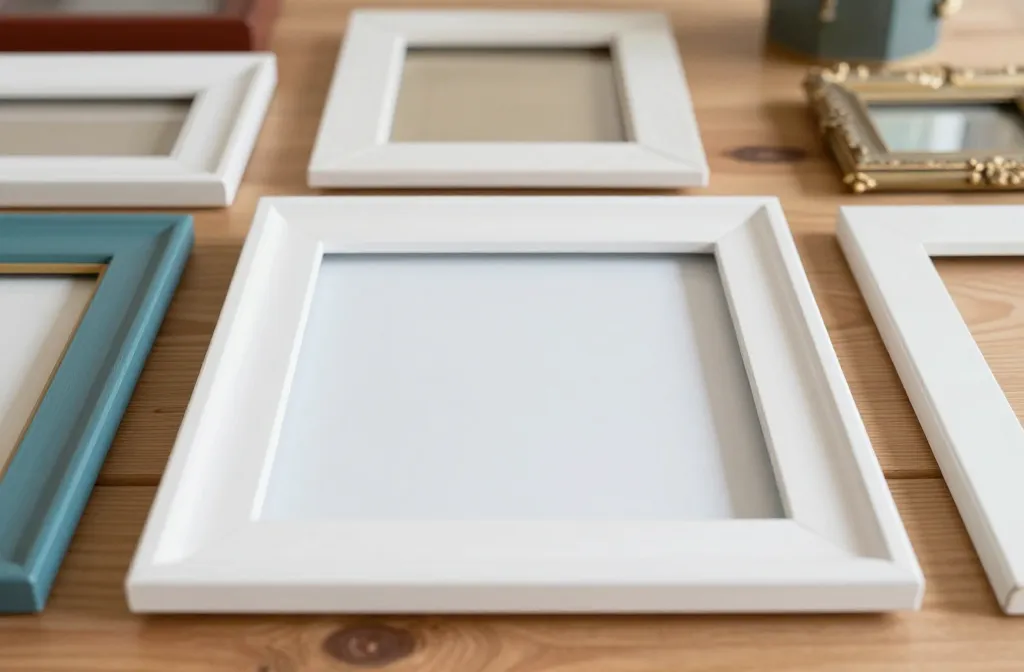
Thrift stores always have frames. The problem is they never match, and the gold filigree or dark wood makes them look like they belong in someone else’s house. A gallery wall only works when the frames feel like they go together.
The make: Spray paint every frame the same color, white or matte black, in one afternoon. Let them dry completely before adding photos or prints.
Grouping mismatched sizes in a single color gives you that curated wall look without spending money on new frames. Arrange them on the floor first, then hammer nails where they need to go.
2. Cut Band Tees Into Tote Bags
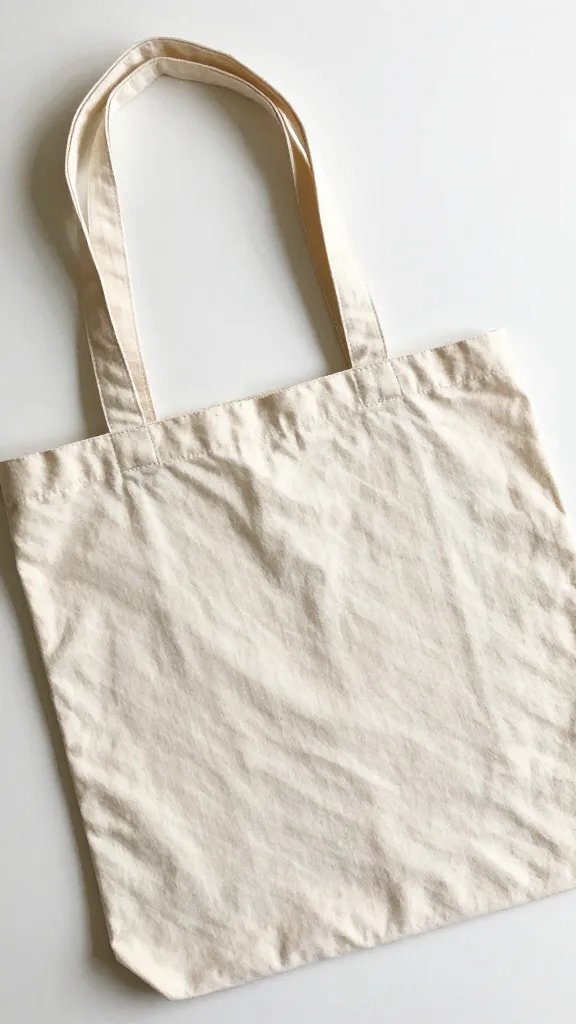
Oversized graphic tees show up at every thrift store, and most of them are too big or too dated to wear as is. Turning them into bags keeps the best part, the design, and gives you something functional.
- Start with a tee that has a graphic you like on the front
- Cut off the sleeves and neckline to create handles
- Flip it inside out and sew or fabric glue the bottom shut
- Turn it right side out and the graphic becomes the front of your bag
Skill level: No sewing machine needed if you use fabric glue, but stitching by hand makes it stronger. The whole process takes about thirty minutes once you commit to the cuts.
3. Stack Vintage Saucers Into a Jewelry Stand
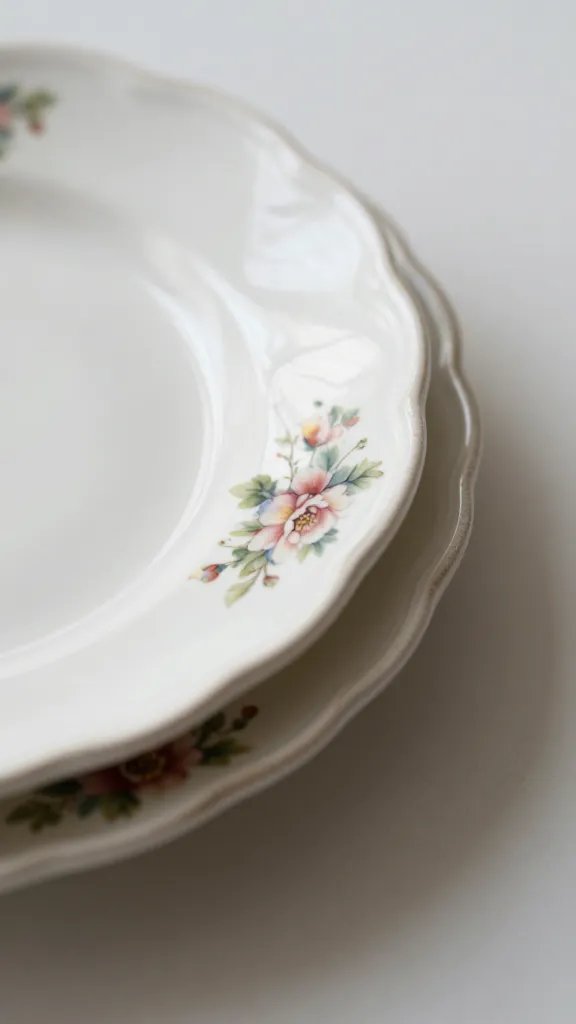
Small dishes and saucers pile up in thrift store kitchenware sections, often sold for under a dollar each. Alone they don’t do much, but stacked with a bit of adhesive, they become a tiered stand that keeps rings and earrings visible instead of tangled in a drawer.
Why it works:
- You can see everything at once, so jewelry actually gets worn
- Mismatched patterns look intentional when the scale is similar
- Strong glue or epoxy holds them permanently, but museum putty lets you take it apart later
Pick three plates or saucers in different sizes and stack them from largest to smallest.
4. Embroider Over Thrifted Denim Jackets
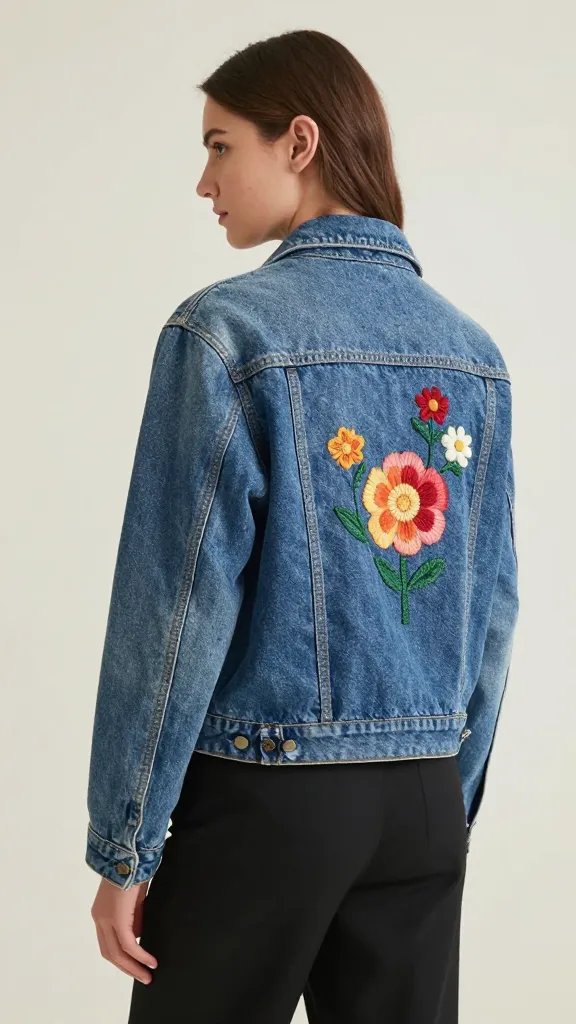
A plain denim jacket costs almost nothing secondhand, and embroidery thread costs even less. Hand stitching a design on the back or collar turns a basic jacket into something nobody else has.
Sketch your design lightly with chalk first. Simple shapes like flowers, stars, or your initials work best if you’re new to embroidery. Backstitch or satin stitch in bright thread colors stand out against the blue denim.
Time needed: A small design takes a couple of hours spread over a few days. Bigger back pieces can take a week of stitching during downtime, but you can wear it between sessions.
5. Turn Old Hardcover Books Into Secret Storage Boxes
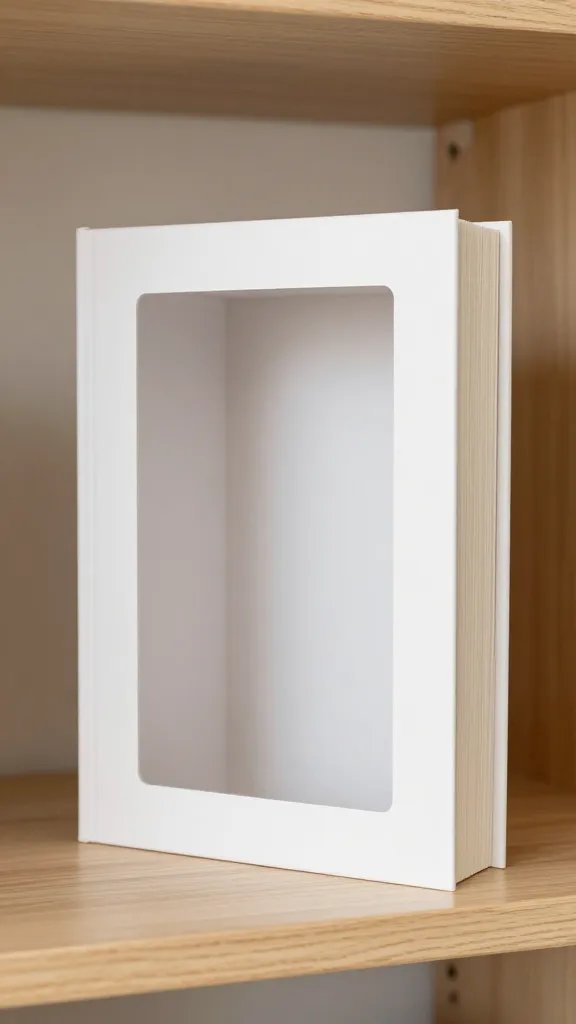
Best for: Hiding small things like cash, notes, or earbuds in plain sight on a bookshelf.
Thrift stores sell hardcover books by the pound. Pick one with a thick spine and a cover you like. Use a craft knife to cut a rectangle through the inside pages, leaving the covers and spine intact. Glue the edges of the pages together so the hollowed section stays put.
The book sits on a shelf and looks normal until you open it. It takes patience to cut through that many pages, but once the glue dries, it’s sturdy enough to use every day.
6. Bleach Patterns Onto Dark Thrifted Sweatshirts

Dark sweatshirts are everywhere in thrift bins, and most of them are plain or have logos you don’t care about. Bleach changes that fast.
What to avoid: Don’t soak the whole thing. Use a spray bottle to control where the bleach lands, or dip just the sleeves or hem for a gradient effect.
Safety note: Work outside or in a space with airflow, and wear gloves. Bleach eats through fabric if you leave it too long, so rinse after a few minutes and wash the sweatshirt right away.
7. Reupholster a Thrifted Footstool With Fabric Remnants
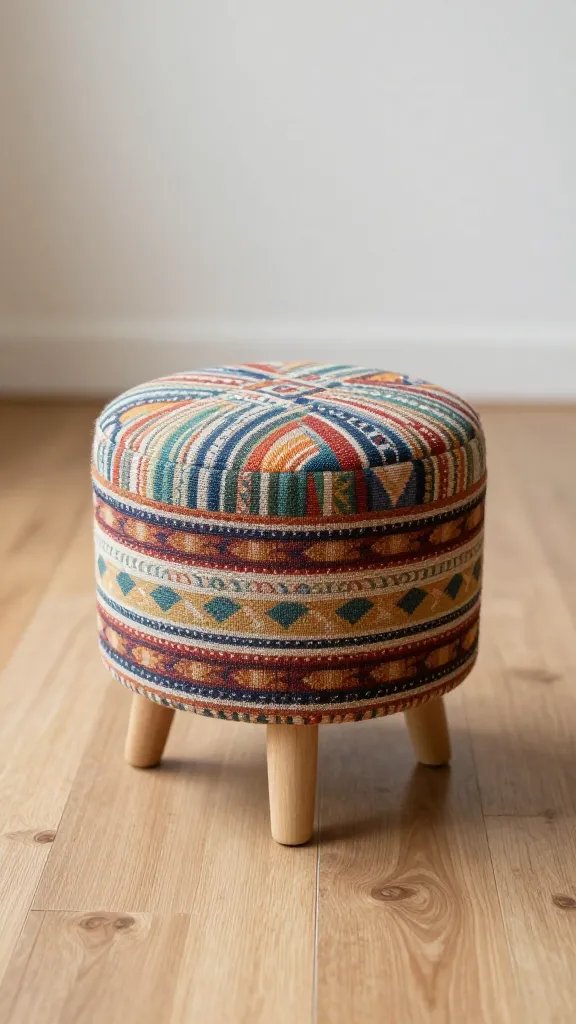
Small stools and ottomans show up at thrift stores with ugly fabric or stained tops, but the frame and padding are usually fine. Reupholstering sounds advanced, but a footstool is small enough to tackle in one afternoon.
Remove the old fabric and staples with a flathead screwdriver. Cut your new fabric a few inches larger than the top. Pull it tight over the padding and staple it to the underside of the frame, folding corners like you’re wrapping a present.
Fabric remnants work well here because you only need about half a yard. The stool becomes the exact color and pattern you want for your room.
8. Glue Vintage Spoons Into Wall Hooks
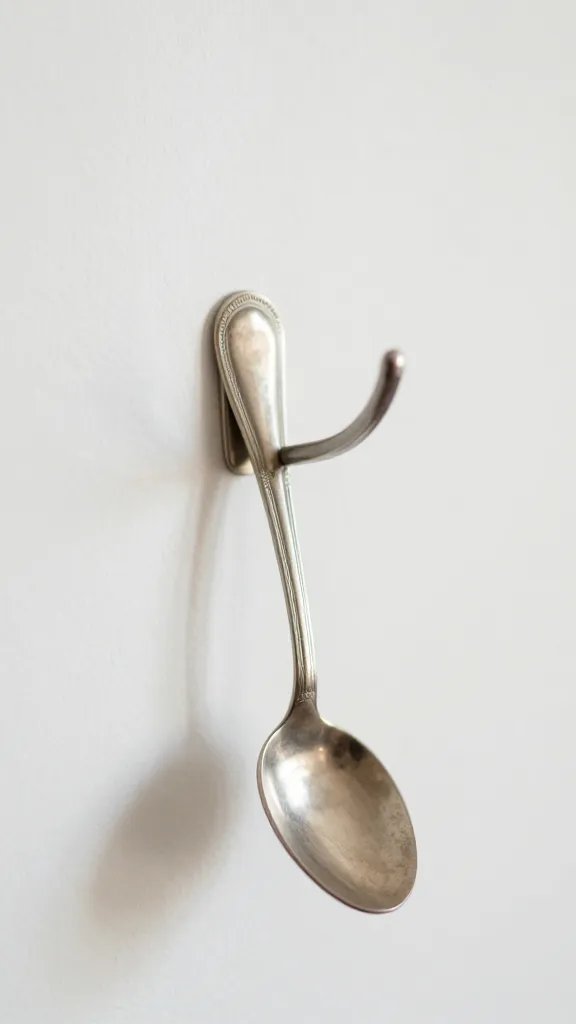
The detail to steal: The curved bowl of a spoon bends outward just enough to hold a light jacket, scarf, or bag strap.
Find a few metal spoons with handles you like. Bend the bowl part gently away from the handle using pliers. Mount them to a board or directly to the wall with strong adhesive or small screws through the handle.
Each hook has a different pattern if you mix spoon styles, and the whole setup costs less than one store bought hook. They hold more weight than you’d expect as long as the glue or screws go into something solid.
9. Fill Mismatched Glass Bottles With Single Stems

Glass bottles in odd shapes, old milk bottles, soda bottles, small vases, pile up in thrift store glassware sections for almost nothing. Group them together and they become a collected look instead of clutter.
Fill each bottle with one or two stems, fresh or dried, instead of trying to arrange a full bouquet. Line them up on a windowsill or shelf. The different heights and bottle shapes make it look intentional.
Budget swap: Dried grasses or branches from outside work just as well as flowers and last indefinitely without water.
10. Stencil Designs on Thrifted Pillowcases

Plain cotton pillowcases are cheap at thrift stores, and fabric paint sticks permanently once it’s heat set. Stencils keep your lines clean even if your hands aren’t steady.
- Wash the pillowcase first so paint adheres properly
- Tape a stencil flat against the fabric so it doesn’t shift
- Dab fabric paint through the stencil with a sponge brush
- Let it dry, then iron it to set the paint before washing
Make it easier: Cut your own stencil from cardstock if you don’t want to buy one. Geometric shapes or initials are the simplest to cut and paint.
11. Build a Corkboard From a Thrifted Frame and Cork Sheets
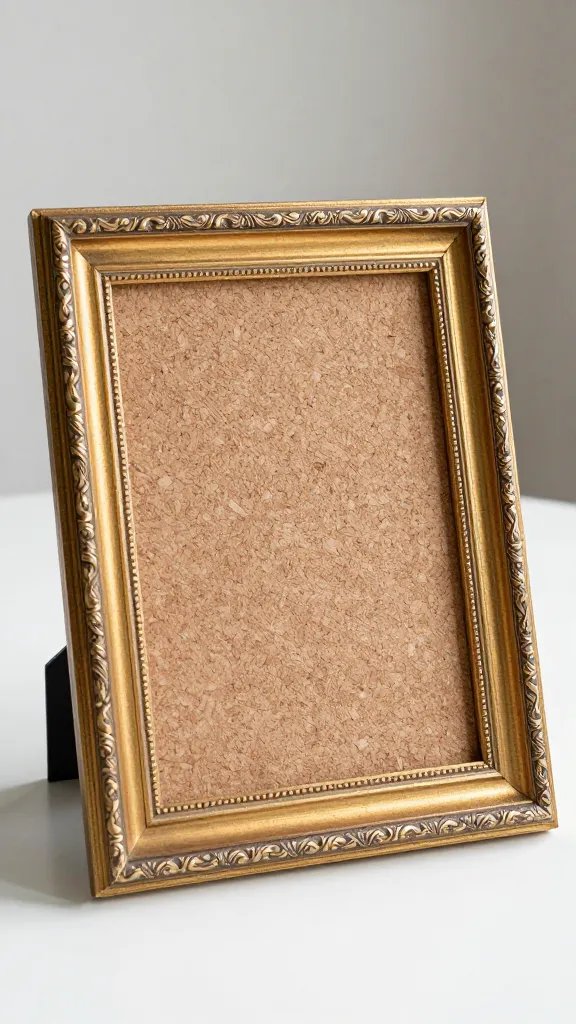
Large frames with broken or missing glass still have good bones. Pair one with a sheet of cork from a craft store and you’ve got a functional board that matches your room.
Remove any glass shards and backing. Cut the cork sheet to fit the frame opening. Glue it to a piece of cardboard cut to the same size for stability, then fit it into the frame where the glass used to go.
The frame gives it a finished edge that plain cork tiles lack, and you can pick a frame style that actually works with your space. Hang it above a desk for notes, photos, and reminders.
12. Dye White Thrifted Linens in a Bucket

Best for: Turning plain white sheets, tablecloths, or curtains into the exact shade you need when stores don’t carry it.
White cotton and linen take dye well, and thrift stores always have too much of both. A bucket, hot water, and fabric dye from the grocery store turn them any color in about an hour. Follow the dye instructions for the right water temperature and salt ratio.
Rinse until the water runs clear, then wash separately the first time. The color won’t be perfectly even if you dye in a bucket instead of a machine, but that variation looks better than flat color anyway.
13. Turn Outdated Scarves Into Patchwork Throw Pillows
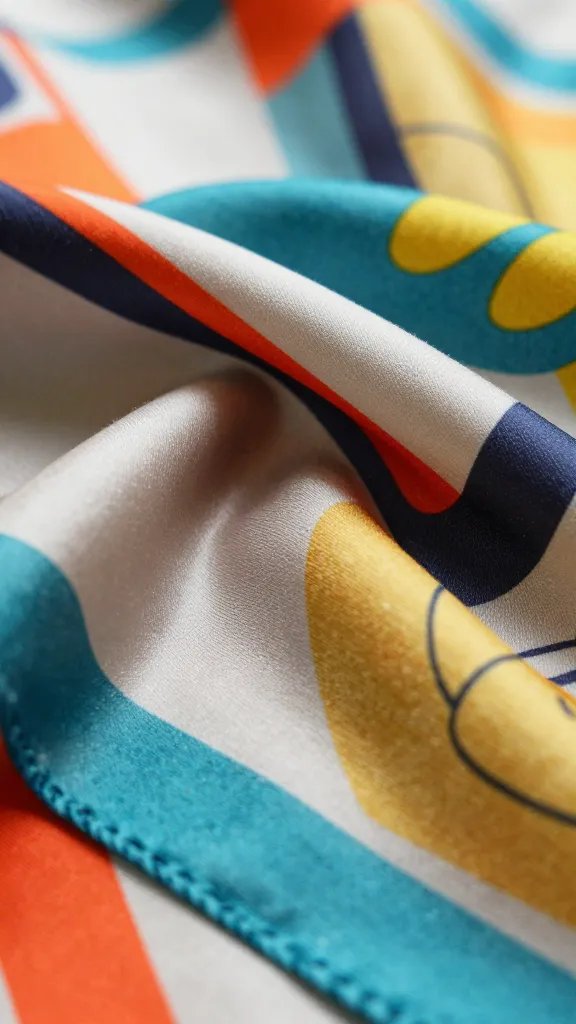
Silky scarves with bold prints sit in bins at every thrift store, often for a dollar or two. Cutting them up feels wrong until you see how good they look pieced together as pillow covers.
Cut squares from different scarves and sew them together into a patchwork front. Sew or glue it to a plain fabric back, leaving one side open to stuff with a pillow form or old fabric scraps. Hand stitch the opening closed.
Thrift swap: Skip buying new pillow forms and restuff old pillows or use balled up fabric from clothes too worn to donate.
14. Sand and Stain a Wooden Thrift Find

Small wooden items, cutting boards, boxes, trays, frames, shelves, turn up scratched and dull but structurally sound. Sanding them smooth and adding stain or paint brings out the grain and makes them look intentional again.
Start with medium grit sandpaper and work up to fine grit until the surface feels smooth. Wipe off the dust with a damp cloth. Brush on wood stain in thin coats, letting each one dry before adding the next.
The grain shows through stain in a way paint doesn’t, so even a plain wooden box ends up looking richer. It takes an afternoon, but most of that is drying time.
Thrifting gives you the raw materials. These crafts give you something to do with them that doesn’t require a full studio or years of practice. Start with whatever you already brought home and see what it turns into. Save this for the next time you walk out of a thrift store with a bag of maybe and need a plan that actually works.