
14 Cardboard Furniture Ideas You Can Actually Sit On


Cardboard furniture sounds flimsy until you see how layers and folds turn free boxes into real chairs, benches, and stools. The trick is building with structure, not hoping one thin sheet holds up.
These fourteen cardboard furniture ideas use stacking, bracing, and simple glue to create pieces that support adult weight. Most take an afternoon and basic supplies you already have or can grab for free.
1. Stack and Glue a Honeycomb Stool
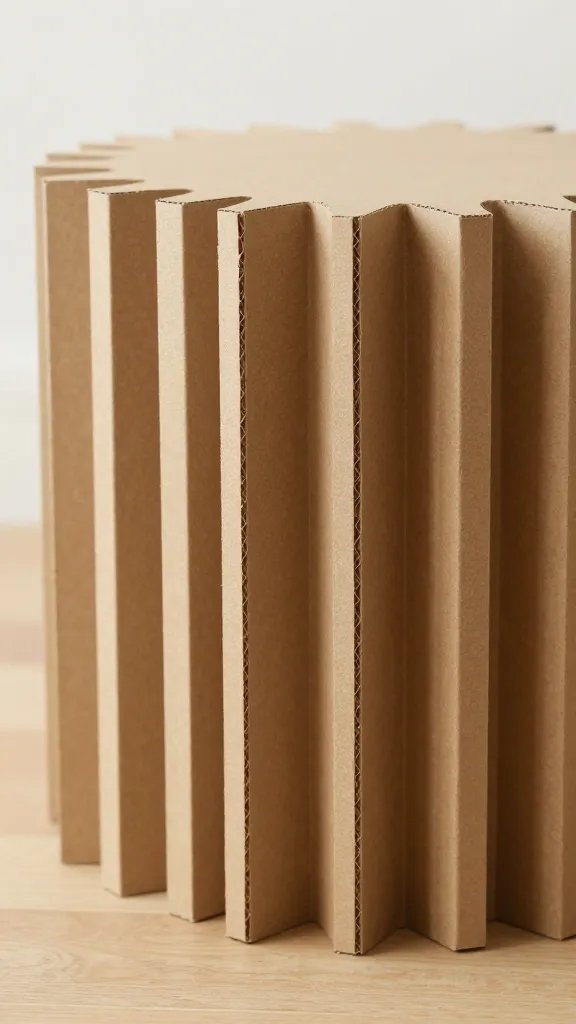
Corrugated cardboard gains serious strength when you stand it on edge. Cut identical strips about four inches wide, then slot them together in a grid pattern like a honeycomb. The vertical channels do the work.
The make: Each strip needs notches cut halfway down so they interlock. White glue along every joint, then let it cure overnight under a stack of books.
Top it with a square of plywood or thick cardboard and you have a stool that holds two hundred pounds. Paint the sides or leave the raw cardboard look if you like the texture.
2. Build a Layered Lounge Chair With Curved Slats
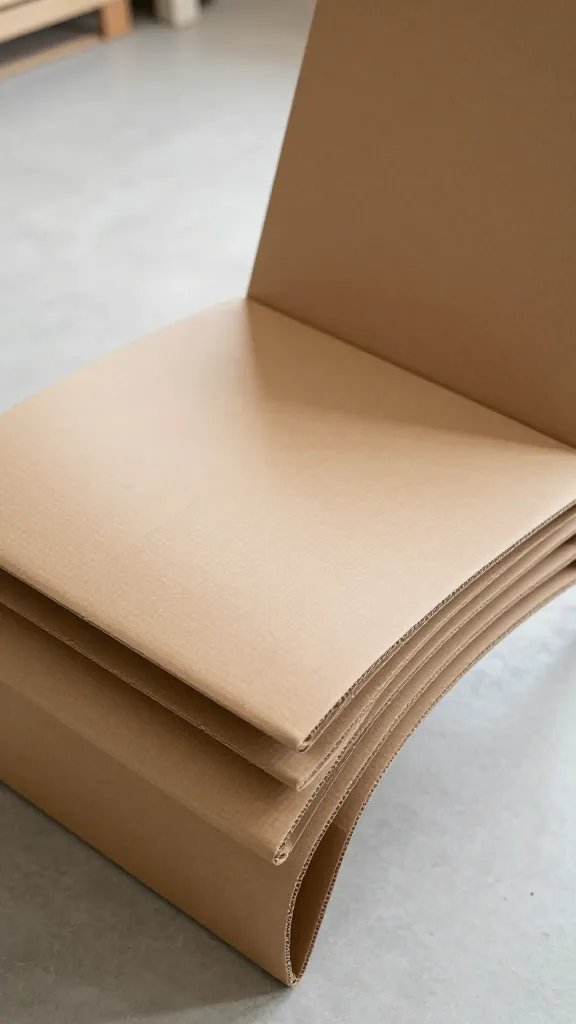
A lounge chair sounds ambitious, but cardboard layers make it possible. Cut matching side profiles with a gentle curve, then connect them with flat slats glued perpendicular across the frame.
- Base: two large appliance boxes broken flat
- Main supply: wood glue or tacky glue in a big bottle
- Shape: a template traced from an old lawn chair or sketched freehand
- Reinforcement: double up the side panels so each one is four layers thick
Time needed: About three hours for cutting and assembly, plus drying time. Test it gently before you lean all the way back.
3. Fold a Single Sheet Into a Sitting Wedge

One huge sheet of triple wall cardboard can fold into a wedge shaped floor seat without any glue. Score three lines to create a triangle when viewed from the side, then tuck the ends into themselves like an origami lock.
Why it works:
- Triple wall cardboard is thick enough that the folds hold tension and stay rigid under weight.
- The triangle shape distributes pressure across the base so it does not collapse in the middle.
- No glue means you can unfold it flat and slide it under a bed when company leaves.
Wrap it in a blanket or slipcover if you want padding and a finished look.
4. Create Accordion Side Supports for a Bench

Long benches need support in the middle or they sag. Accordion folds give you that without visible legs. Cut two long strips, fold them back and forth every four inches, then glue the folds into a zigzag column.
Position one accordion under each end and one in the center. Top the whole thing with a double layer seat. The folds compress slightly under weight but hold steady once you sit.
Budget swap: Use packing tape instead of glue if you are testing the concept first. It is faster and you can peel it off to adjust before committing.
5. Tape Together a Modular Cube System

Best for: Kids rooms, playrooms, or temporary seating when you host a crowd and chair rentals are not in the budget.
Cut identical squares and assemble them into open cubes using packing tape on every seam. Stack them two high for a seat or leave them single for a low table. Each cube uses six panels, so production goes fast once you have a template.
Let kids paint them or cover them in contact paper. When one gets crushed, you only replace that cube, not the whole setup. I have seen these hold up through a birthday party with eight kids climbing on them.
6. Wrap a Cardboard Frame in Fabric for a Padded Ottoman
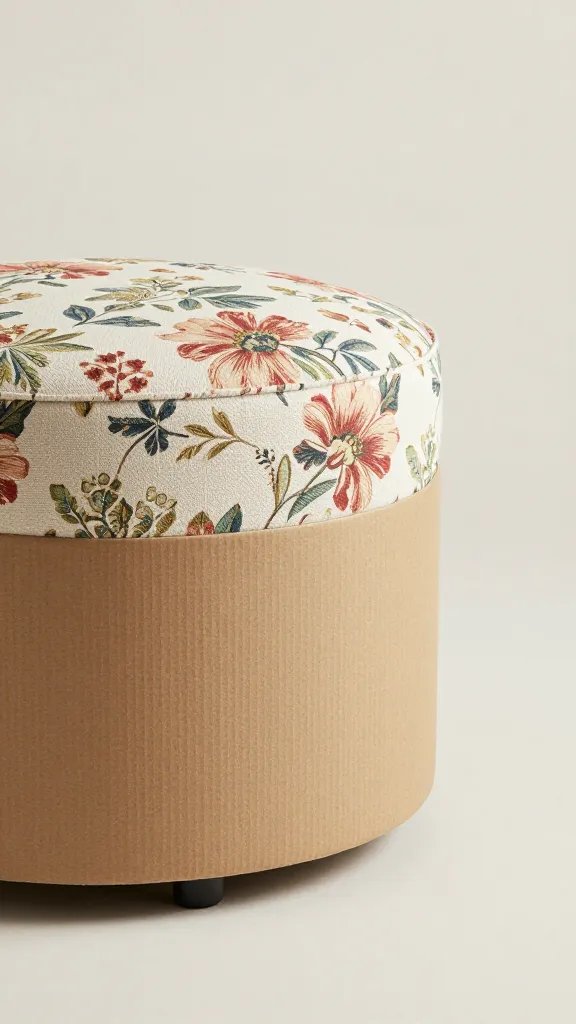
Start with a sturdy cardboard box roughly the size of a footstool. Reinforce the corners with extra cardboard glued inside, then wrap the whole thing in batting or an old blanket. Staple or hot glue the padding to the underside.
Finishing touch: Stretch fabric over the padding and secure it underneath with a staple gun. Upholstery fabric works best, but a heavy cotton sheet does the job.
Reuse it later: When the cardboard eventually gives out, save the fabric cover and wrap a new box.
7. Nest Cardboard Tubes Into a Circular Seat

Collect shipping tubes or cut your own from rolled cardboard sheets. Stand them upright in a bundle, pack them tightly, and strap them together with a ratchet strap or strong twine. The compression keeps everything stable.
Top the bundle with a round cushion or a plywood disc covered in foam. The tubes resist crushing because the weight pushes straight down through the cylinders. It looks modern and strange in a good way.
This takes about an hour if you already have the tubes. Spray paint them all one color before bundling if you want a cleaner look.
8. Cut Notched Supports for a Flat Pack Chair
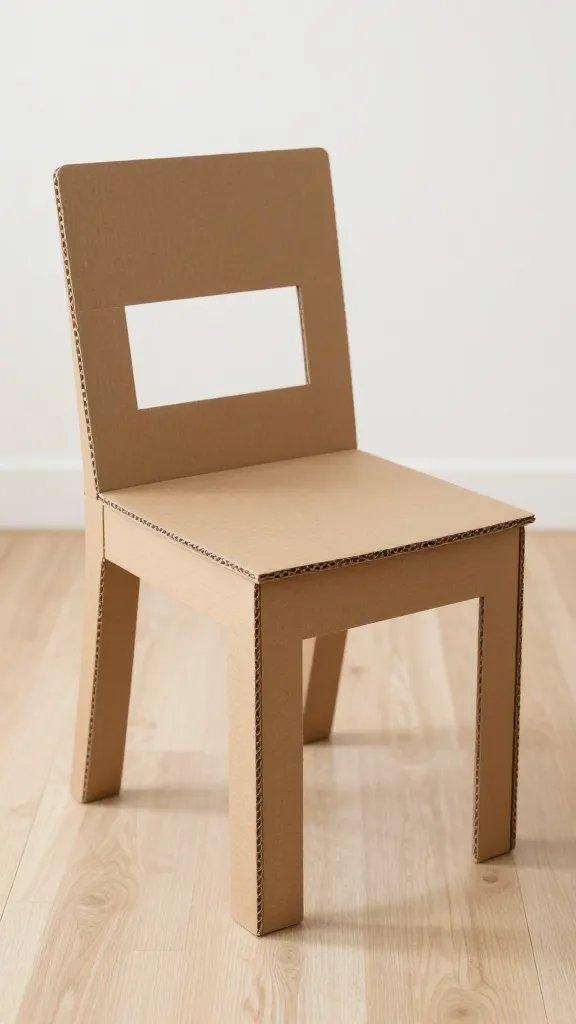
The detail to steal: Notches let pieces lock together without glue, so you can take the chair apart and store it flat when you need the space back.
Design a simple chair with a seat, back, and two side supports. Cut slots in each piece where they intersect, then slide them together like a 3D puzzle. The friction holds everything in place once you sit down.
Templates for flat pack cardboard chairs are free online, or sketch your own if you like the engineering challenge. Double the cardboard thickness on the seat and back for safety.
9. Glue Cardboard Ribs Into a Rocking Chair Base
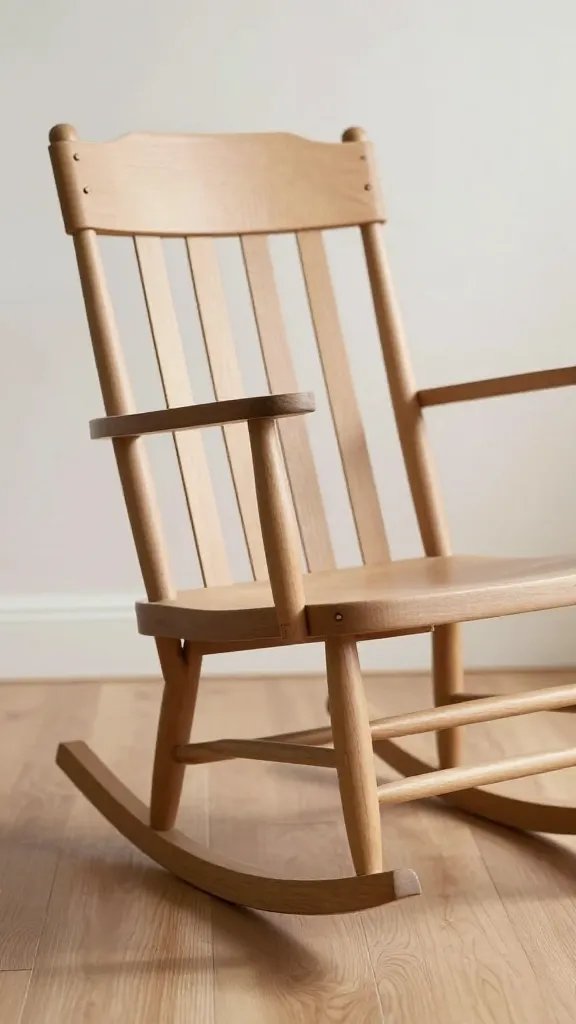
A rocking chair needs curved runners on the bottom and a frame that does not tip. Cut two identical rocker profiles, then attach vertical ribs between them every six inches. The ribs keep the rockers parallel and give you attachment points for the seat.
- Curve: trace a large mixing bowl or hula hoop for a gentle arc
- Ribs: cut them all the same height so the seat sits level
- Glue: white glue on every joint, then clamp with binder clips while it dries
- Seat: a flat panel that rests on top of the ribs and gets glued down last
Safety note: Test the rocker on carpet first. A hard floor lets it tip too far back if the curve is too shallow.
10. Build a Corner Shelf That Doubles as a Seat

Corner spaces usually go to waste. A triangular shelf with reinforced layers fits into that angle and gives you a place to sit while you tie shoes or set down a bag.
Cut a right triangle with legs about eighteen inches long. Layer four or five identical triangles with glue between each one. Add a vertical back piece that spans the corner and screws into the wall for stability.
Small space fix: This works in entryways, bathrooms, or studio apartments where a full chair takes up too much room.
11. Stack Pizza Boxes Into a Temporary Guest Stool
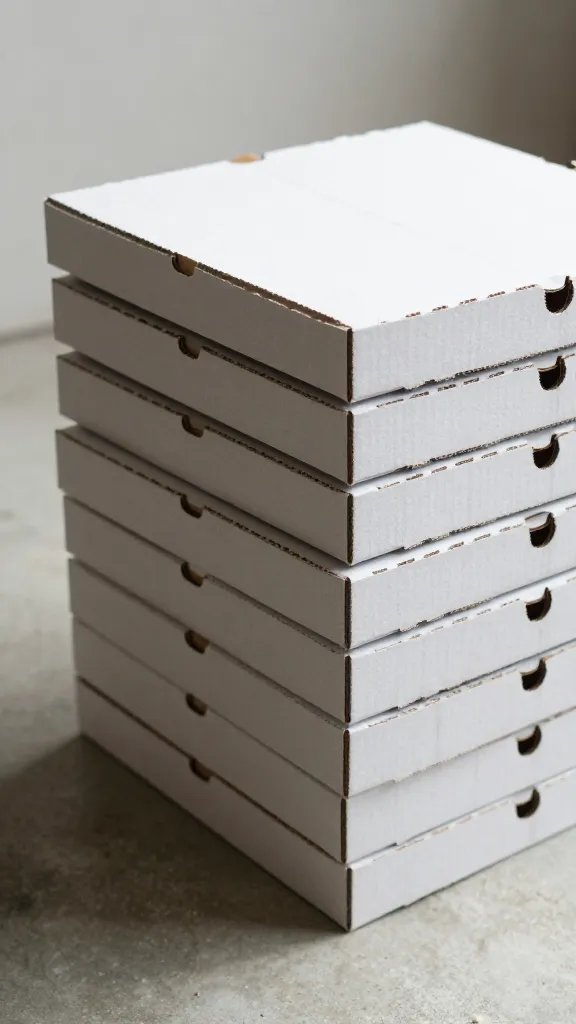
Use what you have: If you have a stack of clean pizza boxes from a party or move, glue them together in a column and top with a cushion.
Pizza boxes are already structured to hold weight and stack evenly. Glue every surface where they touch, then wrap the whole stack in duct tape for extra hold. It is not elegant, but it works for a week or two when someone crashes on your couch.
I made one of these during a last minute visit and it held up better than I expected. Do not use it as your only seating long term.
12. Create a Low Japanese Style Floor Bench
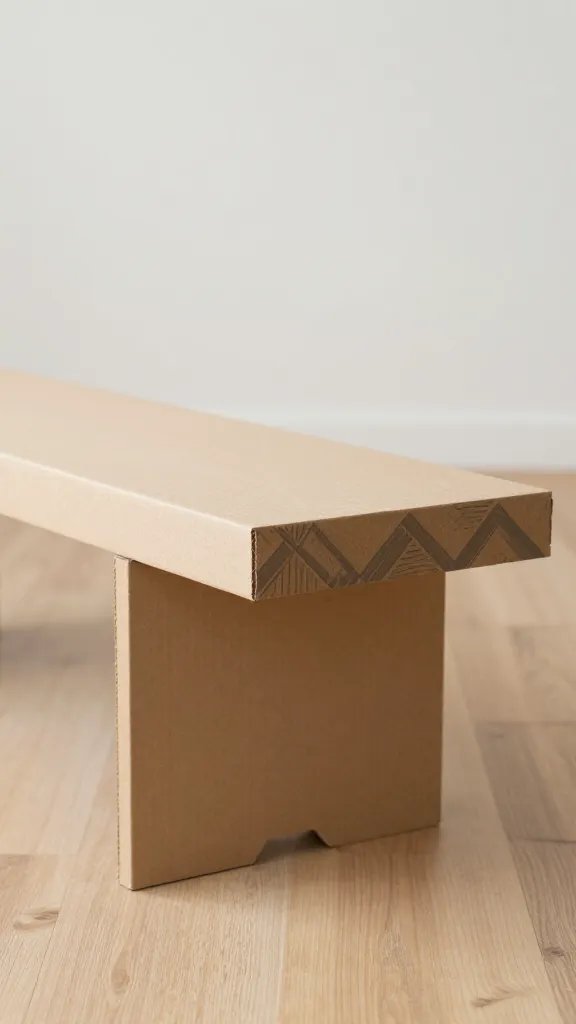
Low benches suit rooms where people sit on the floor or play board games. Cut a long rectangular seat, then attach short legs no more than six inches tall. Brace the legs with diagonal supports glued into each corner.
The low center of gravity makes this one of the sturdiest cardboard furniture builds. Cover the seat in a flat cushion or leave it bare for outdoor use on a patio.
Theme swap: Paint it with geometric patterns or leave it plain and minimal. Either way, it looks intentional instead of improvised.
13. Assemble a Cardboard Plank Bench With Box Supports
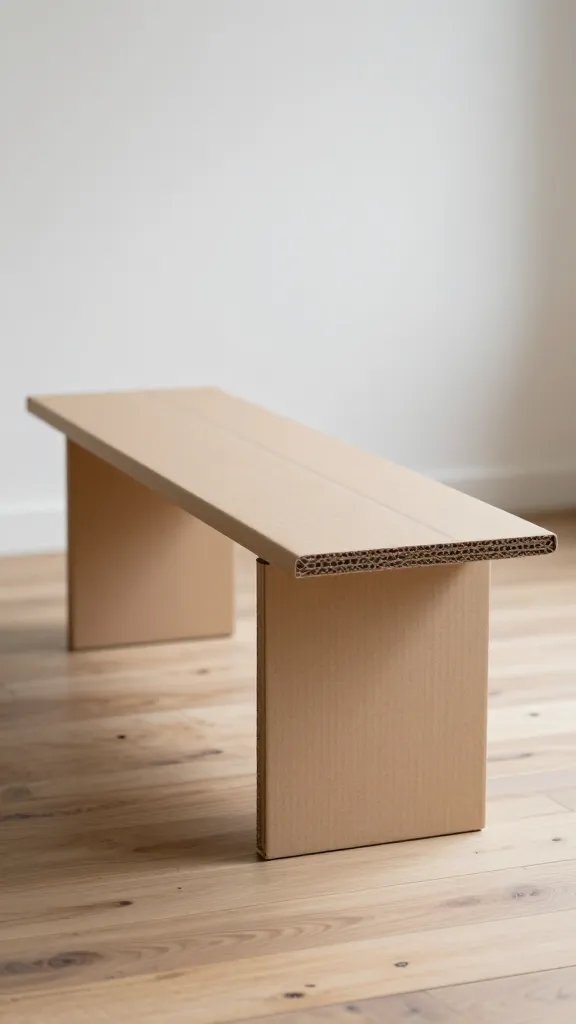
Two sturdy boxes become bench ends when you add a long plank across the top. Use boxes with lids so you can store things inside. Reinforce the boxes by stuffing crumpled newspaper or more cardboard inside before you close them.
The plank can be thick cardboard, plywood, or even a wooden board from a hardware store. Rest it across the boxes and secure with glue or brackets. This takes fifteen minutes and seats two adults.
Keep the boxes under three feet apart or the plank will bow in the middle when someone sits down.
14. Design a Folding Screen That Converts to Extra Seating
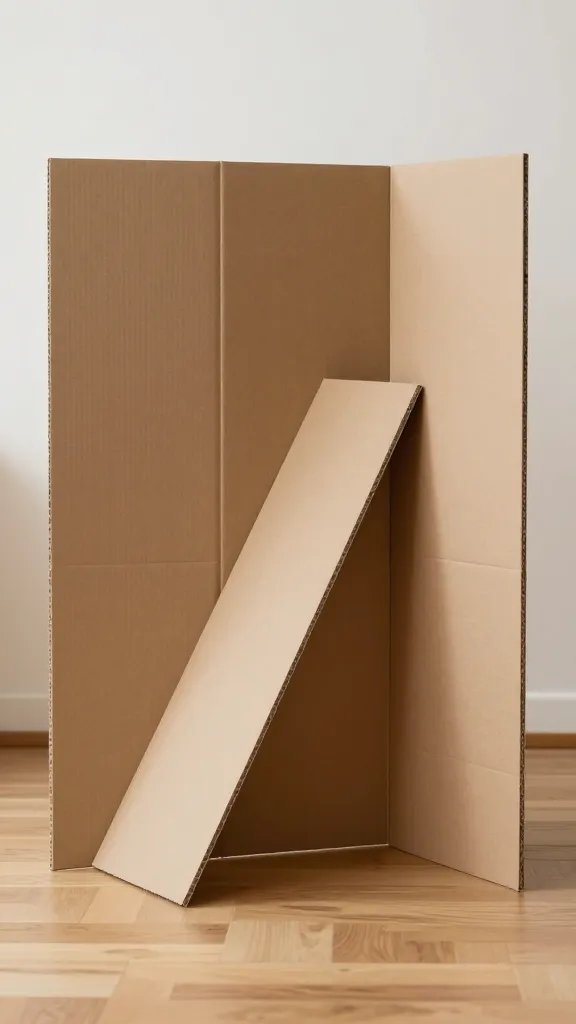
Best for: Studio apartments or craft rooms where furniture has to do two jobs.
Hinge three tall cardboard panels together with duct tape on the back seams. When standing, it divides a room or hides storage. Fold it into a Z shape and it becomes a wide, stable seat.
Each panel should be at least four layers thick and reinforced with vertical strips glued along the edges. The hinges take stress, so tape them well and check every few weeks for tears. I have used this setup as both a room divider and emergency seating during game night.
Cardboard furniture does not last forever, but it solves real problems when you need seating now and the budget is tight. Build it, use it, and recycle it when it is done. Save this for the next time you need extra chairs and do not want to rent or spend a fortune on something temporary.