
14 Decorative Wall Craft Ideas You Can Make in an Afternoon

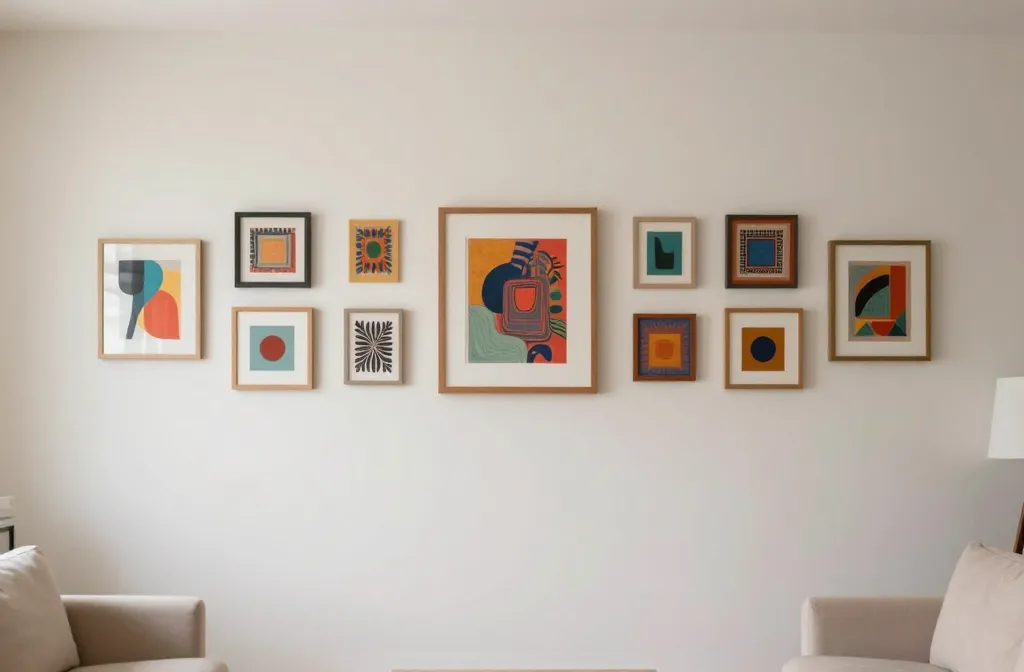
Blank walls make any room feel unfinished, but spending hours on a single project rarely fits into the week you actually have. You need something that looks intentional, takes shape quickly, and works with supplies you can grab without a specialty store run.
These fourteen decorative wall craft ideas give you finished results in one afternoon. Most use paper, fabric, or things already sitting in a drawer. A few need paint or glue. All of them turn a blank stretch of wall into something worth looking at without eating your whole Saturday.
1. Frame Fabric Scraps in Thrift Store Frames

Leftover fabric from old projects sits in bags for years. Trim a piece to fit inside a cheap frame and suddenly it looks like you bought art.
The make: Cut fabric an inch larger than the frame backing, wrap the edges around the cardboard insert, and tape them down on the back.
Group three or four frames in different sizes on one wall. Mix patterns that share one color so they feel connected instead of random. The frames do not need to match as long as the mats inside are all white or all missing.
2. Paint a Giant Abstract Shape Directly on the Wall

Best for: A bedroom or playroom where you own the space and can commit to a bolder look.
Tape off a large organic blob, half circle, or wavy stripe using painter’s tape. Roll one coat of latex paint inside the lines. Peel the tape while the paint is still slightly wet so the edge stays crisp.
This works in a rental if you paint over it later with the original wall color. Keep a sample card or leftover paint can so the match is easy. The whole project takes about an hour plus drying time.
3. String a Wire Grid for Rotating Photo Display
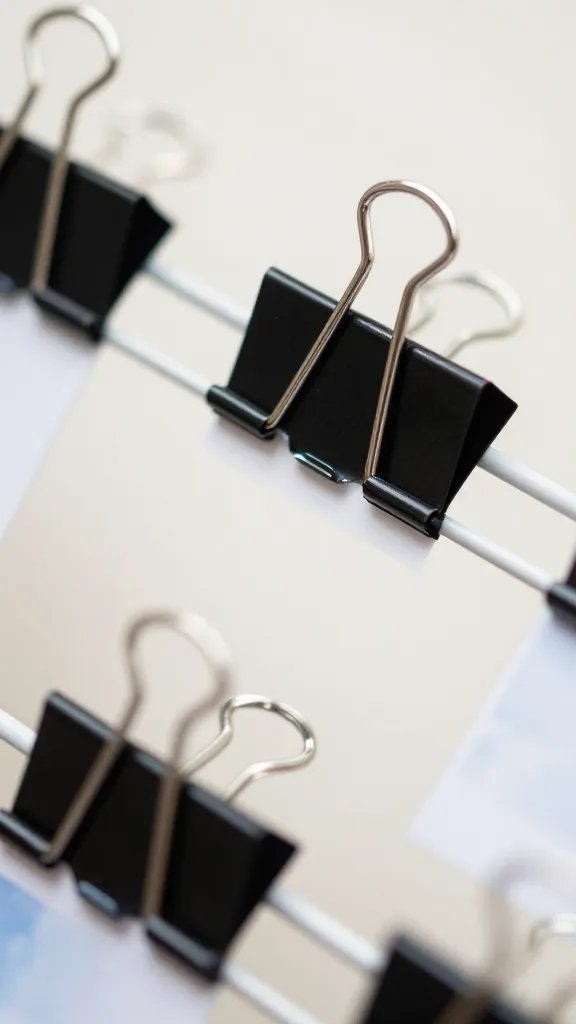
Framing every photo gets expensive and you end up with the same pictures on the wall for three years. A wire grid lets you swap them out with binder clips.
- Base: a metal cooling rack from the kitchen section or a wire storage cube panel
- Hanging method: two small nails or command hooks
- Clips: black binder clips in two sizes
- Content: printed photos, postcards, kids’ drawings, or recipe cards
Small space fix: Hang it inside a closet door to save wall real estate in tight apartments.
4. Cut Oversized Paper Leaves and Tape Them in a Climbing Vine

A corner that meets the ceiling always looks bare. Paper leaves fill that vertical space without needing shelves or nails.
Why it works:
- Big simple shapes read better from across the room than tiny detailed cutouts.
- Green card stock costs less than a single poster and covers more area.
- Removable tape means the paint stays safe and you can peel everything down when you are ready for a change.
Trace a monstera or fiddle leaf shape, cut twenty or so, and arrange them in a loose upward trail.
5. Hang Embroidery Hoops as Circle Frames
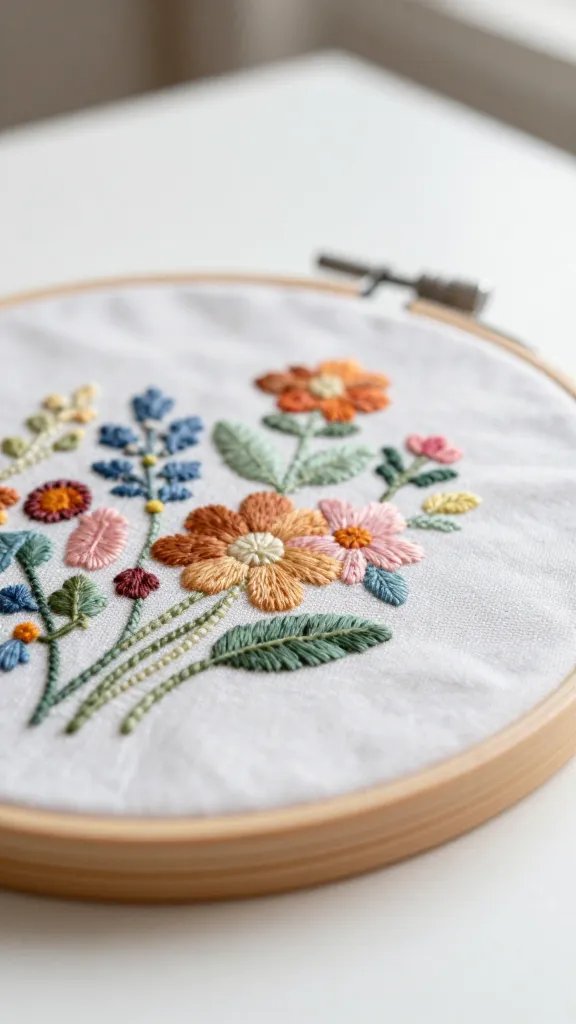
Round frames cost more than square ones for no good reason. Embroidery hoops give you the same shape and cost about a dollar each at craft stores.
Stretch fabric, lace, or even a piece of wrapping paper inside the hoop and tighten the screw. Trim the excess on the back. Hang the hoop from a small nail using the built in hardware.
Color note: Spray paint the wood hoops first if the natural finish does not match your room. Let them dry completely before adding fabric or the paint will transfer.
6. Build a Cardboard Shelf Ledge for Lightweight Art
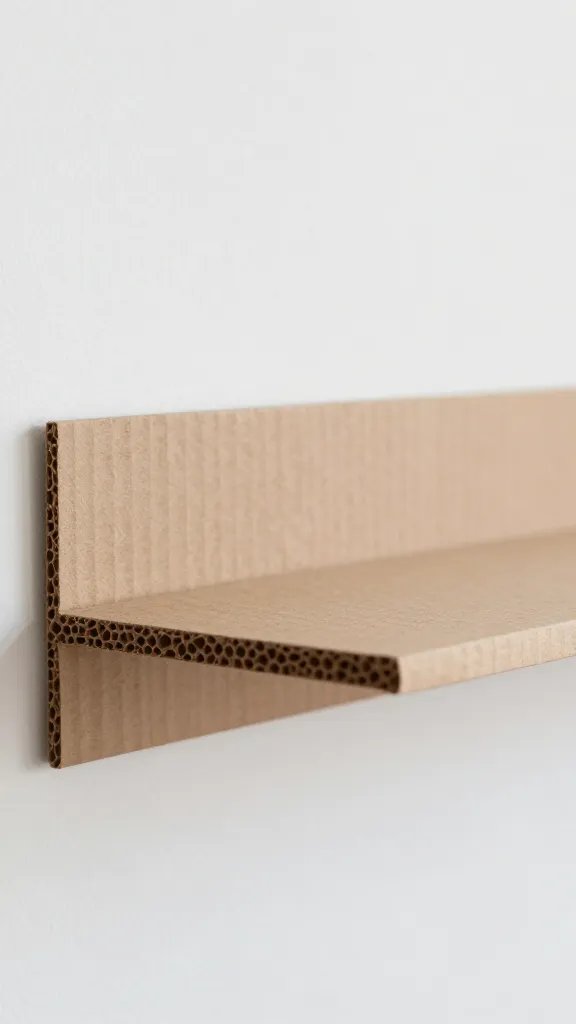
The detail to steal: Sturdy cardboard folded into an L shape and covered in contact paper reads as a real shelf from a few feet away.
Cut a strip of thick cardboard about four inches wide and as long as you want the shelf. Score a line one inch from the edge, fold it up to create the lip, and reinforce the corner with packing tape on the underside. Cover the whole thing in wood grain or solid contact paper. Mount it to the wall with heavy duty double sided tape.
It holds small prints, greeting cards, or tiny plants in plastic pots. Do not load it with anything heavy or the cardboard will buckle.
7. Arrange Painted Wooden Spoons in a Sunburst Pattern
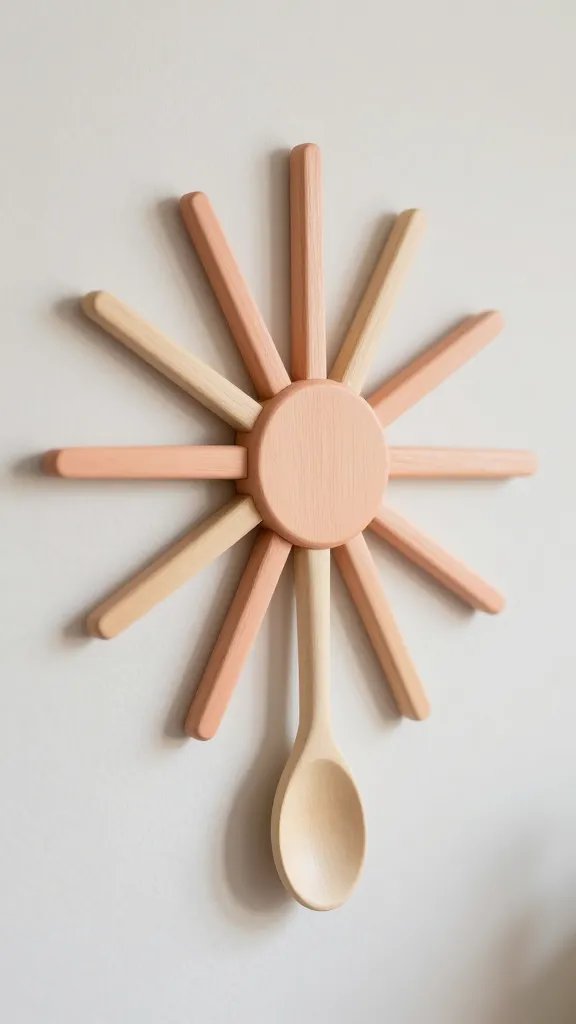
Wooden spoons from the dollar store become wall decor when you stop thinking of them as kitchen tools. Paint the handles in three colors from the same family, like coral, peach, and cream.
Supplies: About fifteen wooden spoons, acrylic craft paint, and a glue gun.
Assembly: Glue the spoon handles together in the center so the bowls radiate outward like sun rays. Let the glue set for ten minutes before hanging.
This works above a narrow console table or between two windows. The shape fills space without weighing down a small room.
8. Pin a Folded Map as Oversized Wall Art
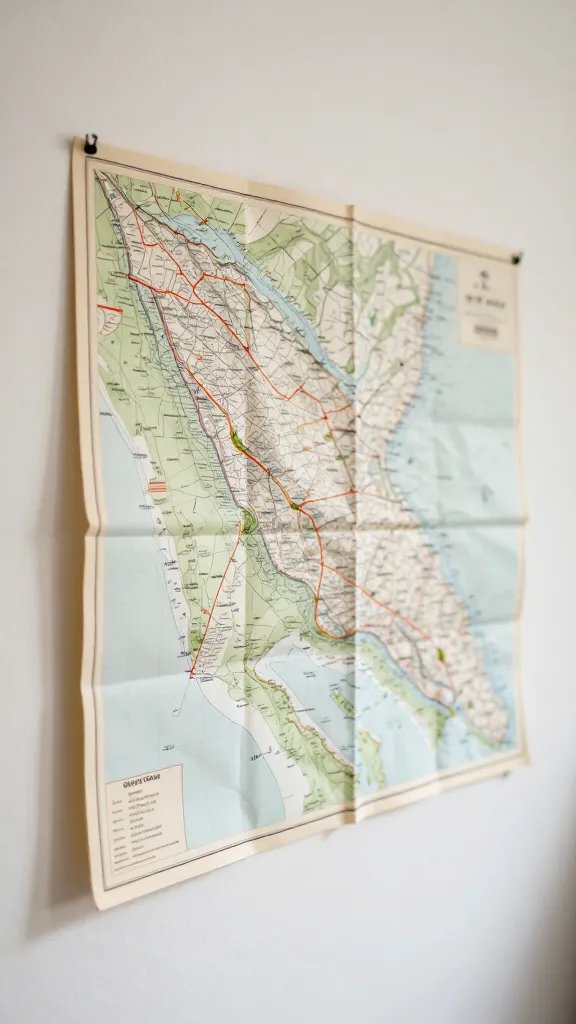
Best for: A home office, entryway, or kid’s room where a little personality helps.
Old road maps or city maps fold into quarters and tack directly to the wall with pushpins at the corners. The creases add texture instead of looking like a mistake.
Layer two maps slightly offset if one alone feels too small. Choose maps from places you have been or want to visit so the wall tells a small story. This takes about five minutes start to finish and costs nothing if you already have a map sitting in a drawer.
9. Glue Popsicle Sticks Into Geometric Wall Shapes

Popsicle sticks are cheap, easy to cut, and glue into clean lines. Arrange them into a hexagon, triangle, or open square and paint the whole shape one color.
- Sticks: a pack of fifty craft sticks
- Glue: white school glue dries clear and holds well enough for lightweight wall pieces
- Paint: one small bottle of acrylic in a color that pops against your wall
- Backing: a scrap of cardboard to build the shape on before hanging
Kid friendly: This is a good one to make with older kids who can handle glue without eating it. The shapes dry flat overnight.
10. Tape Washi Tape Stripes Directly on the Wall
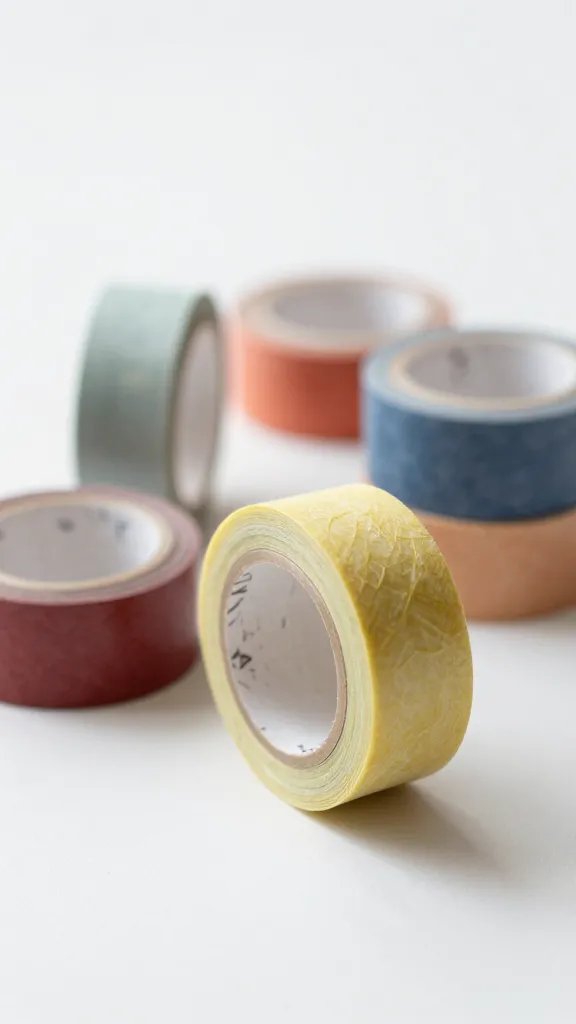
Washi tape peels off without pulling paint, which makes it the easiest temporary wall treatment that still looks intentional. Run vertical stripes from ceiling to baseboard in three different patterns that share one color.
Placement note: Space the stripes unevenly instead of measuring equal gaps. Your eye reads random spacing as more relaxed.
Time needed: About thirty minutes for a wall that is eight feet wide.
This works behind a bed, along a hallway, or on the side of a bookshelf. Peel it off when you are ready for something new and the wall underneath stays perfect.
11. Clip Book Pages to a Ribbon and Hang Them Vertically
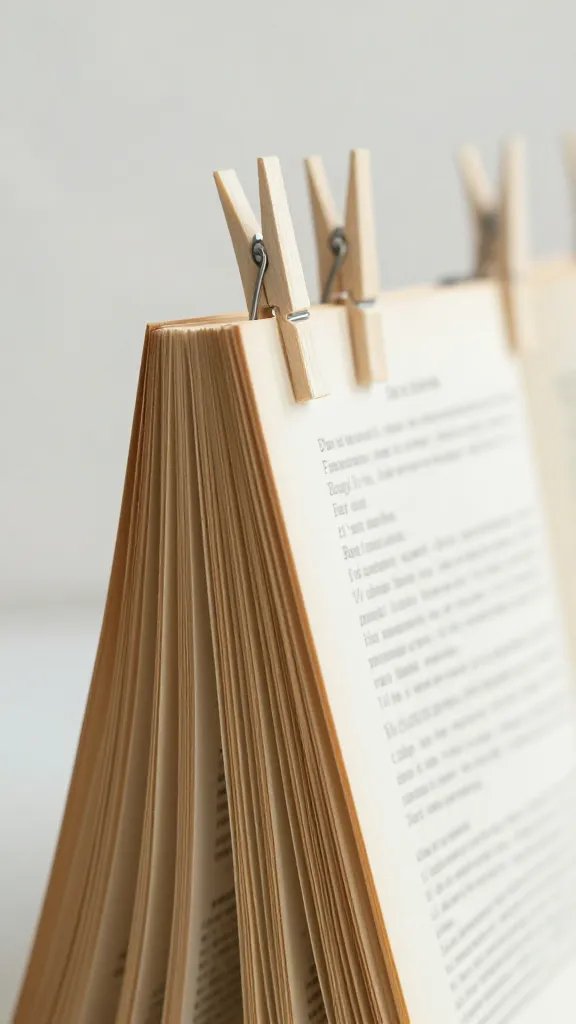
Old books with torn covers still have good pages inside. Clip them to a length of ribbon with small wooden clothespins and hang the whole strand from one nail.
Choose pages with illustrations, maps, or interesting typography. Mix in a few postcards or printed photos if the book pages alone feel too uniform. The ribbon hangs straight and the clips let you swap things out whenever the mood shifts.
Thrift swap: Check the dollar bin at used bookstores for damaged books nobody else wants. You only need the pages, not a perfect spine.
12. Cut and Layer Paper Circles Into a 3D Wall Sculpture
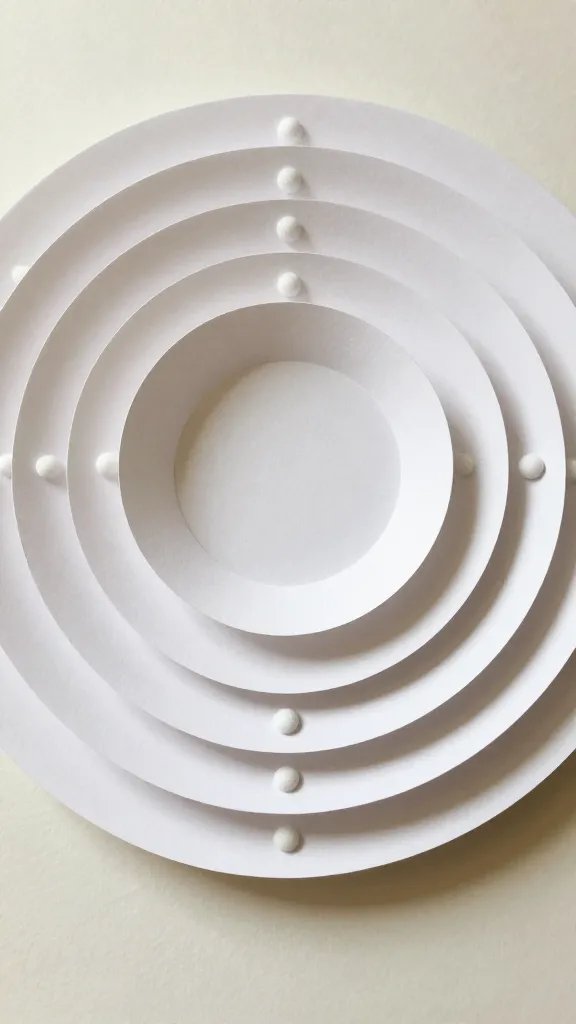
The make: Trace different sized circles on card stock, cut them out, and layer them with foam dots or folded tape squares between each piece to create depth.
Start with a large circle as the base and stack smaller ones on top, slightly offset so each layer shows. Three or four layers give enough dimension to cast small shadows without looking fussy.
Hang the finished piece with a command strip on the back. This takes about forty minutes if you cut the circles freehand or twenty if you trace bowls and lids from the kitchen. The layered look makes it feel more complicated than it actually is.
13. Arrange Dried Flowers and Grasses in Test Tubes on the Wall

Plastic test tubes with wall mounts hold single stems and cost almost nothing online or at craft stores. Mount three or five in a vertical or diagonal line.
Why it works:
- Dried flowers and grasses last for months without water or wilting.
- Single stems look cleaner and more modern than a full bouquet crammed into one vase.
- You can swap the stems with the seasons without changing the whole setup.
This adds a little softness to a wall without the commitment of painting or the weight of a heavy frame.
14. Build a Yarn Wall Hanging on a Dowel Rod
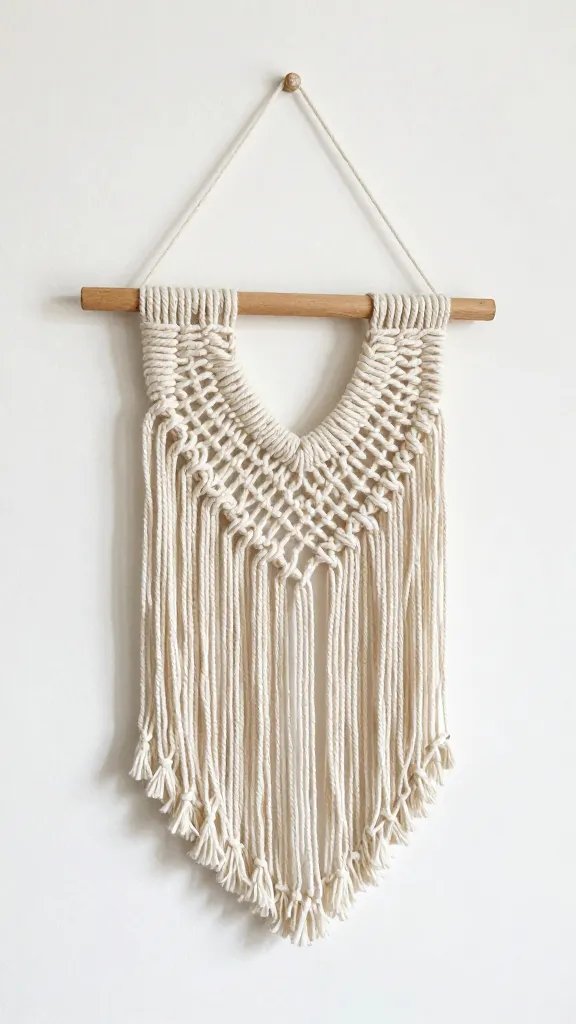
Macrame looks hard but a simple yarn wall hanging skips the knots. Cut yarn into long strands, fold them in half, and loop them over a wooden dowel. Trim the ends into a V shape or leave them uneven for a looser look.
Supplies: One dowel rod, a skein or two of chunky yarn in a color you like, scissors, and a piece of string to hang it.
Mess control: Yarn sheds and leaves little fuzz everywhere while you cut it. Work over a trash bag or outside if the weather is nice.
The whole thing comes together in under an hour. Hang it above a dresser or next to a window where it can move a little when the air shifts.
Blank walls stop feeling like a problem once you have a few fast options that actually work. Pick one idea that uses supplies you already have and start there. The rest can wait until you need them.
Save this for the next time you move furniture around and realize a whole wall needs something new.