
Why Your DIY Decor Looks Cheap and How to Fix It

Introduction: Let’s face it—DIY decor can be a blast, but when it looks bargain-bin, the fun fizzles fast. You spent hours, maybe a few dollars, yet the result reads like “Pinterest fail.” FYI, you can flip that script with a few tweaks that don’t require a full renovation. Let’s break down the common culprits and how to fix them without losing your personality.
1) Poor Finish Choices: The Texture Trap
– Do you love the look of matte finishes but hate the way they magnify fingerprints? You’re not alone.
– Cheap vibes often come from mismatched sheens and obvious brush strokes.
How to fix finish fatigue
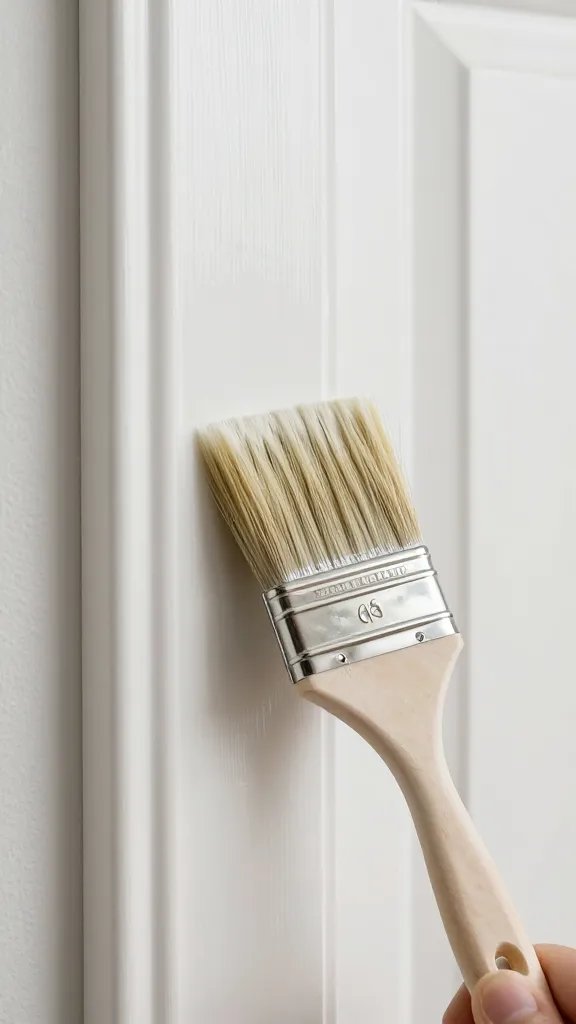
– Pick one finish per room and stick to it. If you go matte on walls, use semi-gloss for trim and doors for contrast.
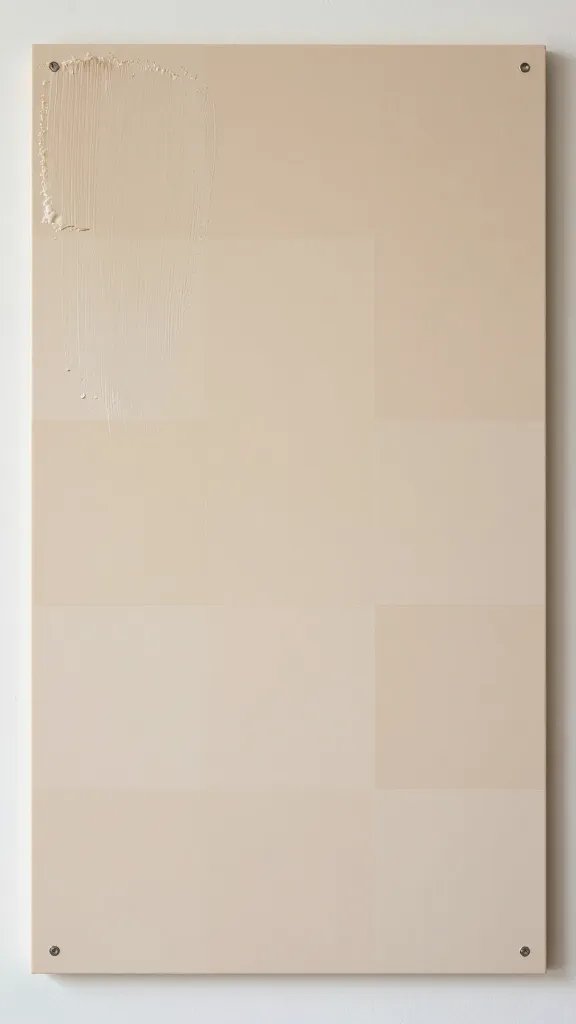
– Test patches first. Apply two coats of your chosen finish on a sample board so you know what you’re signing up for.
– Use high-quality brushes or a foam roller for a smoother surface. Trust me, your future self will thank you.
2) Hardware and Details That Don’t Match
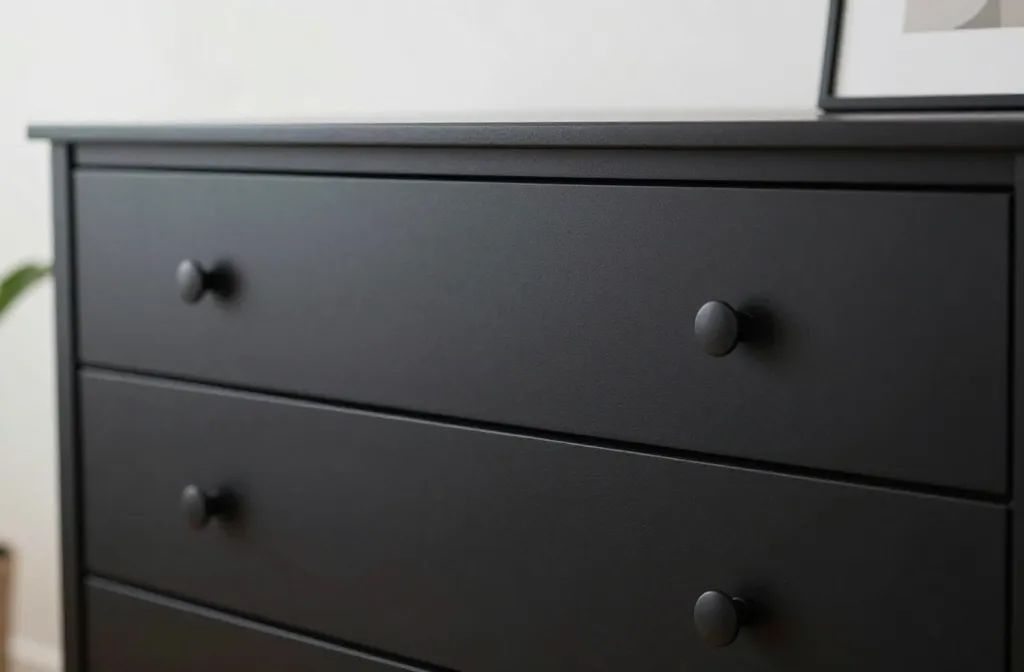
– Drawer pulls that feel plastic-y, light switch plates that clash, or a mix of metal tones can instantly cheapen a space.
– It’s the small things that subtly say “low effort.”
Subtle upgrades that add polish
– Replace dated hardware with timeless options in one metal tone (brushed brass, matte black, or satin nickel).
– Swap out cheap switch plates for thicker, better-made ones with a simple, cohesive look.
– Add a unifying material: wood, metal, or ceramic accents that tie furniture and decor together.
3) Lighting: The Make-or-Breaker
– Lighting can make a space feel expensive or like a dorm room. If your lampshades look thrift-store, the room reads the same.
Lighting tricks that glow without breaking the bank
– Layer lighting: one overhead, one task light, and one ambient fixture. You’ll create depth and avoid flatness.
– Choose bulbs with a warm color temperature (around 2700K–3000K) for coziness.
– If a shade is generic, spruce it up with rattan, fabric, or a simple black wrap to elevate it.
4) Color Schemes That Don’t Play Nice
– Too many bold colors can scream DIY, while a bland palette makes a room feel flat.
– The problem isn’t color itself—it’s contrast, balance, and repetition.
Color coordination for a cohesive vibe
– Build a palette of 3–5 colors. Pick one dominant, one secondary, and one or two accent tones.
– Repeat your accent color in small doses across the room (pillows, art, plants) to tie everything together.
– Use neutrals as ground anchors. They let brighter accents pop without clashing.
5) Proportions and Scale: The Size Mismatch
– Big furniture in a small room or tiny pieces in a cavernous space instantly signals DIY chaos.
– Scale isn’t about size alone—it’s about how pieces relate to each other and the room.
Smart sizing tips
– Measure before you buy and sketch a quick floor plan. A 2D plan prevents “oops wrong fit” moments.
– Use a rug to anchor furniture groups. A rug that’s too small makes the room feel like a mismatch parade.
– Mix heights: tall lamps, low-profile sofas, and floating shelves at different intervals keep the eye moving.
6) Textile Tricks: The Fabrics That Make or Break It
– Cushions, throws, and curtains can either elevate or ruin the overall vibe. The wrong fabric or pattern can scream “DIY hack.”
Textile upgrades that stay in budget
– Layer textiles with varied textures: velvet, linen, cotton, and a touch of metallic or faux fur for depth.
– Pattern balance is key. If you go bold with pillows, keep curtains and furniture fabric calmer.
– Invest in a few high-quality basics (a solid sofa throw, a good rug) and reuse them with different accents.
7) DIY Finishing Touches: The Buff-and-Pinish Moment
– Your final layer is what makes or breaks the impression. It’s where personality lives—if you don’t put it there, it feels empty.
Finishing touch ideas that elevate instantly
– Create a cohesive gallery wall with a unifying frame color or mat style.
– Add greenery or natural elements for life and texture. Real plants win over plastic greens any day.
– Curate a few meaningful objects rather than crowding every surface. Space breathes quality.
8) Common Pitfalls That Sneak In
– Overthinking DIY trends and chasing “the perfect Pinterest moment” rather than a space that feels like you.
– Ignoring lighting and acoustics while chasing looks. The vibe falters if you can’t hear your guest because of echo.
– Skipping a budget or timeline and then rushing to finish. Budget creep is real, friend.
How to avoid the vibe-dump disasters
– Set a realistic budget and aim to finish one area at a time.
– Prioritize changes that deliver the biggest impact: paint, lighting, and hardware.
– Allow yourself wiggle room for small upgrades later, not everything at once.
FAQ
Why does paint always look cheaper on the DIY project?
Low-quality paint, wrong sheen, or skipping primer can make walls look flat or uneven. Invest in good primer, choose a durable interior paint, and test samples on the wall before committing. FYI, two coats of the right paint beat three of the wrong stuff any day.
Can I salvage old furniture instead of buying new?
Absolutely. A fresh coat of paint, new hardware, and some simple upholstery touches can transform a tired piece into a statement. The key is to keep the proportions and hardware style cohesive with the rest of the room.
How do I choose a color palette without it feeling boring?
Start with a dominant color you love and then add two or three supporting shades. Use neutrals to ground the palette and bring in accent colors in small doses to keep things lively. IMO, color should spark joy, not stress.
What’s the simplest way to fix a room that looks off?
First, fix lighting. Layered lighting dramatically changes the mood. Then, unify through color and hardware, and finally edit surfaces and textures until the space breathes. The smallest tweaks often yield the biggest gains.
How long should I expect to see results after these fixes?
You’ll notice a lift almost immediately after addressing lighting and color balance. If you commit to new hardware or textiles, plan for a couple of weeks as you live with it and fine-tune what works best in real life.
Conclusion
You don’t need a full renovation to make your space feel polished and personal. Start with the big rocks: color, lighting, and hardware, then layer in texture and scale thoughtfully. DIY decor shines when you treat each piece as part of a bigger story rather than a standalone stunt. So, what’s your next small-but-mighty change going to be?