
How to Seal and Protect Handmade Decor So It Lasts

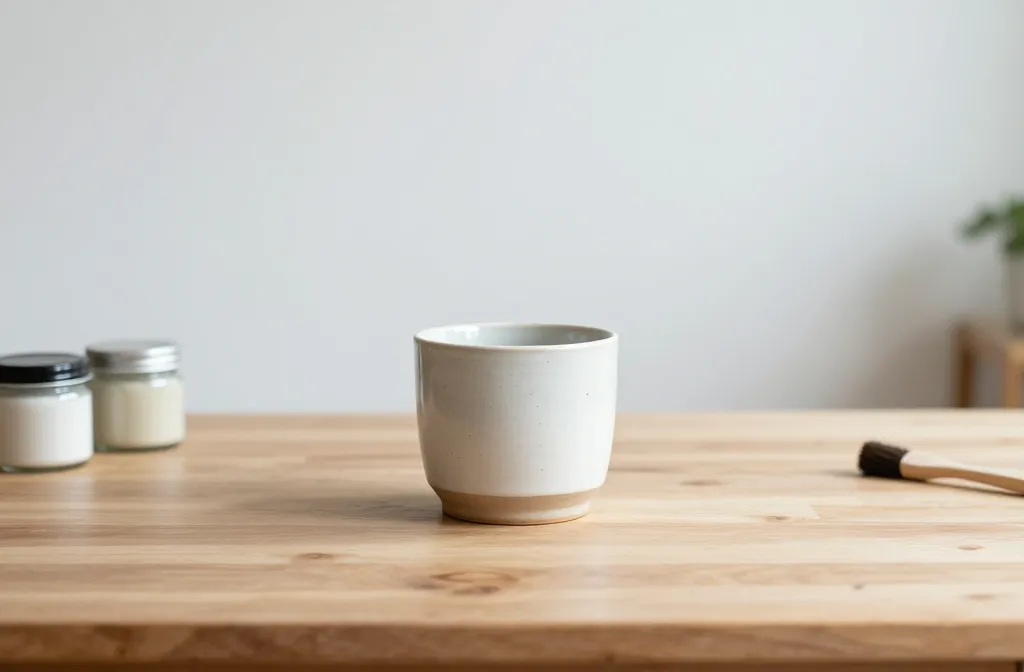
An easy, friendly guide to keeping your handmade decor looking fresh and fabulous for years. No fluff, just practical tips, real-world hacks, and a little bit of humor to keep things fun. Let’s dive in and make your crafts last as long as your stubborn optimism.
Why sealing matters more than you think
You poured heart, sweat, and maybe a little glitter into those pieces. Sealing isn’t just a cosmetic boost; it’s a shield. It fights moisture, dust, stains, and sun fade. FYI, a good sealant can turn a DIY project into a family heirloom—without the extra drama of replacing it every season.
- Prevents moisture damage and warping
- Stops color from fading or bleeding
- Provides a wipe-clean surface for busy spaces
- Enhances durability without sacrificing the look
Know your materials: match sealant to your craft
Not all sealants play nice with all materials. Do a quick check before you slather something on. Your future self will thank you.
Wood, cork, or woven textiles
– Water-based polyurethane for a clear, durable finish
– Shellac for a warm, vintage vibe (watch for yellowing over time)
– Wax coatings for a soft, hand-rubbed feel
Ceramics, clay, and plaster
– Clear acrylic spray seals are quick and easy
– Epoxy resin offers a glassy, rock-solid shield but requires mixing and curing time
Paper, fabric, and delicate surfaces
– Mod Podge or PVA glue variants provide a seal plus a little rigidity
– Fabric sealants and UV-resistant sprays help with sun damage
Tests and prep: the boring-but-critical steps
Skipping the prep is where projects go wrong. Do a tiny test patch first, always.
- Clean the surface so grime isn’t trapped under the sealant
- Sand or roughen glossy surfaces for better adhesion
- Open windows, breathe, and don’t rush the dry time
- Test a small corner and wait for full cure before sealing the whole piece
Step-by-step sealing process that actually sticks
Here’s a simple, no-surprise workflow you can follow.
- Choose the right sealant for the material, then read the label like it’s a treasure map
- Apply thin, even coats rather than one heavy splash
- Let each coat dry fully before the next one
- Light sanding between coats for a silky finish (optional but nice)
- Finish with a final topcoat for UV resistance or extra durability
Airbrushing vs. brushing: coat application tips
– Brushing gives you control for textured surfaces, but watch for brush marks
– Lightly spritzing with a spray sealant creates an ultra-smooth finish
– Don’t overwork the surface—let the sealant settle and cure
Common pitfalls and how to dodge them
We all mess up a little. Here’s how to avoid the common sealant disasters.
- Yellowing over time: choose UV-resistant formulas for light-colored pieces
- Sticky surface: ensure the first coat is completely dry before the next
- Cloudy or milky finish: avoid high humidity and foggy environments during cure
- Cracking on resin or epoxy: mix resin thoroughly and don’t rush through cure times
For heat, moisture, and everyday wear

Your decor faces heat, moisture, and the occasional spill. Plan for real-life scenarios.
Kitchen and bathroom décor
– Use water-resistant polyurethane or epoxy where splashes occur
– Consider a satin or matte finish to hide fingerprints
Outdoor and display pieces
– Outdoor-safe varnishes and UV blockers protect against sun and rain
– Sealant with flexible properties prevents cracking with temperature swings
Finishing touches that elevate the look
Sealants don’t just protect; they transform. A good topcoat can deepen color, add warmth, or give a glassy shine.
- Matte finishes for a modern, subtle look
- Satin for a balanced sheen that hides fingerprints
- Gloss for a bold, statement piece (and more maintenance)
DIY vs. pro: when to call in backup
If your piece screams “museum-worthy,” or you’re dealing with large-scale or critical items, a pro might be worth it.
– Pros: flawless finish, professional-grade products, time saved
– Cons: higher cost, scheduling, and a touch less control over the process
If you’re on a budget and enjoy the process, DIY is totally doable with patience and a little trial-and-error.
Storage, care, and long-term love
Sealant is part of the story, but aftercare matters too. Treat your pieces like you’d treat your favorite vintage jacket: gentle cleaning, proper storage, and a little respect.
- Dust with a microfiber cloth; avoid abrasive cleaners
- Store in a dry, cool place away from direct sunlight
- Reapply sealant every few years or as needed
FAQ
How long does sealing usually take?
Most sealants require 24 hours per coat to cure, but fast-drying formulas can shorten that. Always follow the label, and give the piece extra time in a dust-free area.
Can I seal over paint or decoupage?
Yes, but use a sealant compatible with painted surfaces. Some paints cure with the surface, others need a separate topcoat to prevent smudging or peeling.
Will sealing change the color or finish?
It can alter tone slightly, especially with oil-based finishes. Test on a hidden spot first to ensure you’re happy with the look.
What about eco-friendly options?
Look for water-based, low-VOC products. They’re kinder to you and the planet without sacrificing protection.
How can I fix a bad sealant job?
Lightly sand the area, clean off dust, and reapply a thin coat. If the finish is uneven, consider a light glaze or matte topcoat to even things out.
Is heat protection necessary for all pieces?
If your piece sits near heaters, ovens, or sunny windows, yes. UV blockers and heat-resistant formulas help prevent warping and color fade.
Conclusion
Seal the deal, protect the craft, and let your handmade decor shine for years to come. With the right product, a little prep, and a dash of patience, your pieces stay vibrant and durable through daily life and the occasional DIY mishap. So grab that sealant, set a timer, and give your art the enduring love it deserves.