
15 Cardboard Craft Ideas for Science Fair Displays

# 15 Cardboard Craft Ideas for Science Fair Displays
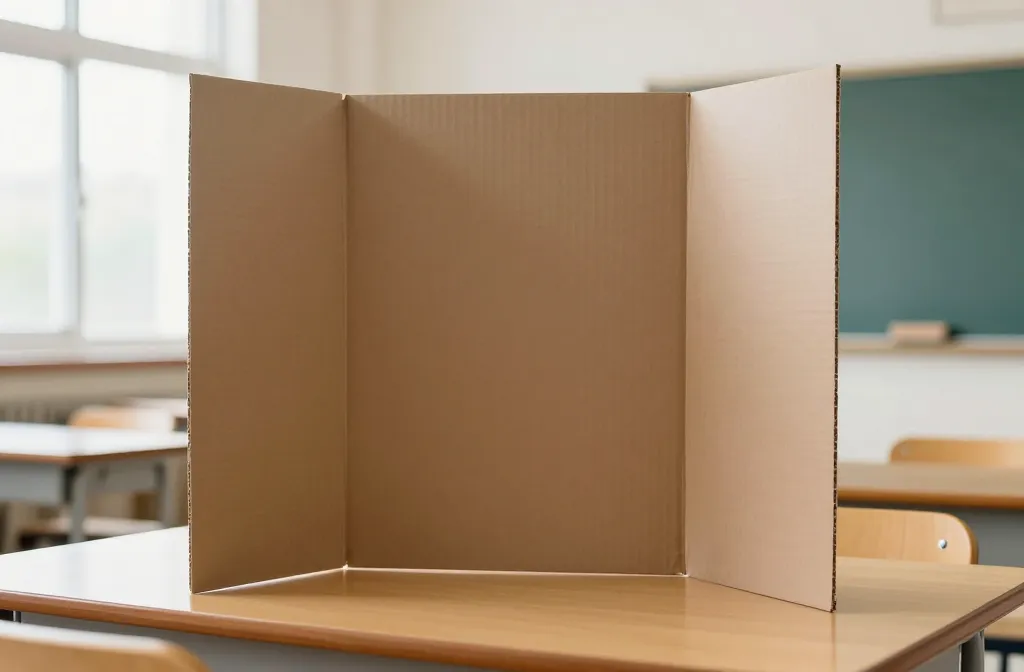
Your kid has a brilliant experiment and one week to build a board that explains it without looking like it was slapped together during breakfast. Cardboard is cheap, sturdy enough to stand through judging, and easy to cut without power tools or a trip to the craft store.
These cardboard craft ideas for science fair displays turn boxes, tubes, and scraps into backdrops, organizers, stands, and props that hold up under gym lights and curious hands. Most take an hour or two and use supplies already in the house.
Start with the backbone of the display, then add the details that make your data easy to read.
1. Build a Tri-Fold Display From Appliance Boxes
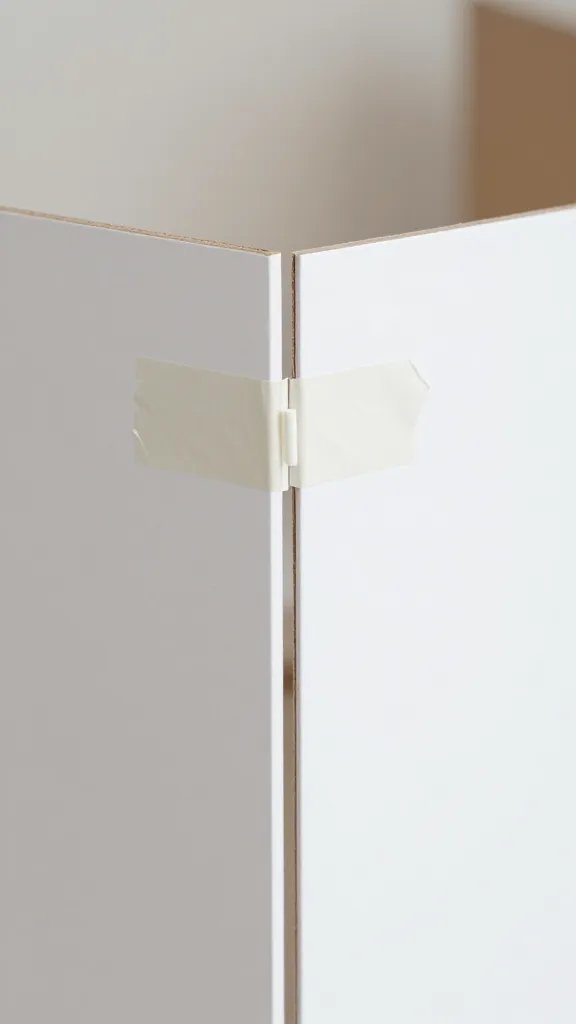
Buying a foam board costs fifteen dollars and still needs reinforcement. Large cardboard boxes from a fridge, dishwasher, or washing machine give you flat panels big enough for a whole display.
The make: Cut three equal panels, then tape two hinges with duct tape on the back so the board folds without flopping.
Paint the front with two coats of white latex so marker does not bleed through. Let it dry overnight, propped against a wall, not flat on the floor. The board stands on its own without a brace and folds flat for the car ride to school.
2. Use Cereal Boxes as Printout Backing Panels

Typed descriptions and charts look flimsy when they are just taped to a board. Cereal boxes give each printout a frame that raises it off the background.
- Cut rectangles slightly larger than your printed sheets
- Cover the cardboard with colored construction paper or wrapping paper
- Glue your printout centered on top
- Attach the whole panel to the display with foam squares for a lifted look
Color note: Pick one accent color for all the backing panels so the board looks planned, not random.
3. Shape a Volcano Model From Layered Cardboard Rings
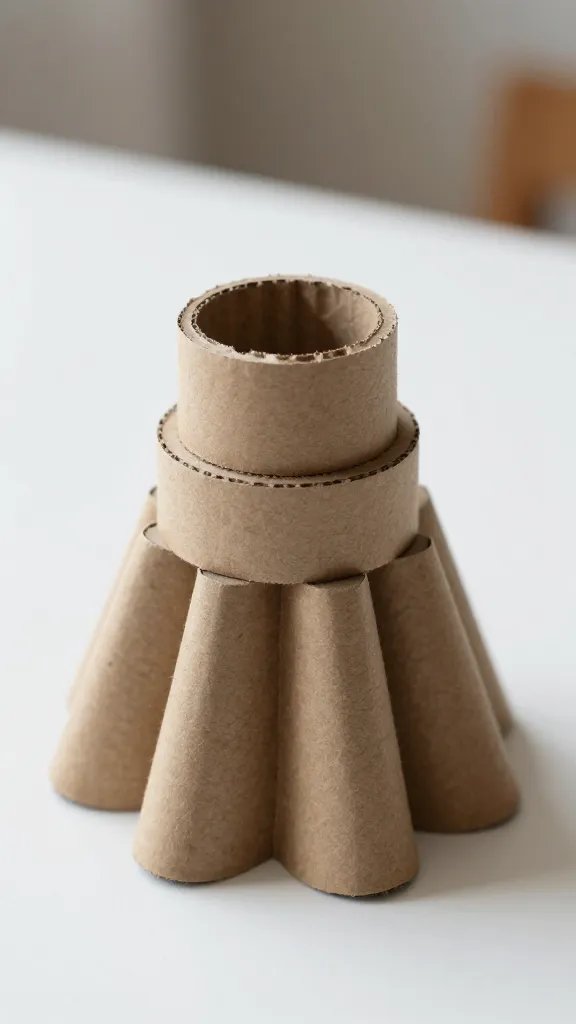
Most volcano models sag or crack. Stacked cardboard rings hold their shape and take paint without melting like foam does.
Cut graduated circles from old boxes, starting wide at the base and shrinking as you stack. Hot glue each ring on top of the last, leaving a hollow center for the eruption cup. Cover the outside with torn newspaper strips and white glue, then paint it brown and gray once dry.
Safety note: An adult should handle the glue gun for the stacking step.
4. Create Standing Data Cards With Folded Cardboard Easels
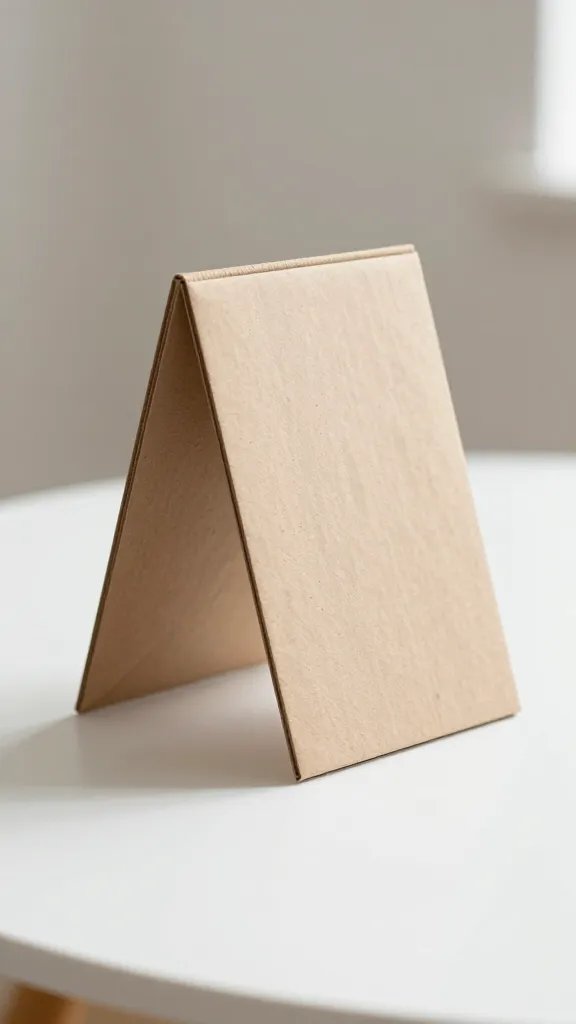
Flat charts get lost on a crowded table. Small easels made from cardboard scraps prop up index cards with key facts, procedure steps, or vocabulary so judges can read without leaning in.
Why it works:
- Each card stands at eye level instead of lying flat where hands and elbows knock them around
- Judges can pick up a card to read the back without disturbing the whole display
- You control the reading order by arranging easels left to right
Cut a triangle with a long back leg and a short front lip, then fold along the center. Takes about two minutes per easel.
5. Construct a Sturdy Plant Growth Timeline Shelf
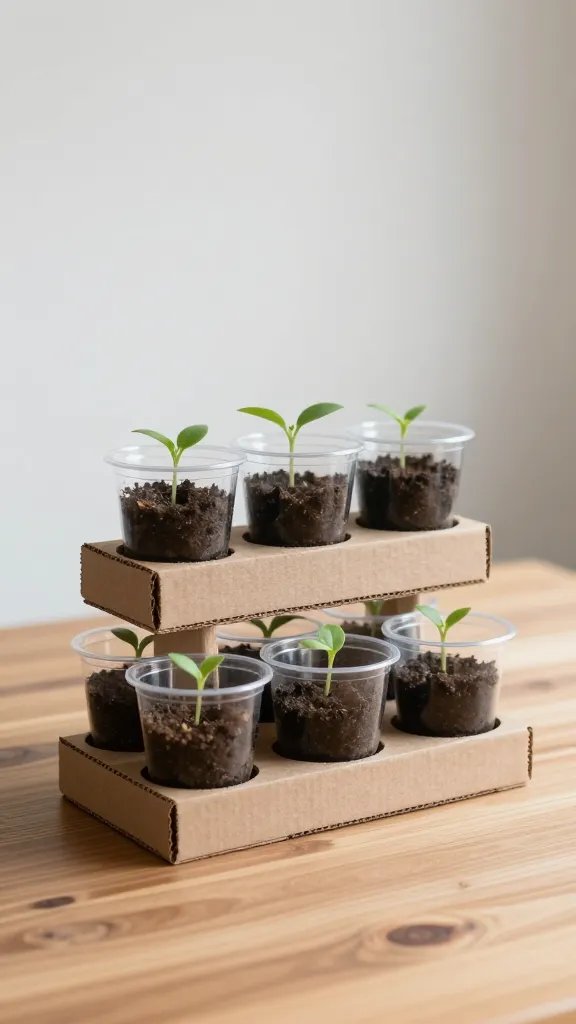
Best for: Biology experiments that track seedlings, mold, or crystals over several days.
A tiered shelf made from stacked cardboard strips lets you line up cups or jars in order without them tipping. Cut four identical lengths of thick cardboard, stack them like stairs with hot glue, and cover the front edge with painted paper. Each level holds one sample.
Label each step with a day marker written directly on the shelf edge. The whole thing fits on a table corner and does not block the board behind it.
6. Make a Solar System Mobile Base From a Cardboard Circle
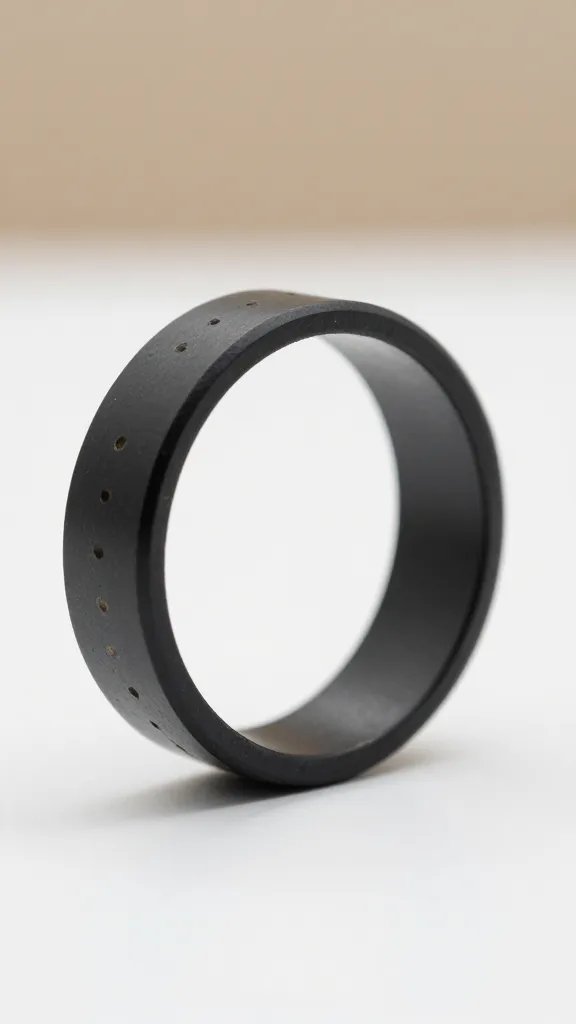
Hanging planets from fishing line looks great until they tangle during transport. A flat cardboard ring gives you a stable base that keeps strings separated and easy to fix if one snaps.
Cut a large circle from a box lid, poke evenly spaced holes around the edge, and thread your planet strings through. Hang the ring itself from three strings tied to a center hole. Paint the ring black so it disappears against the display backdrop.
Make it ahead: Assemble the mobile two days early and hang it in a doorway to test for balance before the fair.
7. Design Custom Specimen Display Boxes
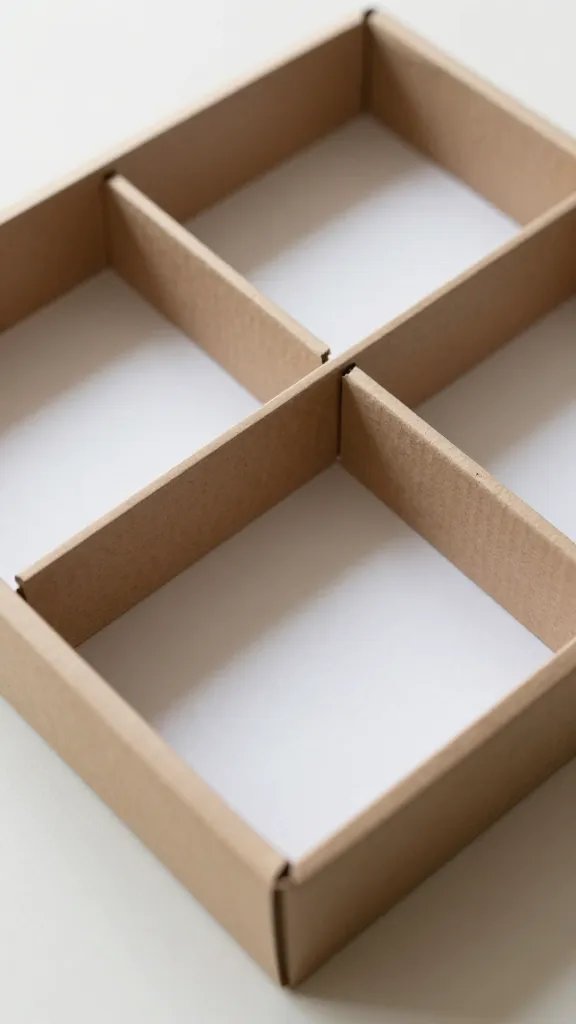
Rocks, leaves, or insect samples roll around in plastic bags and look unfinished. Shallow cardboard trays with dividers turn a collection into an exhibit.
Supplies: One shallow box lid, cardboard strips for dividers, white paper to line the bottom, and clear plastic wrap to cover the top.
Assembly tip: Glue dividers in a grid, then tape plastic wrap across the whole top so samples stay put but judges can still see everything clearly.
Label each compartment with a small sticker on the plastic. The box lies flat on the table next to your board.
8. Build a Working Lever Model From Cardboard and a Pencil
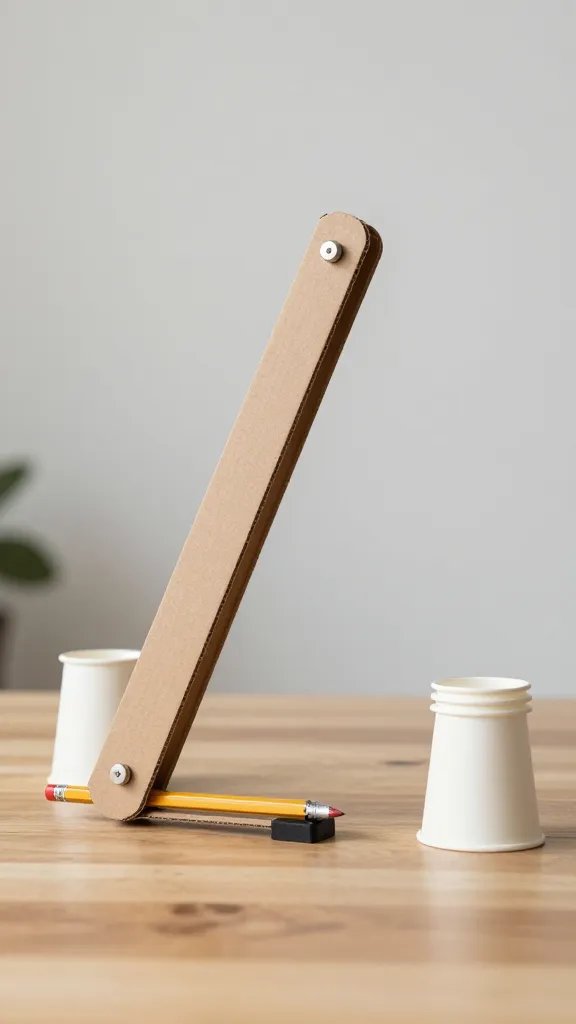
Diagrams of simple machines make sense on paper but come alive with a model judges can move. Cardboard levers actually lift small weights and show force in action.
Cut a long cardboard strip, poke a pencil through the center for a fulcrum, and rest it on two stacks of cardboard blocks. Tape a small cup on each end to hold pennies. Judges add coins and watch one side lift.
This also works for pulleys using a cardboard wheel and string. Both models cost nothing and survive being handled all day without breaking.
9. Form a Question and Hypothesis Sign With Layered Letters

The detail to steal: Oversized letters cut from cardboard and stacked for depth make your main question impossible to miss from across the room.
Trace block letters onto cardboard, cut two or three copies of each, and glue them in a stack. Paint the edges one color and the top another. Glue the finished letters to your board header or prop them along the table edge.
Judges see your question first, before they read anything else. That is exactly what should happen.
10. Craft a Rotating Wheel Chart for Variable Comparisons

Some experiments compare results under different conditions. A cardboard wheel with a window cut in the top layer lets you spin through options without printing four separate charts.
Cut two circles, one slightly smaller. Divide the bottom circle into sections and write one variable in each. Cut a window in the top circle, fasten both with a brass fastener in the center, and spin to show each result.
Kids can turn the wheel themselves during presentations without you hovering. It holds up better than paper and does not tear at the fastener hole.
11. Assemble a Photo Timeline on Cardboard Ribbon

Best for: Experiments that happen over weeks, like bean growth or weather tracking.
A long cardboard strip mounted horizontally across your board gives you space to arrange photos in order with dates underneath. Cut a strip about four inches wide and as long as your board, paint it a solid color, and glue photos on top with a label beneath each one.
Placement note: Mount the strip at eye level so judges follow the timeline left to right without bending down.
This keeps your procedure visual and breaks up text heavy sections.
12. Construct a Foldable Cardboard Microscope Stand
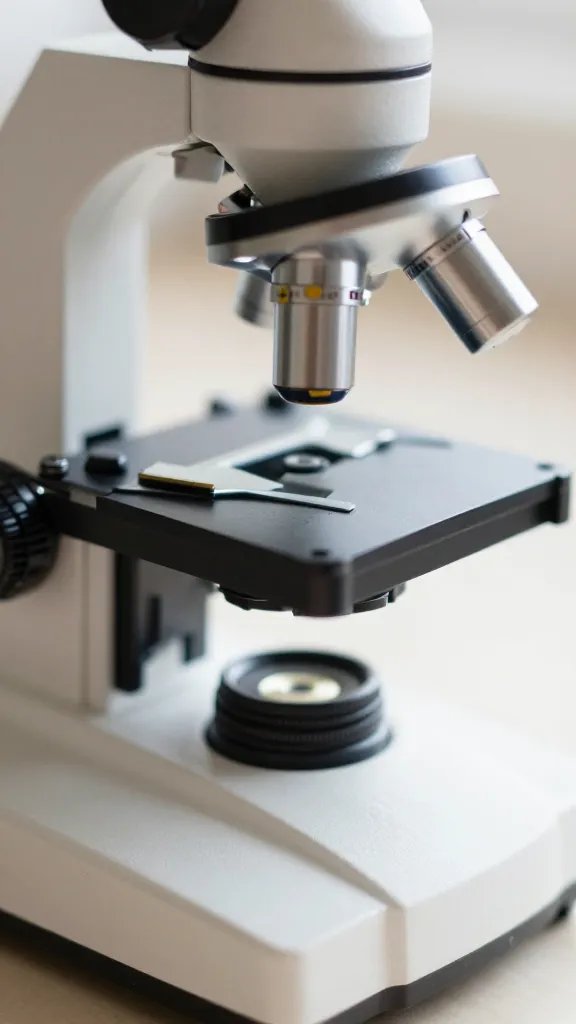
Actual microscopes are heavy, expensive to transport, and easy to bump. A cardboard stand with a phone holder lets you display microscope photos on a screen angled toward judges.
Cut a right angle brace from sturdy cardboard, add a lip at the base to hold a phone, and paint it to match your board. Lean it against your display or glue it flat to the table. Load a slideshow of your microscope images and let it loop.
Judges get a close look at your findings without needing to adjust an actual lens or wait their turn.
13. Shape a Cardboard Tube Test Tube Holder
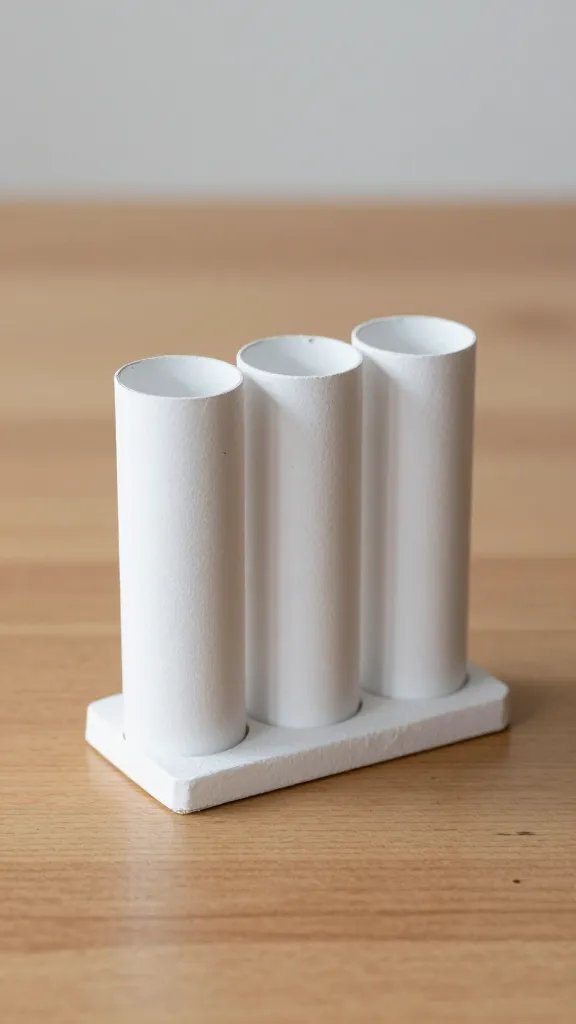
Test tubes tip over. Cardboard tubes from paper towels or wrapping paper become a custom rack that holds exactly the number you need.
Cut the tube into short sections, glue them side by side on a flat cardboard base, and paint the whole thing. Each tube section cradles one test tube upright. You can also use this for holding paintbrushes, pencils, or plant cuttings during setup.
Budget swap: Toilet paper tubes work for narrow test tubes or marker storage if you do not have the larger size.
14. Design a Freestanding Hypothesis vs. Conclusion Comparison Board
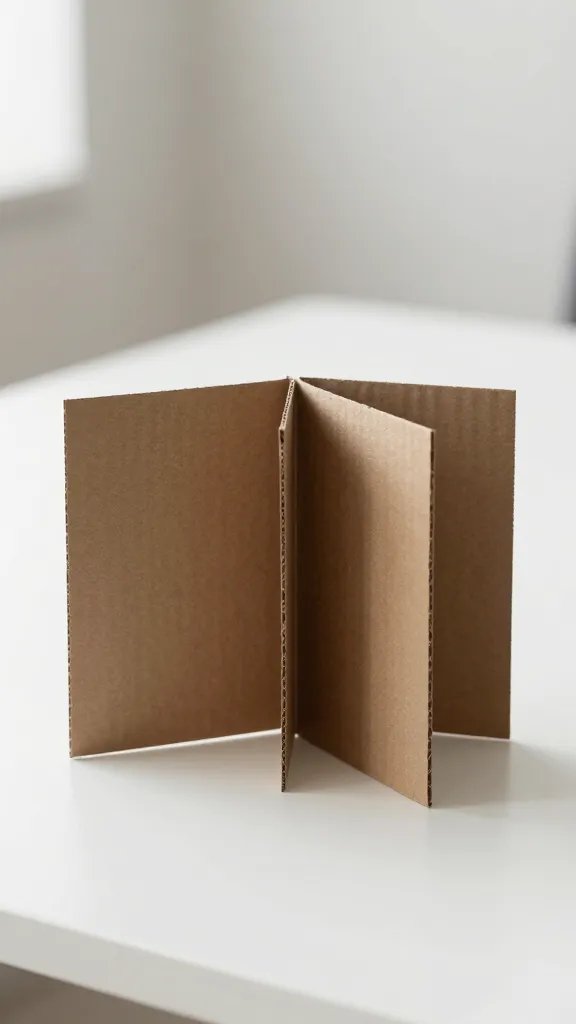
Double sided information gets missed when it is taped to the back of your main board. A small freestanding cardboard panel placed in front shows both your starting hypothesis and final conclusion without making judges walk around.
Why it works:
- Judges see your thinking process at a glance
- The freestanding piece adds depth to a flat table setup
- You can angle it toward the flow of foot traffic
Cut a rectangle, score it down the middle, fold it into an open book shape, and label one side hypothesis and the other conclusion. Simple and clear.
15. Build a Cardboard Base Platform for Messy Experiments
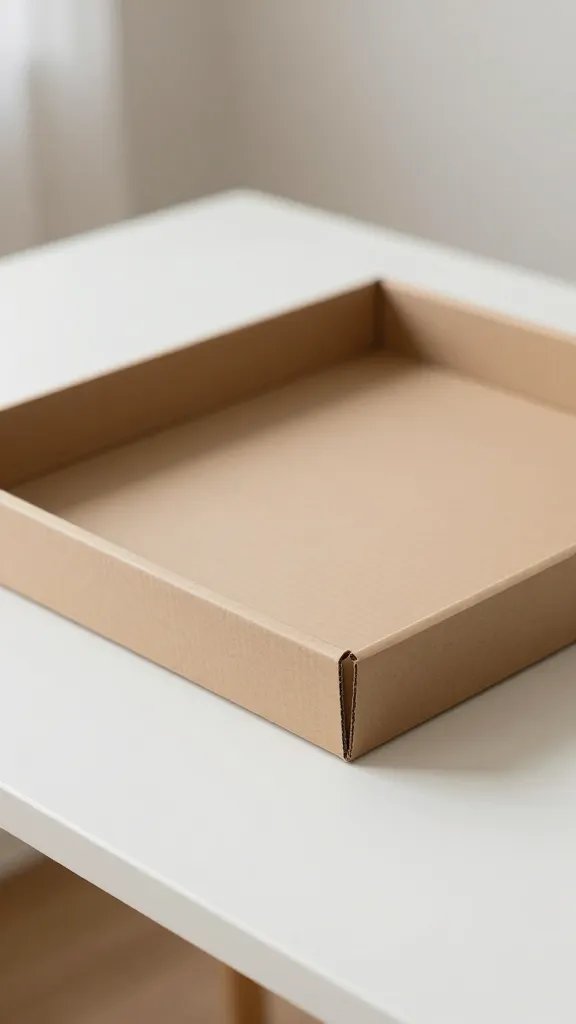
Demonstrations that involve liquids, dirt, or baking soda need containment. A raised cardboard platform with a rim keeps spills off the table and signals to judges where the action happens.
Cut a large square from thick cardboard, glue a thin strip around all four edges to form a shallow tray, and line the bottom with aluminum foil or plastic. Set your beakers, plants, or reaction containers inside. Everything stays together, cleanup is faster, and your display looks intentional instead of chaotic.
Reuse it later: The platform works for art projects or as a catch tray under a pet cage once the science fair ends.
Cardboard does not look cheap when you use it with intention. It looks resourceful, sturdy, and honestly made. These builds give your science the structure it deserves without eating your budget or requiring skills you do not have.
Save this for the next experiment deadline that sneaks up faster than expected.