
14 Cardboard Craft Ideas That Look Nothing Like Cardboard

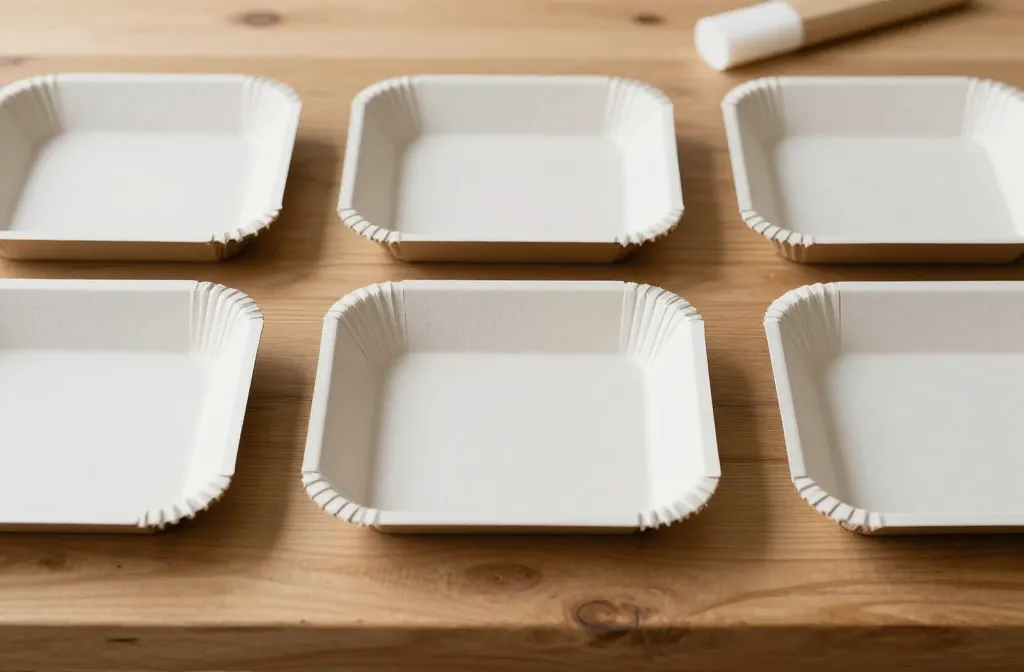
# 14 Cardboard Craft Ideas That Look Nothing Like Cardboard
Cardboard boxes pile up after deliveries, and most of them head straight to recycling. But that thick, sturdy material can turn into surprisingly polished decorations and party pieces that look far more expensive than they are.
These fourteen cardboard craft ideas skip the obviously boxy look. Each one uses paint, fabric, or a simple cutting technique to hide the humble base material. Most take an hour or less, and the supplies are sitting in your pantry or junk drawer right now.
Save a few boxes before you break them down for pickup.
1. Paint Cardboard Rounds Into Faux Ceramic Chargers
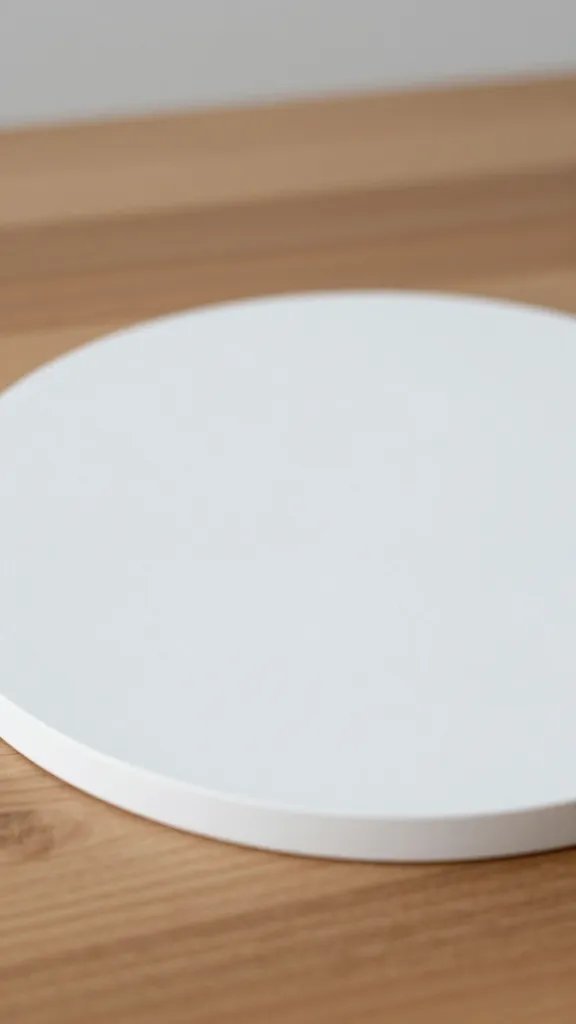
Dinner plates look plain on a bare table, and real chargers cost upward of ten dollars each. Cut circles from cardboard, coat them with white acrylic paint, and finish with a matte sealer. The texture disappears under two coats, and the edges smooth out with light sanding.
The make: Trace a dinner plate on cardboard, cut with scissors or a craft knife, and paint both sides so they do not warp.
Stack them at each place setting or layer them under a dessert plate for a finished table that photographs well. They hold up through one party and store flat for the next one.
2. Cover Cardboard Letters With Yarn for a Textured Sign
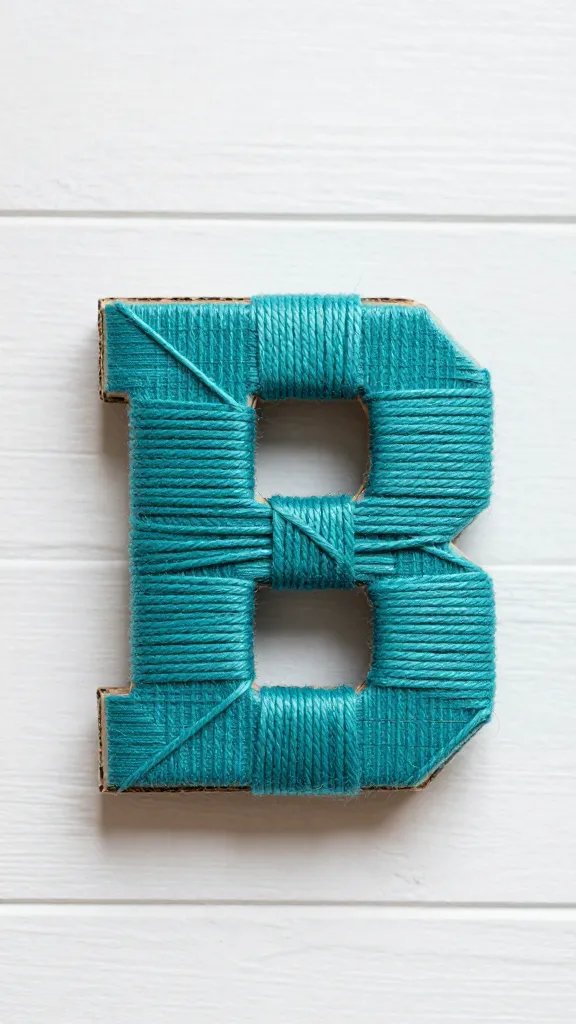
Block letters add a name or age to a party backdrop, but foam letters look like foam letters no matter how you decorate them. Cardboard letters wrapped tightly in yarn feel handmade in the right way.
- Base: thick cardboard cut into simple block letters, no thin spots
- Main supply: a few skeins of yarn in one color or a stripe pattern
- Adhesive: hot glue at the start and end of each wrap
- Finishing touch: a small ribbon bow tucked into one corner
Little hands tip: Kids can wrap the yarn while you glue the ends so no one gets burned.
3. Build a Mini Marquee Light With Cardboard and String Lights

Marquee letters bring a party vibe, but the plastic versions are bulky and expensive to store. A cardboard frame wrapped in string lights gives you the glow without the clutter.
Best for: A birthday number, an initial, or a short word like “yay” propped on a dessert table or mantel.
Cut the letter shape with a wide border, poke small holes along the outline, and thread battery operated string lights through each hole. The cardboard stays hidden behind the bulbs, and the whole thing folds flat after the party. Tape it to the wall or prop it on a stack of books so it stands on its own.
4. Shape Cardboard Tubes Into Faux Birch Candleholders
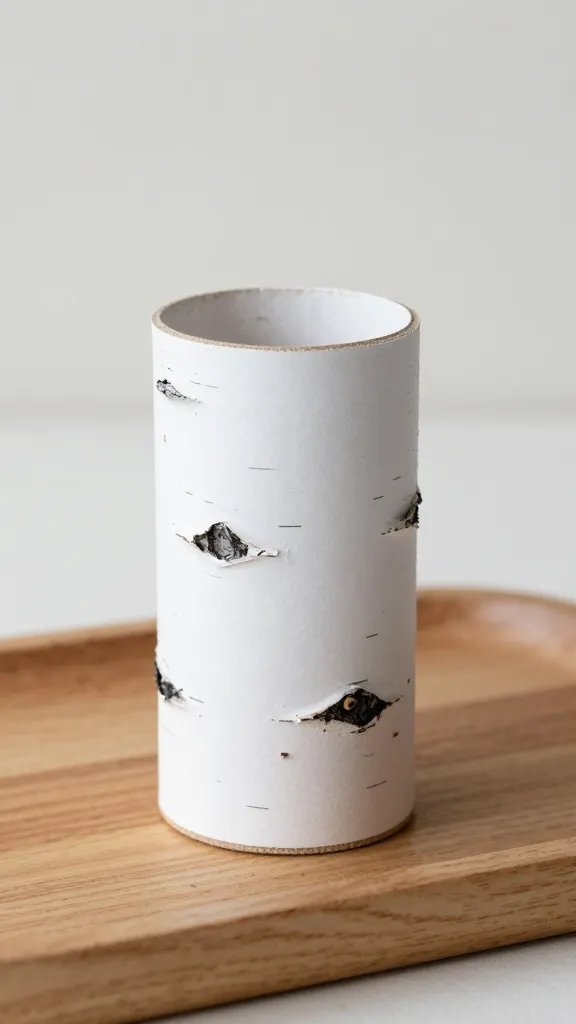
Paper towel tubes usually get tossed, but they make surprisingly convincing birch branch candleholders when you paint them white and add a few black strokes for bark.
Why it works:
- The round shape already mimics a branch, so you skip the hardest part
- White paint with irregular black marks reads as birch even up close
- Battery tea lights drop right into the top and stay stable
Cut tubes to different heights, paint them, and cluster three or five together on a tray for a woodland centerpiece that costs almost nothing.
5. Turn a Cardboard Box Into a Fabric Covered Storage Bin

Open storage bins keep craft supplies or party favors tidy, but plastic ones look like plastic even when you try to hide them. A cardboard box wrapped in fabric blends into a shelf or table and holds just as much.
Choose a sturdy box with straight sides. Wrap it like a gift using fabric instead of paper, and secure the edges with fabric glue or a glue gun. Fold the corners neatly so they look tailored, not bunched.
Budget swap: A dish towel or a piece of leftover curtain fabric works as well as anything from a fabric store.
6. Cut Cardboard Into Confetti Shaped Garland Pieces
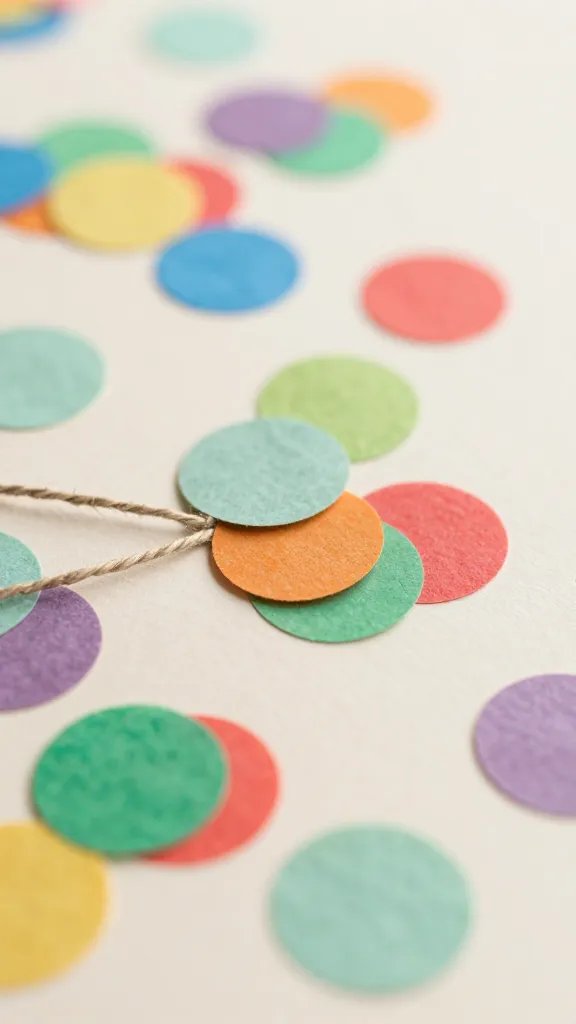
Die cut garlands are cute but pricey, and paper ones tear if you brush past them. Cardboard confetti shapes strung on twine hold their form and pack away for next year without creasing.
Supplies: Thin cardboard from a cereal box, a small circle punch or scissors, acrylic paint in two or three colors, and a needle with twine.
Time needed: About forty minutes to punch, paint, and string enough pieces for a six foot garland.
Hang it across a doorway or above a cake table. The painted edges catch the light, and no one guesses the base material unless you tell them.
7. Make Cardboard Drawer Dividers That Look Like Store Organizers
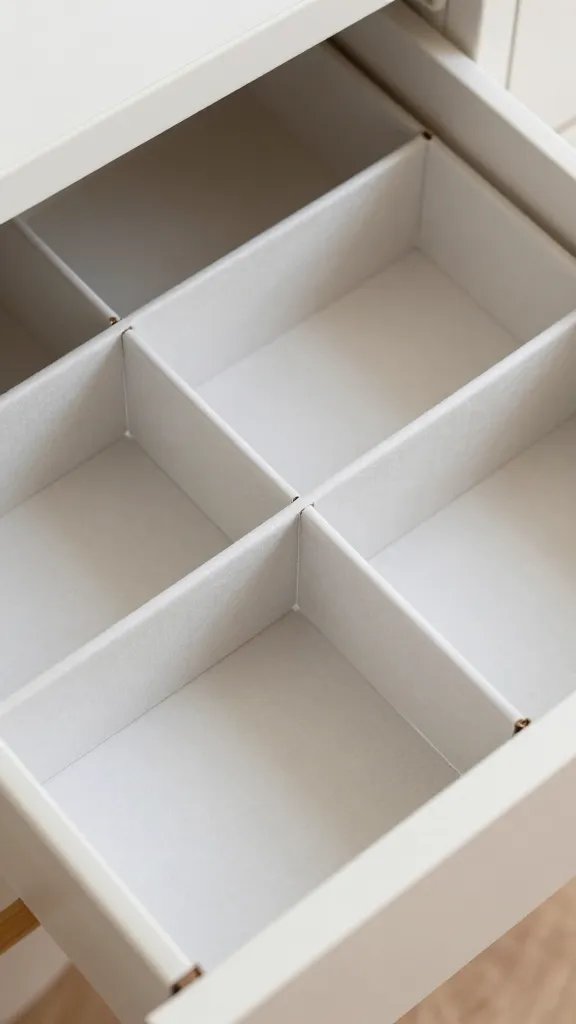
Junk drawers and craft bins turn into a mess without dividers, and the adjustable ones cost more than they should. Cardboard strips cut to fit and covered with contact paper or wrapping paper organize just as well.
Measure the drawer, cut strips to height, and notch them so they slot together in a grid. Cover each piece before you assemble the grid so the edges stay clean. The structure holds pens, ribbon spools, or small favor bags upright and does not shift when you open the drawer.
You can pull the whole grid out and reuse it in a different drawer later.
8. Build a Cardboard Cake Stand With a Pedestal Base

Cake stands add height to a dessert table, but a nice one runs twenty dollars or more. Two cardboard circles and a sturdy tube in between make a pedestal that supports a real cake and looks clean in photos.
Why it works:
- The round shapes and height mimic a ceramic stand without the weight
- White paint and a coat of mod podge seal the surface so crumbs brush right off
- The base stays stable because the tube is wider than most people expect
Set the cake on a board first, then place the board on the stand. That keeps frosting off the cardboard and makes serving easier.
9. Cut Cardboard Into Geometric Wall Art Panels
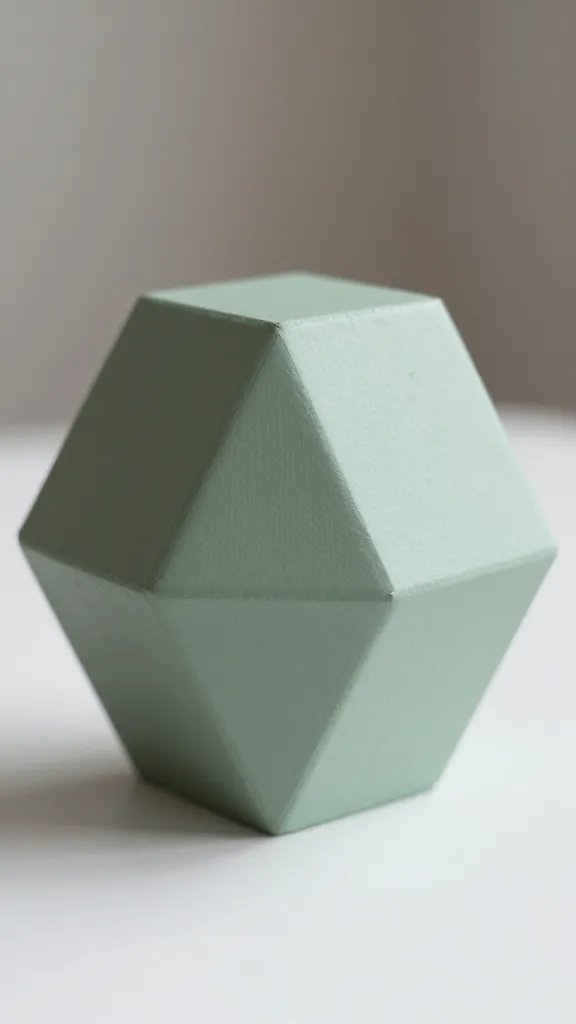
Blank walls need something, but framed prints add up fast. Cardboard cut into triangles, hexagons, or simple rectangles and painted in a few coordinating colors creates a modern gallery wall for almost no money.
Trace your shapes with a ruler so the edges stay straight. Paint each piece a different shade from the same color family, let them dry flat, and arrange them in a loose grid on the wall with removable adhesive.
Color note: Three shades of one color look more intentional than a rainbow of random hues.
Scale note: Larger shapes make a bigger impact and go up faster than dozens of tiny pieces.
10. Wrap Cardboard Coasters in Fabric Scraps
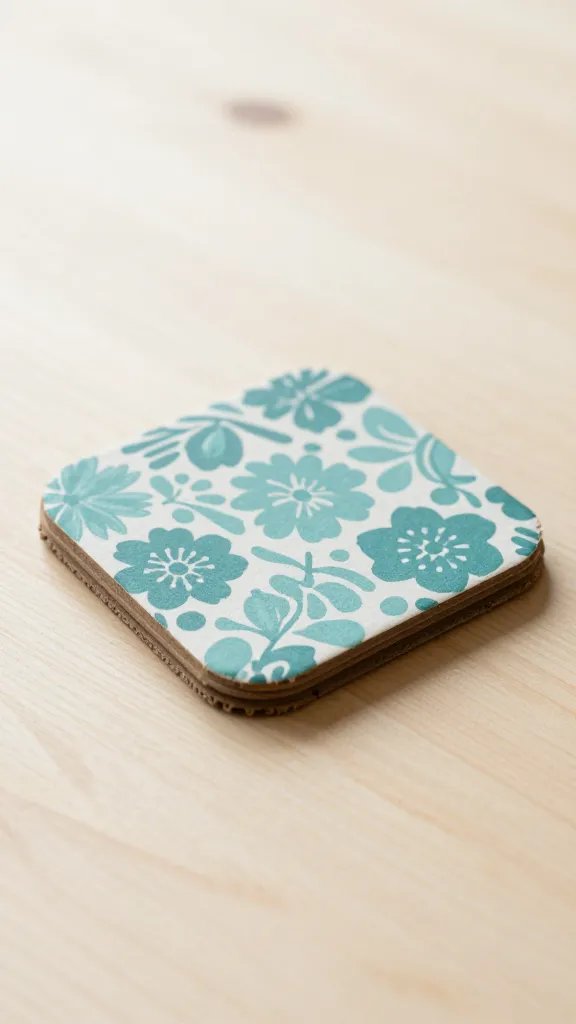
Coasters protect tables from drink rings, but the cork ones look tired and the ceramic ones chip. Cardboard circles wrapped in fabric scraps feel softer and soak up condensation without leaving a mark.
The make: Cut circles slightly larger than a standard drink glass, wrap each one in fabric like a tiny drum, and glue the edges to the back.
Make a set of six in coordinating prints for your own table, or wrap them in a ribbon as a simple hostess gift. They absorb moisture better than hard coasters, and you can toss them in the wash if they get stained.
11. Stack Painted Cardboard Boxes Into a Tiered Display
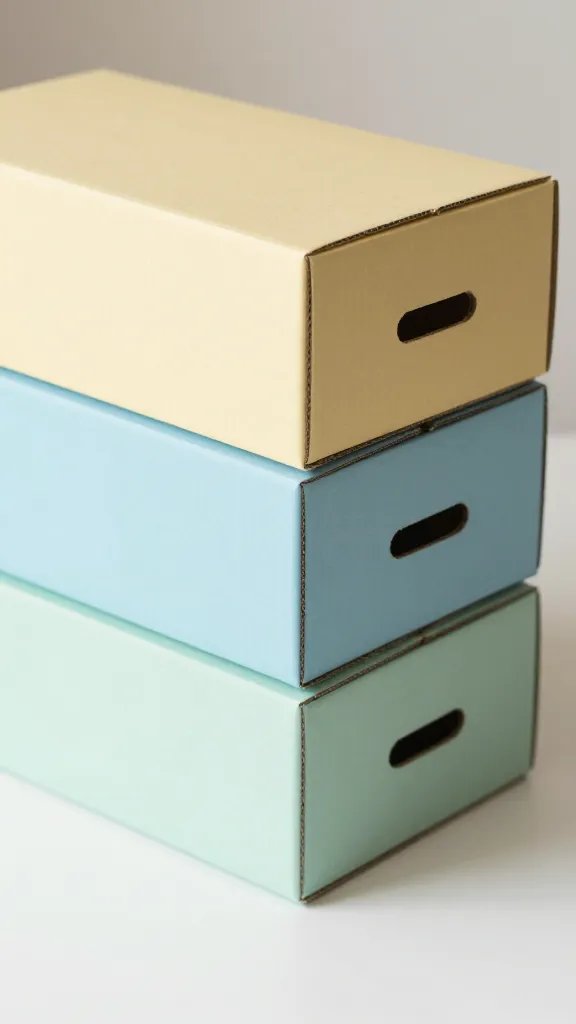
Dessert tables look bare when everything sits flat, and risers from a party store cost more than the treats on top of them. Cardboard boxes in graduated sizes, painted to match your theme, stack into a sturdy tiered display.
Spray paint dries faster than brushing and covers the corrugated texture in one or two coats. Stack the largest box on the bottom, add the next size up, and finish with the smallest on top. Arrange cupcakes, favors, or small wrapped gifts on each level.
The boxes nest inside each other for storage, and you can repaint them for the next party if the color scheme changes.
12. Cut Cardboard Into Stamped Gift Tags
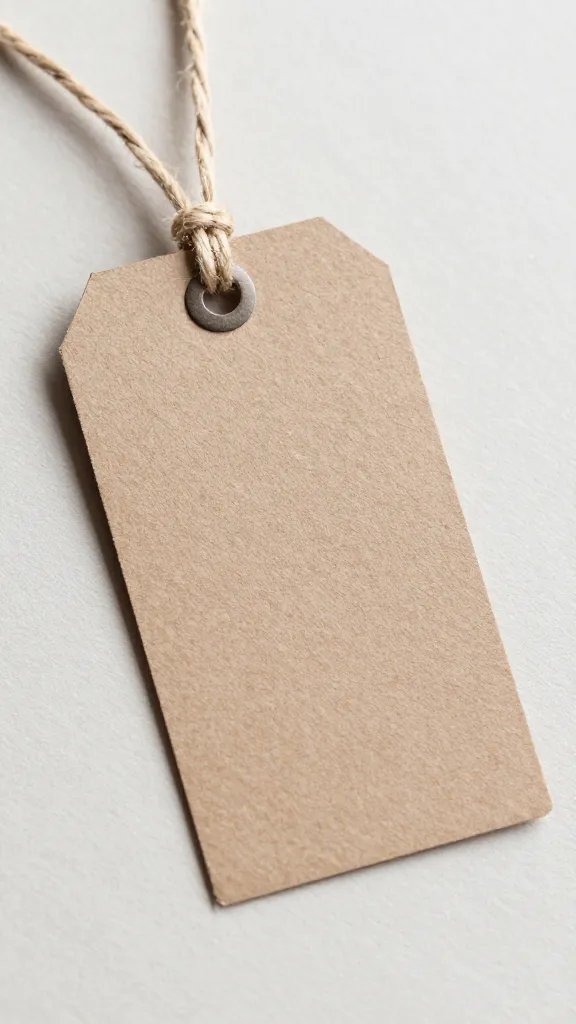
Gift tags from the store come in packs of ten and never quite match your wrapping paper. Cardboard cut into small rectangles and stamped with a simple design gives you a stack of custom tags in one sitting.
Best for: Favor bags, wrapped gifts, or place cards tied to a napkin with twine.
Use a corner punch to round the edges, stamp a single image or initial on each tag, and punch a hole at the top for string. The thick base feels more substantial than paper tags, and the stamped design looks intentional even if your handwriting does not. Make a batch of twenty in under half an hour.
13. Shape Cardboard Into a Faux Succulent Planter Box
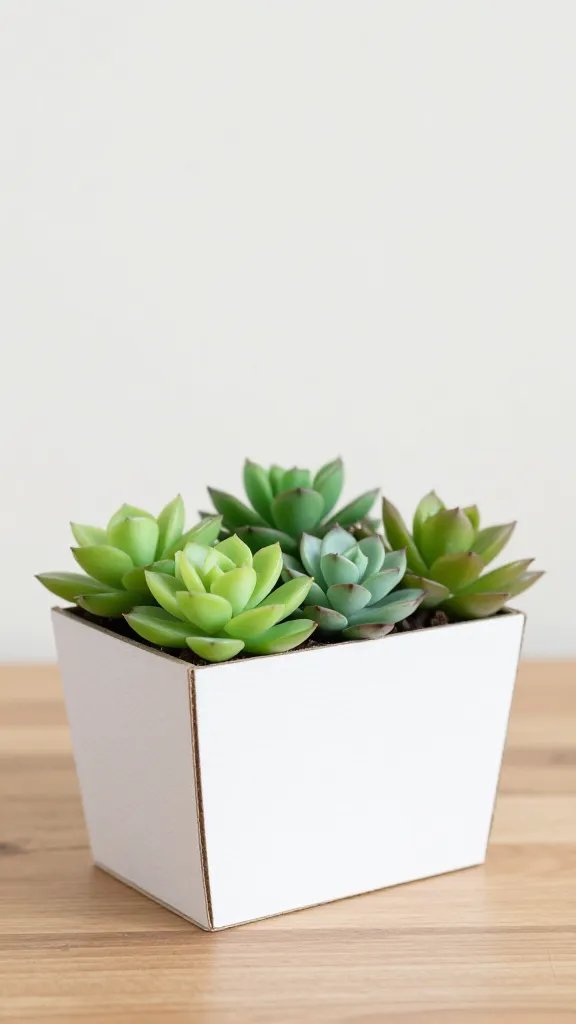
Succulent arrangements bring greenery to a table without the worry of wilting flowers, but small planters add up when you need several. A shallow cardboard tray lined with foil and filled with faux succulents sits on a table or mantel and looks like a real planter from a few feet away.
Cut a low box or tray from sturdy cardboard, paint the outside in a neutral color, and line the inside with foil so no soil shows. Nestle small faux succulents into moss or shredded paper to hold them in place.
Reuse it later: Swap the succulents for pinecones in winter or small pumpkins in fall.
14. Build a Cardboard Photo Booth Frame
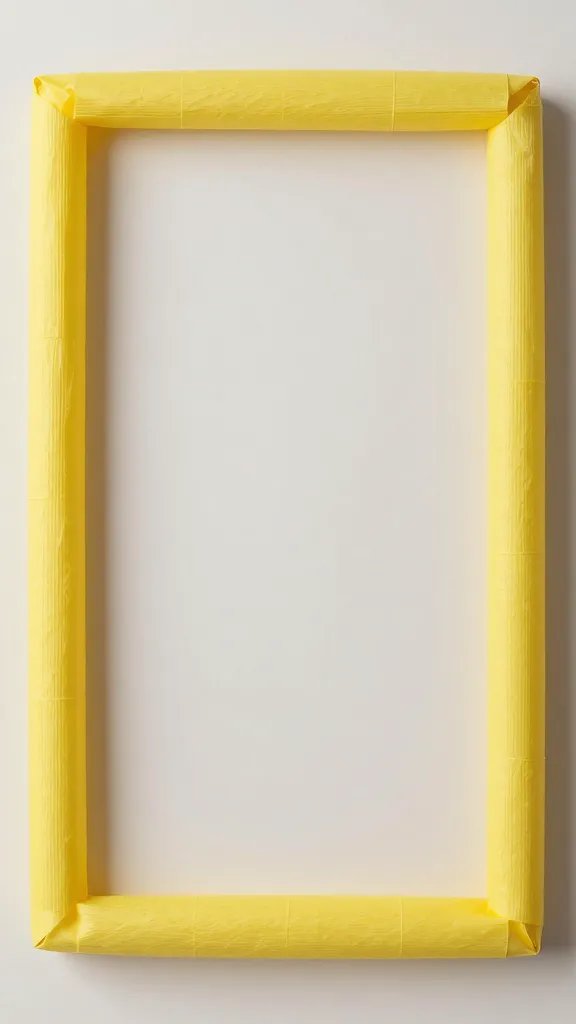
Photo booth frames give guests a clear spot to pose, but the wooden ones are heavy and expensive. A large cardboard frame painted in a bold color or wrapped in streamers does the same job and folds flat for storage.
Cut a rectangular frame from a large appliance box, leaving a wide border on all sides. Paint it or wrap the border in crepe paper, and prop it against a wall or have two people hold it up while others step through for photos.
Mess control: Hot glue strings everywhere when you wrap crepe paper, so work over a drop cloth and pull off the dried strands before the party starts.
Guests hold the frame or stand behind it, and the photos look like they came from a rented booth. The whole thing breaks down in seconds and fits under a bed until you need it again.
Cardboard shows up free in your recycling pile, and most of these ideas need only paint, glue, and an hour of your time. The finished pieces hold up through a party, photograph well, and skip the obviously crafty look that makes homemade decorations feel like a compromise.
Save this for the next time you need decorations on a tight budget or a last minute centerpiece that does not look thrown together.