
16 Paper Craft Ideas for Gift Wrapping

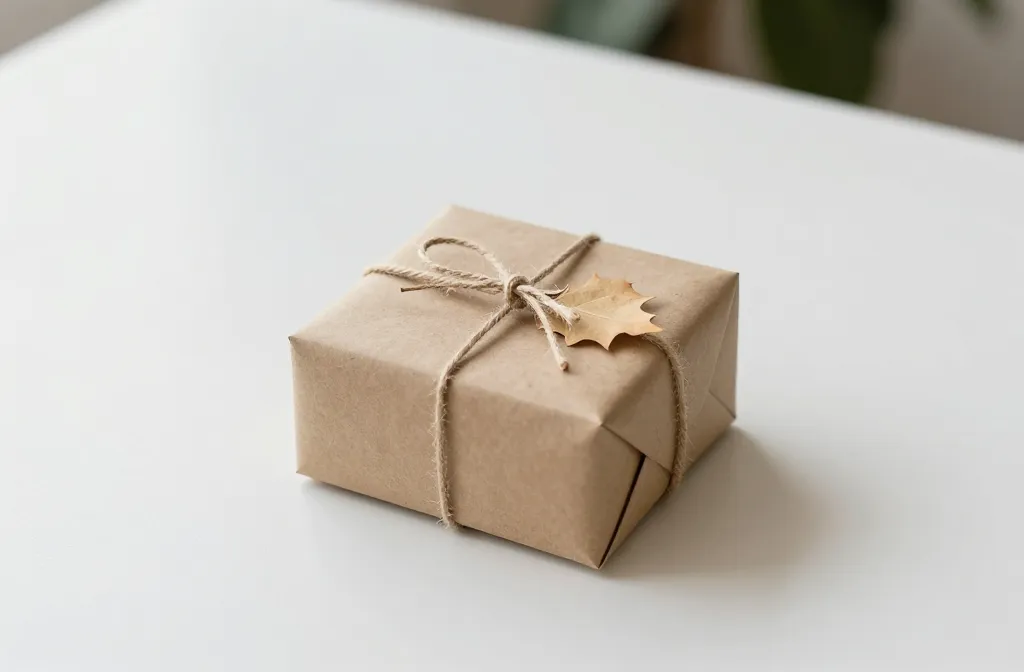
Wrappers look bare when there’s nothing to nosh up the eye. You want small, quick touches that feel thoughtful but don’t require a full party setup. Gift wrap deserves its own moment, and these ideas keep the look cohesive without breaking the budget. You can mix and match textures, colors, and textures to suit any theme, from birthday bash to picnic party.
Each idea is easy to pull off in an afternoon or less, with common supplies and a clear, doable timeline. Whether you’re solo or kid assisting, you’ll finish with something that photographs nicely and doesn’t leave a mess to clean up later. Let’s start with simple upgrades you can actually finish tonight.
1. Ribbon-Wrapped Gift Tags on Kraft Paper
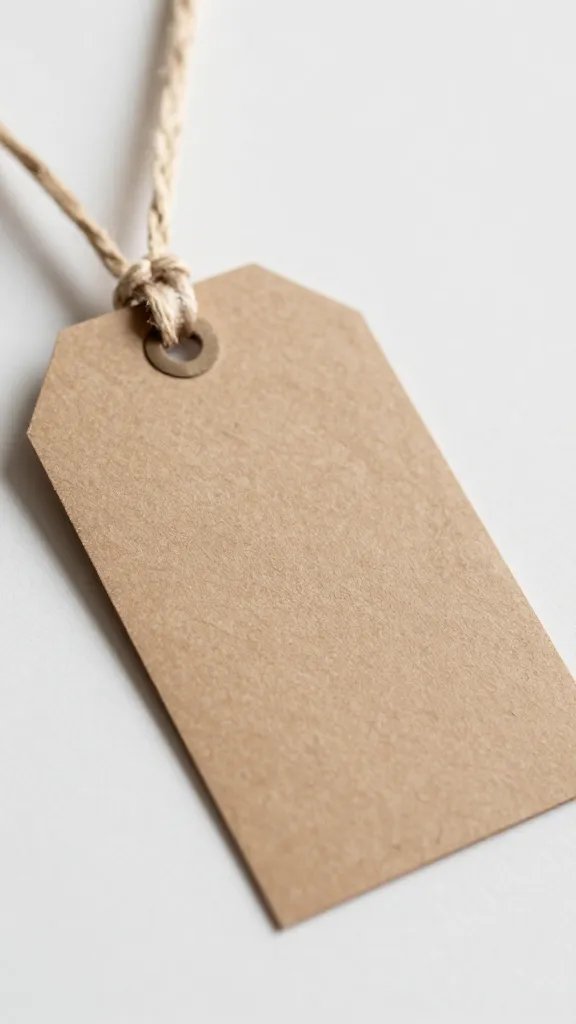
Plain kraft paper gets a quiet lift when you add short ribbons and a printed tag on top. Cut a few slits on the edge of the tag so it slides onto the ribbon, then tie a small bow with twine. It looks tidy and handmade without taking over the package. Supplies you need are kraft wrapping paper, lightweight tags, ribbon, and a pen to write the recipient’s name. Time estimate: 25 minutes for a stack of gifts.
Copy this look: Keep the color palette limited to two shades for a clean, shop-like finish.
2. Birch Leaf Accents on White Cardstock Wrapping
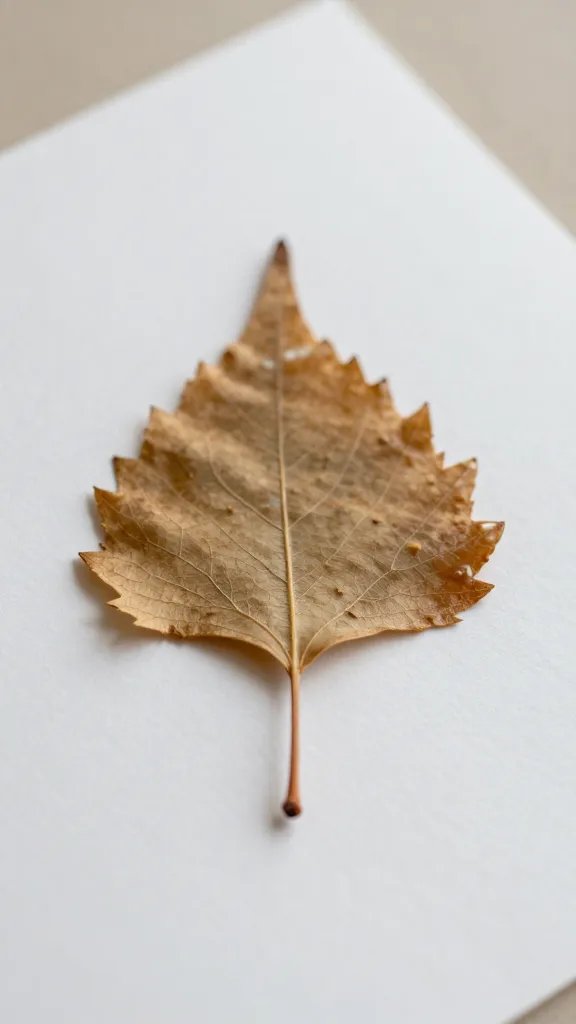
Wrap gifts in crisp white paper and press a single birch leaf or faux leaf onto each package with a dab of craft glue. It’s natural, fresh, and surprisingly chic for any occasion. Supplies: white wrapping paper, faux or real pressed leaves, glue, optional twine. Time: about 15 minutes per several gifts, once you’ve gathered leaves earlier in the season.
Best for: A small, nature-inspired party or a simple house gift exchange.
3. Washi Tape Borders to Frame a Gift
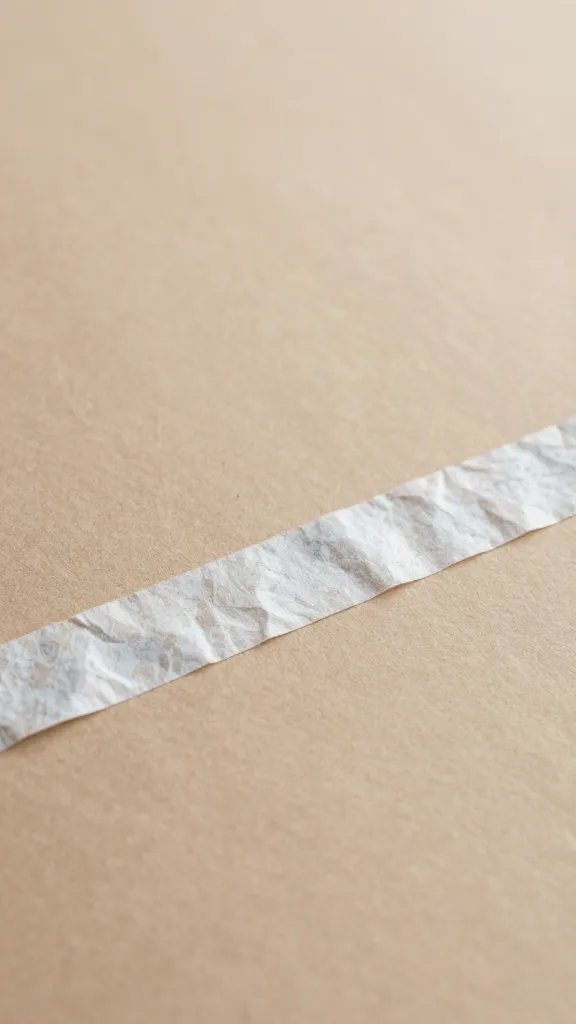
Choose a couple of coordinating washi tapes and run thin borders around the edges of a plain wrap. This adds a crisp, graphic edge without needing markers or stamps. Supplies: plain brown or white wrap, two washi tapes, scissors. Time: 10 minutes per dozen gifts when you work in batches.
Color note: Pick tapes in two complementary colors, not more, to keep it library-clean.
4. Presents with Paper Doily Rosettes
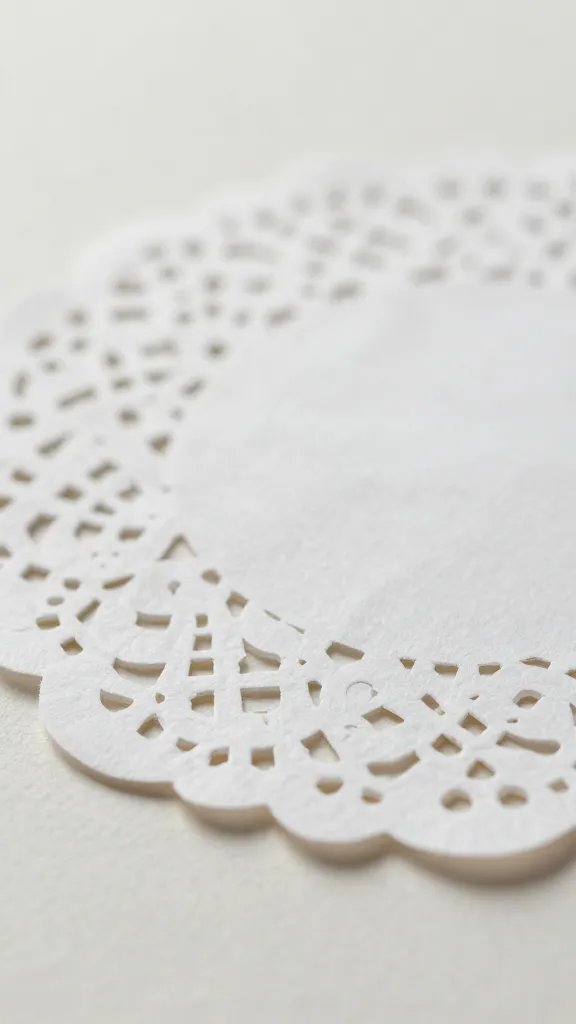
Cut small paper doilies in half, fold into rosettes, and tuck under the ribbon knot at the top of the package. It’s a little fancy without extra bulk. Supplies: plain wrap, paper doilies, glue, ribbon. Time: 20 minutes for a stack of gifts.
Spacing tip: Space doilies along the top third of the package for a balanced look.
5. Pop Color Confetti Inserts
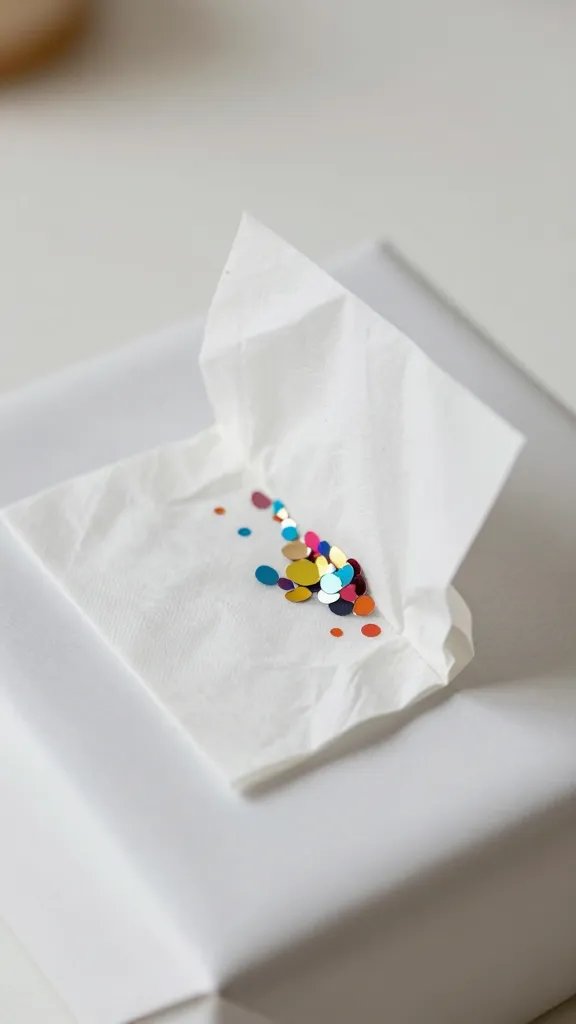
Fold a small square of tissue with a loose fold and slip a few confetti bits inside before sealing. The surprise is visible when the receiver opens the gift. Supplies: tissue paper, confetti or punched paper shapes, tape or glue dots, wrap. Time: 15 minutes for several packages.
Safety note: Use large confetti pieces to avoid choking hazards for kids near the gift.
6. Watercolor Stamp Borders
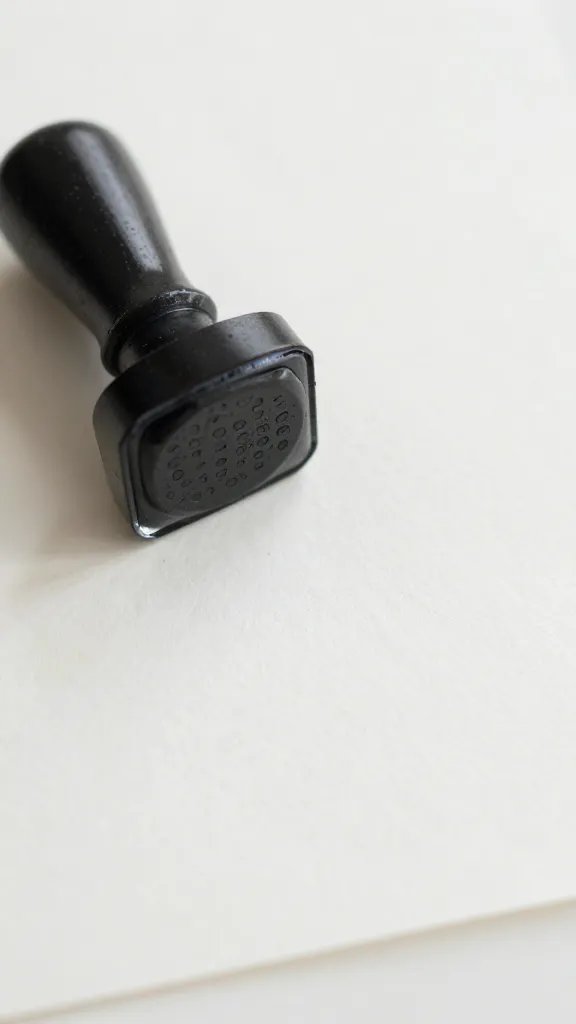
Stamp a soft watercolor border around the edge of the wrapping with a small foam stamp and diluted ink. It feels handmade but reads polished. Supplies: plain wrap, small rubber stamp or stamp pad, water and paper towel for cleaning. Time: 12 minutes per batch.
Make ahead: Stamp several sheets and let them dry before wrapping to save time later.
7. Fabric Wraps as a Gift Accent
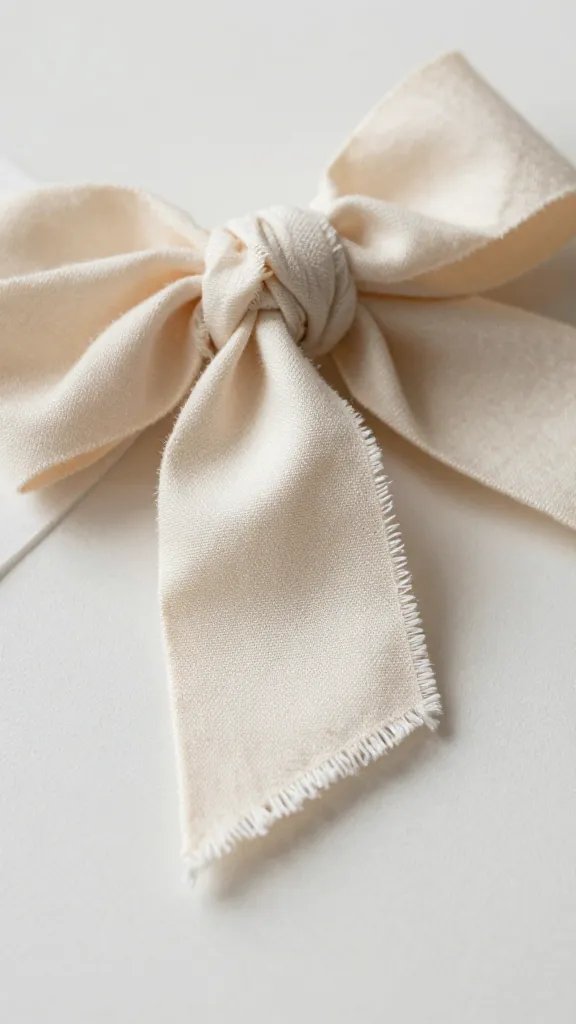
Swap paper for a small scrap of fabric tied snugly around the center of a package, with the ends left long for texture. It’s a subtle upgrade that also reduces waste. Supplies: fabric scrap, ribbon or twine, scissors. Time: 10 minutes per gift.
Little hands tip: Use a fabric scrap that’s already frayed for extra character.“
8. Monogram Monkeys with Metallic Thread
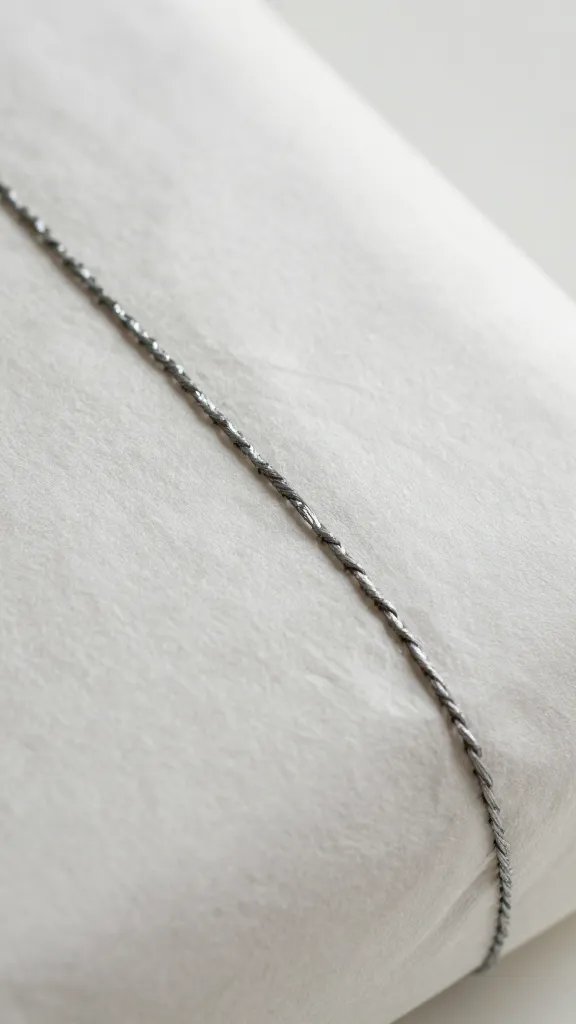
Wrap in a single color, then stitch a simple letter onto the top using a metallic thread. It’s quick, personal, and perfect for kid or adult gifts alike. Supplies: colored wrap, needle and embroidery thread, scissors. Time: about 15 minutes per few gifts.
Why it works: The metallic thread catches light without needing extra ornaments.
9. Gift Wrap with Button Snowflake Embellishments
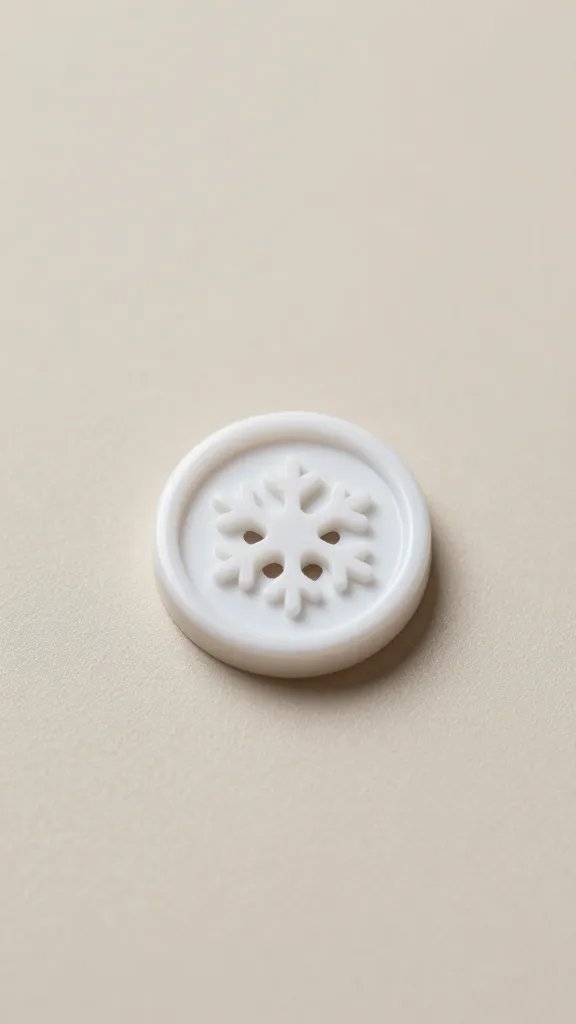
Collect a handful of buttons in the same family of colors, arrange into a snowflake pattern on the top center, and glue down. Perfect for winter birthdays or holiday gifts. Supplies: plain wrap, buttons, hot glue gun or craft glue, optional ribbon. Time: 20 minutes for several gifts.
Safety note: Turn off the hot glue gun when not in use and supervise kids around it.
10. Cardstock Gift Bows for a Polished Finish
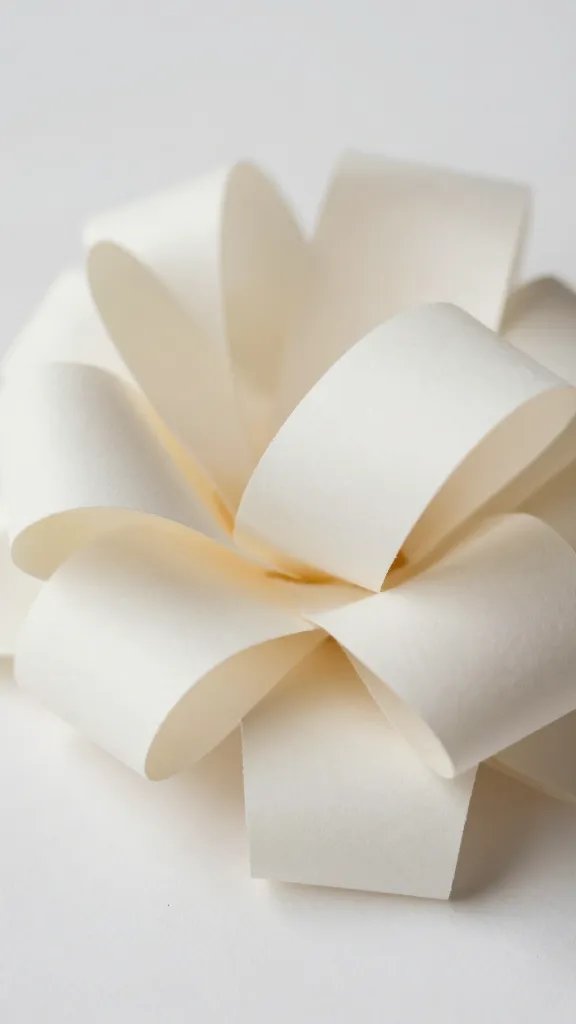
Cut simple bow shapes from sturdy cardstock in a color that matches the wrap, then glue onto the top. It’s sturdier than typical ribbon bows and photographs nicely. Supplies: cardstock, scissors, glue, wrap. Time: 15 minutes for a handful of gifts.
Placement note: Glue the bow slightly off-center for a modern look.
11. Minimalist Monotone with Twine Kiss
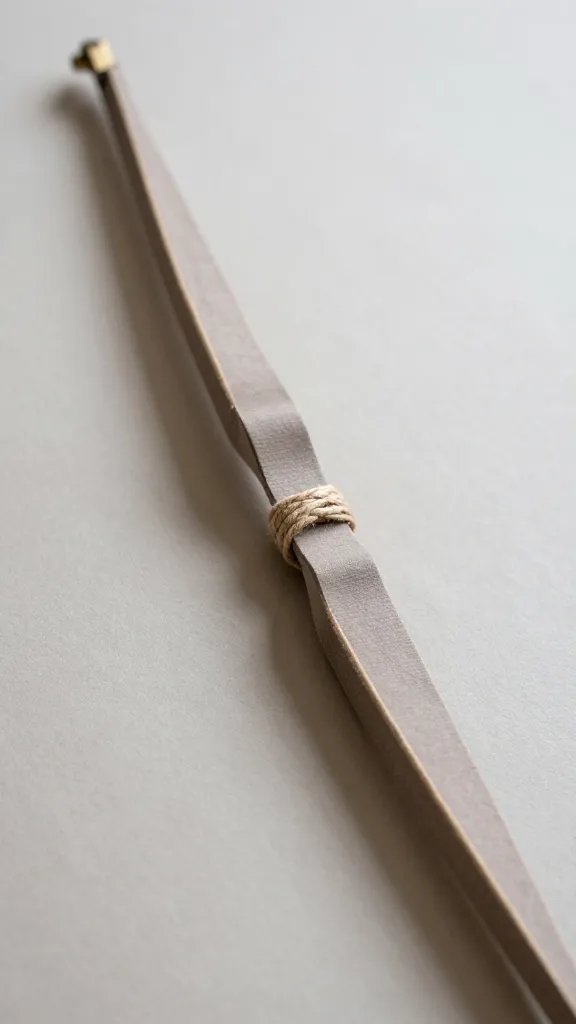
Use a single color wrap and finish with a long twine bow tied in a soft, loose knot. Add a tiny tag for the name. Supplies: wrap, twine, tag, pen. Time: 12 minutes per several gifts.
Copy the look: Use a muted color palette to keep things sophisticated and calm.
12. Printable Sticker Accents
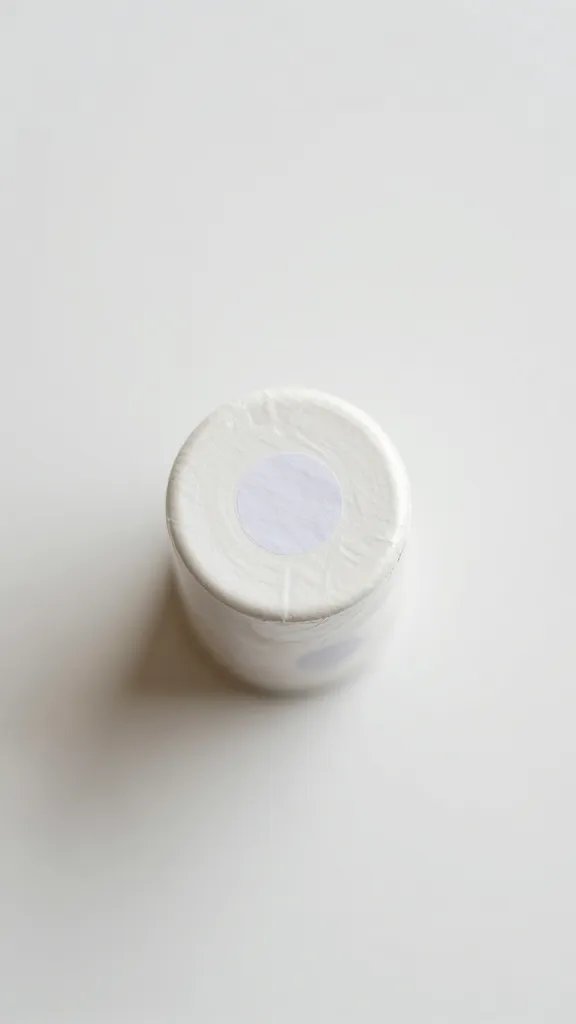
Print a set of small round stickers that match your color scheme and press onto the corners of the wrap. It reads crafted without extra bulk. Supplies: printer or sticker sheets, scissors, wrap. Time: 8 minutes per batch.
What to avoid: Stickers that are too thick can bubble on the wrap over time.
13. Scenic Wash Tape Landscape
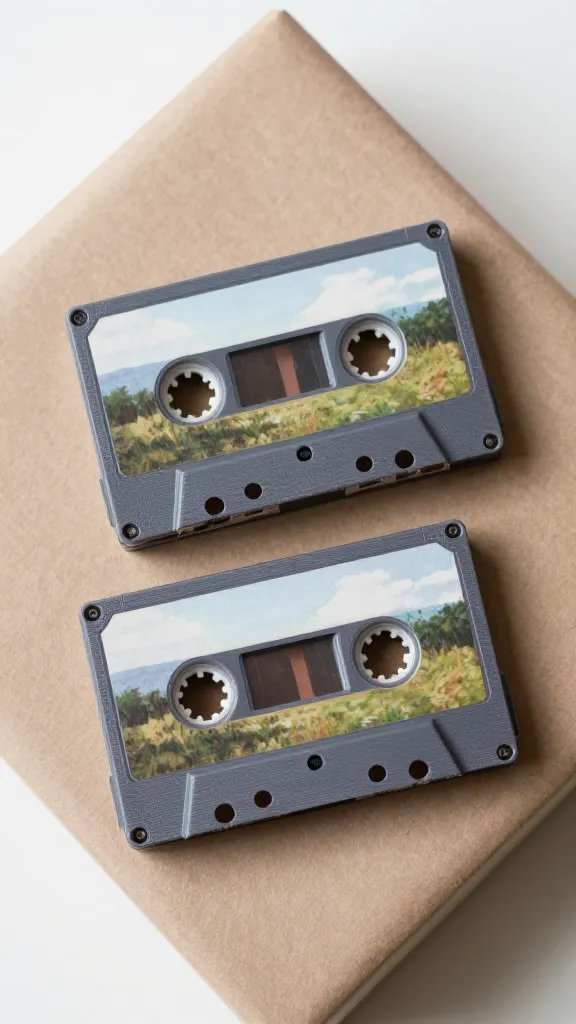
Line the top edge with a thin strip of washi tape in a second color, then add a tiny silhouette sticker (like trees or balloons) to suggest a mini scene. Supplies: wrap, two washi tapes, small stickers. Time: 12 minutes per batch.
Color note: Keep the scene in one hue family to read as a cohesive look.
14. Burlap and Ribbon Rustic Charm
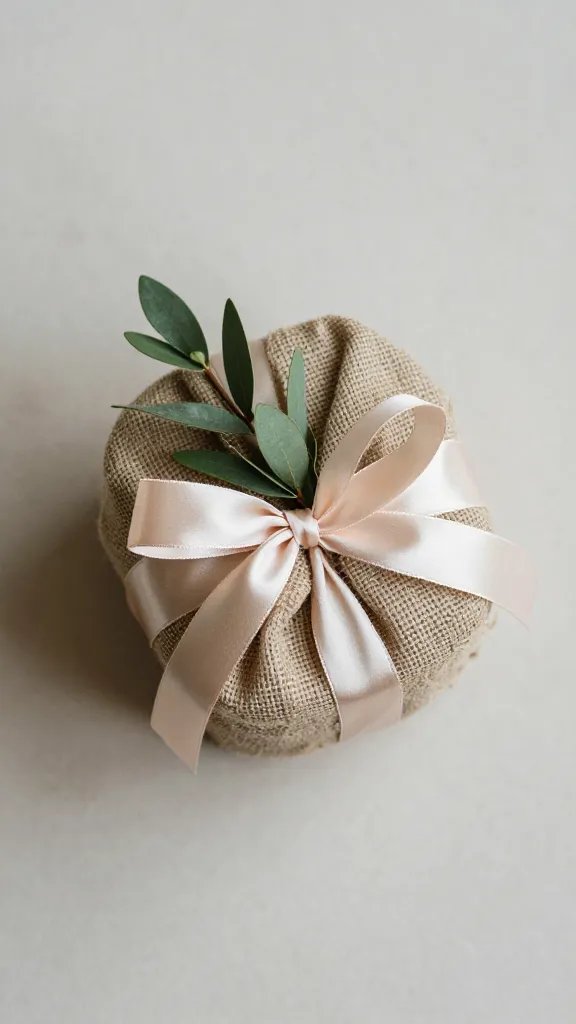
Wrap in burlap paper or fabric and finish with a thin satin ribbon and a small sprig of greenery tucked under the knot. It feels rustic and chic for house gifts or garden party favors. Supplies: burlap wrap, satin ribbon, greenery sprig, scissors. Time: 18 minutes for several presents.
Safety tip: If using real greenery, ensure it’s clean and dried to avoid moisture transfer.
15. Chalkboard Gift Labels
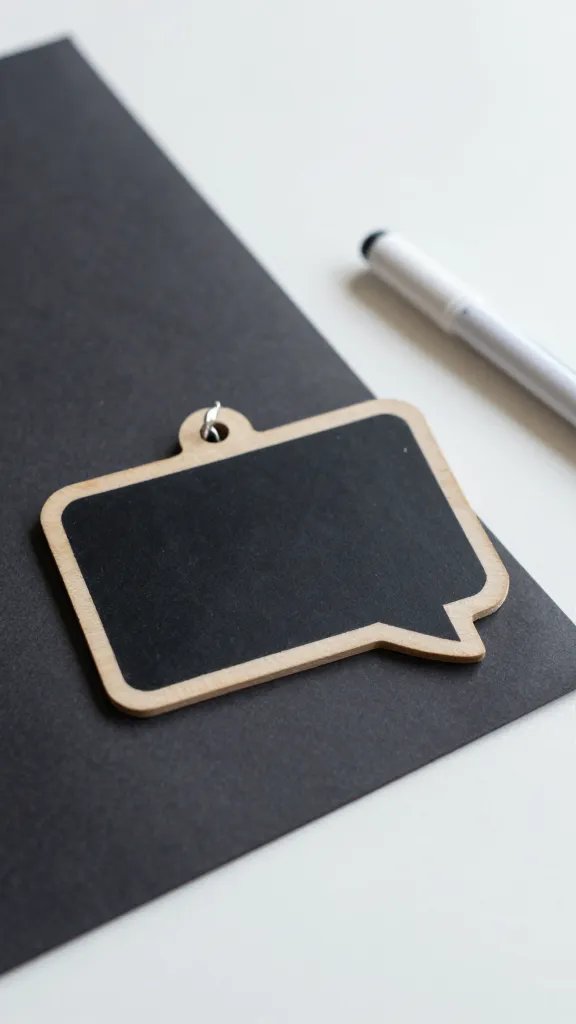
Wrap with black or dark craft paper and add a chalkboard label using a white marker. The label can be reused for next gifts. Supplies: dark wrap, white chalk marker or paint pen, scissors, string. Time: 10 minutes per batch.
Why it works: It’s inexpensive and highly reusable for birthdays and notes.
16. Tissue Fan Tops
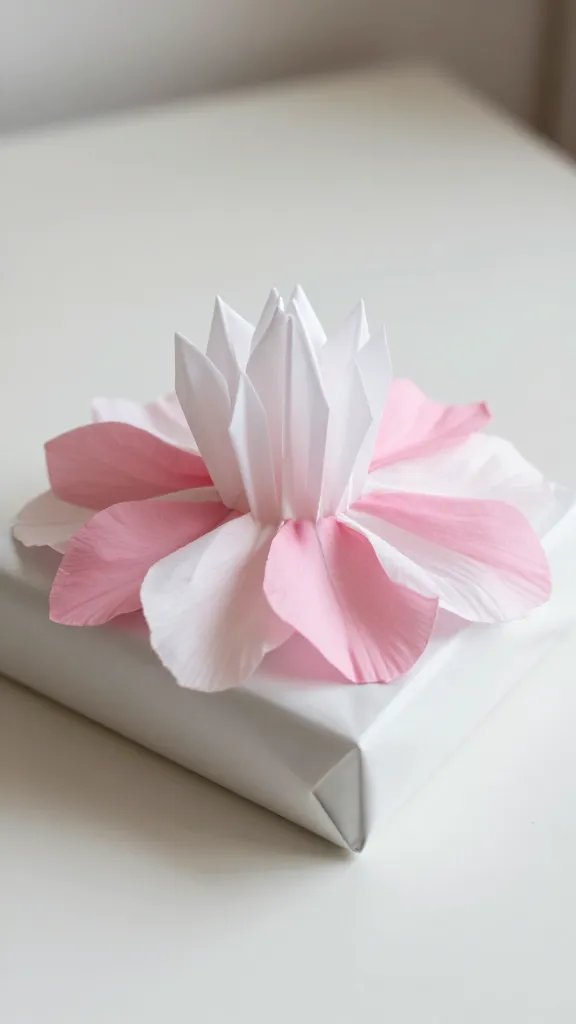
Create a tiny paper fan from two folded tissue sheets and glue it to the top edge of the package as a burst of color. It acts as a top flourish without adding bulk. Supplies: tissue paper, scissors, glue, wrap. Time: 8 minutes per gift.
Make it easier: Use a single square sheet for each fan to speed up assembly.
Storing tips: Keep a small bin of scraps and bits from these upgrades—ribbon tails, buttons, and scraps—so you can mix and match next time without hunting around the craft room. A little planning goes a long way, especially when time is tight. Save this for the next birthday that sneaks up on you.