
13 Craft Ideas for Kids Using Paper Plates

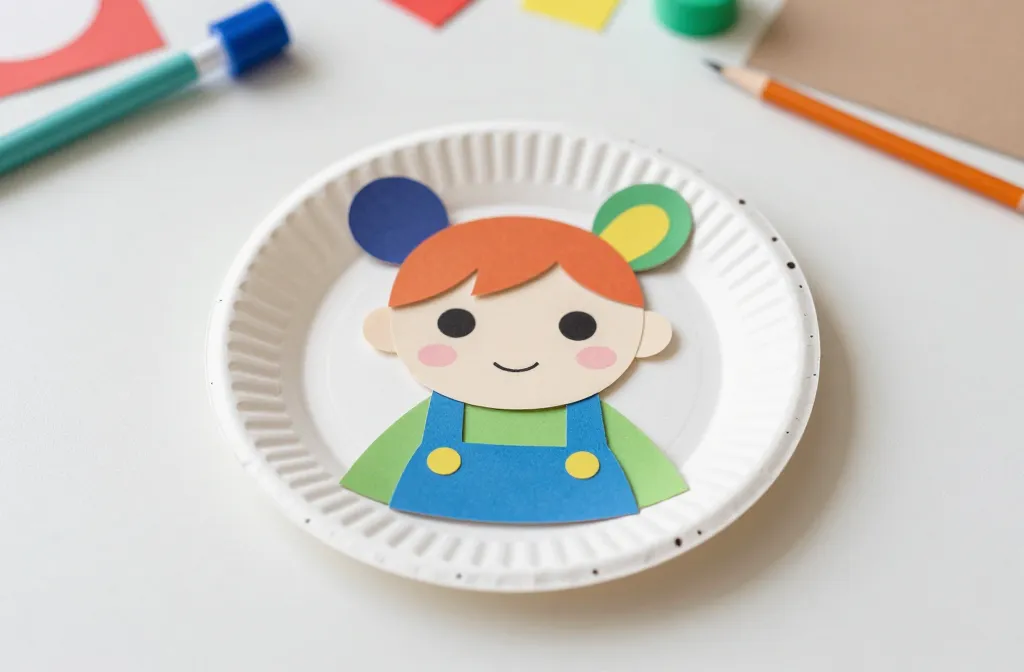
You’re short on time, and the party is tomorrow. Paper plates feel disposable, not dreamy, and the kids will tire of a single craft fast. This list solves that by turning a simple plate into quick, kid friendly activities that still look polished in photos. You can pick two or three to assemble during a party or finish them ahead to decorate a dessert table. Each idea keeps supplies simple and costs low, with a clear time frame so you’re never left scrambling.
Try to mix a few hands on projects with a small display piece so the party feels thought out without extra work. You’ll find a few ideas that use items you already have at home, plus a couple that are easy to pull from a dollar store run. Let’s start with ideas you can actually make this week.
1. Paper Plate Animal Masks
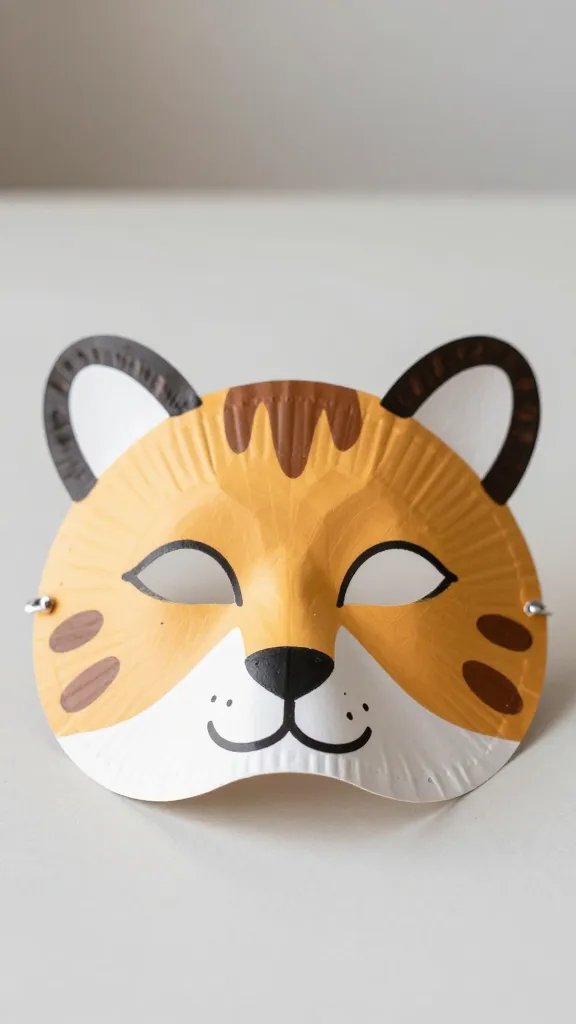
This one is a crowd pleaser that takes minimal effort but yields big smiles. Cut a few slits around the plate edge for a quick mask shape and glue on ears, eyes, and a nose from cardstock. Let kids color or paint the plates to match their favorite animal. It doubles as a quick game prop during the party and a simple costume piece for the post party photos.
Copy the look: Use neutral plates and bright accents to keep the colors lively. Kid friendly: Small kids can do the coloring while an adult handles cutting and gluing. Safety note: Avoid sharp parts; use kid safe craft glue.
2. The Make: Tissue Paper Collage Banner
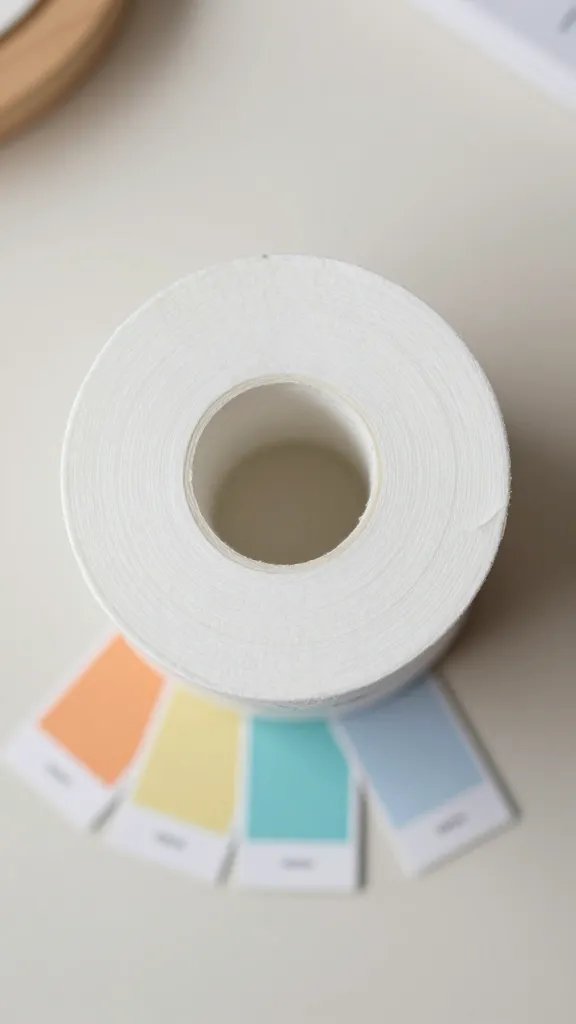
Turn plain plates into a mini collage by layering crinkled tissue paper circles in a color story. Punch a hole near the edge of each plate and string them into a banner. It adds color to a dessert table without taking over the room. Keep a few of the plates plain to balance busy sections of the room.
Use what you have: Any tissue scraps or gift wrap bits work. Time saver: Layer four circles per plate to speed up the process. Mess control: Work over a washable mat or newspaper; glue can get sticky.
3. Colorful Plate Flower Wall
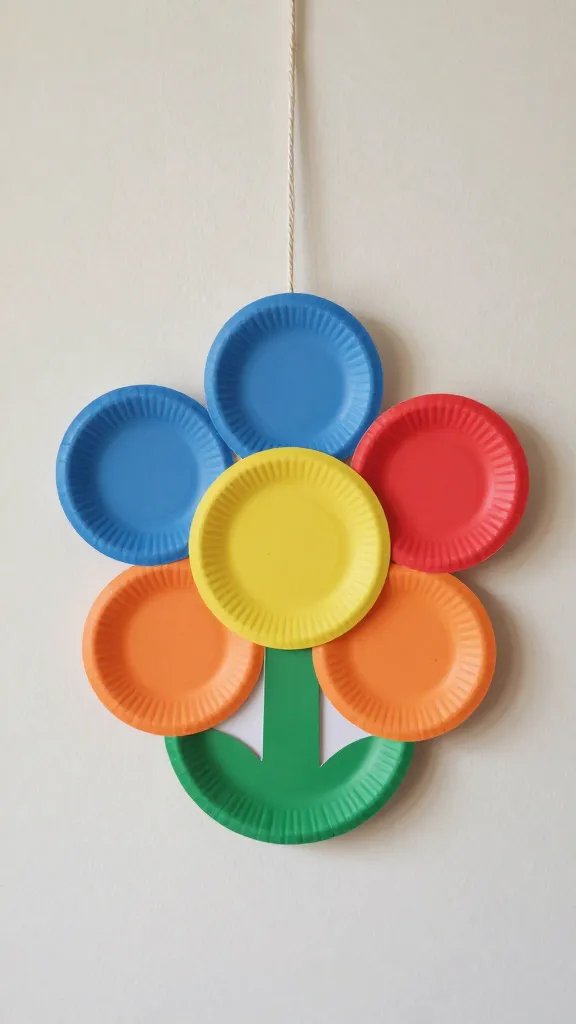
Stack two plates per flower, offset the bottoms, and glue them into a cheerful bloom. Turn the stack into a wall bouquet by attaching a string or thin washi tape to the back and placing them around a doorway or dessert display. The result looks like a fresh, budget friendly focal point without real flowers.
Best for: Small indoor spaces with white or pale walls. Dollar store swap: Look for colored plates to skip extra painting. Placement note: Space the blooms in a loose cluster for a natural look.
4. Mini Storyboard Frames
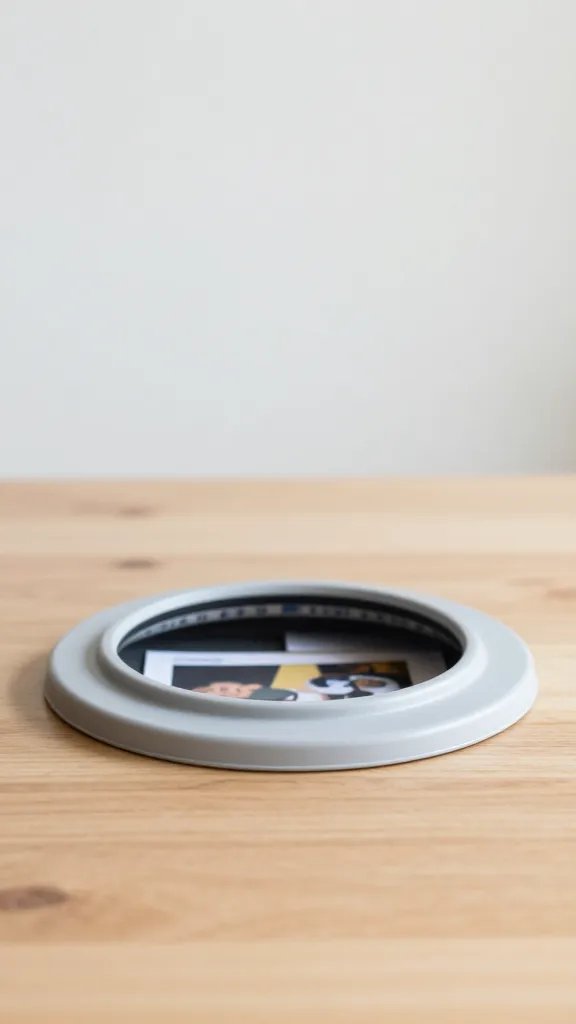
Cut a window into a plate and layer a small photo or drawing behind it, then decorate the rim with markers or washi tape. This makes a tiny gallery frame kids can “curate” for a party wall. It’s fast and doubles as a party favor idea if you turn each plate into a keepsake.
What to avoid: Too many tiny bits that fall off; use a bit of glue to secure smaller pieces. Best for: A munch and mingle moment where kids rotate through a crafts station.
5. Pirate Hats From Plates
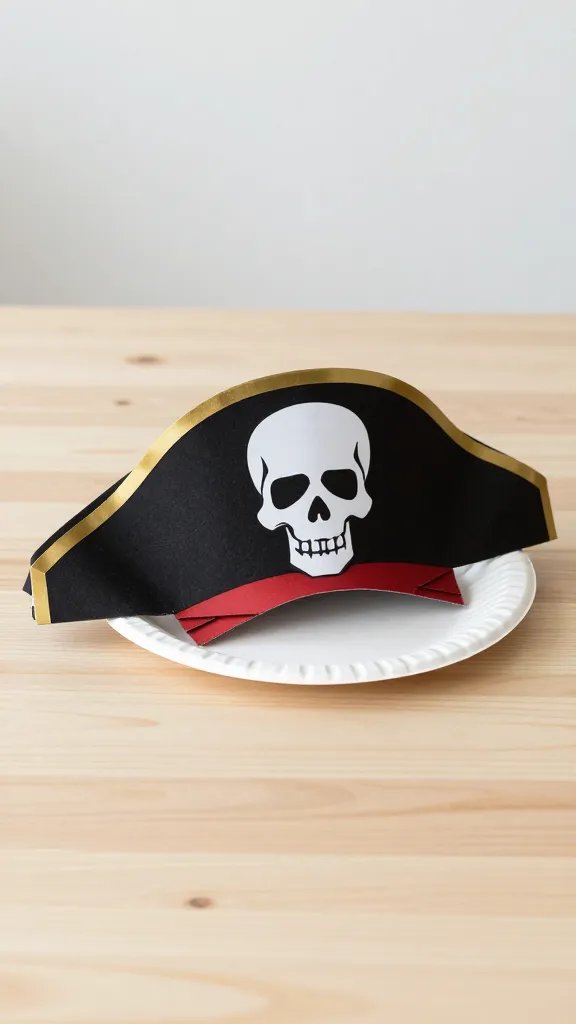
Turn a plate into a jaunty pirate hat with a folded brim and a cut out back to slide on a head. Decorate with a simple skull emblem, a feather, or tape on a faux buckle. It gives kids something to wear during games and a quick photo prop.
Time needed: About 15 minutes per dozen hats with adult supervision for cutting. Safety note: Use safety scissors for kids and hot glue only with adult help.
6. Party Flags on a Stick
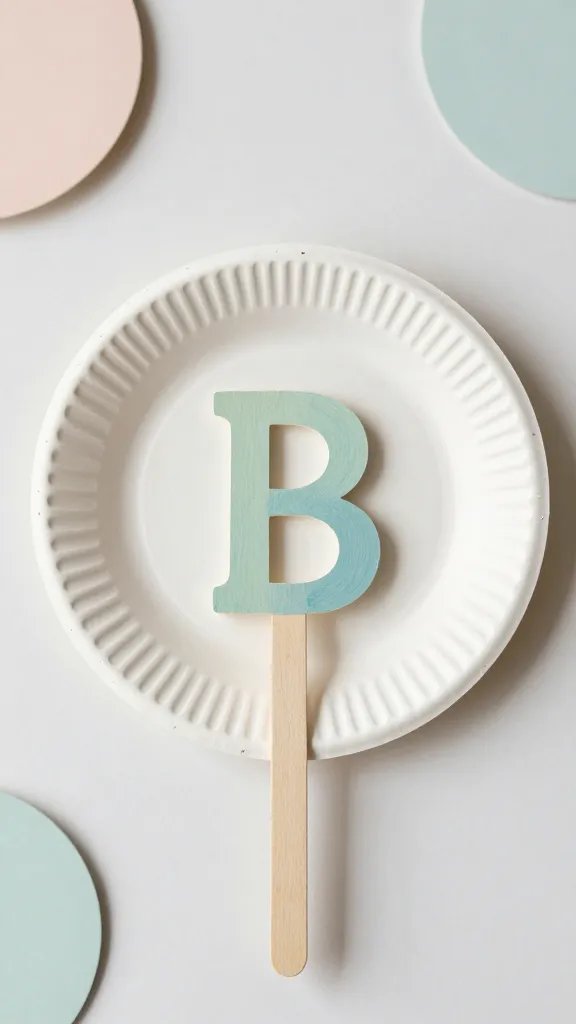
Decorate a paper plate by painting or drawing a big letter or emblem, then mount it on a wooden stick with a dab of glue. Line the sticks along a table or create a mini flag garland. This is a compact alternative to a banner that still reads as a planned party focal point.
Make it ahead: Do the painting a day early so it dries perfectly flat. Use what you have: Popsicle sticks and leftover craft sticks work well here.
7. Snack Place Cards
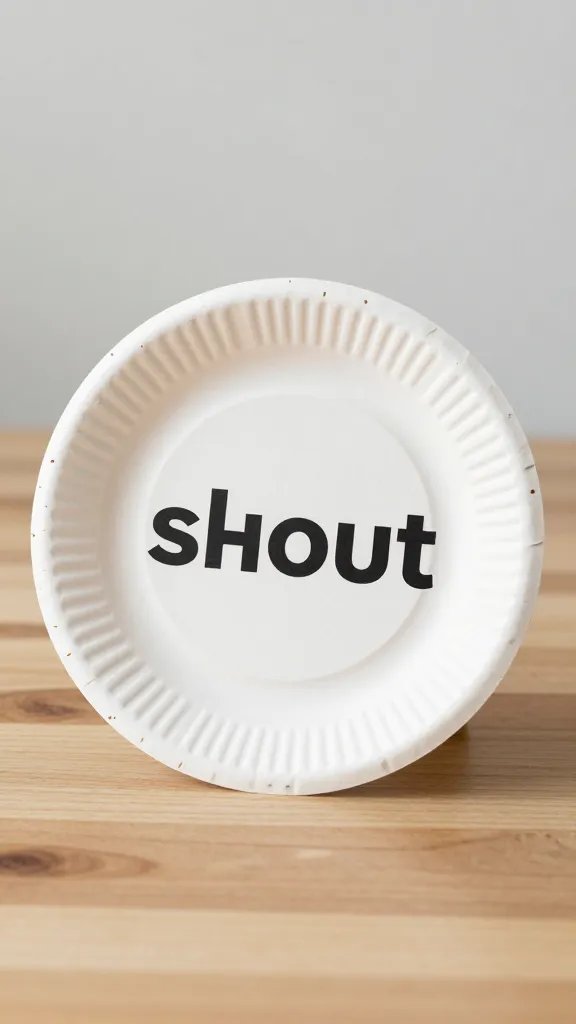
Fold a paper plate in half to form a stand, then write a guest name on the inside with a bold marker. Add a small doodle or sticker to reflect the party theme. It’s a simple way to tidy seating and create a little keepsake for each child.
Copy the look: Keep color shots minimal for easy reading. Safety note: Keep the fold area away from fingers to avoid pinching.
8. Bubble Waller Platter
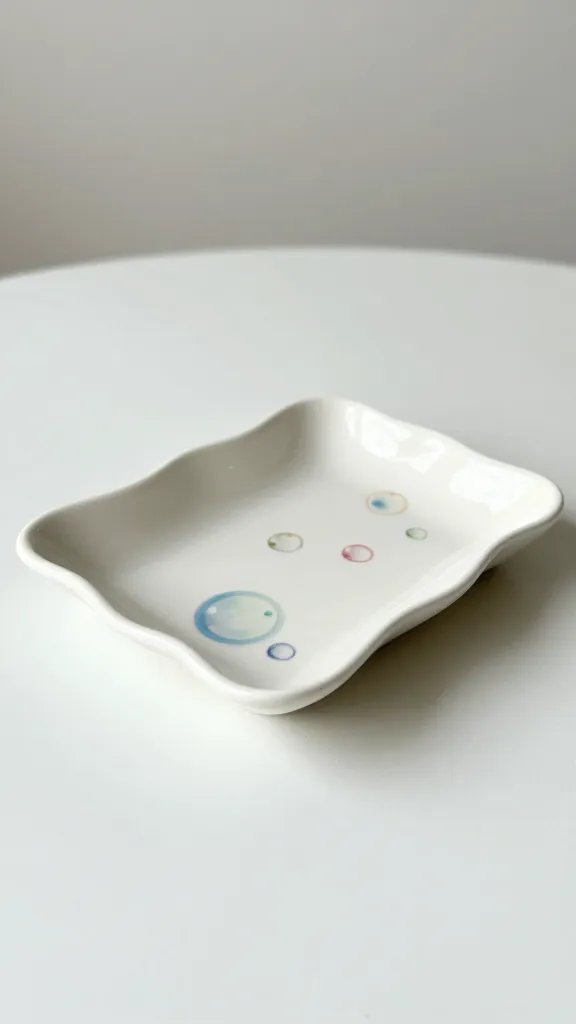
Cut a plate into a wavy edge to resemble bubble shapes and paint or draw bright bubbles in a two color palette. Punch two small holes and string them into a playful mobile over the snack table. It’s a budget friendly decor piece that feels handmade and fun.
Best for: A bright, airy party vibe; it pairs with any primary color theme. Time saver: Use a hole punch and a simple twine for quick assembly.
9. Fairy Light Orbs
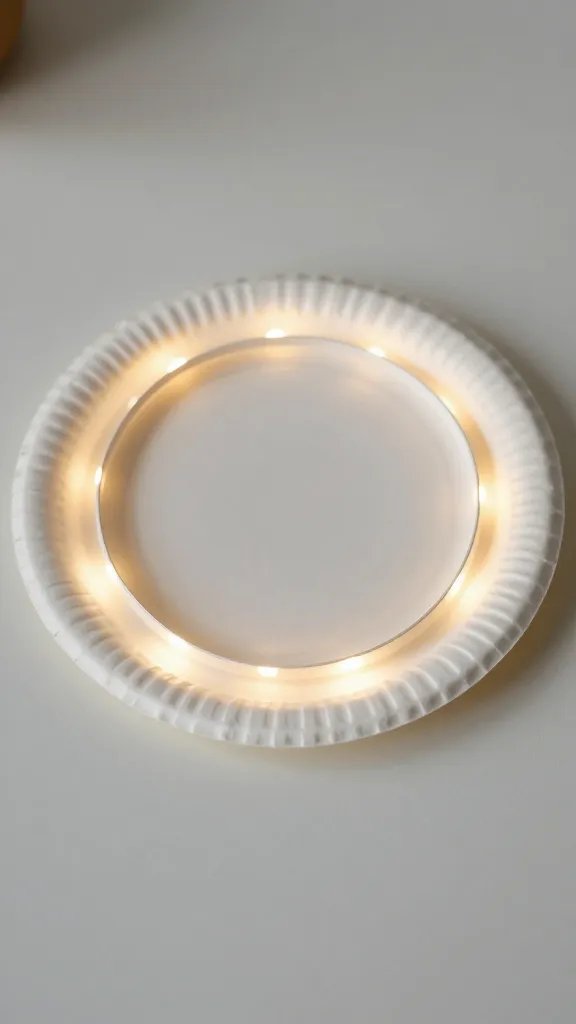
Cut a plate into a ring and clip a small LED light inside to create a soft glowing orb. Group several around a doorway or in a centerpiece to add a gentle glow without candles. This is a calm, inexpensive way to elevate a dessert display.
Safety note: Use battery operated lights only; keep all wires tucked away from kids. Cleanup tip: Put the plate rings in a shallow bin for easy storage after the party.
10. Plate Puppet Characters
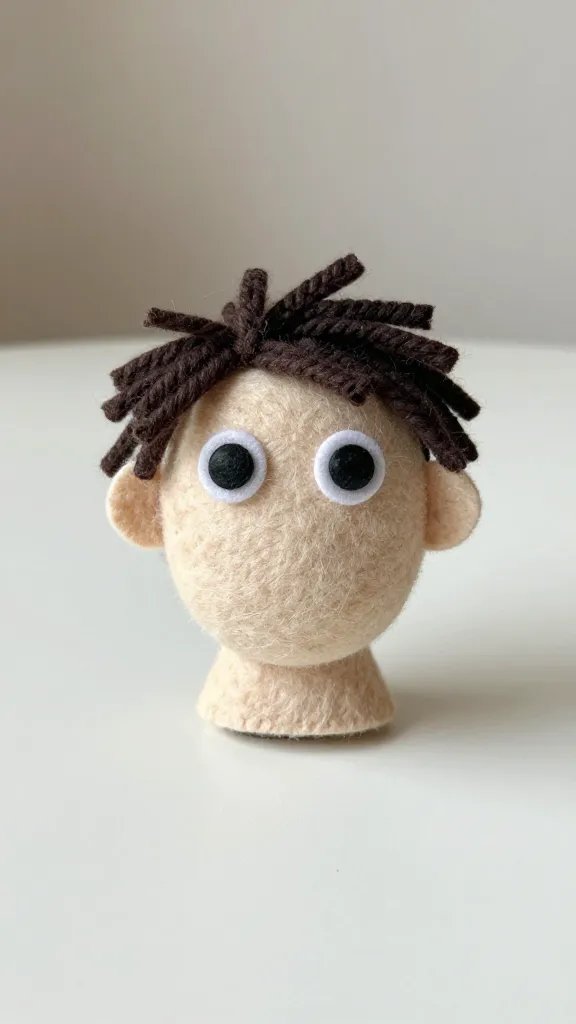
Turn plates into puppets by gluing on felt shapes for eyes and mouths, plus yarn for hair. Tape or glue a stick at the bottom to hold it as a hand puppet during a quick story circle. It buys you a quiet, hands on moment between games.
Make it ahead: Cut and assemble parts a day before; kids can help with color choices. Common issue: Watch for loose pieces and use a dab of glue to secure small bits.
11. Paper Plate Kaleidoscope
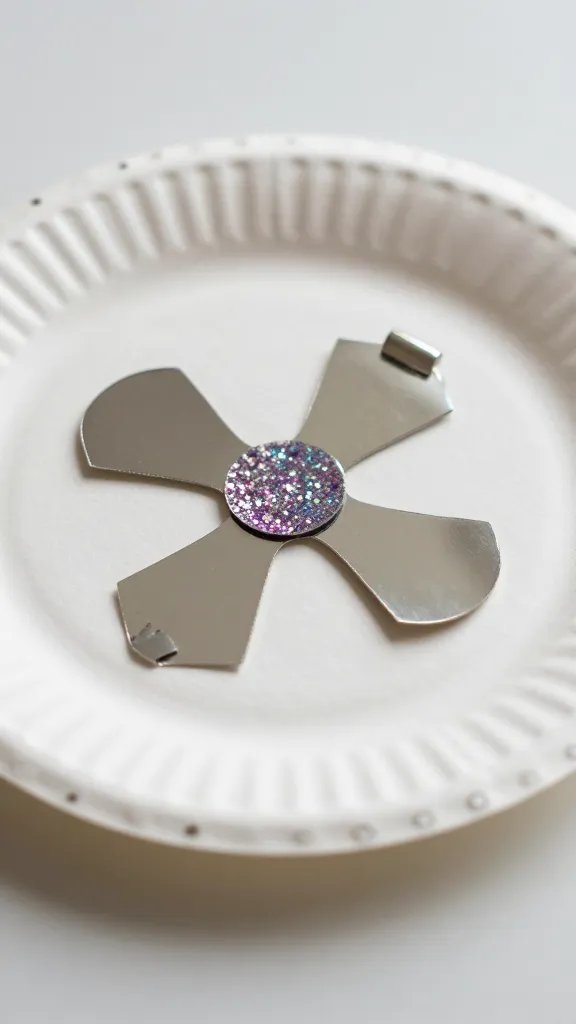
Decorate one side of a plate with mirrored scraps from old gift wrap and a quick dab of glitter glue. Glue a second plate to close and mount a small mirror or reflective sticker inside. This creates a simple kaleidoscope effect when kids tilt it in the light.
Use what you have: Reuse foil or shiny scraps; avoid heavy glue that weighs the plate down. Time estimate: About 20 minutes per batch with adults helping the assembly.
12. Plate Chandelier Garlands
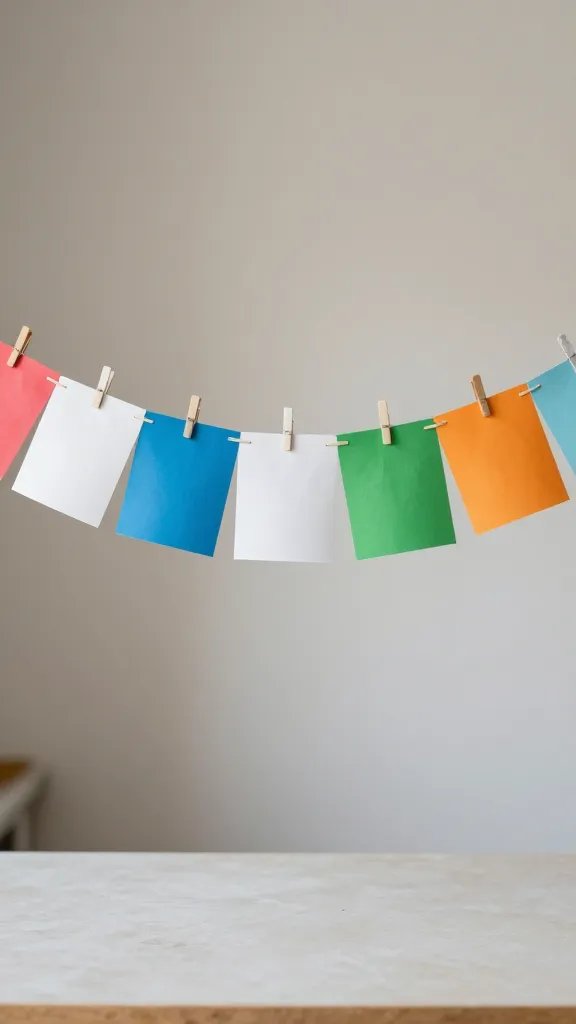
Glue a few plates in a circle on a longer strip of paper or ribbon to create a dangling chandelier effect. Alternate colors or cut each plate into a simple petal shape so they look like a blooming circle. Hang above the cake table to draw attention without a big budget.
Best for: Small spaces; it adds height to a party without crowding the floor. Make it easier: Use a pre punched hole in each plate and string them on a single length of ribbon.
13. Seasonal Plate Stamps
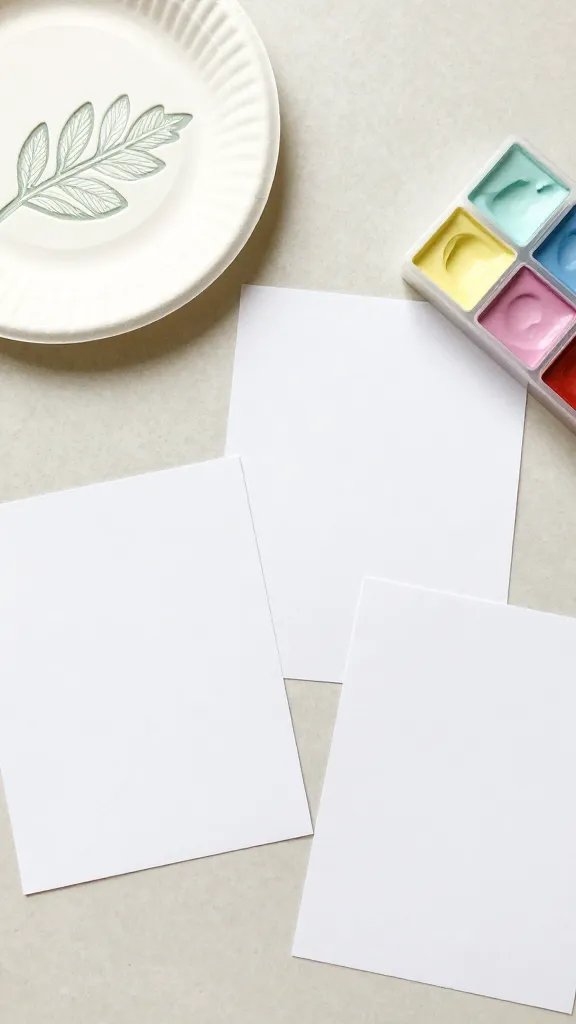
Cut a few leaves or holiday shapes from the edge of a plate and use them as stamps with washable paint. Create a small family of prints on plain cards or napkins to tie the party theme together. It’s a tiny, doable craft that still looks thoughtful in photos.
Copy the look: Snappy color pairs read well in photos; avoid dark colors on light plates to keep lines clear. Safety note: Use non toxic paints and wash brushes after use.
Keep a few ideas on standby for guests who arrive early or finish fast. The main trick is pairing a simple plate craft with a quick backdrop or a small display so the space feels styled, not rushed.