
13 Cardboard Craft Ideas for Christmas Decorations

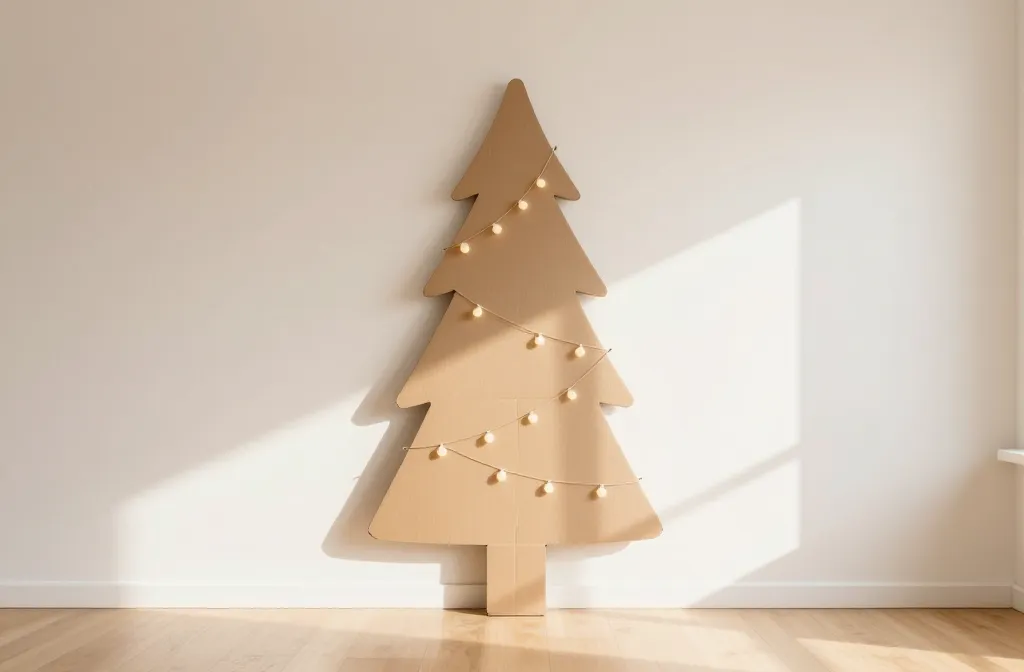
When you open a box of cardboard and a roll of tape, you can turn a tight budget into a cozy, festive space. The challenge is to make decor that looks polished, not DIY-crafty, and that fits into a small living room or apartment. These ideas fix common problems like plain walls, quick setups, and grateful photos without a ton of cleanup. You’ll find options that are simple enough for a weekend, but detailed enough to feel intentional. This list keeps the focus on cardboard, but with finishing touches that make everything look stitched together for Christmas.
Each idea here is ready to copy today, using common supplies. The goal is decorations you can set up in a couple of hours, with leftovers you can stash for next year. Ready to scroll through 13 practical cardboard ideas you can actually make soon?
1. Cardboard Christmas Tree Garlands
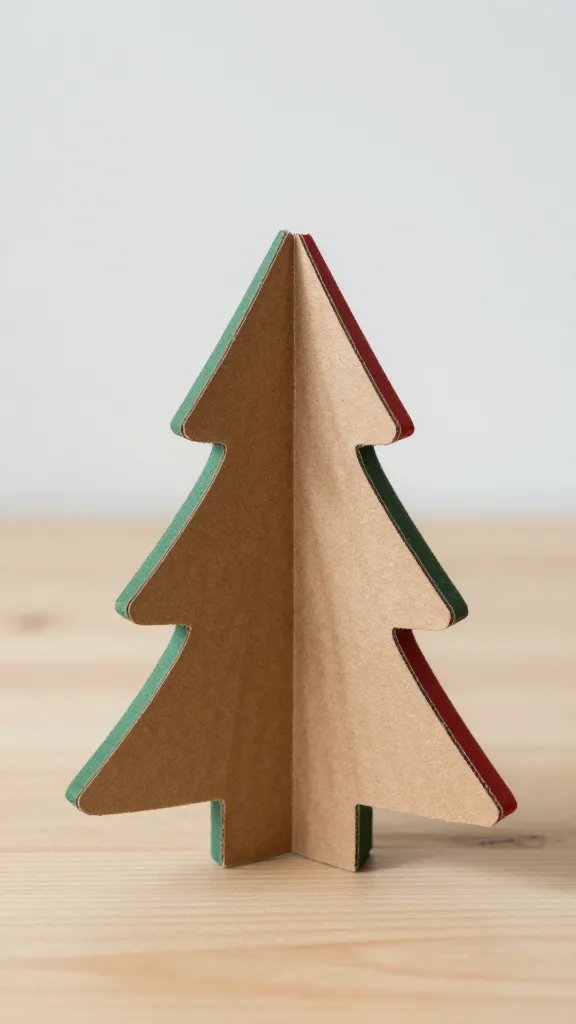
Shade the living room with a string of mini cardboard trees trimmed in color. Cut sturdy evergreen shapes from cereal-board or a thick box, then paint or cover with wrapping paper. Punch a hole at the top and thread with strong twine. Space them along a doorway, balcony railing, or above a couch to create a festive, low-cost backdrop. This helps a bare wall read as holiday decor without bulk. If you want a faster finish, use pre-cut tree shapes from a craft store and skip painting.
Use what you have: Drill or punch holes before painting to avoid chips. Placement note: Hang at varying heights to mimic a real tree line.
2. Snowflake Window Shimmers
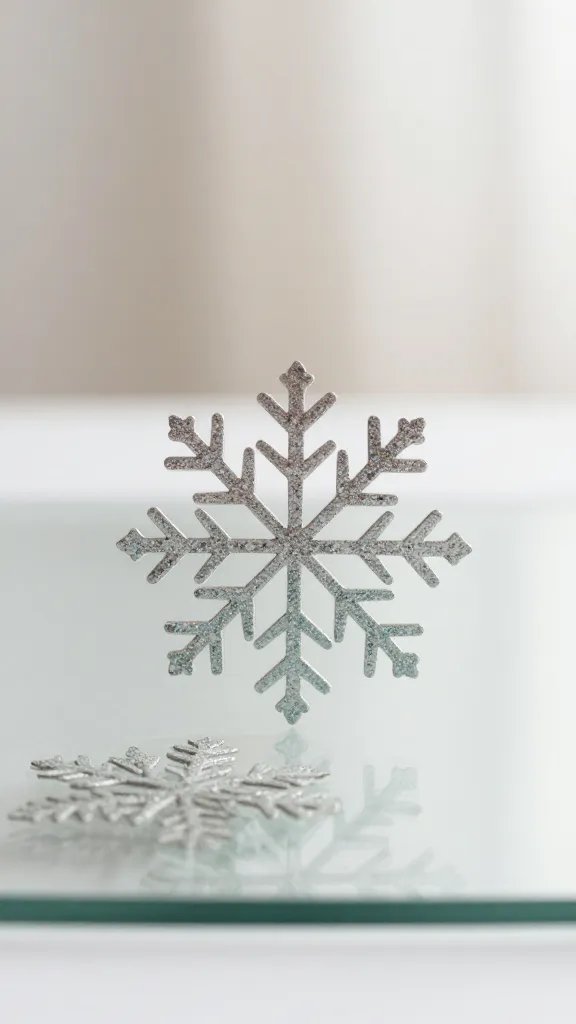
Turn a few cardboard sheets into delicate snowflakes for window decor. Cut out layered snowflake patterns, then paint with white acrylic or spray with a frosted glaze. Add a dab of glitter for a gentle sparkle, and tape to the glass using removable adhesive. The effect is airy and bright, especially when paired with a string of mini lights. It looks like a snowstorm without any real snow and cleans up in seconds. A great option for renters who want festive vibes without lengthy setup.
Color note: Keep the palette neutral to look modern rather than overly kitschy.
3. Cardboard Lanterns with a Warm Glow
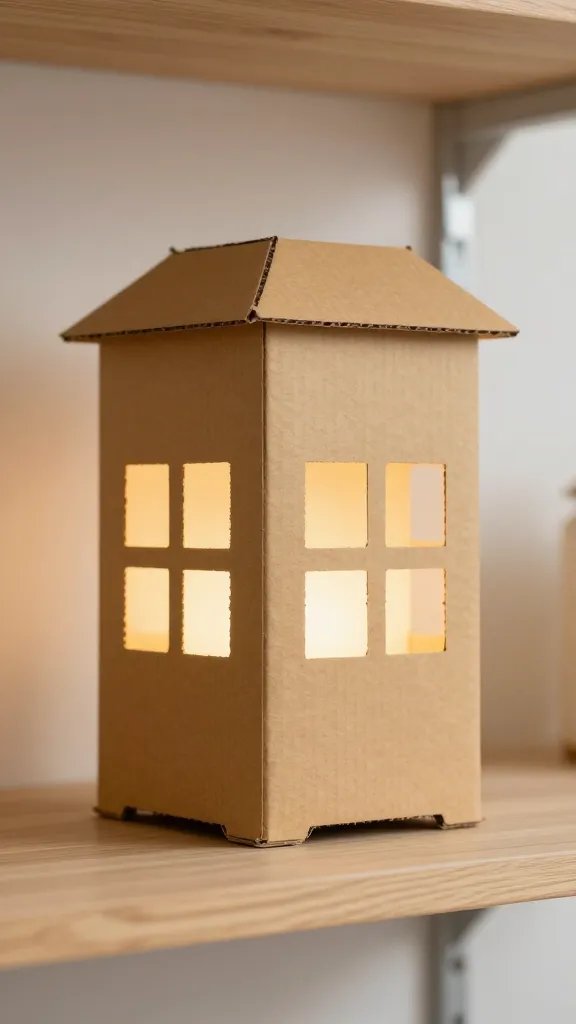
Transform a simple box into a lantern by cutting a pattern of small squares or stars on three sides. Paint it matte in a warm color, then place a battery-operated LED tea light inside. Set them on shelves, mantelpieces, or as a row along the dining table. The glow feels cozy and inexpensive, and the shapes cast soft shadows that read Christmas all night. If you don’t have LEDs, you can use a candled LED for a similar effect, but avoid real flames with cardboard.
Make it ahead: Assemble and paint at least one day before use to prevent warping from moisture.
4. Paper Cone Christmas Dress Up
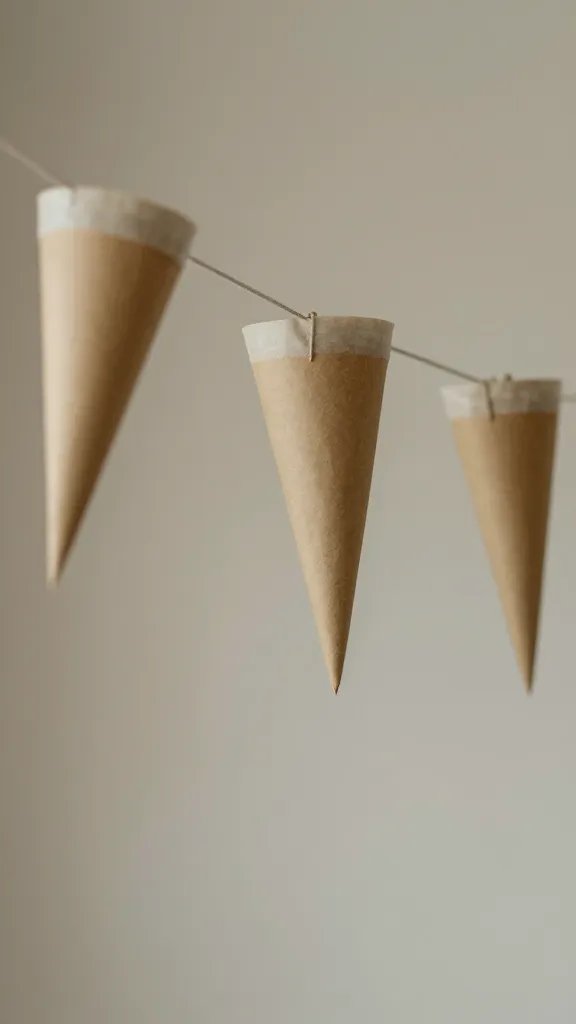
Roll sturdy kraft paper into small cones and glue to create a mini forest canopy or hanging decorations. Decorate each cone with washi tape, silver pens, or small stickers. Thread a string through the top so they become a garland or use them as a tabletop centerpiece by piling them in a clear vase. The cones bring height and texture to a dessert table while staying inexpensive and easy to store. If you prefer, stack four or five cones to create a tiered centerpiece instead of a garland.
Copy the look: Use metallic markers for crisp lines and keep your shapes uniform for a cohesive look.
5. Cardboard Gingerbread Village Panels
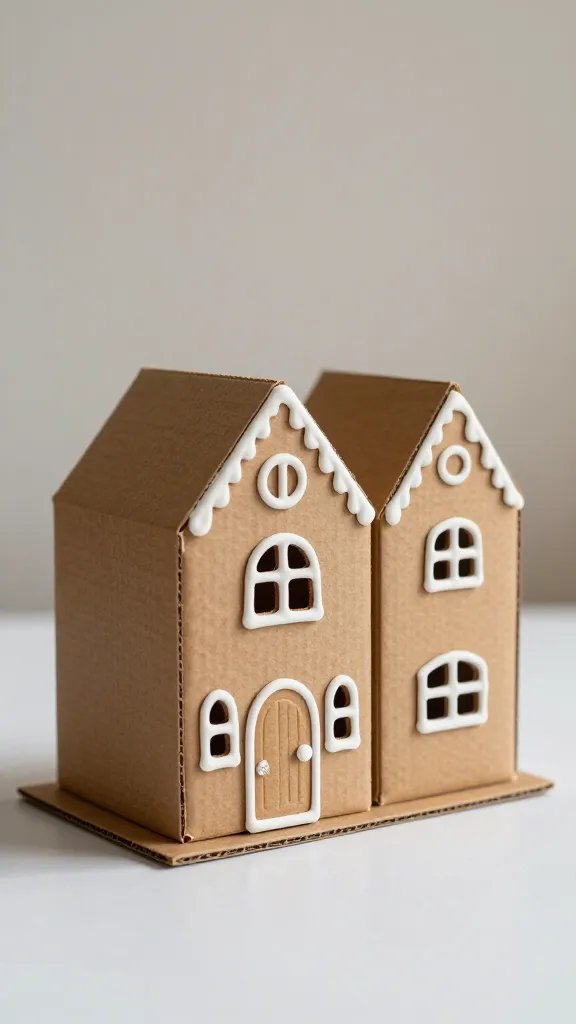
Cut small house shapes from thin cardboard scraps and attach them to a longer cardboard base to form a simple village scene. Paint doors and windows with white craft paint, then glue on tiny scraps of red or green paper for detailing. Place behind a candy snack station to create a sense of holiday story. It’s a friendly, inexpensive backdrop that can be re-purposed after Christmas as a nesting display for other small figures. A little glue goes a long way with these tiny houses.
Budget swap: Use old cereal box panels to keep costs down. Safety note: Avoid small parts that could be a choking risk for kids around candy stations.
6. Cardboard Starburst Wall Art
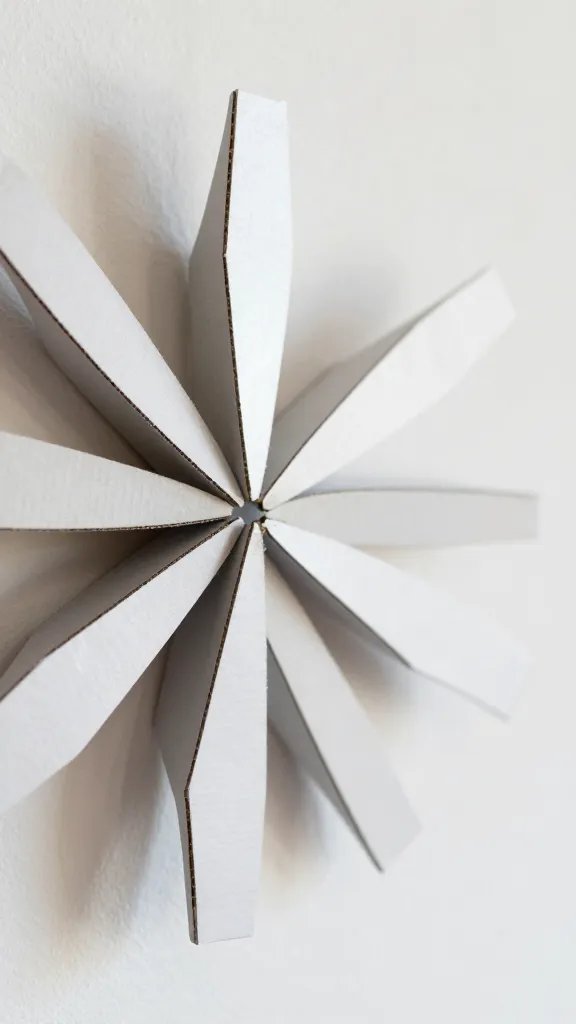
Create a starburst motif by layering cut cardboard triangles from a sturdy box around a central circle. Alternate white and metallic paint to mimic a festive burst. Mount the finished piece on a wall with removable adhesive or set it on an easel for a temporary gallery effect. This adds a bold focal point without expensive canvas or large frames. It’s quick to assemble and easy to store flat until the next holiday season.
Why it works: It uses negative space to feel grand without extra bulk. Cleanup tip: Keep a small brush container to touch up edges after hanging.
7. Birch Bark Look Pallet Ornaments
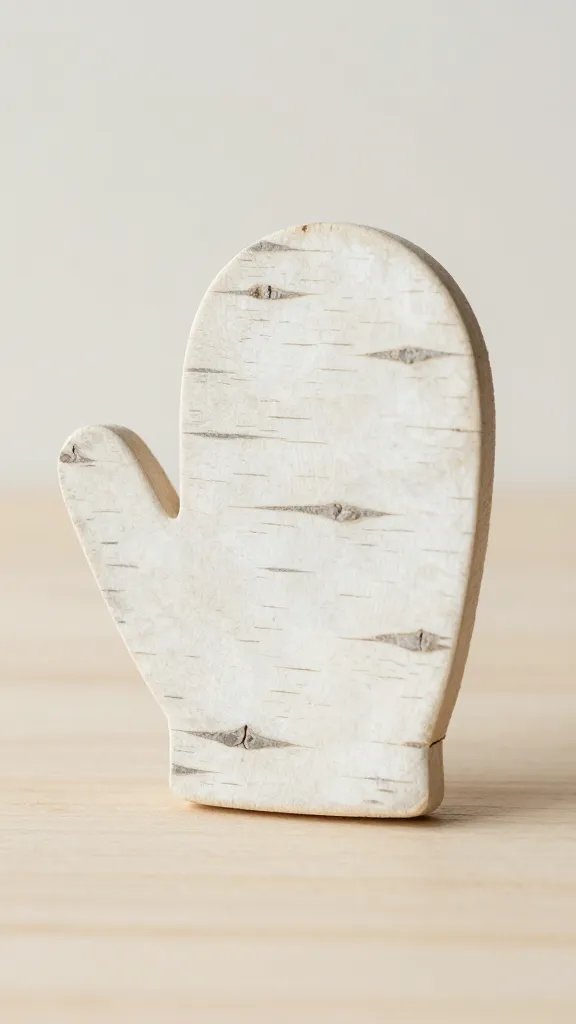
Laminate thin cardboard into faux birch panels by painting with off-white and light gray streaks. Cut into mitten or bell shapes and string with twine. The natural look pairs nicely with red plaid ribbons and pine accents for a rusticChristmas vibe. This approach gives you a high-end feel without the price tag. If you don’t have birch textures handy, a white base with gray brush strokes reads equally well and keeps the craft simple.
Best for: Small spaces where a touch of nature goes a long way. What to avoid: Too many textures competing in a tight room.
8. Christmas Card Photo Backdrop Panels

Cut large cardboard panels to a comfortable height and staple or tape a printed grid of your favorite family Christmas cards onto them. Leave gaps so the actual cards pop against the plain background. Lean the panels against a wall or prop them on a table for a quick photo backdrop. It adds a personal touch to party photos without buying a backdrop kit. If you have time, seal with a matte spray to minimize curling and give a clean finish.
Placement note: Position panels near the dessert table for natural photo corners. Copy the look: A grid of 3×4 cards feels balanced and not crowded.
9. Cardboard Candy Cane Stair Garlands
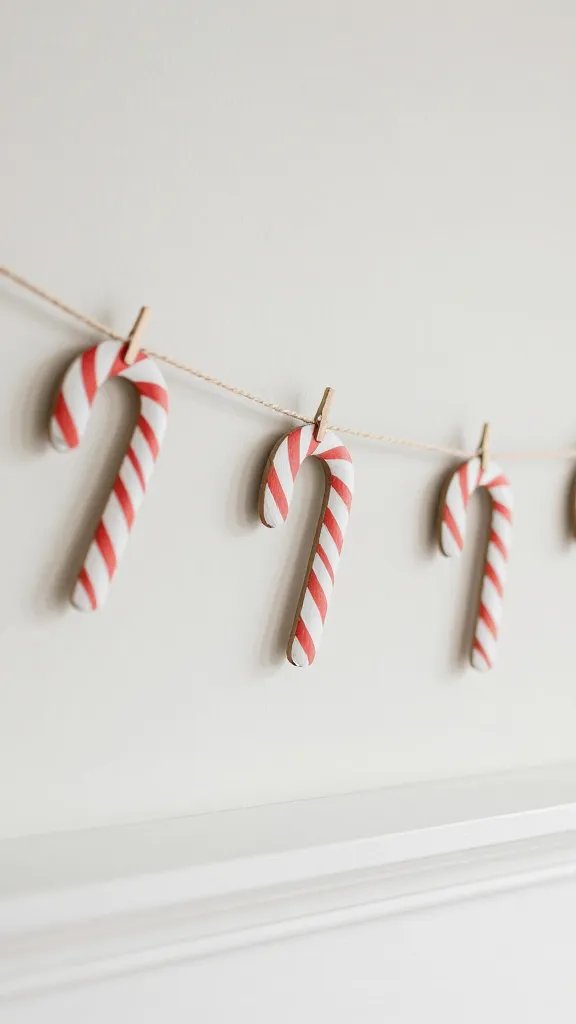
Fan-fold red and white cardboard strips into candy cane shapes and glue to a length of sturdy twine. Mount along a staircase or banister to guide guests through the space. The repeating pattern creates movement and color without clutter. If you don’t have stairs, drape the garland along a mantel or doorway. It’s fast, festive, and easy to adjust if you mis-measured on the first try.
Make it easier: Use pre-scored folding lines on the cardboard to speed up shaping. Time saver: Cut multiple strips at once with a craft knife and ruler.
10. Cardboard Nativity Silhouettes
Cut simple silhouettes of nativity figures from thick shipping cardboard. Paint black or dark brown to create strong, graphic shapes. Mount onto a long strip of cardboard to form a whispered scene along a wall. The minimalist approach reads as tasteful and respectful, and it makes a quiet centerpiece for a Christmas display in a small room. If you want color, a subtle gold accent on halos adds a touch of glow without overdoing it.
Safety note: Keep any small decorative bits away from little hands. Best for: A calm, reflective corner of the party space.
11. Snowy Silhouette Lanterns
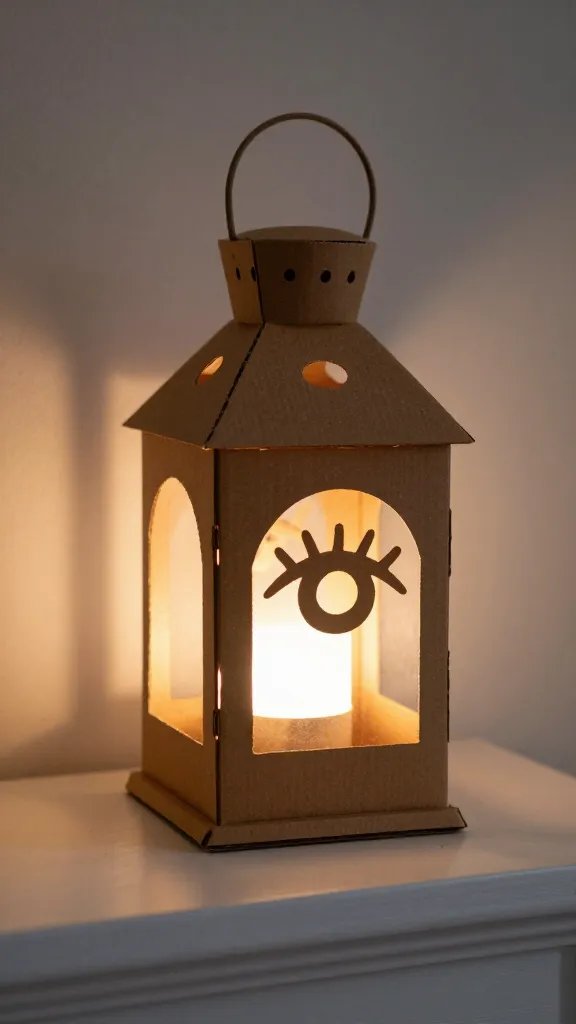
Cut out snowy silhouettes of trees or houses on cardboard and mount them on small boxes or blocks to create three dimensional silhouettes. Paint white with a hint of gray for shading, then place a battery light behind to glow through the cutouts. Set on a mantel or windowsill to echo a winter night scene. The cardboard keeps costs down while the glow adds warmth to the room as evening falls. For extra drama, group several silhouettes at different depths along a shelf.
What to avoid: Too bright a light can wash out the cutouts; aim for soft illumination.
12. Puzzle Piece Ornament Wall
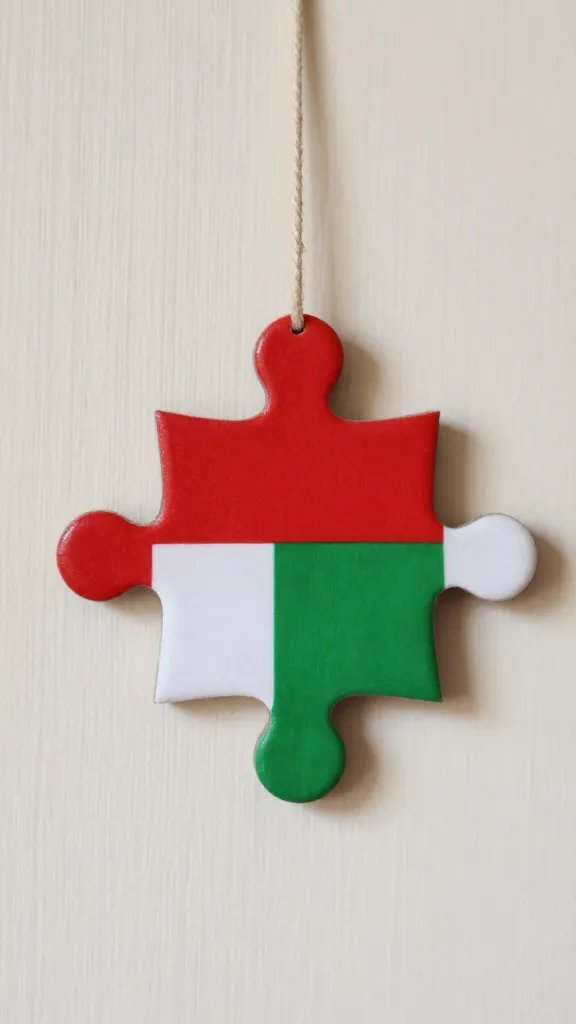
Cut a few large puzzle shapes from cardboard, then paint each segment in red, green, and white. Arrange them into a single large snowflake or holiday motif on a wall, using removable adhesive hooks. The pieces can be rearranged later or saved as a small kid-friendly activity. It turns a blank wall into a playful installation and doubles as a keepsake project that guests can help assemble during the party. It’s a friendly way to involve little hands without creating a mess.
Make it ahead: Pre-cut shapes and letters to speed up the assembly on the day.
13. Wreath Rings from Cardboard Tubes
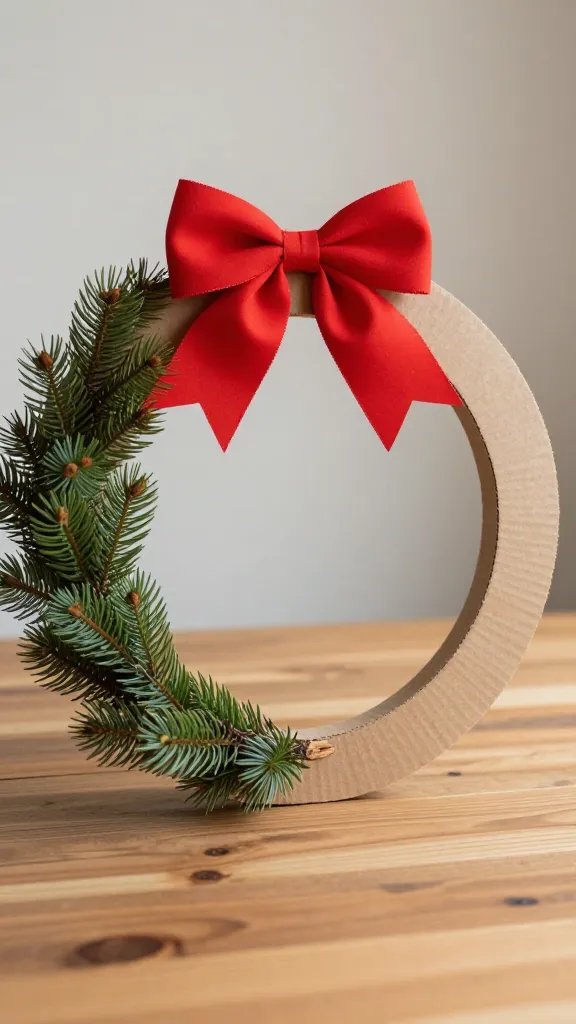
Cut circular rings from thick cardboard by tracing a large lid or base and removing the center. Layer several rings for depth, then decorate with red bows, pine needles, or faux berries. Hang on doors or above the dessert table for instant Christmas warmth. The structure is sturdy, yet the look remains light enough for a small space. If you lack pine, substitute with red ribbon and artificial holly picks for a similar effect.
Storage tip: Store the rings flat between seasons to keep them from warping.
Let these 13 ideas spark a quick, cozy setup without breaking the bank. A few simple cuts, a splash of paint, and smart placement turn cardboard into Christmas magic you can snap photos of tonight. Save this for the next birthday that sneaks up on you.