
16 Cardboard Craft Ideas for a Rainy Weekend With Kids

Rainy days end up feeling endless until you have a plan that keeps little hands busy and eyes light up. Cardboard is your best friend for budget friendly, satisfying crafts that actually hold attention. This list sticks to quick builds, kid friendly steps, and small space friendly setups you can finish before the cake is served. You’ll find ideas that solve the problem of bored kids, clutter, and an empty party corner all at once, with supplies you likely already have. Let’s get the weekend rolling with something tactile and playful.
From quick decors to a few clever games, these sixteen ideas fit a rainy weekend and a next day photos worth of memories. Each idea is copyable today and tailored for busy families.
1. Cardboard City Block Play Table
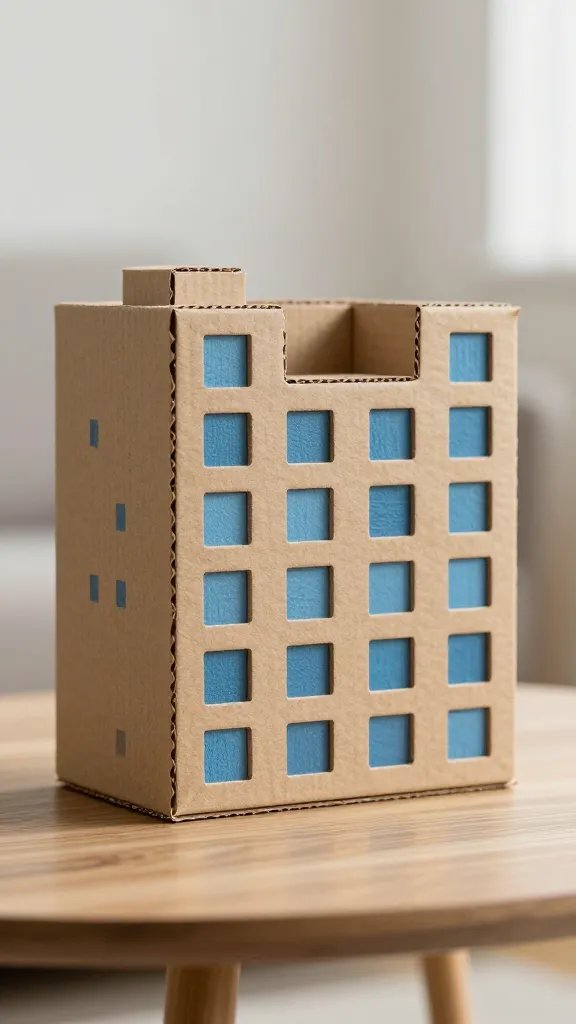
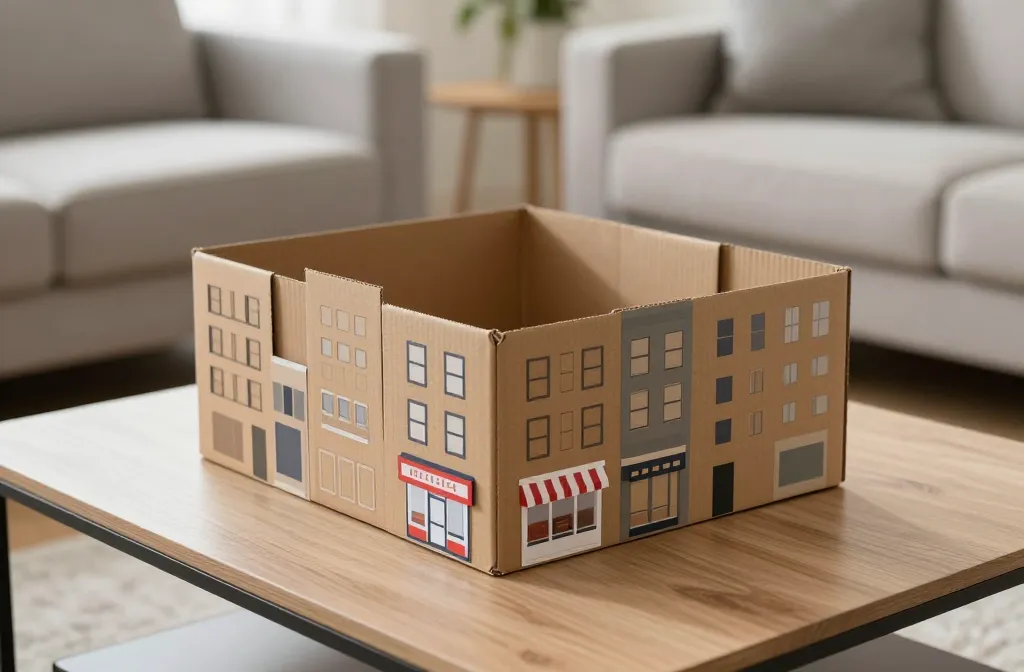
Transform a stack of cereal boxes into a little city on a coffee table. Cut windows with a craft knife (adults only), paint facades, and add scraps of paper as storefronts. The real win is the dual purpose: kids play on the surface, you keep the dining room tidy by tucking away the blocks when not in use. Time wise, set aside about 60 minutes for cutting, painting, and a quick dry time. Start with a simple row of three buildings and a street in front.
Use what you have: Collect thin cardboard from cereal and packaging to build a removable city map you can store flat.
2. Make a Balloon Powered Car Parade
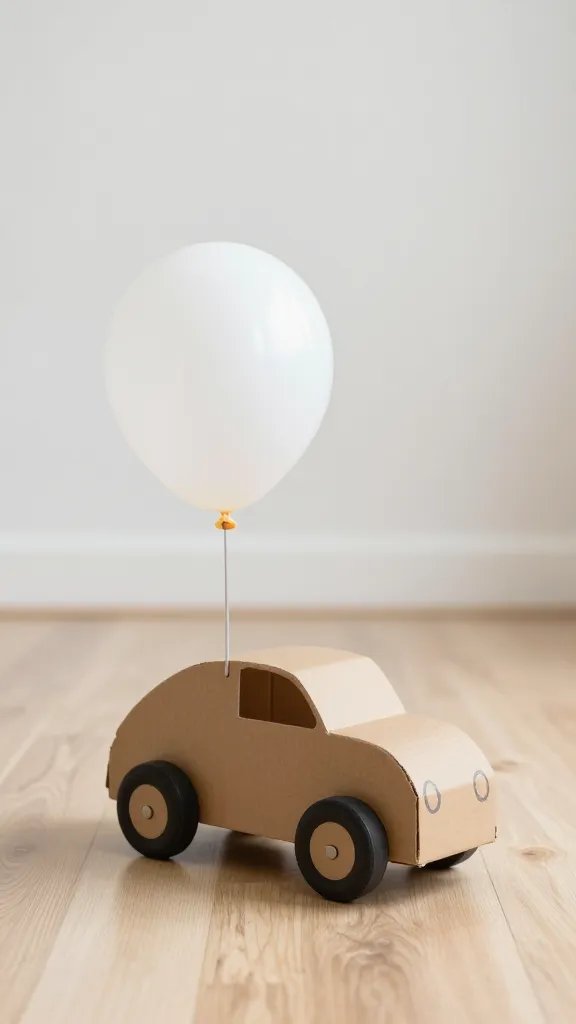
Air up a few cardboard cutouts of cars and attach them to skewers with wheels drawn on cardboard circles. Use a balloon taped to the back as the propulsion; kids will love watching the car glide across the floor when the balloon is released. This solves the “gravity check” on a rainy day by turning bundles of cardboard into motion. It takes around 45 minutes from start to finish, depending on how detailed the cars get. Keep it simple for little hands.
Best for: ages 4 to 8, a sprinkle of adult help for the balloon tie off.
3. Cardboard Photo Booth Frame
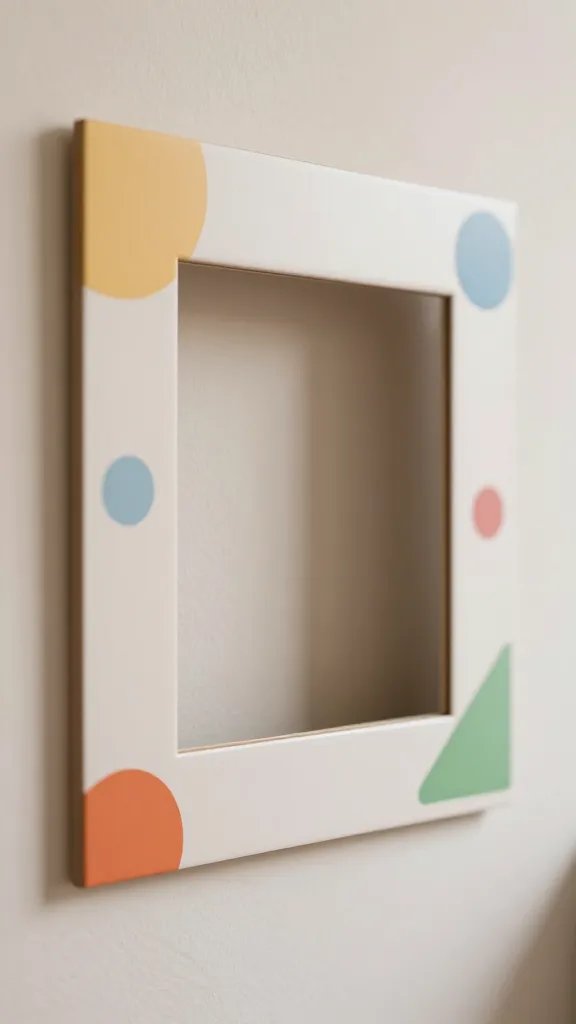
Create a portable, selfie ready frame using a large piece of sturdy cardboard, decorate with colorful shapes, and punch a few holes for a quick mounting tape on a wall. A few props of cutouts from scraps—bows, glasses, hats—finish the scene. This idea solves the party photo wall problem and gives kids immediate role play. Plan 25 to 35 minutes if you keep the frame simple, or extend with extra props for more variety. A good starter is a 24 by 36 inch frame with a two tone border.
Color note: Use a bold contrasting border so photos pop on camera.
4. DIY Puppet Theater in a Box
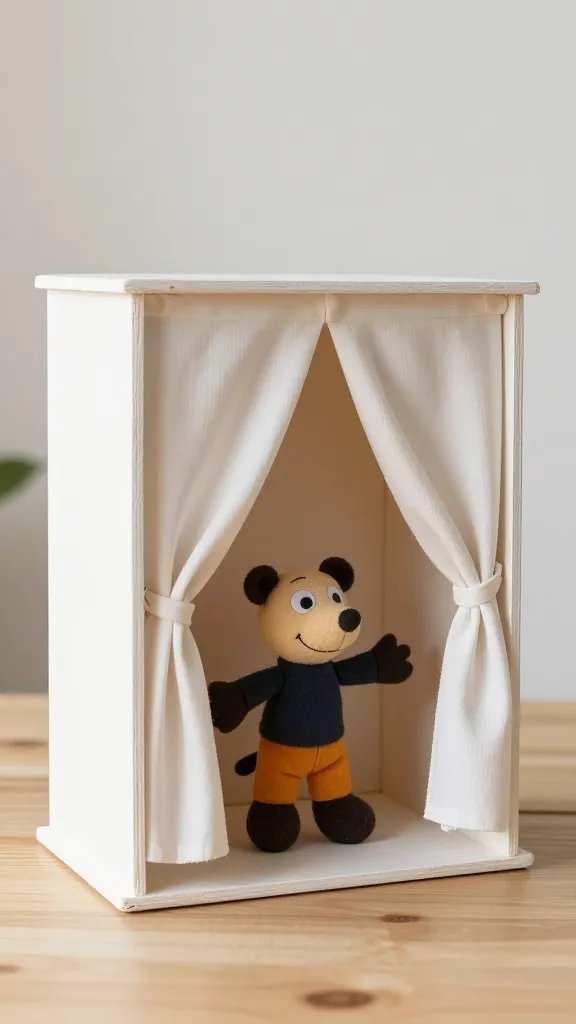
Turn a large shoebox into a tiny stage with a painted curtain and two sock puppets. Glue a strip of cardboard as a stage lip and a pair of paper eyes on the puppets. The real problem this fixes is providing a quick, collaborative activity that doesn’t spiral into a mess. The setup takes about 30 minutes, with a quick dry time for paint. Let kids write a two line script on scrap paper to perform for the family after the show starts.
Safety note: Avoid small pieces that can fall off the puppets during play.
5. Freeze Frame Story Board
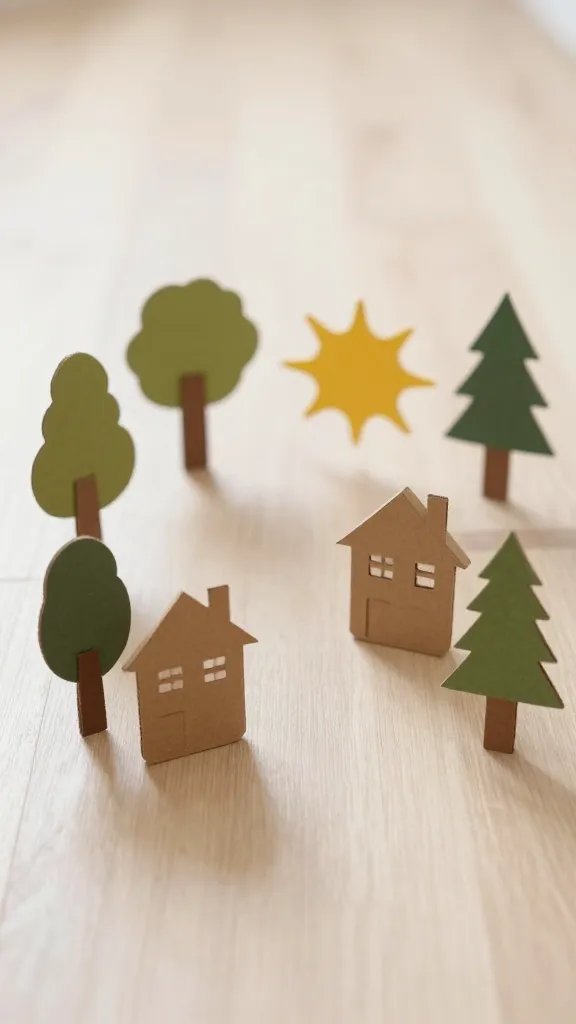
Cut several shapes from cardboard to form a scene on the floor—trees, houses, a sun. Give kids a stack of small characters drawn on paper and a sticky tack to place them. The problem it solves is keeping story time lively without screens. It takes around 40 minutes to design and lay out the board, then 10 minutes to set up the game rules. For easier version, limit the scene to a single house and a road.
Use what you have: Reuse grocery tabs or bottle caps as tiny story markers for the board.
6. Cardboard Dino Shadow Puppets
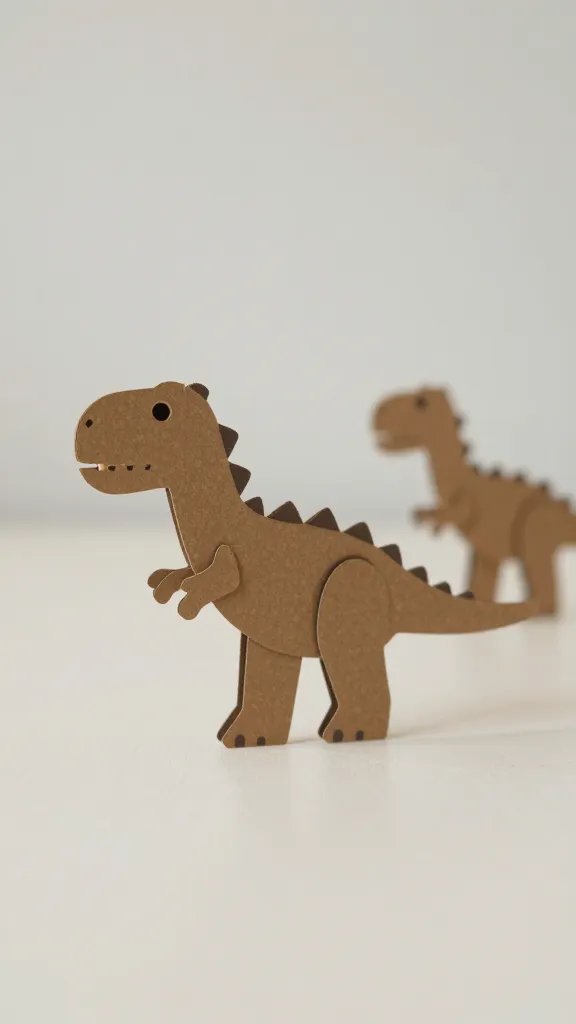
Trace dinosaur shapes onto cardboard, cut them out, and paint with simple colors. Attach a wooden skewer to each for easy hand puppets. The idea tackles the question of a short, engaging craft that doesn’t require fancy materials. It’s a 60 minute project, including drying time, and ends with a simple shadow theater if you dim the lights. Younger kids can color within the lines; older kids can design their own dinosaur shapes.
DIY note: Use a damp sponge to wipe stray paint while it’s still wet for cleaner edges.
7. Mini Cardboard Marble Run
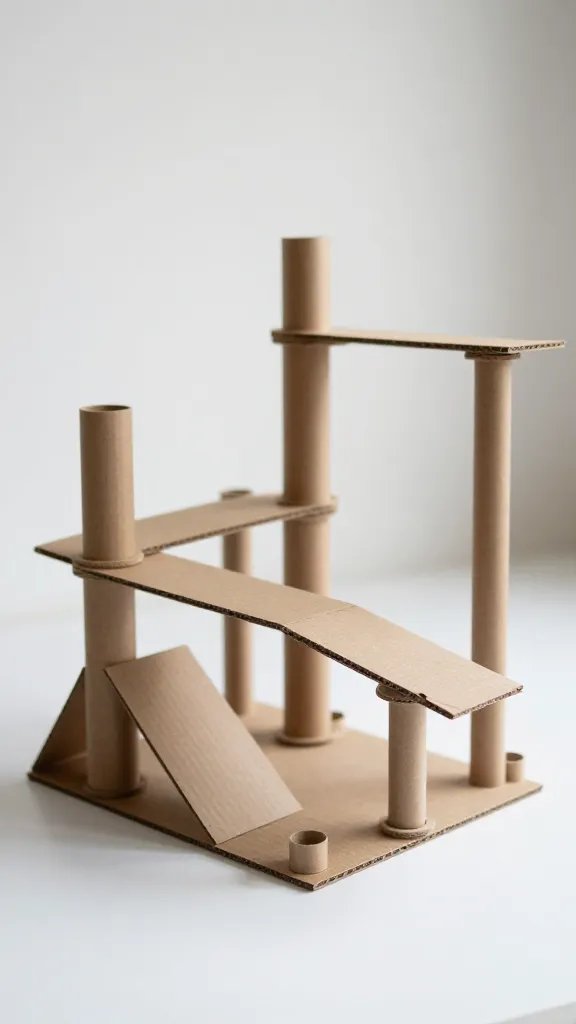
Build a small marble run using cardboard tubes and scraps. Cut ramps and slides, then tape them to a base. The challenge is keeping pieces steady enough for continuous marble action. This one takes about 45 minutes to assemble, plus time to test and adjust. For a simpler version, make a single loop that starts at the top and ends in a tray below.
Mess control: Work on a large tray or old table to catch pieces that fall.
8. Cardboard Mask Making Station

Cut mask shapes from a stiff piece of cardboard, punch holes for eyes, and let kids decorate with markers, stickers, and scraps. A simple elastic string across the back lets kids wear them immediately. This idea fixes the boredom of a slow afternoon with a fast, creative outlet and doubles as party favors. It runs about 30 to 40 minutes, perfect for a quick energy boost between meals.
Gallery tip: Create a mini wall of masks so everyone can pose for photos later.
9. Build a Paper Tile Floor Maze
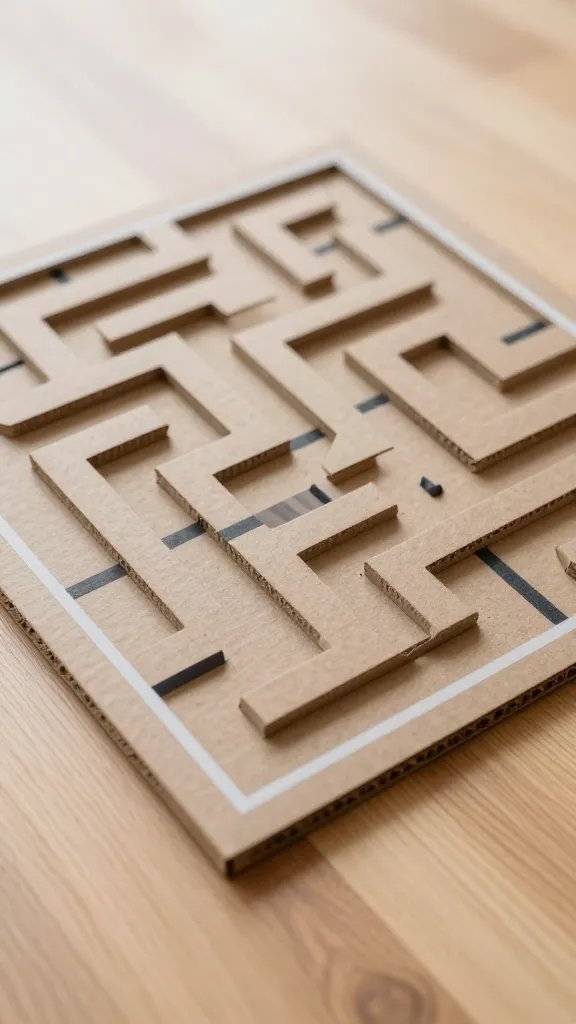
Lay out large squares of cardboard as floor tiles and cut a winding maze path. Kids test their marble or small ball along the path or guide a plastic dinosaur through the twists. It solves the problem of keeping several kids engaged with one main activity. Construction takes about 40 minutes, and you can reuse the tiles for a future game. Add a timer and see who finishes first for a light competition.
Placement tip: Use painter’s tape to secure edges lightly so you can reuse the layout later.
10. Cardboard Balloon Pop Game
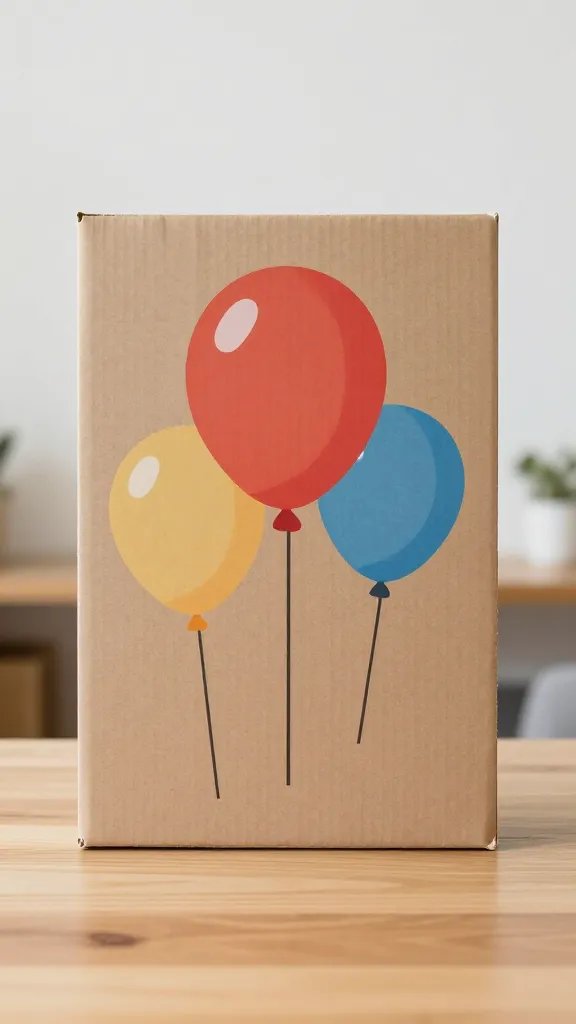
Wrap small toys inside balloons before inflating, then tape the balloons to a vertical board. Kids pop them to reveal the surprises. This simple twist on a classic party game keeps little hands busy and minimally messy. It takes around 35 minutes to prepare and a few minutes to play. If you want a lower spark, substitute small paper confetti for the balloon pop and keep it gentle for younger kids.
Safety note: Use balloons with adult supervision and avoid choking hazards for toddlers.
11. Recycled Ramp Racers
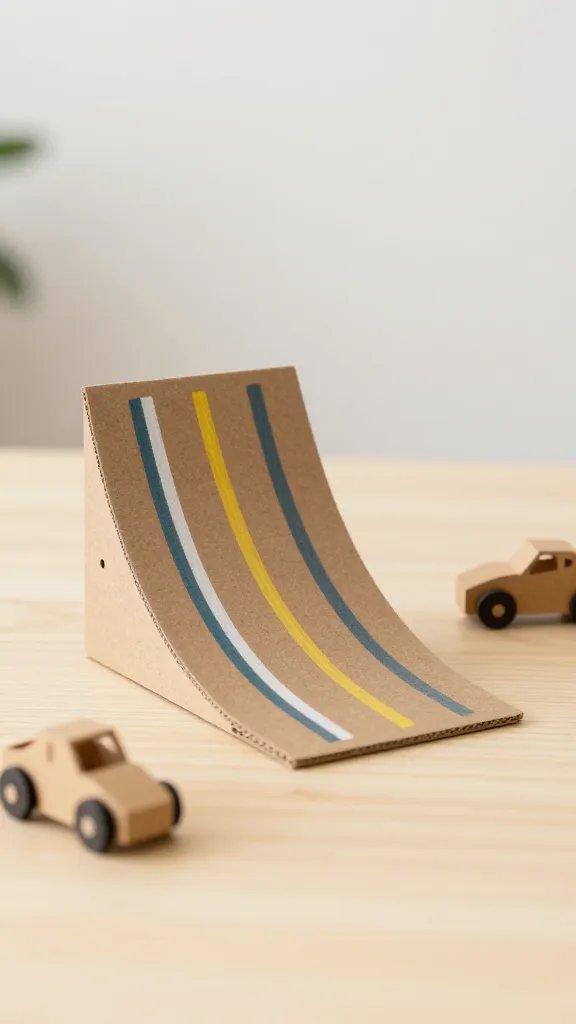
Line up flat cardboard pieces to form a ramp with a small cruising lane. Add lightweight cardboard cars with wheels from bottle caps or corks. The aim is to produce a fast, simple race that kids can run over and over. It takes about 50 to 60 minutes to build and test. For a shorter version, skip extra ramps and focus on one straight launch.
Copy the look: Paint bright racing stripes along the ramp for a more finished feel.
12. Cardboard Castle Playhouse
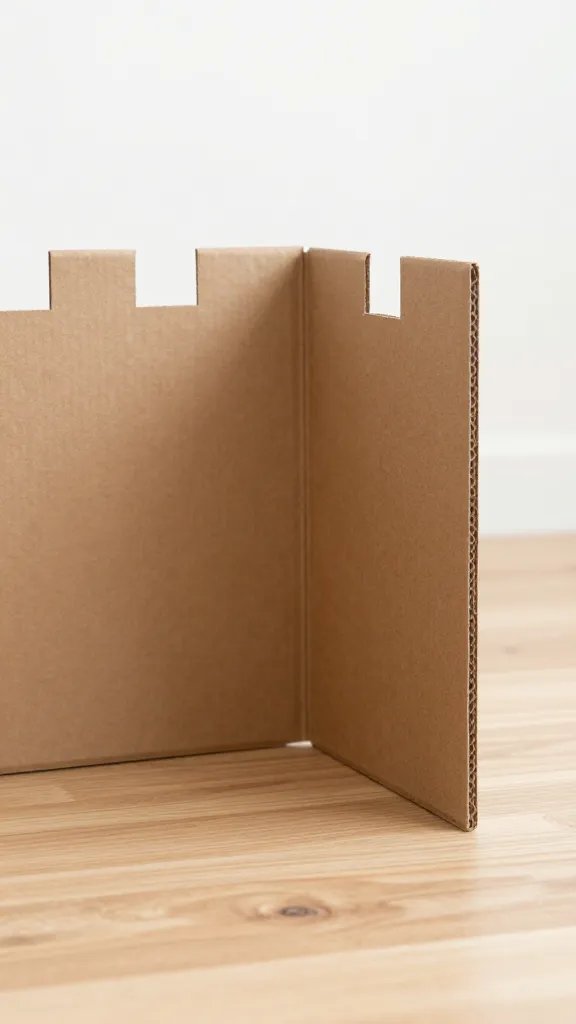
Stack large cardboard sheets to create a simple fortress with a drawbridge and crenellations. Use a rolled poster tube as a drawbridge handle and decorate with markers or tissue banners. It solves the problem of needing a large, engaging space for pretend play in a small room. Setup takes about 60 to 90 minutes depending on the scale, and the structure can be disassembled for storing flat. A two tower version is a good next step if your space allows.
Kid friendly: Let kids decide where to place windows and doors for a personalized castle.
13. Painted Cardboard Sound Tiles
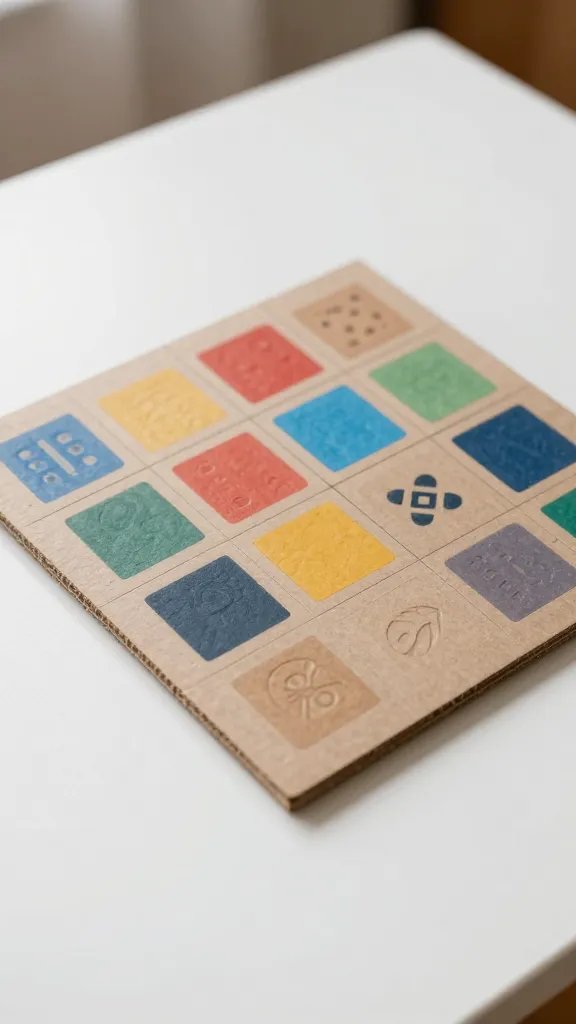
Glue small cardboard rectangles to a base board in a checkerboard pattern. Paint each tile a different color and stamp a simple instrument symbol—drum, bell, whistle—on the top. A quick shake reveals who goes first in a rhyming storytelling game. It’s a 40 minute craft, then you can use the board as a party game or a decor piece. For an easier version, reduce the number of tiles to a 4×4 grid.
What to avoid: Sharp edges; sand them smooth or cover with tape if a child will handle the tiles.
14. Cardboard Kaleidoscope Frames
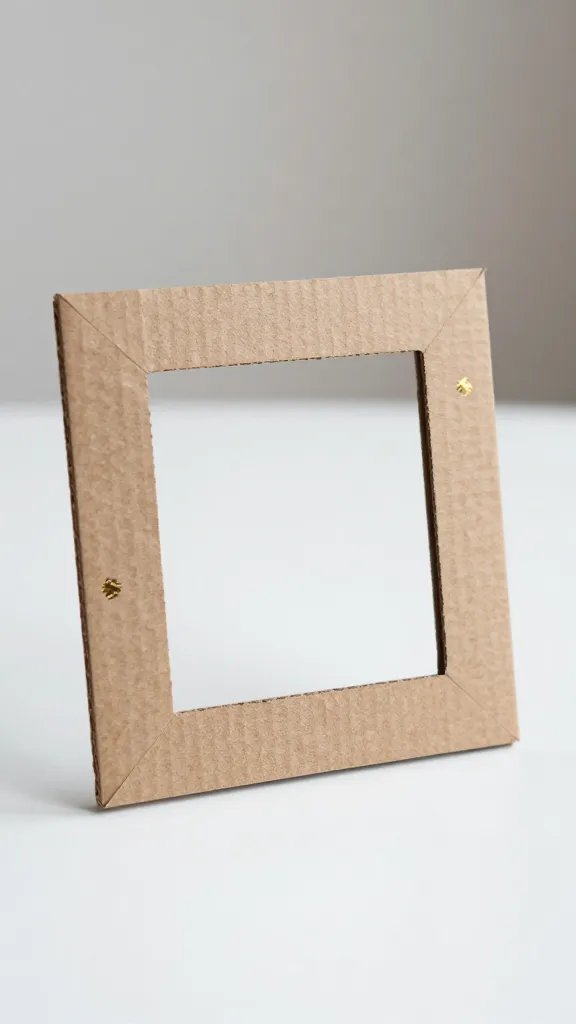
Cut two long strips of cardboard and glue them into a rectangular frame; punch a hole at one end for a simple viewing tube. Kids insert foil bits or colored cellophane scraps to create changing color patterns as they tilt the frame. This fixes the dwindling attention with a build and a mini science moment as colors shift. Expect around 35 minutes to assemble and decorate. A beginner version uses a single frame with a sheet of foil inside.
Safety note: Use child friendly scissors and cover any sharp edges with tape.
15. Foldable Paper Banner from Cardboard
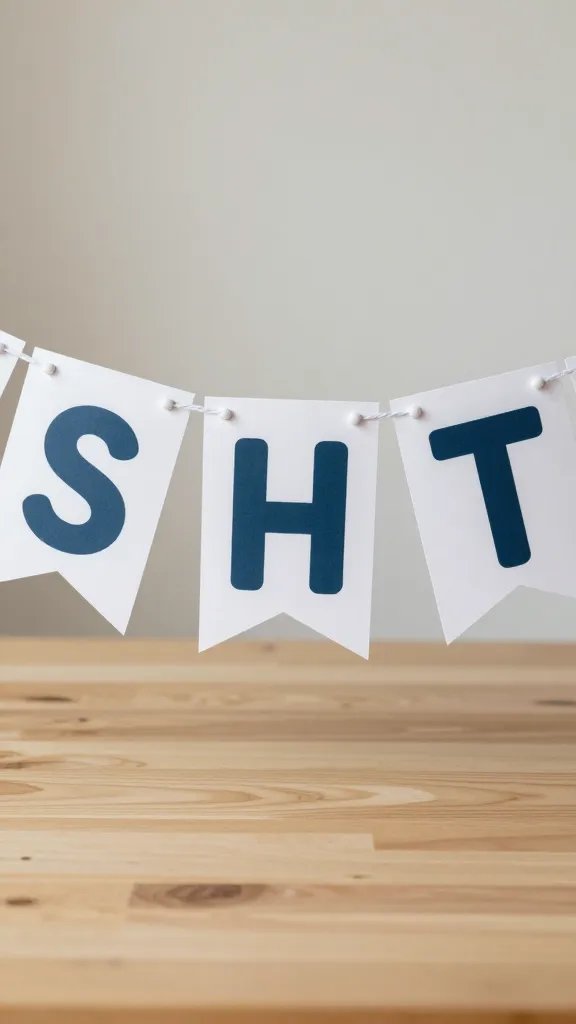
Cut large cardboard letters and connect them with string to make a reusable banner. Decorate each letter with paint, markers, or collage materials. The goal is a backdrop that can be stored flat for future events. It takes about 60 minutes to cut, paint, and assemble, with a few minutes to hang. For a faster upgrade, use pre cut letter shapes and focus on color coordination and a simple finish to avoid fraying.
Hosting tip: Attach the banner to a tension rod instead of nails to protect walls and adapt for future spaces.
16. Cardboard Garden in a Tray
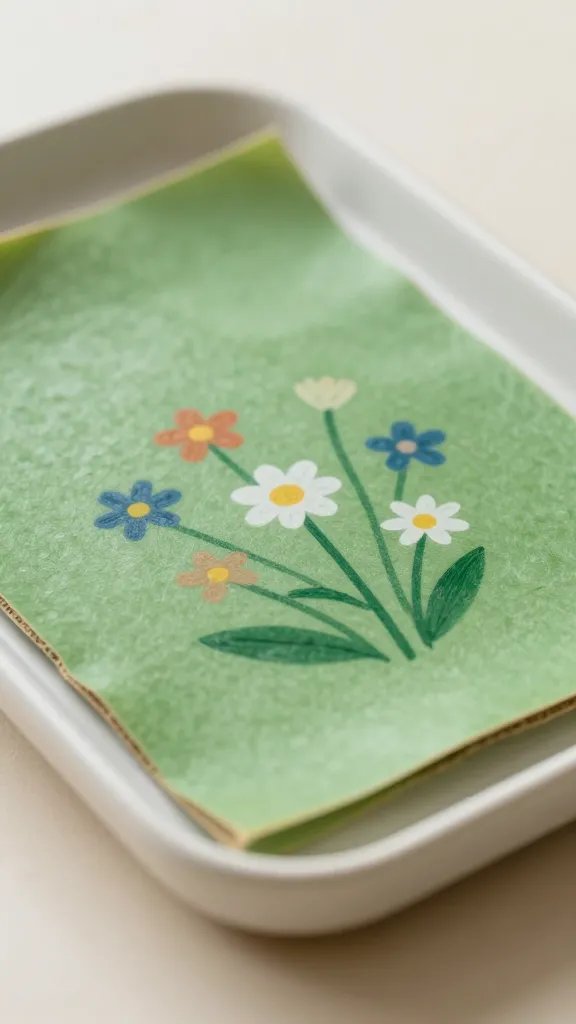
Turn a shallow baking tray into a planter scene using a sheet of green tissue, cardboard stems, and a few painted flowers. Kids press the stems into the tissue to create a little garden that sits at eye level. The problem it solves is offering a calm, finishing craft that doubles as gentle decor. It takes about 30 to 40 minutes to complete, with quick drying times for the paper elements. This works well as a wind down activity after a busy morning of games.
Small space fix: Use a shallow tray to keep components contained and easy to move.
These sixteen ideas give you a rainy weekend playbook that uses cardboard creatively without turning your living room into a craft store. Pick a couple, stash the rest for later, and you’ll have a host of activities ready for a surprise guest or a quick party setup. Save this for the next birthday that sneaks up on you.