
16 Cardboard Car and Vehicle Craft Ideas for Boys

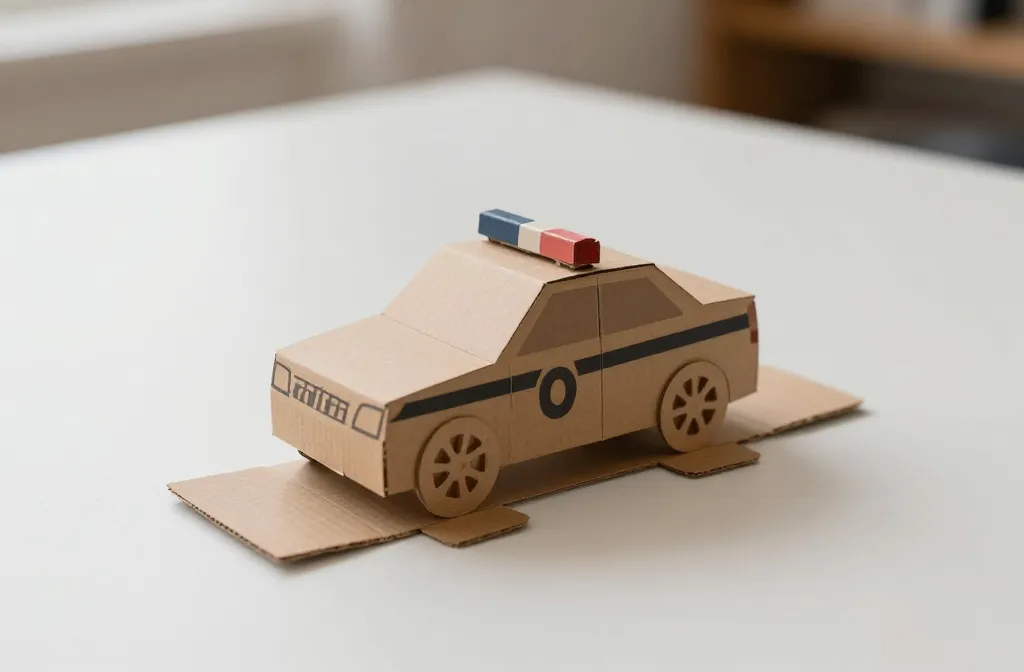
Parents often want fast, budget friendly crafts that keep kids busy and still look like they belong at a party or a shoot. These cardboard car and vehicle ideas solve the twin problems of short attention spans and cramped spaces by turning simple scraps into playworthy keepsakes. Each idea uses basic supplies, takes under an hour, and can be tweaked for younger siblings or bigger groups. You’ll find easy versions for little hands and a couple of upgrades for the older crowd. Ready to build something this week that actually sticks around in photos and on the shelf? Here are sixteen ideas to choose from.
1. Cardboard Police Car Snap together
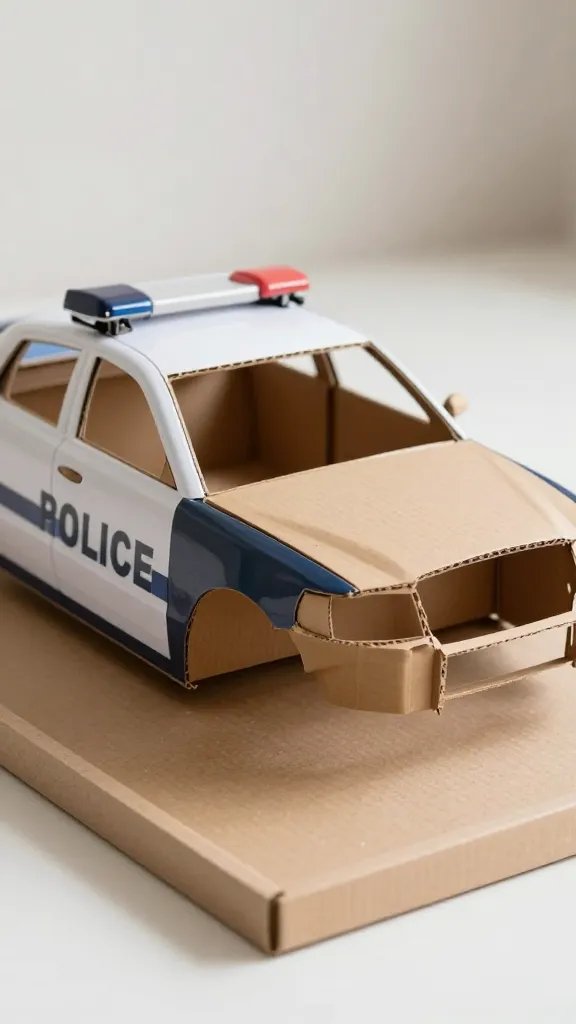
Turn a flat box into a compact cruiser with a few fold lines and tabs. It stands on its own, so kids can push it along or role play with pretend sirens. The trick is to cut one large rectangle for the body and attach two smaller boxes as the cabin. A template makes it easy for a group to batch produce during a rain delay party hour. Placement note: keep it flat on a tray until dry to avoid glue mess on the carpet.
Why it works: simple cuts, sturdy folds, and a clear role for kids that keeps them engaged without needing adult supervision for every step.
2. Build a Mini Hot Rod in 20 Minutes
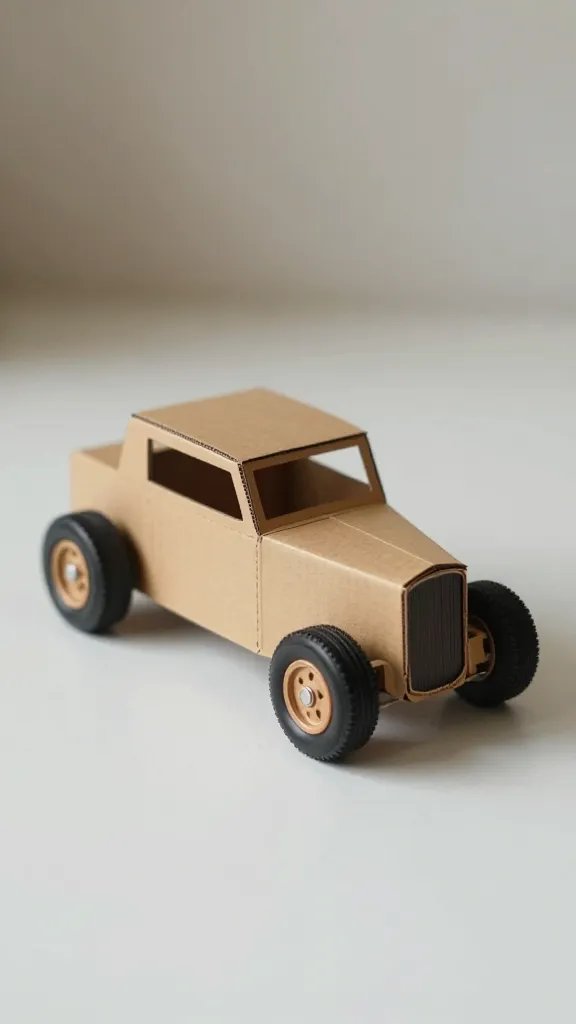
Provide a long strip of cardboard, a small box for the cabin, and a few bottle caps for wheels. The long lines feel speedy and the wheels roll if you glue them with a dab of hot glue. For a speedier version, pre-cut wheels so kids just attach. You’ll get a bold centerpiece or a simple party prop that fits on a desk or tray table. Dollar store swap: use foam stickers for headlights and flames.
Best for: kids ages 5 to 9 who like fast, colorful designs and straightforward assembly.
3. Cardboard Dump Truck You Can Load
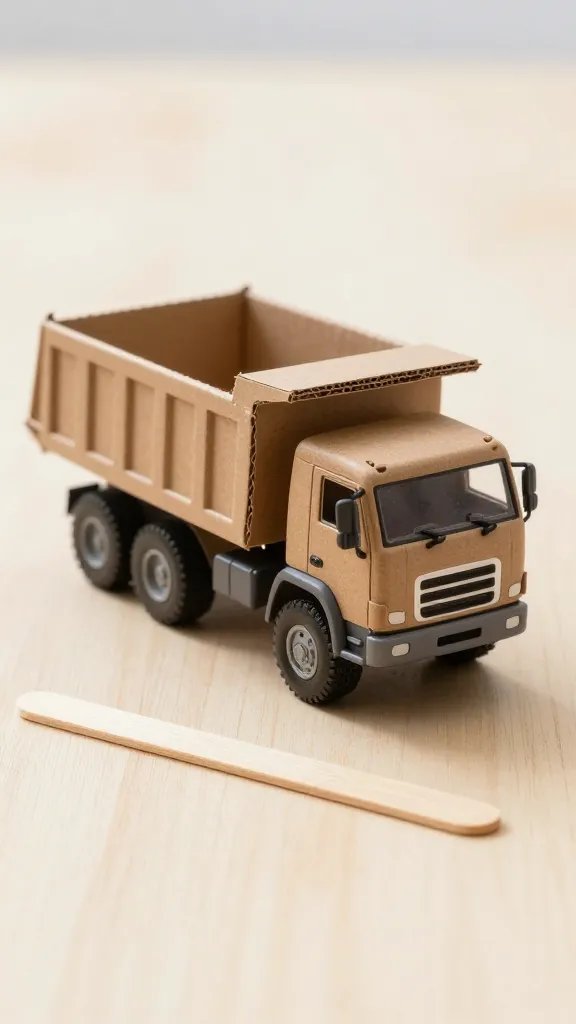
Layer three boxes to create a stacked body and a bed that tips. A simple lever made from a popsicle stick attaches to the back to simulate dumping. This one teaches a quick mechanism and yields a sturdy prop your kid can push around the room. The hardest part is aligning the bed so it tips evenly. Safety note: supervise the lever to avoid pinched fingers.
Copy the look: paint in two tones and add a strip of reflective tape along the cab for a street-ready vibe.
4. Stadium Rally Car Made from Cardboard
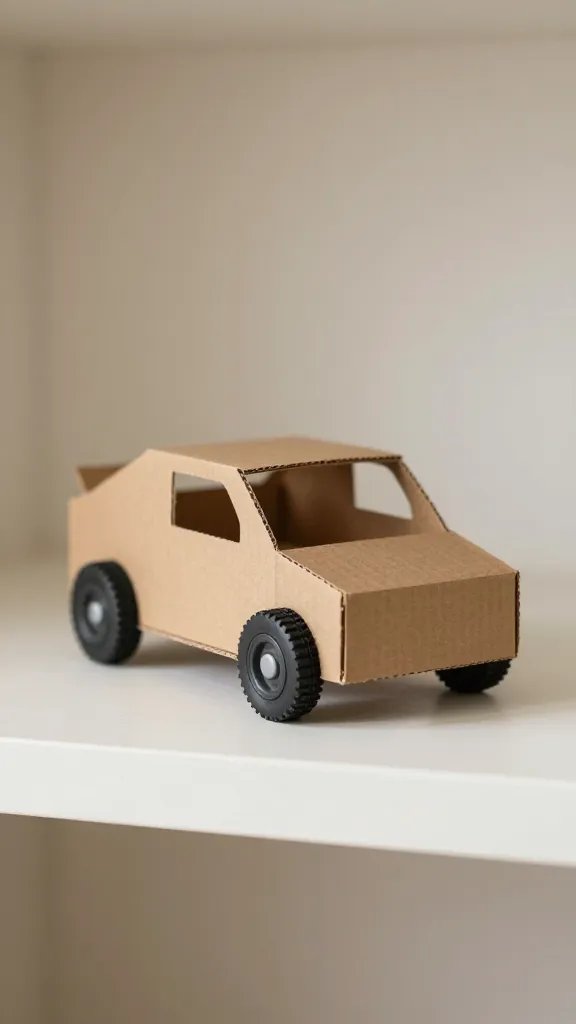
Use a tall rectangular base for the body and glue a curved roof piece to form a compact, rounded shape. Attach four bottle cap wheels and a small cardboard spoiler. The finished piece sits nicely on a shelf or a dessert table as a “pit stop” decoration. A little wind tunnel shape cut in the front adds character without extra parts. Mess control: keep glue bottles in a tray and wipe excess promptly.
Why it looks store bought: clean paint lines and a grounded color palette transform cardboard into something camera ready.
5. Pickup Truck Scratch Build
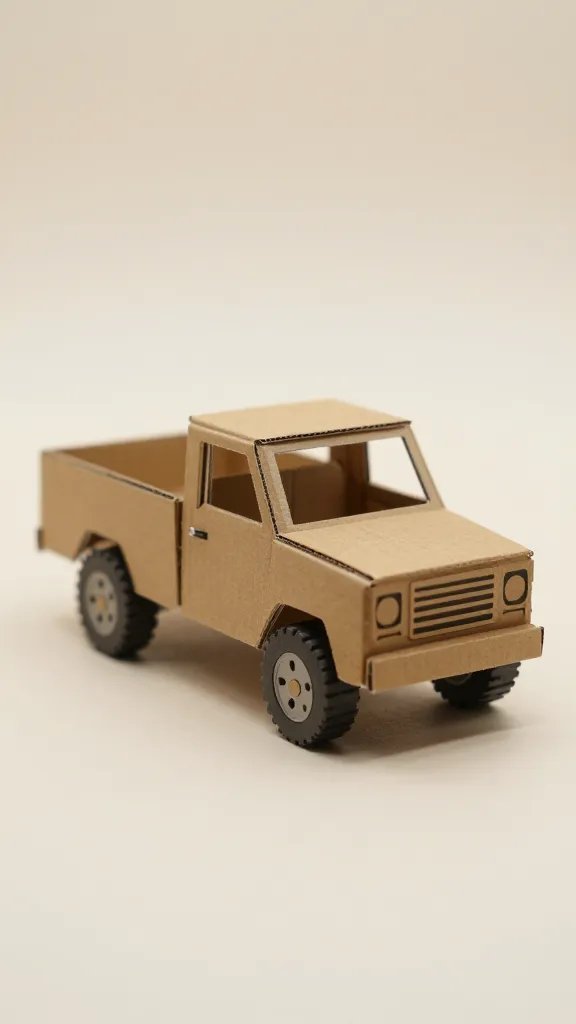
Take a couple of wide boxes, cut a truck cab from one, and glue a flat bed from another. Add corner braces with small folded tabs to keep the bed sturdy. Wheels can be made with cut circles of cardboard or use sturdy bottle tops for a quick finish. This is a forgiving build that scales step by step with kids helping along. Make it easier: omit the bed hoops and keep the truck simple and flat.
The detail to steal: a small paper grill and bumper sticker style details to sell the look.
6. Space Rover Themed Cardboard Vehicle
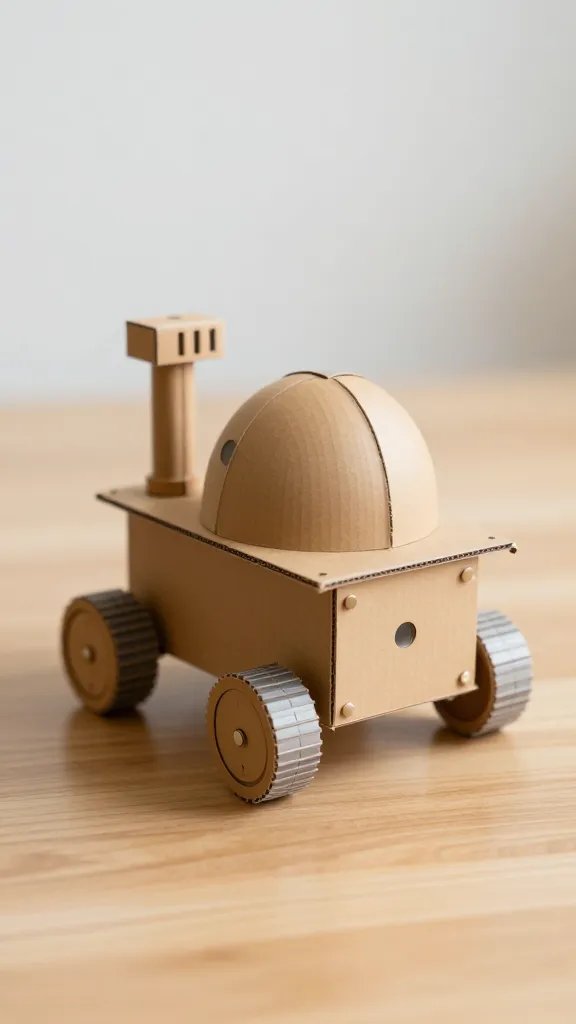
Flip the design toward space with a rounded body and a dome cockpit cut from a plastic lid. The wheels can be pitted with tiny holes to look like rocket thrusters. Create windows with clear tape or a thin sheet of plastic. It’s fast to assemble and makes a cute table centerpiece for a space party. Best for: ages 6 and up who enjoy sci fi themes and big imaginations.
Make it ahead: assemble the dome and set aside until the body is dry to avoid warping.
7. Convertible Cardboard Car with Flip Seats
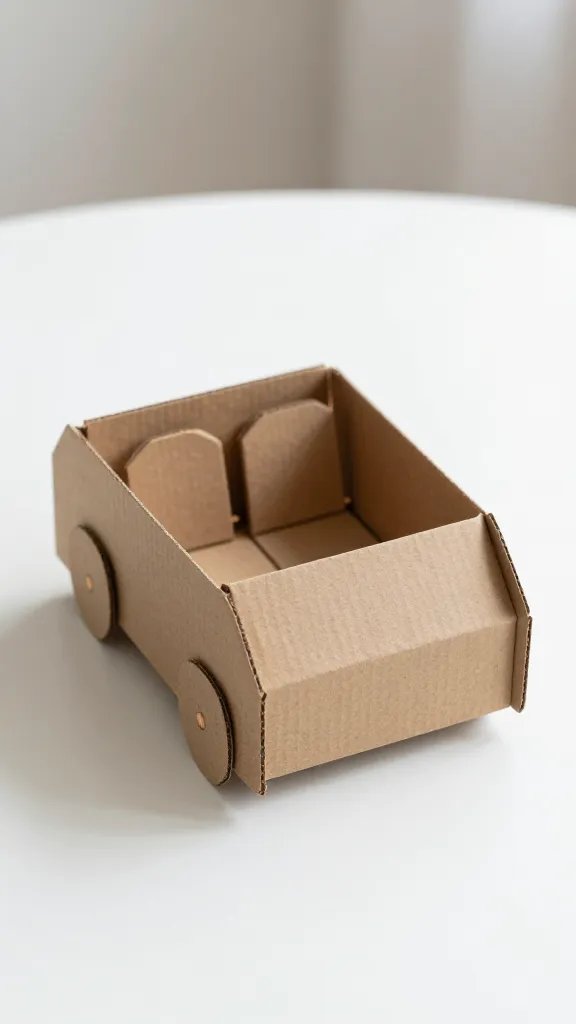
Two flat panels can hinge on the sides to create a pretend convertible. Use a fabric strip to simulate a soft top and two small tabs as seat backs that fold. The hinges are simple brads or folded cardboard so kids can open and close as they pretend. This one needs a little more patience, but the payoff is charming in photos. Kid friendly: keep the hinge tight but not too stiff so little hands can operate it.
Time saver: pre-cut the seat backs and use a single punch to add the hinges.
8. Race Car Track Setter from Cardboard
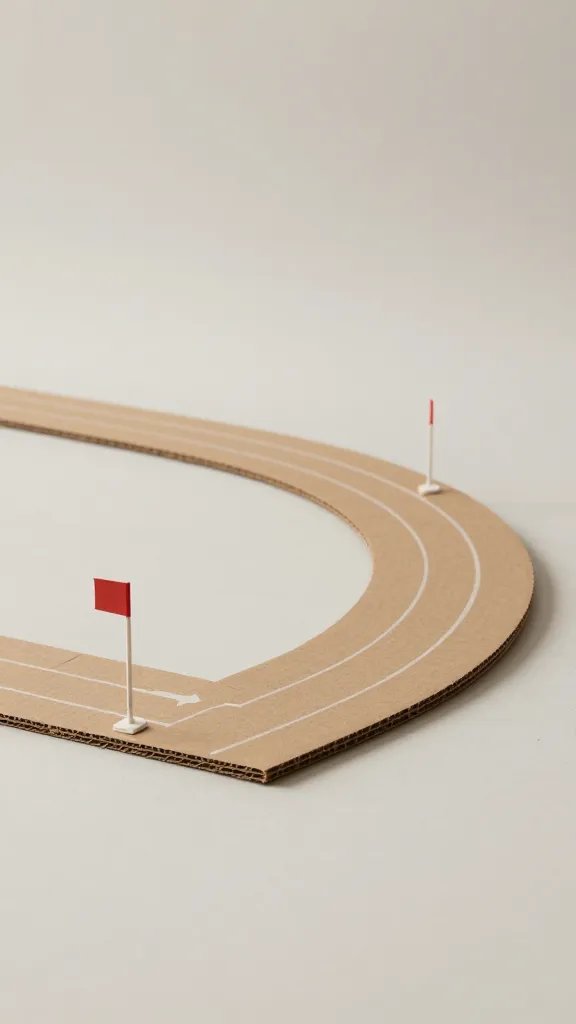
Cut a long, rounded base and mark two lanes. Create tiny pit stop stands from extra cardboard and fill gaps with small flags. The craft becomes a mini track for toy cars and can be used as a backdrop for a race day photo. It’s a way to reuse boxes and get a playable surface in the living room. What to avoid: thick tape that shows in photos; use slim painter’s tape instead.
Best for: quick setup and kids who enjoy coordinating little teams of racers.
9. Cardboard Ambulance with Sliding Doors
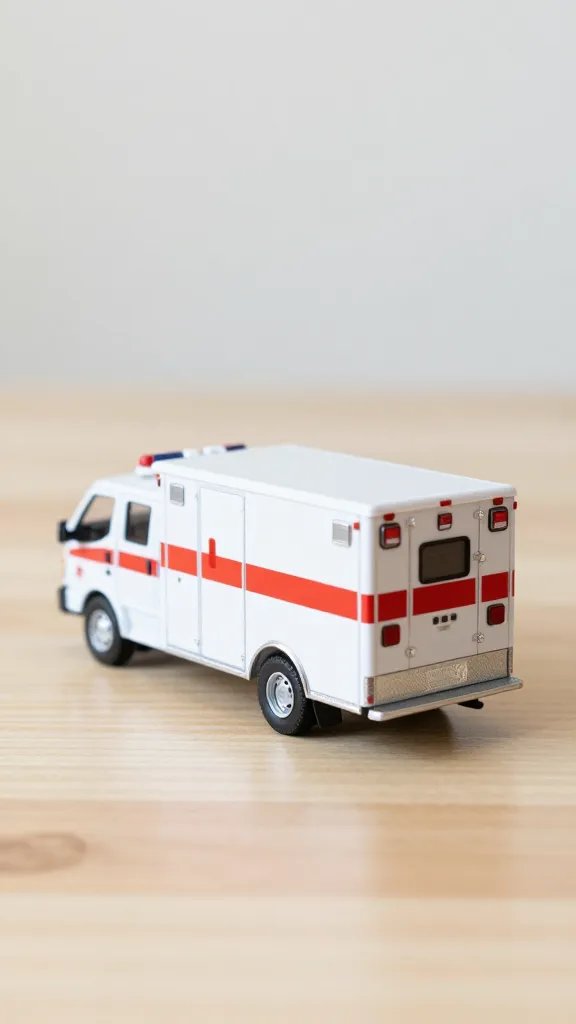
Make a small box into an ambulance by adding a red cross sticker and a sliding door cutout on one side. Two flaps become the doors and a small window detail finishes the look. The motion makes it interactive, so kids stay engaged longer. A simple straight line on the floor map can guide tiny hands as they play. Safety note: avoid sharp edges and sand the cut corners with a small file if needed.
Copy the look: white base with red accents looks crisp and legible in photos.
10. Cardboard Sailboat for Balcony Play
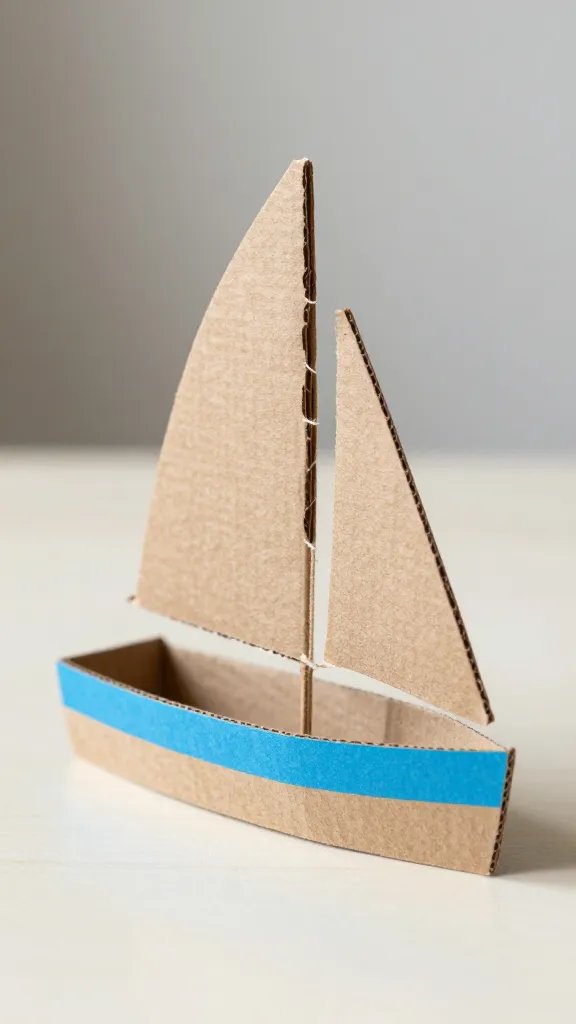
Shape a hull from a long box, wrap with painter’s tape to mimic wood, and attach a triangular sail cut from poster board. It doubles as a party prop on a tabletop and a wind catcher on a porch. Add a strip of blue paper along the hull to suggest water. The trick is to keep the sail light so it doesn’t topple in a breeze. What to avoid: thick tape that traps moisture and warps the cardboard.
Storage tip: store sails flat with a piece of cardboard behind to keep shape for the next craft day.
11. Mini Drill Rig from Cardboard Tubes
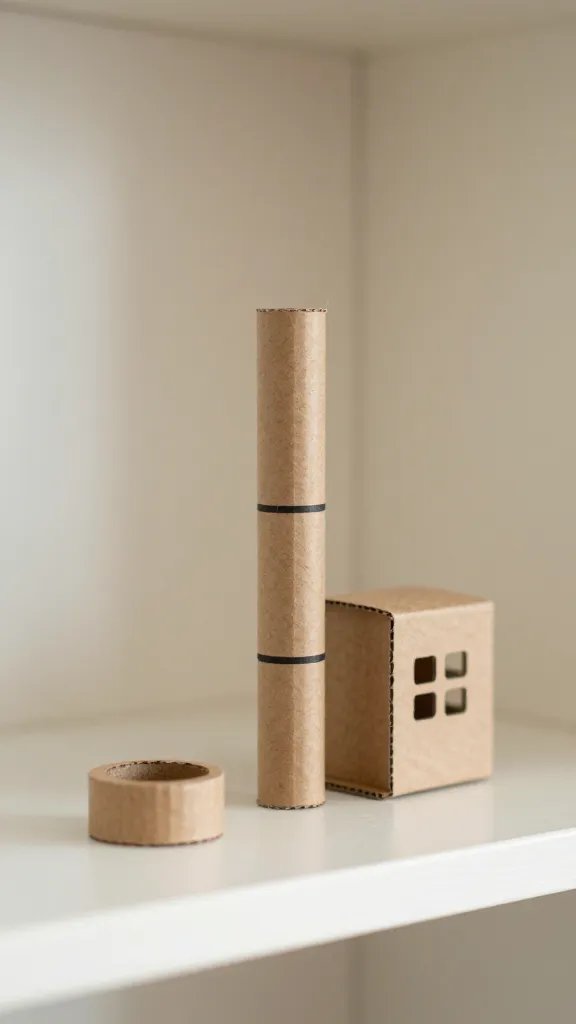
Repurpose two paper towel tubes into a tiny drill rig by stacking and bracing with scraps. A small circular piece becomes the cabin and a lid acts as a turbine cap. Glue a strip of black paper along the length for a realistic look. It’s a compact build with a bold silhouette that photographs well on a shelf. Make it ahead: assemble the base and let it dry before adding the detail pieces.
Why it works: strong shapes and a limited color palette keep it visually clean in photos.
12. Cardboard Tow Truck with Hook
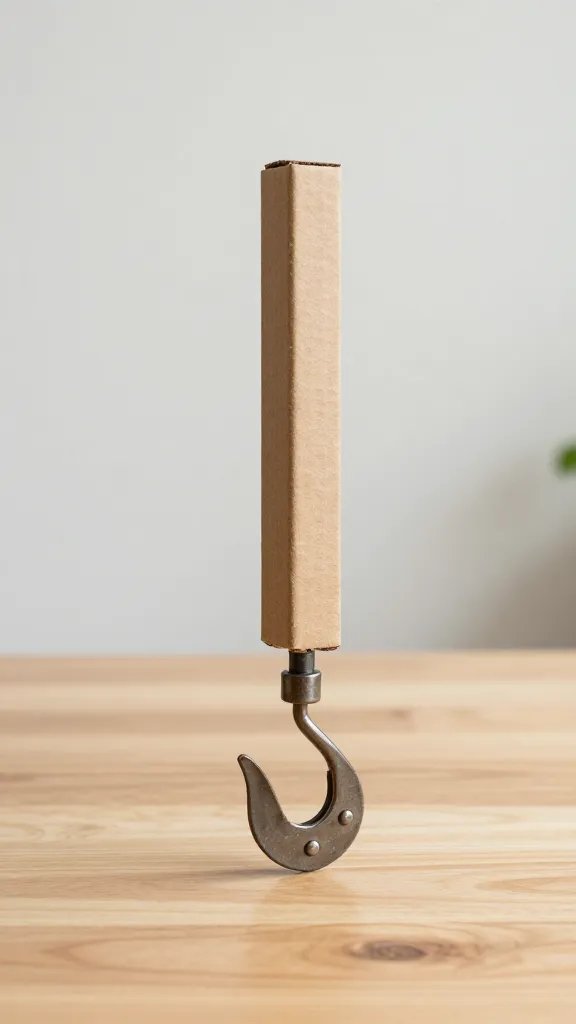
Use a rectangular base and a small hook shaped from a bent pipe cleaner or folded cardboard to simulate a tow hook. A second box becomes the cab, connected with a simple flap hinge. Kids can pretend to haul small toy cars across the floor. The setup is forgiving and easy to shift to a display after play time ends. Link it to storage: keep a small bin of toy cars nearby for quick play sessions.
Budget note: reuse small bits of cardboard as the hook so you don’t need extra supplies.
13. Cardboard Garbage Truck for a City Party
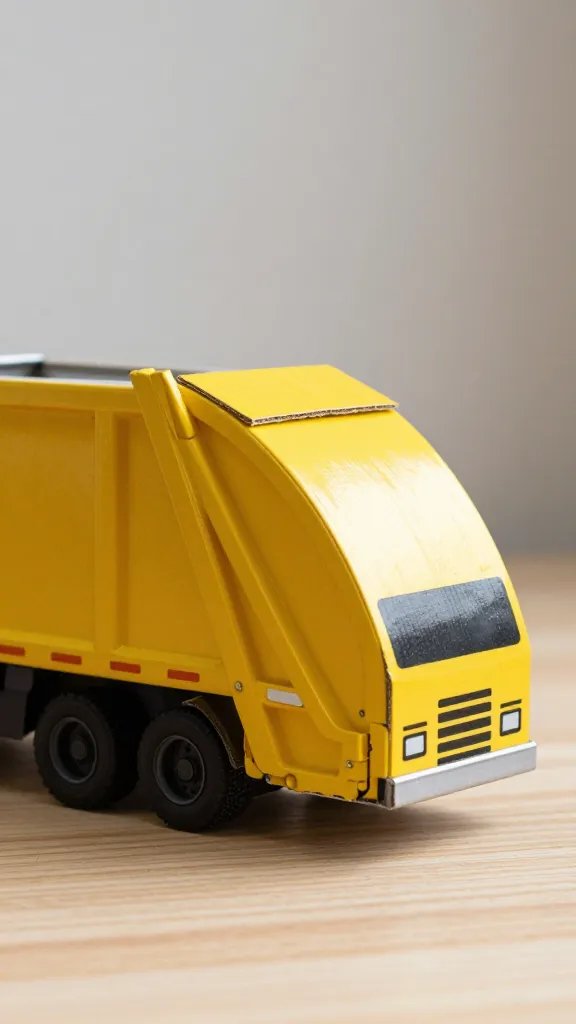
Paint a sturdy box in yellow with black stripes and add a lifting mechanism using a strip of cardboard folded into a lever. A small plastic bag or tissue can simulate trash. The simplicity of the build makes it ideal for a crowd, and it makes a fun photo prop on a city themed dessert table. Make it easier: skip the lifting lever and let kids push the bed back and forth instead.
Best for: a small indoor space where kids can push and pull without knocking things over.
14. Cardboard Boat with Sail and Paddles
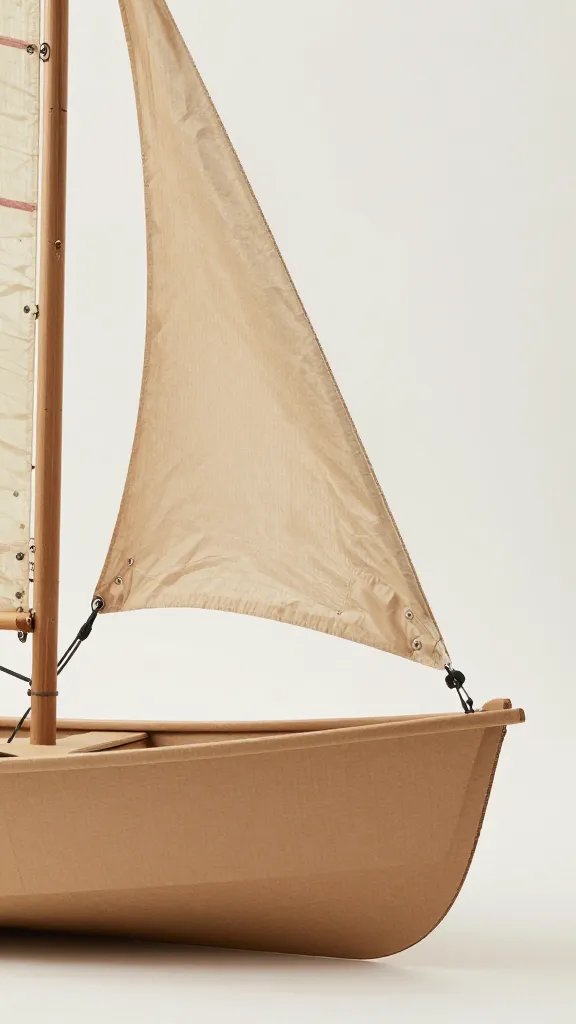
Construct a simple hull from a curved piece of cardboard and add a sail from poster board. Two small paddles can be attached to the side. This idea scales nicely for siblings and makes a cute display piece for a summer party. The color scheme should stay bright and nautical. What to avoid: heavy glues that sag the sail; use light glue or tape to keep things crisp.
Storage tip: flatten hulls when not in use to save space in a closet.
15. Dump Truck Poster Board Version
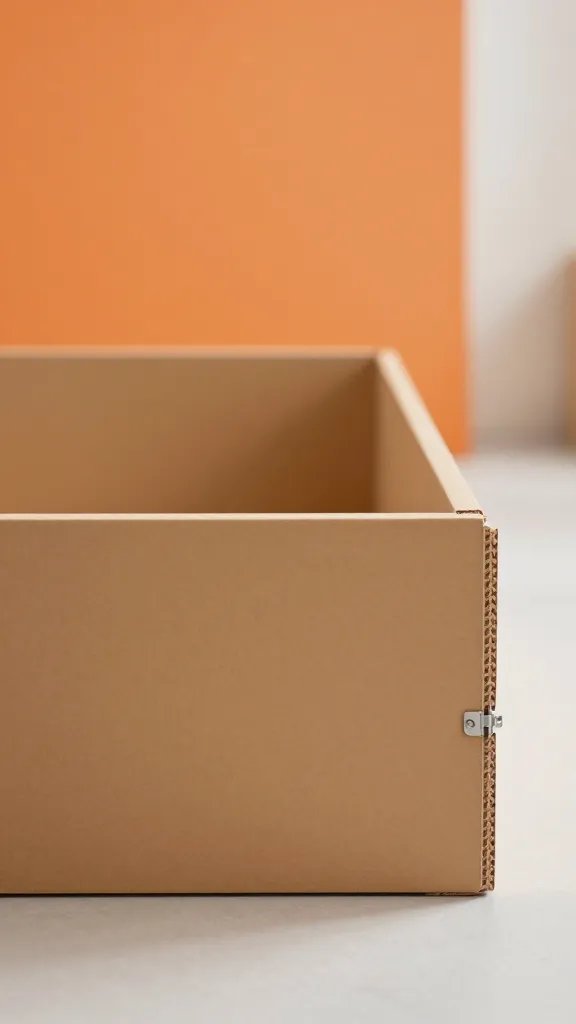
Kits are not necessary; use two sheets of poster board to create a dump bed with a simple hinge cut from a small strip. The wheels can be punched from a thicker cardboard and attached with a dab of glue. This one packs flat for a party photo backdrop and pops with bold color. Why it works: fast to assemble and easy to customize with the party color palette.
Make it ahead: pre-cut the bed hinge and wheels so assembly is quick on party day.
16. Cardboard Monster Truck with Giant Wheels
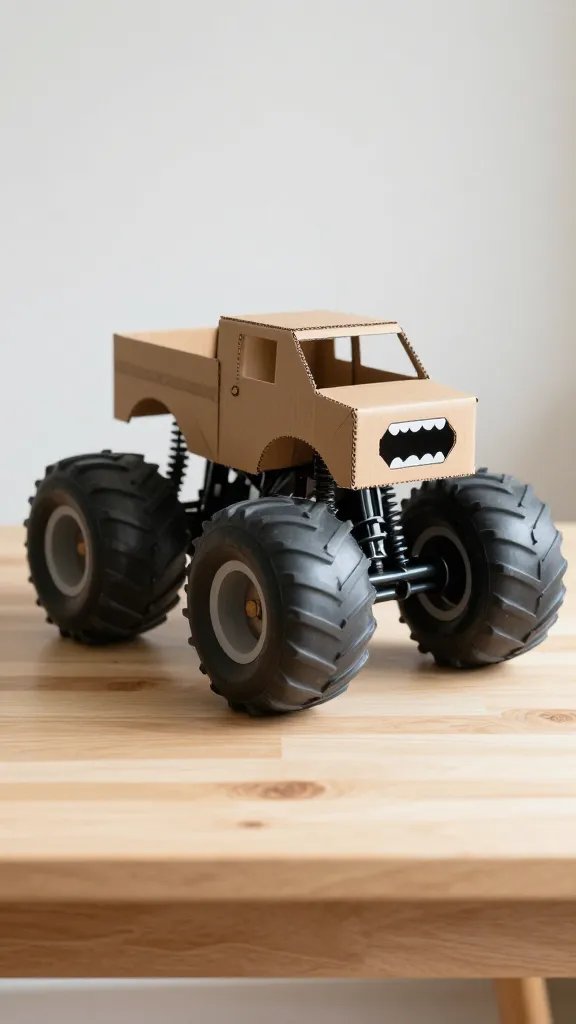
A bold idea uses oversized wheels cut from cardboard circles and a chunky body with thick lines. A little mouth painted on the front adds character, and kids can decorate with markers and stickers. This one reads really well in photos because of the scale difference. Kid friendly: keep the wheels attached with a simple slot so they rotate but stay on the base.
Safety note: check all edges and sand burrs for little hands during setup.
With sixteen options, you can mix and match a few for a quick all-ages craft corner or pick a single showpiece to anchor a tabletop display. The key is to keep cuts simple, colors bold, and steps movable for kids who want to lead. Save this for the next birthday that sneaks up on you.