
14 Cardboard Playhouse Ideas for Small Living Rooms

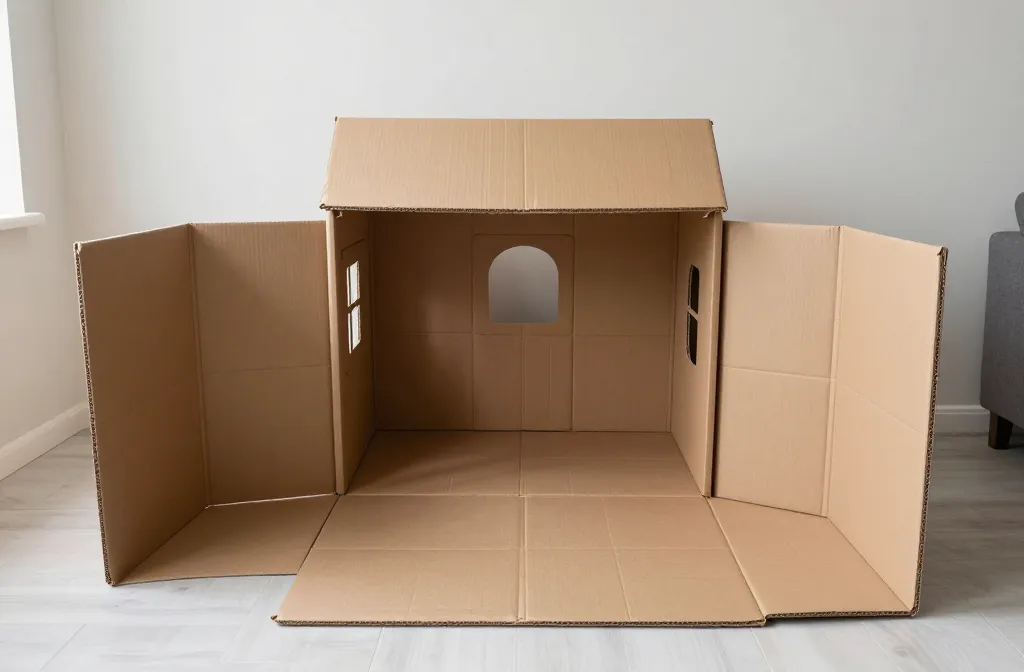
When space is tight, a cardboard playhouse can become your kid’s whole world without hogging the room. The trick is making something sturdy, climbable, and kid friendly, not a fragile paper cutout. These ideas solve the two big problems: how to entertain kids for longer without chaos, and how to do it on a modest budget in a small living area. Each plan uses simple cardboard, a few fasteners, and supplies you likely already have. I’ll keep the steps small and doable this week, so you can set up and watch the little ones light up without a big mess to clean later. Let’s start with something sturdy and quick to assemble.
1. Fold-Up Space Ship for a Quick Build
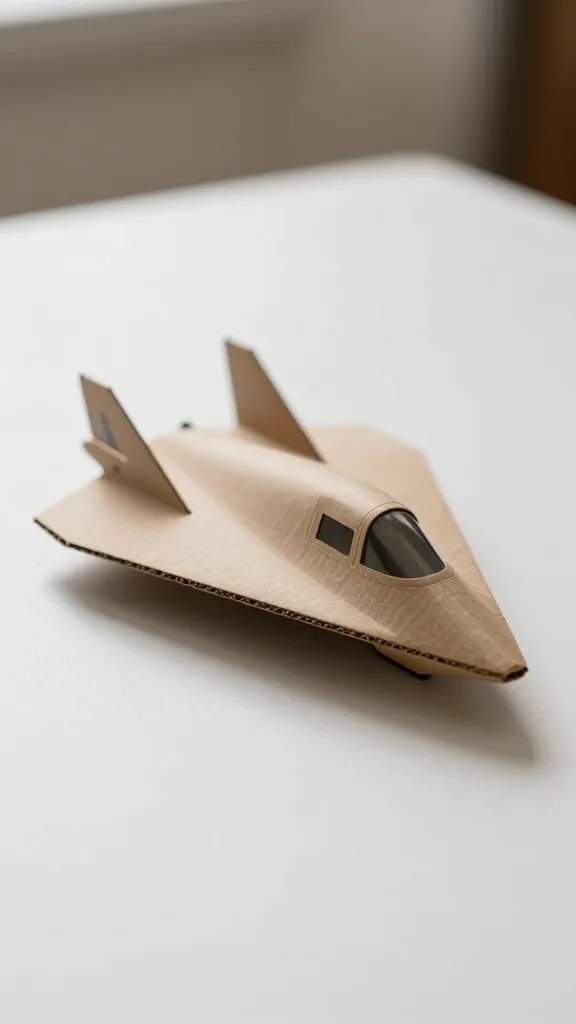
Kids love a hideout with a punch of adventure, and a fold up cardboard space ship fits in a corner and unfolds into a pretend cockpit. Start with a rectangular box as the base, slice two panels to stand up as side walls, and tape on a curved front for the cockpit. Add a paper control panel and a periscope from extra cardboard. This keeps the play area contained and easy to store flat when not in use. Time saver: under an hour for a sturdy version.
Safety note: Use child friendly adhesives and avoid sharp edges by smoothing tape and trimming edges.
2. Little Library Nook with a Roof
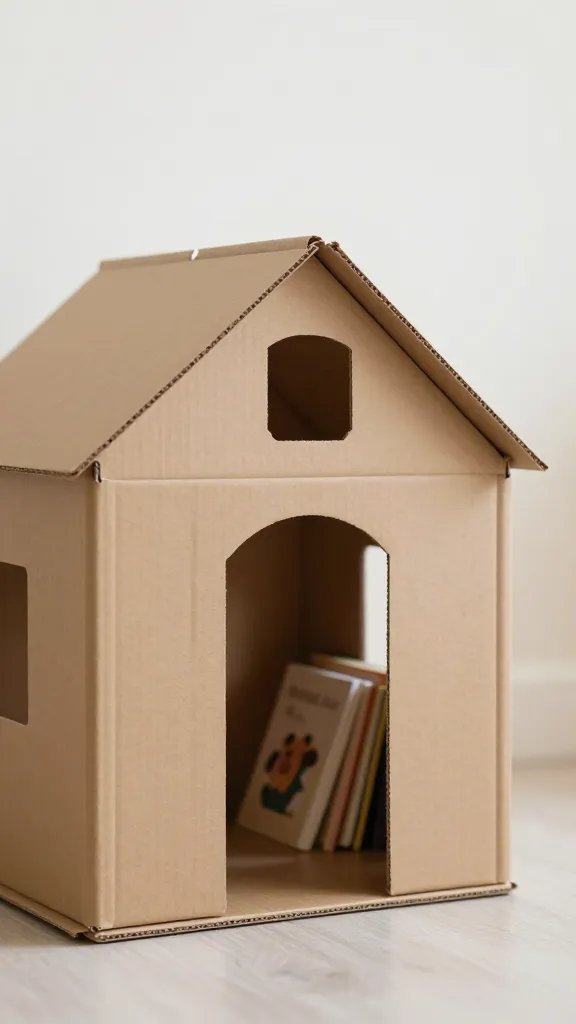
Turn a medium box into a cozy book nook with a little pitched roof; kids climb inside and stash their favorites. Cut a doorway, score a few lines to create a hinged roof, and decorate with colored paper or fabric scraps. The roof creates a defined space that signals a quiet reading corner and keeps dust off the books. It’s compact enough for a living room corner and folds away when guests arrive. A simple, functional hideaway in a weekend.
Placement note: Set it against a wall to maximize floor space and reduce tipping during enthusiastic browsing.
3. Street Market Stand for a Quick Make
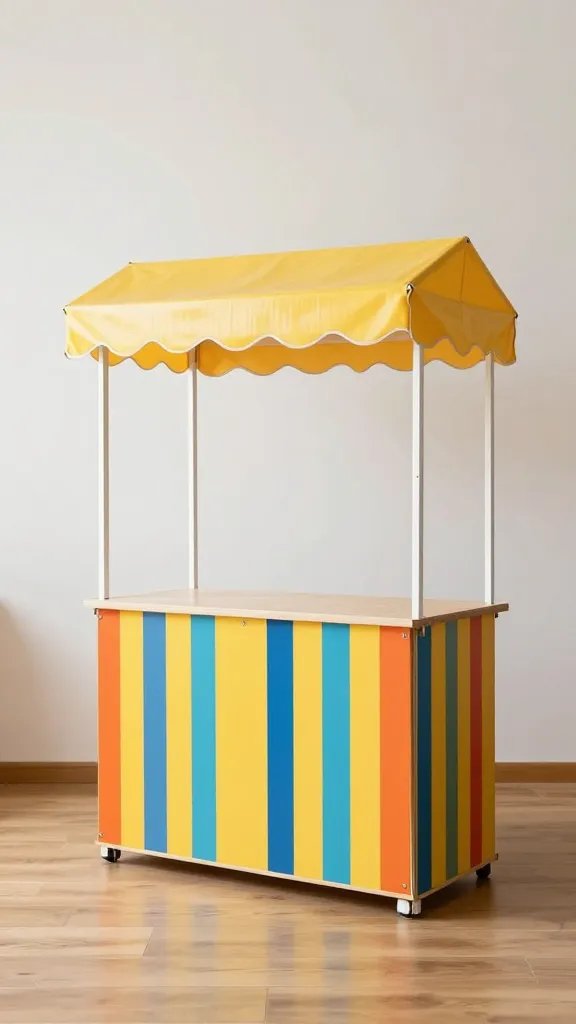
Give kiddos a pretend shop using a cardboard stand with a counter. Cut a slot for pretend money, paint bright storefront stripes, and attach a small canopy with a strut of tape and a strip of fabric. Add a few cardboard “prices” and a basket for toy produce. It’s a eye catching focal point that doubles as a pretend play setup and a display piece in photos. Ready in about 60 minutes, with a lot of happy customers after.
Copy the look: Use crayons and markers to personalize signs; no extra supplies needed if you have fabric scraps.
4. Cozy Teepee from a Cardboard Bundle
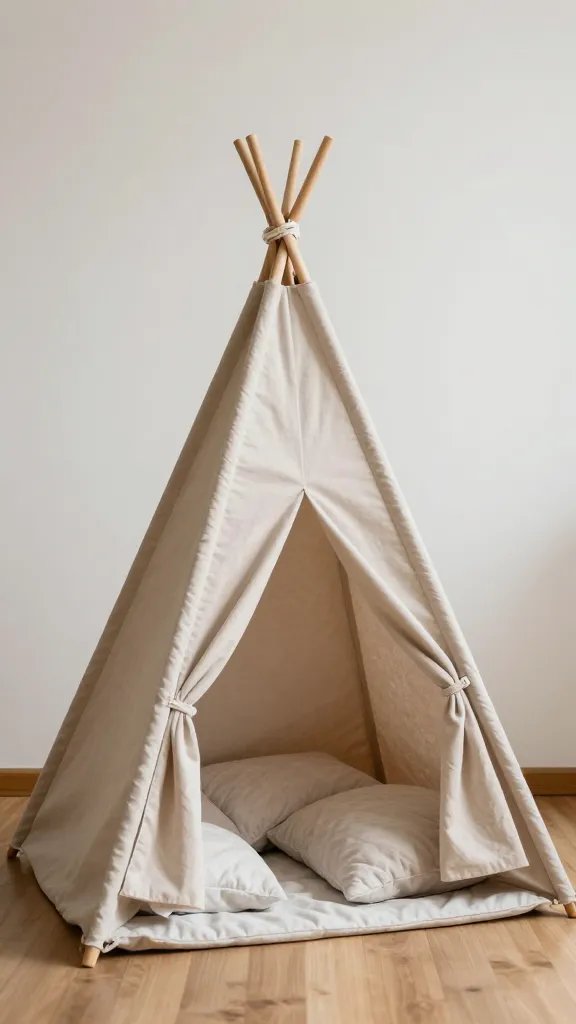
Lay several flatten boxes into a teepee shape and secure with tape to form a small tent. Line the interior with a blanket and lay a few soft cushions to create a cozy reading corner. A teepee invites kids to crawl in and pretend they’re camping indoors. It stores flat and pops up with a simple fold when you’re ready to play. This is a small space fix that reads as a big idea on camera.
Mess control: Keep the interior tidy with a small tote for dolls and blocks inside the bottom folds.
5. Fairy Tale Castle with Turrets
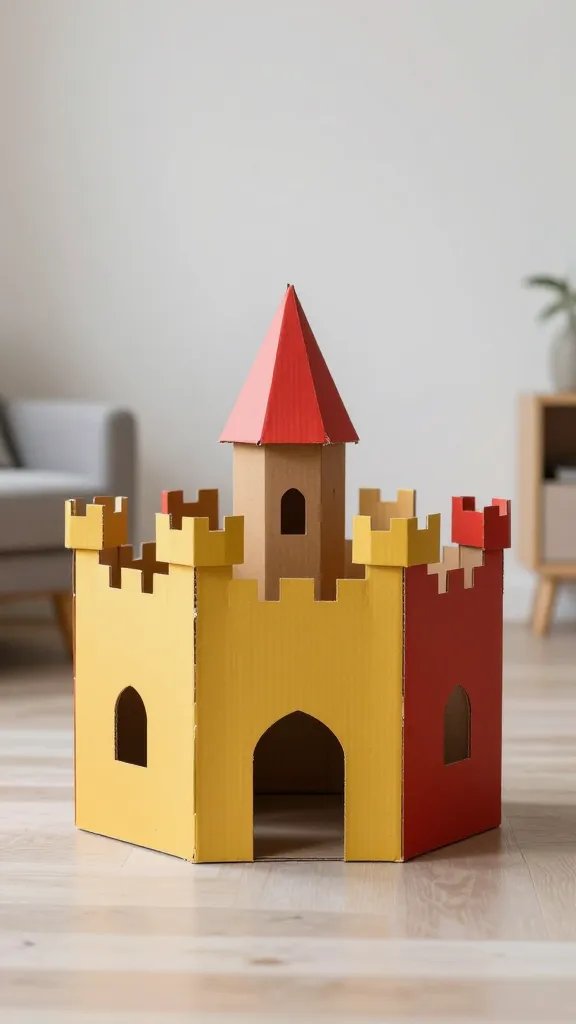
Build a compact cardboard castle by stacking a few boxes and adding turrets with paper tubes or rolled cardboard cones. Paint it in two bold colors, and hang a cloth banner across the front for a grand entrance. Kids can stage a royal tea party or a dragon rescue, while the compact footprint stays friendly to a single living room wall. Plan for about 90 minutes of building and decorating, depending on how detailed you go.
Safety note: Avoid long paper banners that droop near floor level; secure with thumbtacks or tape high up.
6. Mini Kitchen Playhouse with Pegboard Wall
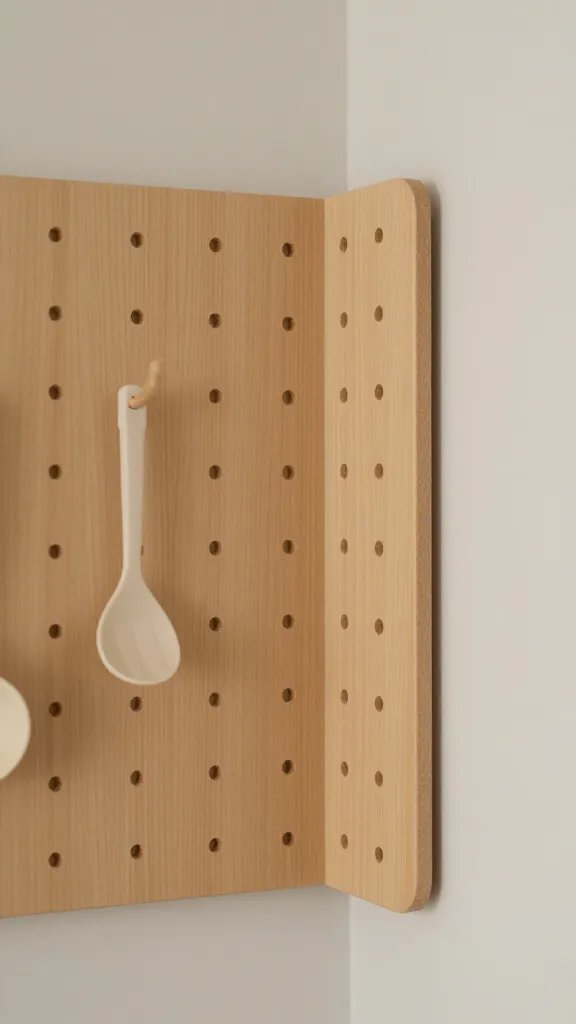
Create a tiny kitchen by using a small box as the stove and tapping a pegboard strip onto the back wall for hanging play utensils. Add a paper towel roll and a faux sink cut from cardboard with a painted faucet. A hinge on the door lets kids pretend to wash dishes and cook. It fits neatly in a corner and can be dressed up with fabric curtains. Quick to assemble in under an hour, and easy to take apart for storage.
Use what you have: A leftover curtain panel becomes a window curtain over the “stove.”
7. Ocean Coral Reef Cave
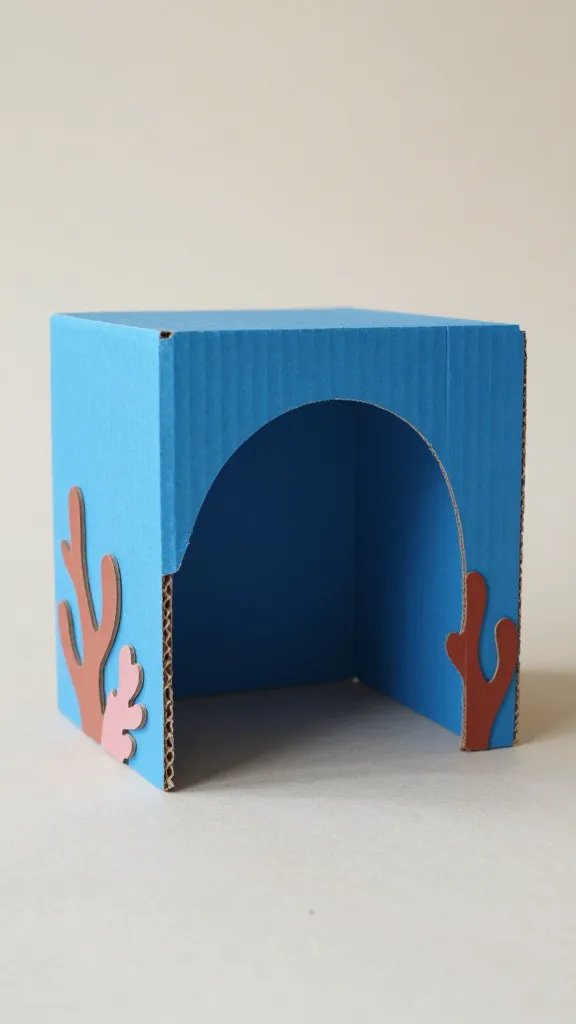
Turn a long box into an underwater cave with painted blue walls and coral cutouts from colored paper. Add a shallow entrance and a cardboard lidded “treasure chest” for shell toys. The cave invites imaginative play and can be placed along a wall to save space. It’s light, durable, and easy to disassemble for cleaning. Expect 45 to 60 minutes to craft and set up, depending on how detailed you want the coral.
Color note: Use three colors max to keep the scene cohesive in photos.
8. Grocery Cart and Aisle Combo
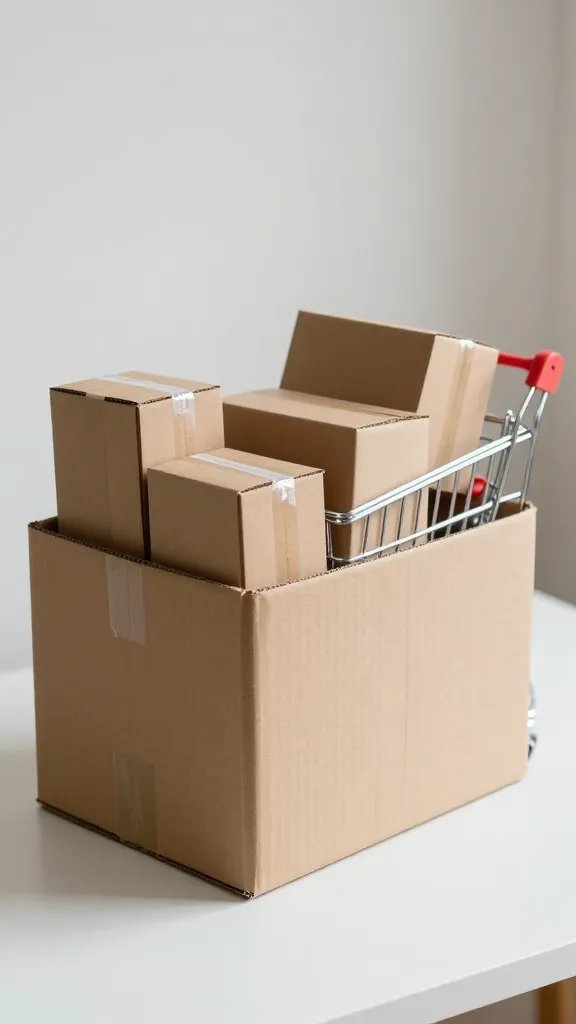
Slice a large box into a pretend grocery cart and line two smaller boxes as aisles with vertical card dividers. Tape a small cardboard sign to label items and encourage kids to stock their shelves. It creates a mini market that’s perfect for a few guests to shop and barter with pretend coins. Setup takes about an hour, and it stores flat when not in use.
Little hands tip: Use a binder clip to hold play money and keep it off the floor to avoid tripping.
9. Reading Loft Above a Play Den
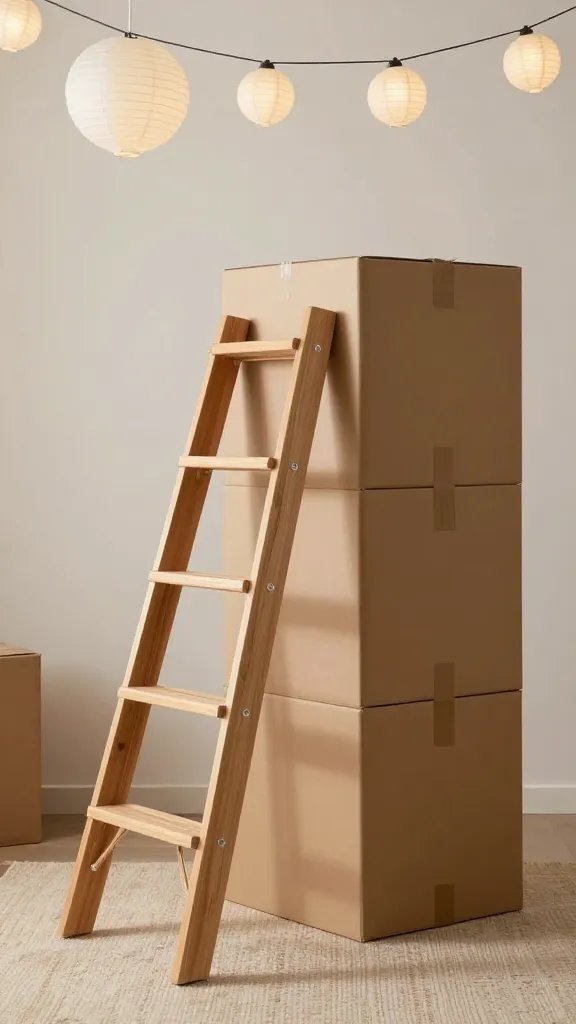
Use a tall, sturdy box to create a small reading loft that sits above a low play den made from a larger box. The loft becomes a secret hideout with a tiny ladder the kids can climb. Decorate with a string of paper lanterns and a small rug to cue a calm space for story time. This rotates into a calm corner during a party and enlarges play space without stealing floor area.
Safety note: Ensure the ladder is stable and can bear light use by kids.
10. Cardboard Campfire Circle
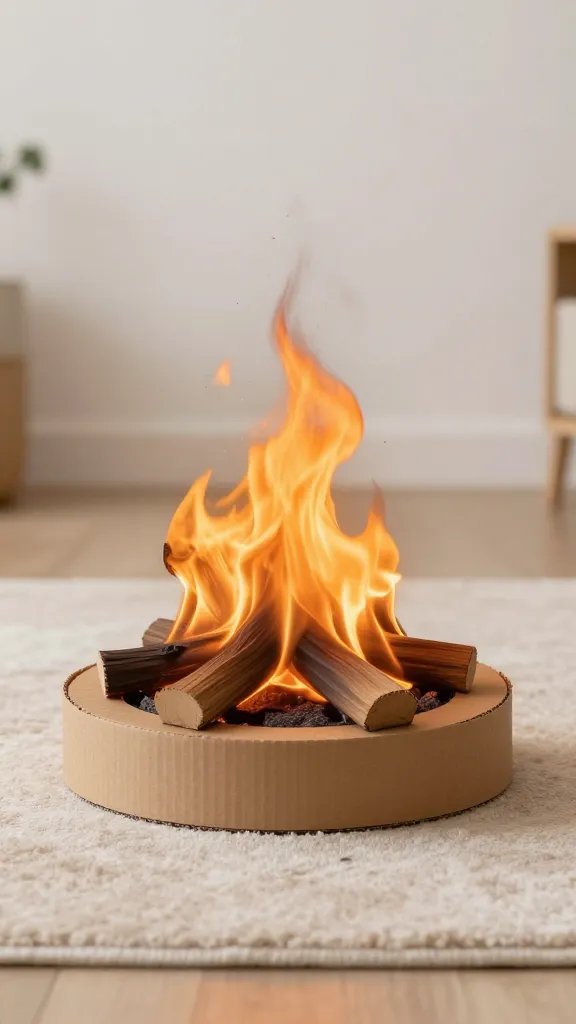
Cut four quarter circle pieces from cardboard and arrange them into a ring for a pretend campfire. Paint warm colors and add a tissue-paper flame centerpiece. A few small cushions around the circle turn it into a cozy camp zone. The play area stays contained and versatile for storytelling or a sing along. It’s quick to assemble and easy to store flat after guests leave.
Hosting tip: Keep a small tote nearby to collect stray cushions and markers after the party.
11. Beach Themed Crawl Tunnel
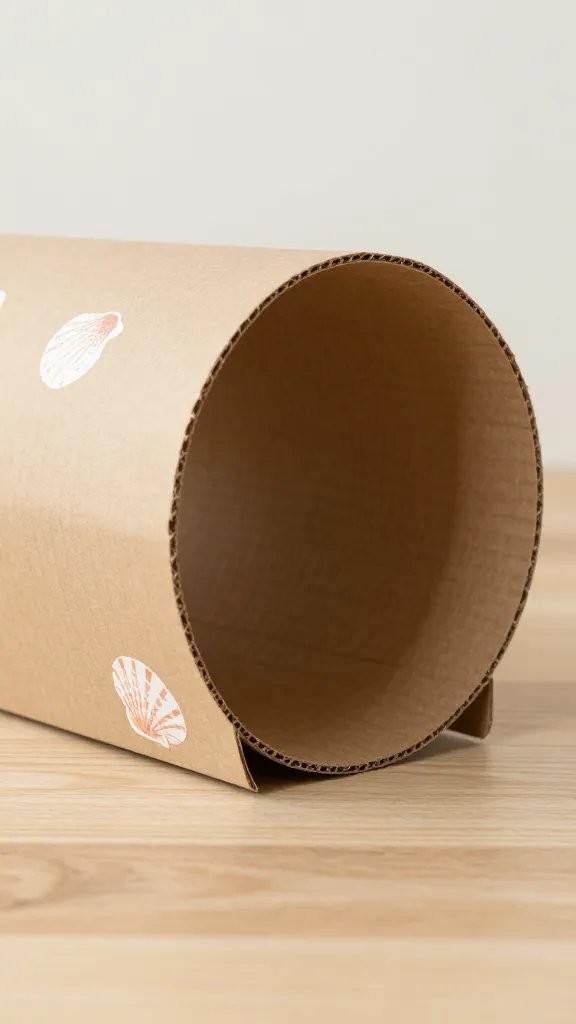
Construct a low tunnel from a couple of long boxes taped end to end. Carve out a small entrance, paint with sandy tones, and add a few seashell stickers. Kids love crawling through the tunnel to reach a small “shoreline” area with toy boats. It’s gentle on a small living room and collapses flat for storage. Build time about 60 to 75 minutes, depending on how much detail you want.
Safety note: No sharp edges; sand down any rough corners before play.
12. Weather Station Play House
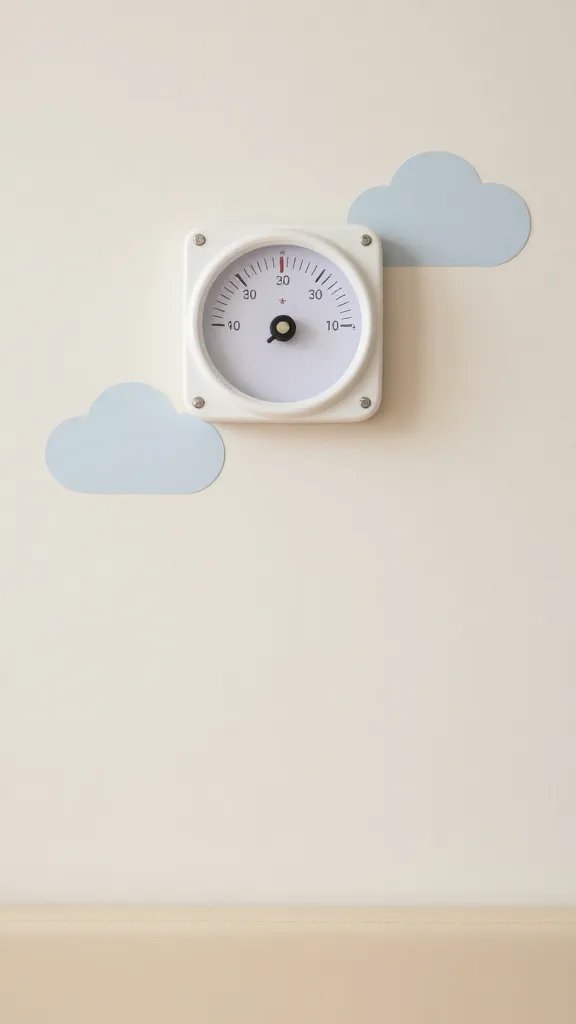
Make a small weather station with a cardboard wall, painted gauges, and movable paper clouds attached by paper fasteners. A little poster explains sunny, rainy, windy, and snowy settings. Kids can simulate weather while practicing counting and storytelling. This is a quiet, educational corner that doubles as décor in photos. Build and attach the wall in under an hour with a few simple tools.
Best for: A science themed party or cozy home learning day.
13. Magic Portal Doorway
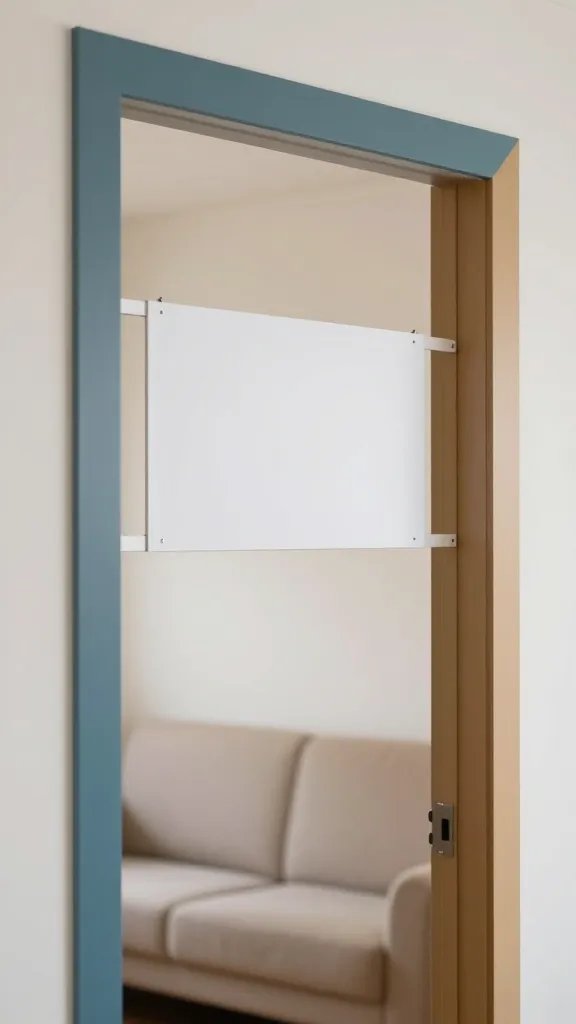
Cut a tall doorway in a large box and back it with a contrasting color. Add a simple curtain and a “portal” sign to invite kids to step through into a realm of pretend. The doorway defines a play area within a small space and works as a photo backdrop for guests. It’s inexpensive, quick to assemble, and stores flat behind a couch or under a bed when not in use.
Copy the look: Use two colors and a white sign to create a bold frame that photographs well.
14. Rocket Ship Seating Pod
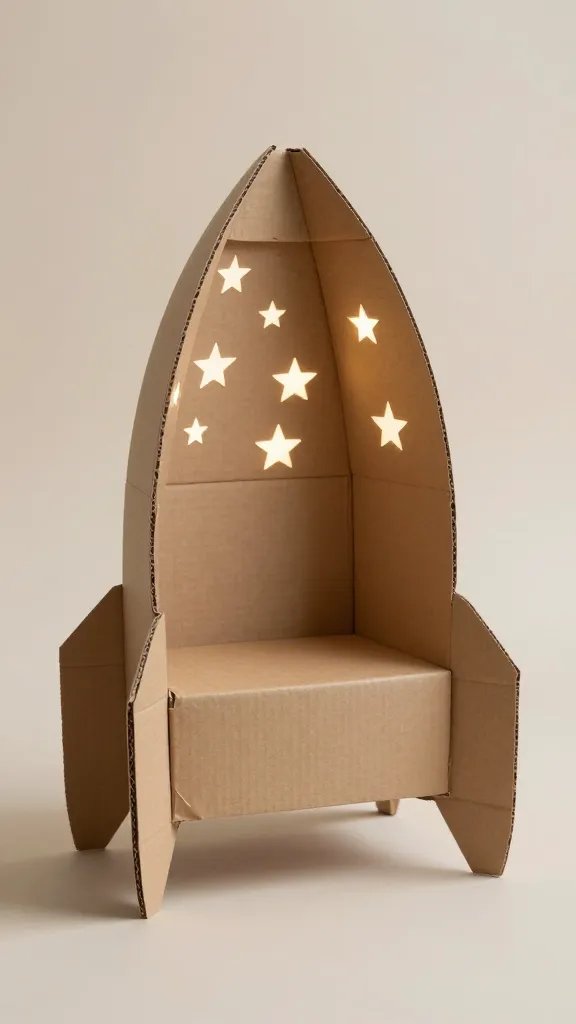
Trace a rounded seat from a sturdy box half and attach a tall back panel to create a snug play seat. Decorate with glow in the dark stars and a small control panel drawn on the front. It doubles as a reading nook and a cozy corner for kids to tell stories or watch a small movie. It’s a simple, sturdy build that fits into a tight living room footprint.
What to avoid: Keep the seat low enough for easy climbing and safe landing when kids jump down after play.
Cardboard playhouses give you big play value in a small space without heavy costs or special tools. The ideas above stay flexible, so you can mix and match textures, colors, and furniture to fit your room. Try one this week, and save this for the next birthday that sneaks up on you.