
13 Paper Butterfly and Bird Ideas for Nursery Walls

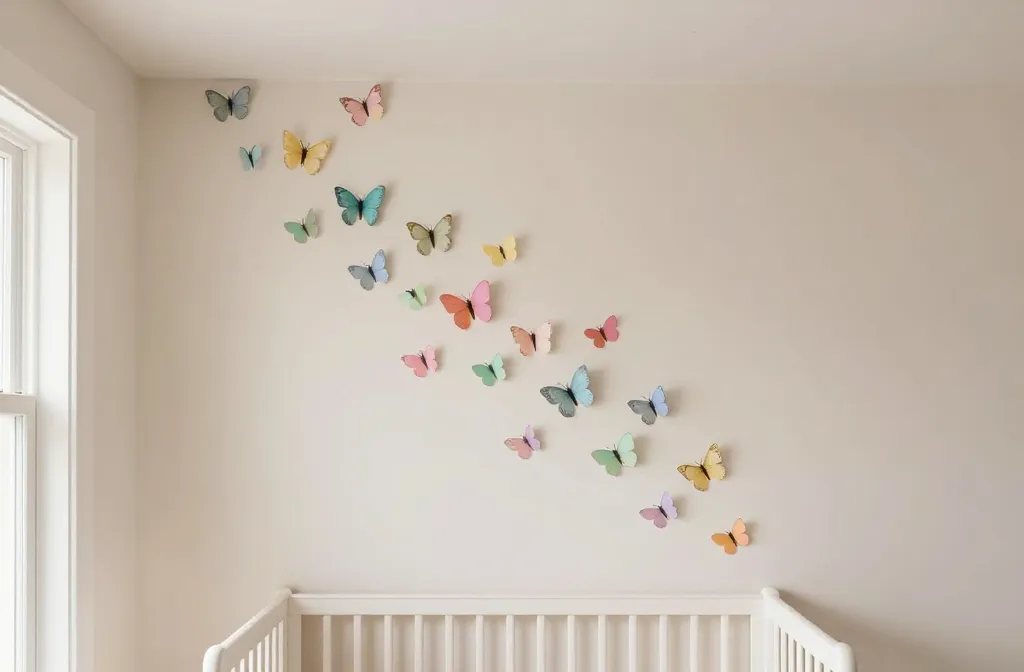
Nursery walls often feel like a blank page. You want something sweet and doable, not a scavenger hunt of supplies. These ideas fix common decorating problems: short timelines, small spaces, and budgets that vanish fast after crib decals. Each idea is copyable today with ordinary supplies and clear steps. You’ll find a mix of simple shapes, gentle color, and kid-friendly touches that still look polished in photos. Read fast, pick a few, and you’ll be hanging art before nap time ends.
Across the list I mix paper, fabric, and a few scavenged finds so you can shop your pantry or thrift stash. Use the exact core approach you need for this week: butterflies for soft linework, or birds for a playful woodland vibe. Let’s start with the first idea you can actually finish this weekend.
1. Paper Butterfly Shadow Wall Extension
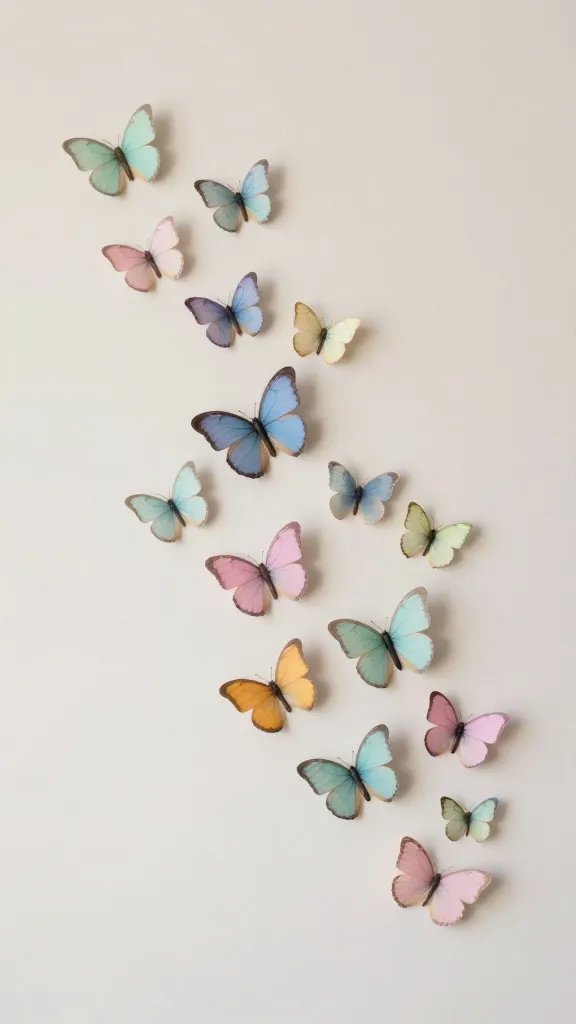
Cut large butterfly shapes from pastel printer paper and tape them in a loose diagonal swarm from the corner of the ceiling down the wall. This soft motion creates movement without a bulky frame. It also leaves the door open for adding a few birds later if you want more whimsy. The key is to vary size and angle so the group feels natural, not printed.
Copy the look: Use a mix of two pale colors to keep it cohesive. Color note: run with blush pink, mint, and buttercup for a gentle living space vibe.
Placement tip: Start near the ceiling and work down, so you can adjust spacing as you go.
2. Floating Bird Silhouette Line
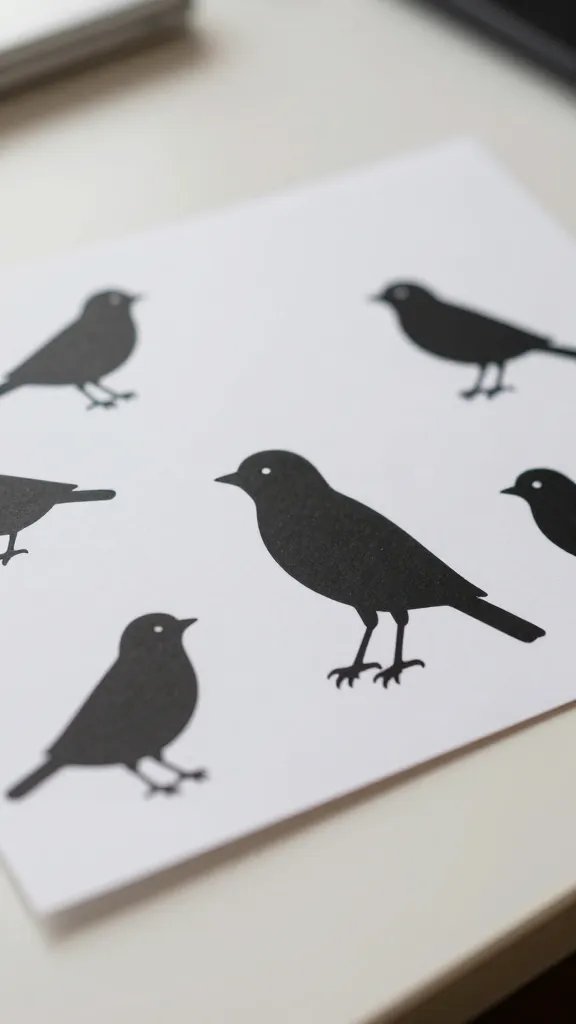
Trace small bird silhouettes onto white poster board and cut. Mount them with double sided tape along a light fixture line or picture rail to create a floating field. This reads clean and modern, with a hint of nature. You can add a few tiny wings of tissue paper to give a little texture without bulk.
Why it works: It uses simple shapes and a single color to read as wall art rather than craft project chaos. Budget swap: Use cereal box cardboard for a lighter, cheaper base.
3. Diy Fluttering Garland in a Corner
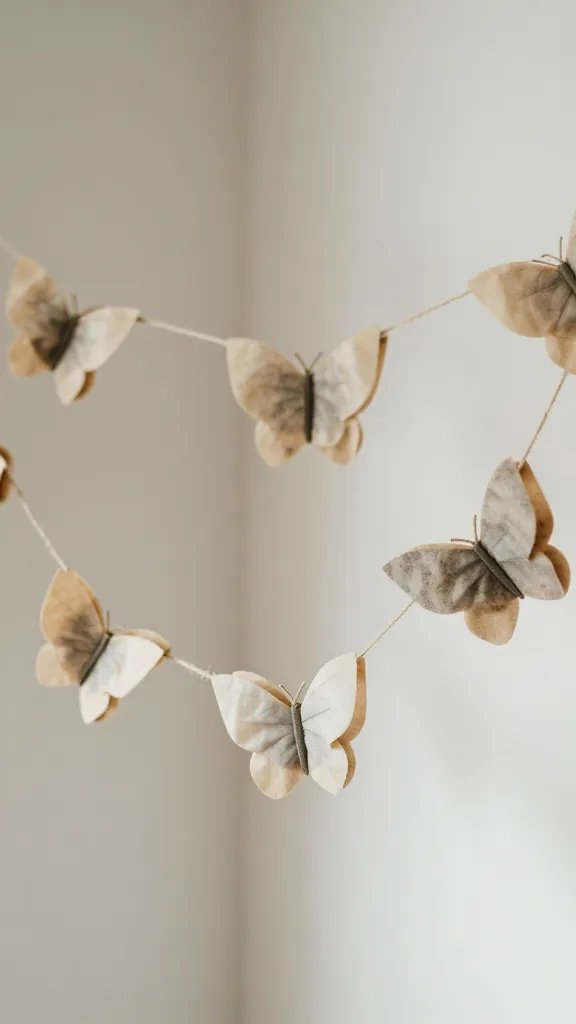
Make a 6 ft garland from folded coffee filter butterflies, strung on classic baker’s twine. Clip a few extra small butterflies in between for extra flow. Hang it by the corner where two walls meet so the garland has natural gravity and looks like it’s fluttering. This approach is forgiving if you don’t get perfect folds every time.
Supply note: coffee filters, two colors of paint, and a roll of twine. Time saver: premake all filters in one sitting; they dry flat and store well.
4. Airy Paper Bird Mobile Panel
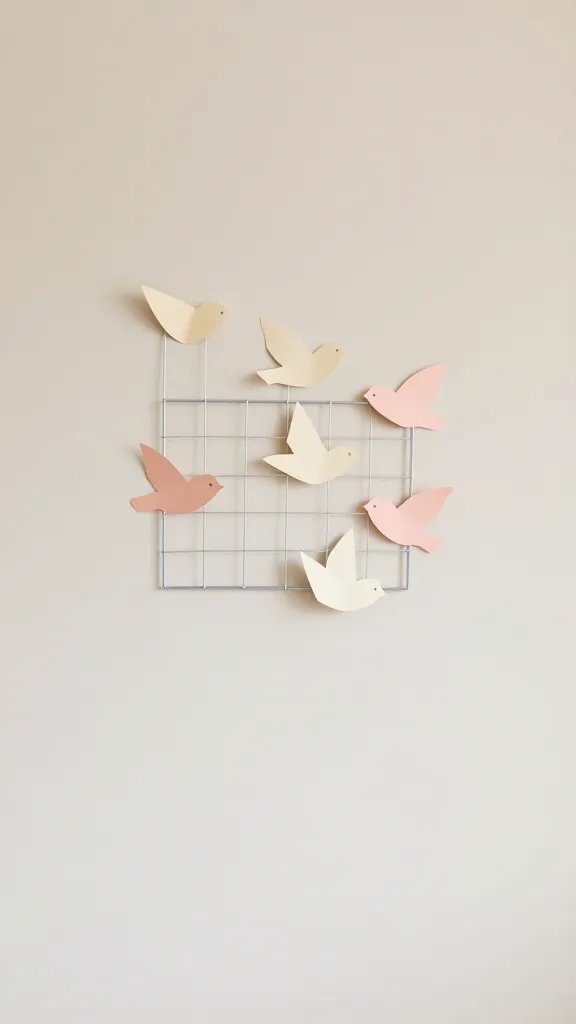
Clip lightweight bird shapes to a wire or thread panel, then mount the panel like a shallow frame on the wall. The birds can face different directions to feel alive and spontaneous. It’s a solid focal point that stays within a nursery palette and avoids a busy look.
Best for: small walls where a full collage would feel crowded. Make ahead: punch holes in birds and panel, store flat until hanging day.
5. Two-Tine Doorframe Birds
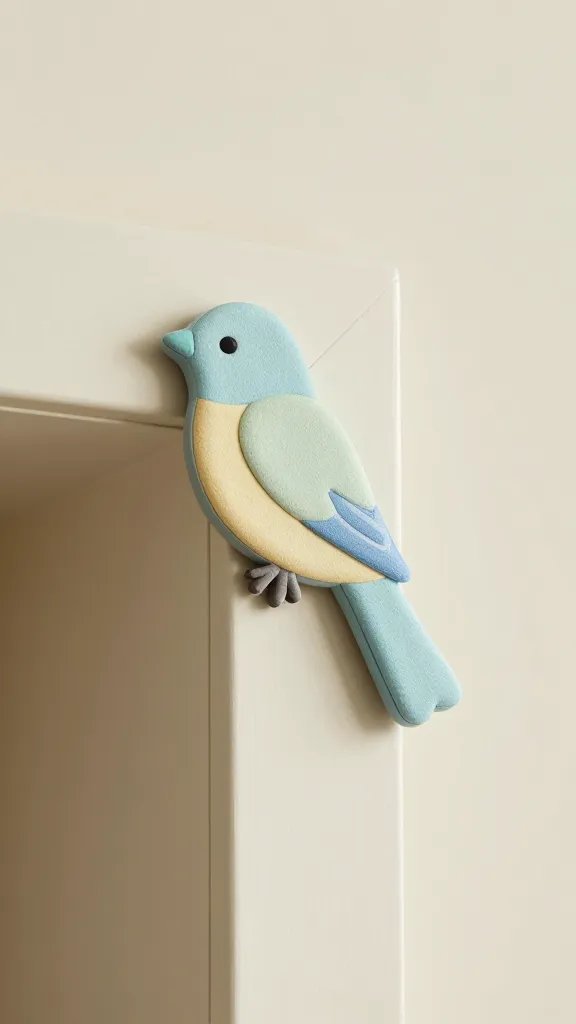
Glue small bird cutouts along the inner edge of a doorway frame to create a tiny flock that greets guests as they enter. This is a fun, low effort detail that doesn’t compete with the crib or rug. You can swap colors seasonally or keep to a pastel quartet. It’s especially good if you have a narrow wall and want to keep floor space open.
Safety note: use low-tack tape and avoid any long fringe or loose pieces that could snag clothes. The detail to steal: keep every bird at a slightly different tilt for natural motion.
6. Monochrome Bird Cage Wall Art
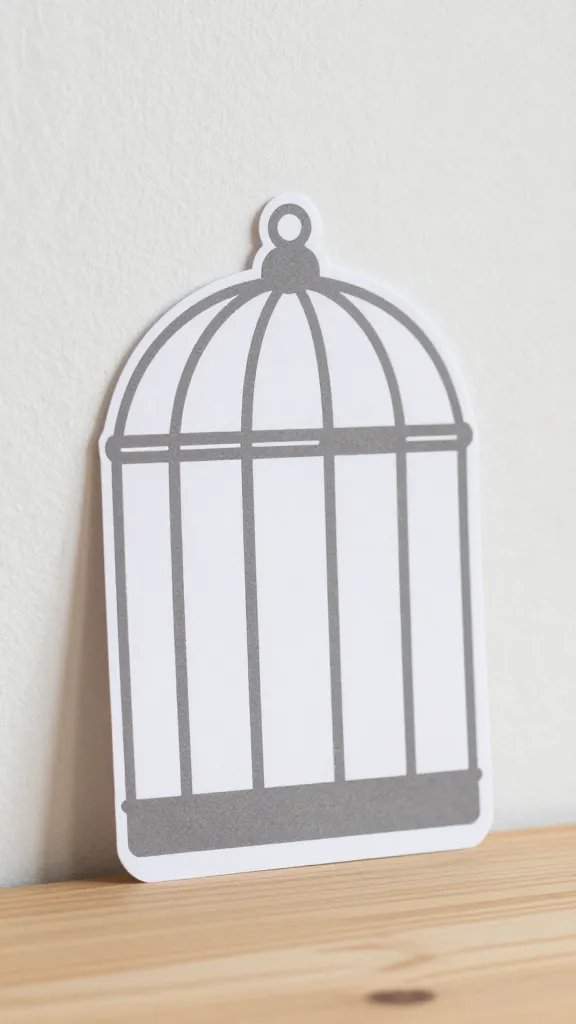
Draw a simple birdcage outline on heavyweight paper, then cut out a few tiny birds to sit inside the cage. Mount the cage with a little distance from the wall using foam squares to add depth. The result is a quiet, modern line that photographs well without looking busy.
What to avoid: overcrowding. Placement tip: place the cage between eye level and the crib to balance the room visually.
7. Collage Butterfly Aisle
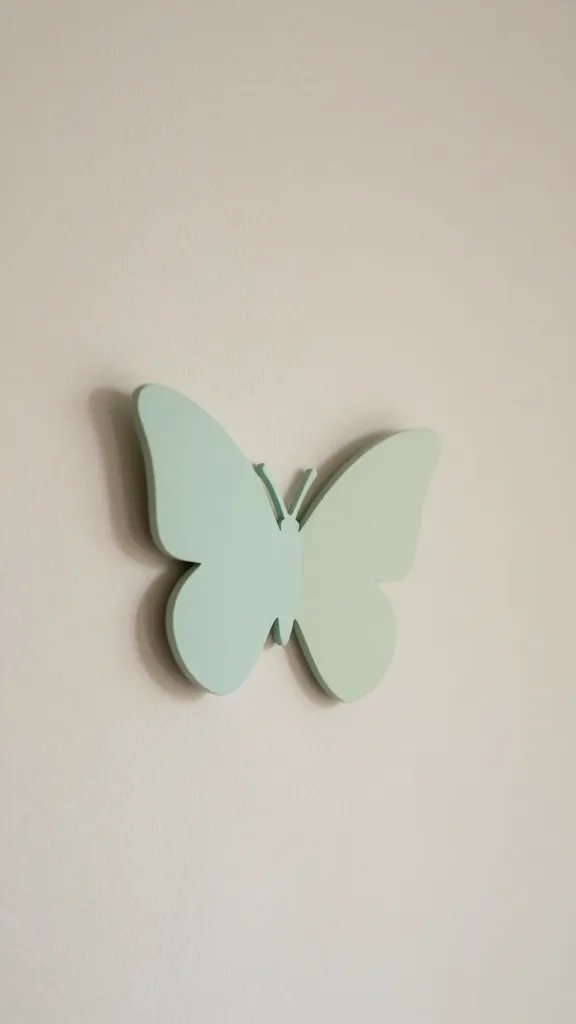
Gather a handful of different butterfly cutouts from scrapbook paper and arrange them along a simple diagonal strip from the top corner toward the opposite wall. Layer them with tiny staples or glue dots for a soft, tactile feel. The variation in size creates interest without clutter.
Tip: pick two to three colors and repeat them throughout for cohesion. Little hands tip: use larger butterflies as anchors and let kids add the smaller ones.
8. Maximalist Moment: Birds on Washi Tape Grid
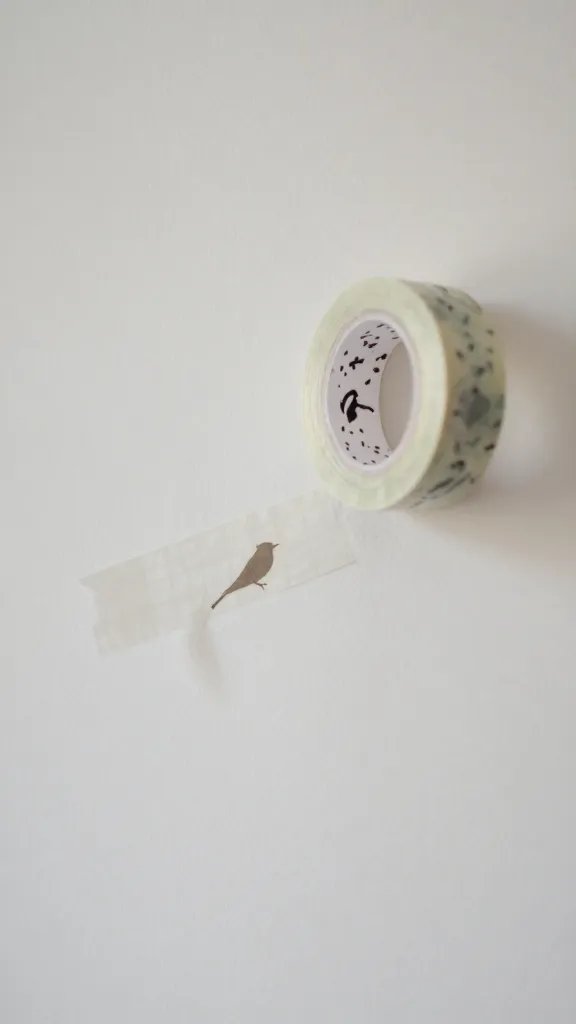
Place a light grid of washi tape on the wall and attach several bird silhouettes along the lines. The grid keeps everything aligned and easy to adjust. It’s a bold look with minimal fuss that still photographs nicely in nursery selfies.
Use what you have: washi tape scraps make up the grid. Safety note: keep tape edges smooth so little hands don’t snag on rough bits.
9. Rustic Fence of Butterflies
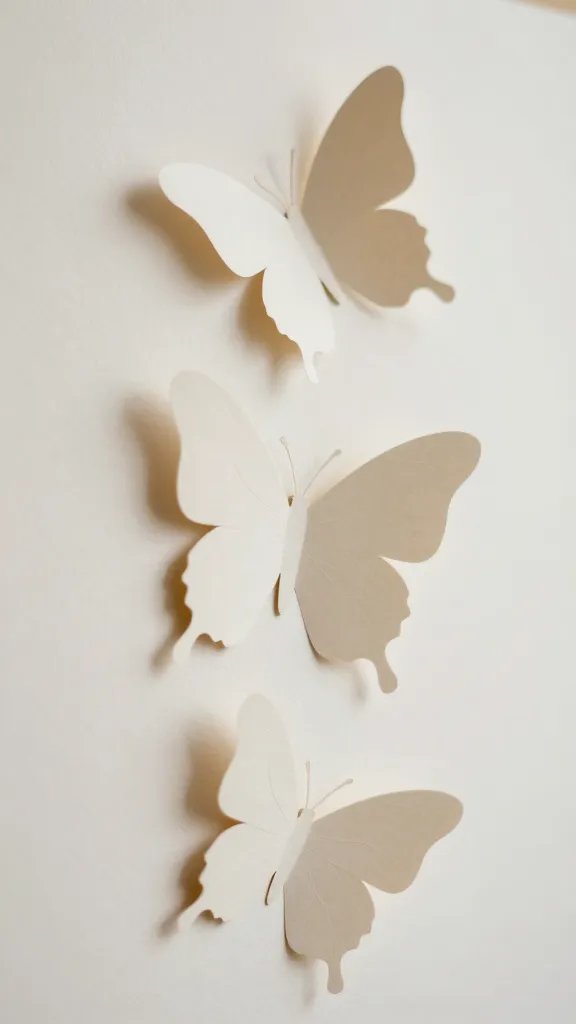
Cut butterflies from kraft paper and mount them in a staggered vertical line with a small gap between each. Using kraft paper adds texture and warmth, particularly in a room with wood furniture. This idea stays tasteful while feeling handmade and personal.
Make ahead: assemble the line on a sheet of poster board so you can hang as one piece. Color note: keep to earthy pastels for a soothing look.
10. Soft Colorful Winged Banners
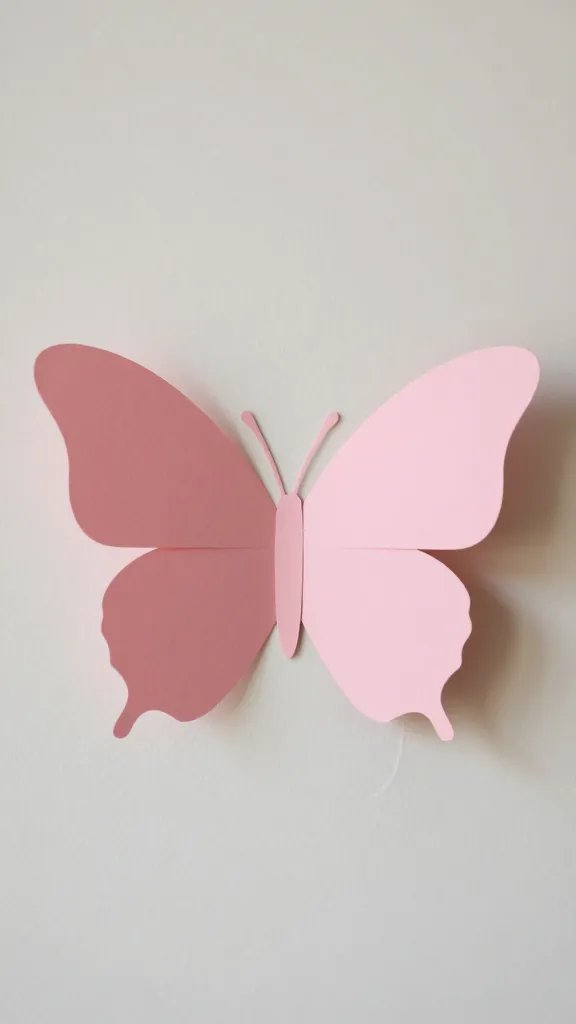
Glue butterfly shapes back-to-back on a string to create a double-sided banner. Hang across a crib wall or above a dresser for a gentle banner that shows from both sides. This is forgiving if you don’t have a lot of wall space and looks pretty in photos as a keepsake.
Copy the look: use three colors and three sizes to keep it cohesive. Time saver: pre-cut all shapes, then assemble in one sitting.
11. Paper Moons and Birds Night Theme
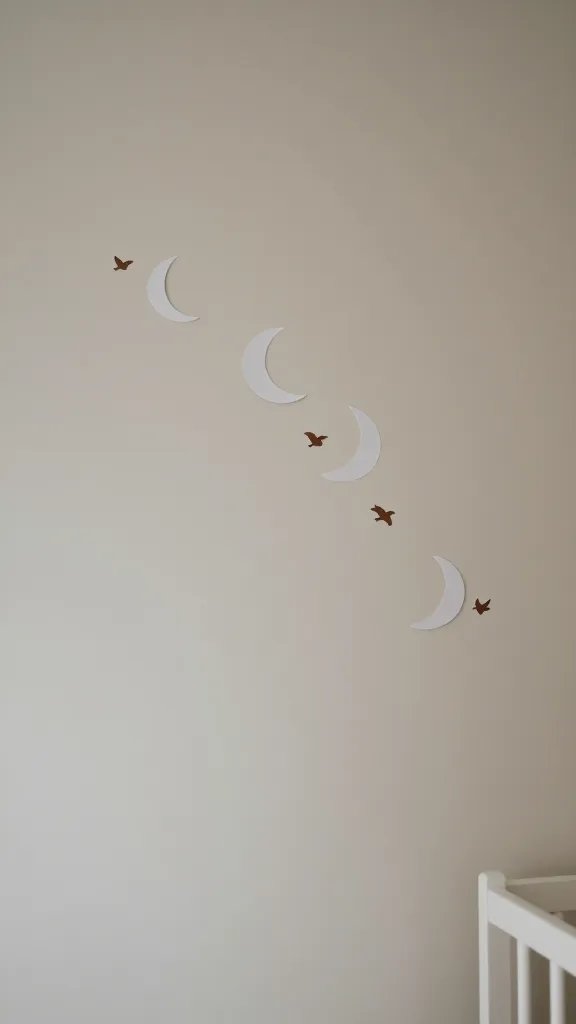
Paint small paper circles to resemble moons, then scatter little birds around them in a gentle arc. The combination gives a bedtime calm to the room without overfilling walls. It’s a soft, child-friendly motif that still feels crafted rather than staged.
Best for: a calm corner near a crib. Swapped version: swap birds for tiny stars if you prefer a celestial touch.
12. Butterfly Scale Backdrop on a Tiny Wall
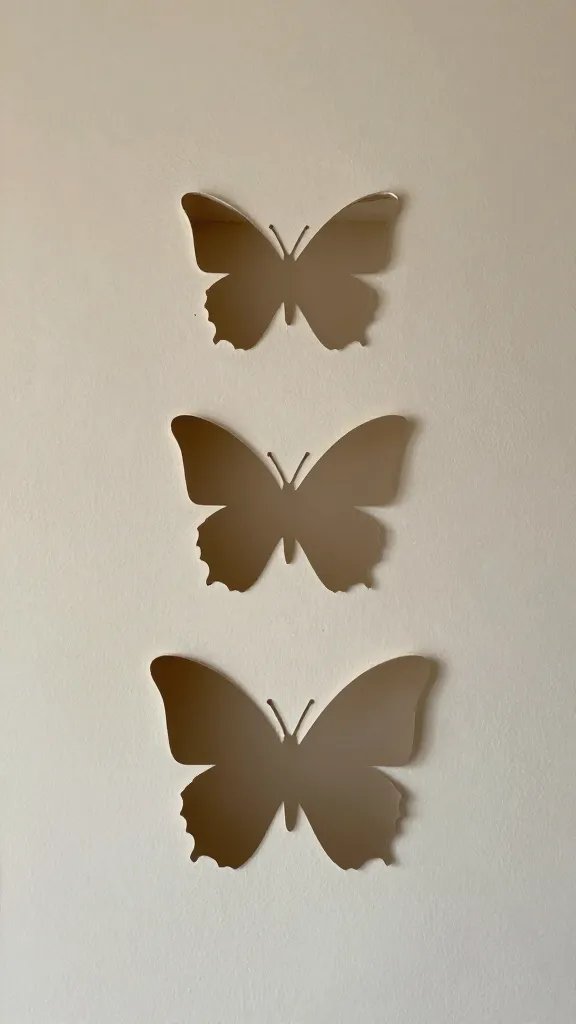
Cut several butterfly silhouettes in a single color and attach them in an arch-like scale from left mid-wall to top right. This creates a focal backdrop for a nap area or reading corner. It’s a small project with a big visual payoff and is especially good for renters who want removable decor.
What to avoid: heavy glue that oozes or warps the wall. Cleanup tip: keep a damp cloth handy to wipe any glue residue quickly.
13. Bird Silhouette Mirror Accent
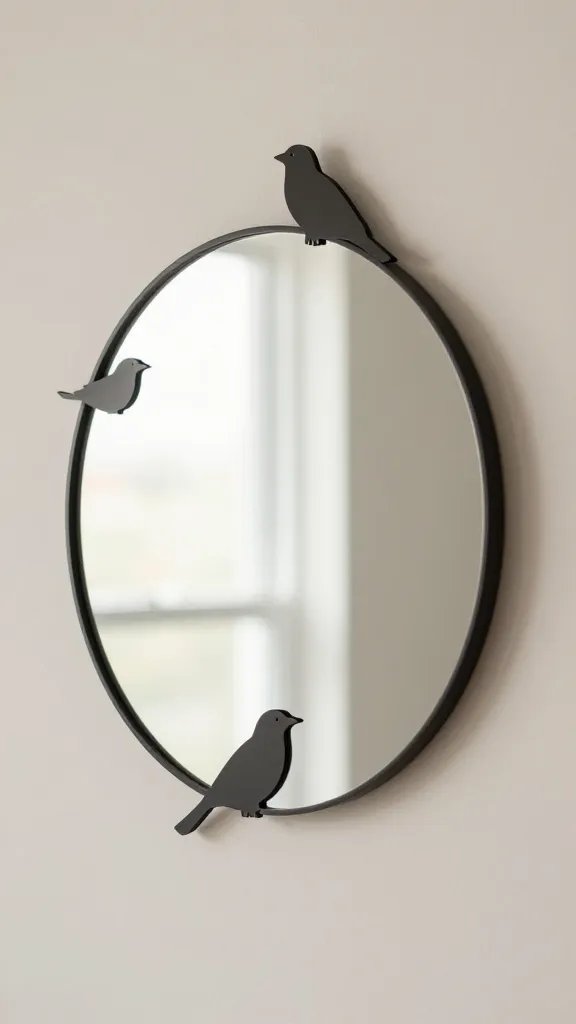
Trace a few bird shapes on printer paper and cut small silhouettes. Attach them around a round wall mirror to soften the reflection with a touch of whimsy. This last idea keeps a practical element (the mirror) while adding personality to the space.
Safety note: ensure the shapes are lightweight to avoid any accidental tipping. Best for: a compact nursery with a single focal wall.
Keep a few of these ideas in rotation so you can refresh the space without a full redo. The key is choosing a few elements you love and sticking with a simple color family. Save this for the next birthday that sneaks up on you.