
15 Paper Bookmark Ideas for Book Lovers

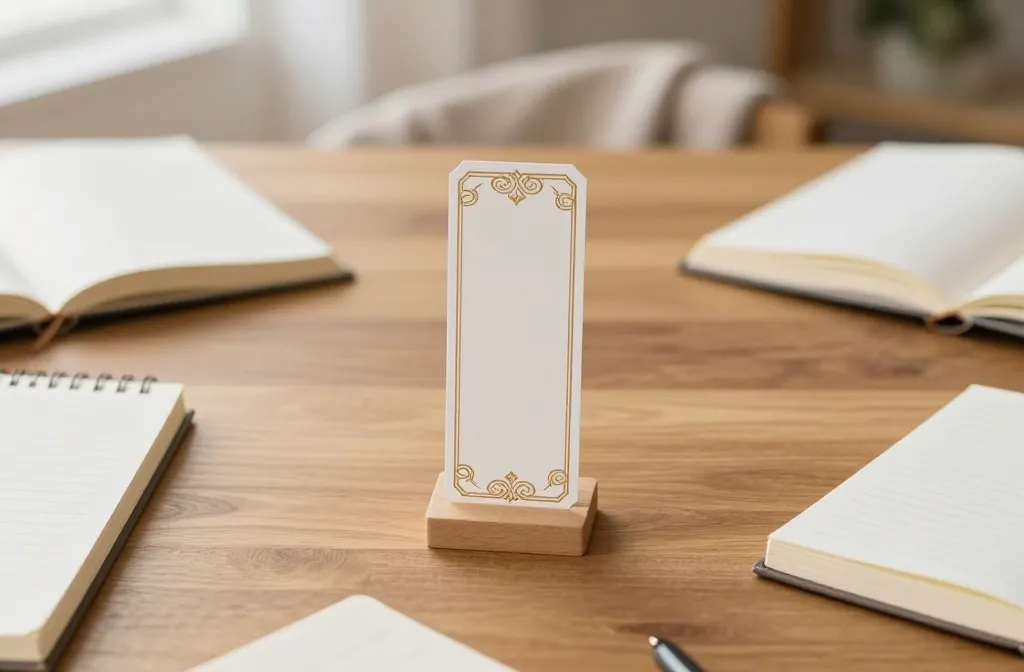
Readers often skimp on small touches that make a library feel special. A good bookmark should save your place and spark joy without bending pages or cluttering shelves. These ideas solve common bookish annoyances and fit into a week of easy, affordable crafting. You’ll find quick fixes and a few longer projects that still stay within a weekend of effort.
Across these ideas, you’ll see practical details you can adapt to the exact vibe of your shelves. Use one or two to refresh a reading nook or to give as little, thoughtful gifts. And yes, they’re all craft friendly for a quiet, mindful afternoon of creativity.
1. Washi Tape Ribbon Bookmark
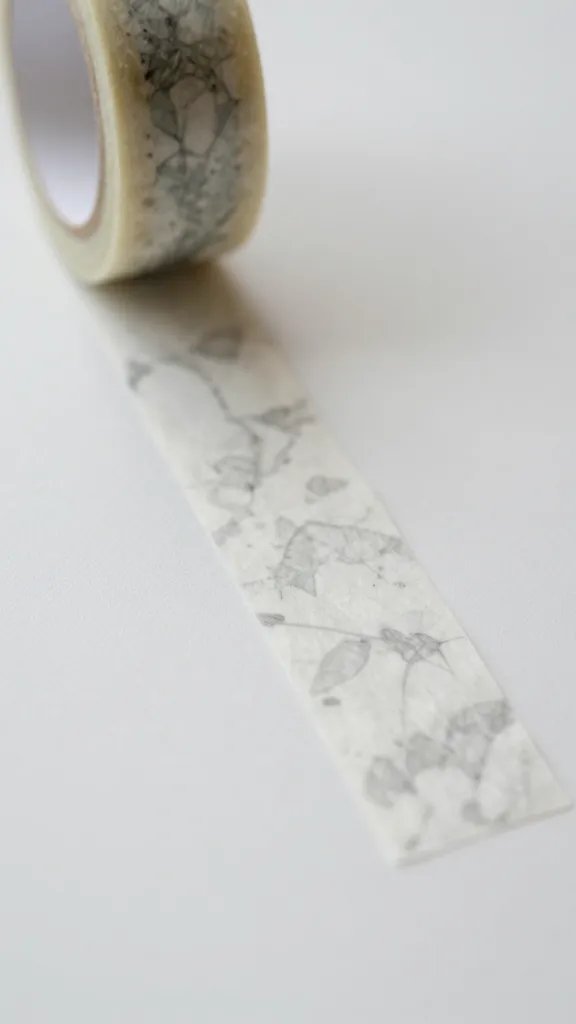
A plain page marker can slip out or lose its charm. This bookmark uses a strip of washi tape glued to a cardboard trail so it stays put and looks polished. Cut a 6 inch by 1 inch strip of thin cardboard, cover it with a layer of washi tape, then trim edges. Add tiny corners of contrasting tape for a finished look. It dries quickly and takes about 20 minutes total.
Use what you have: Recycle the back of a junk mail card or a cereal box for the base. Mess control: Work on a clean sheet to catch stray tape pieces.
2. Ribbon Tie Page Marker
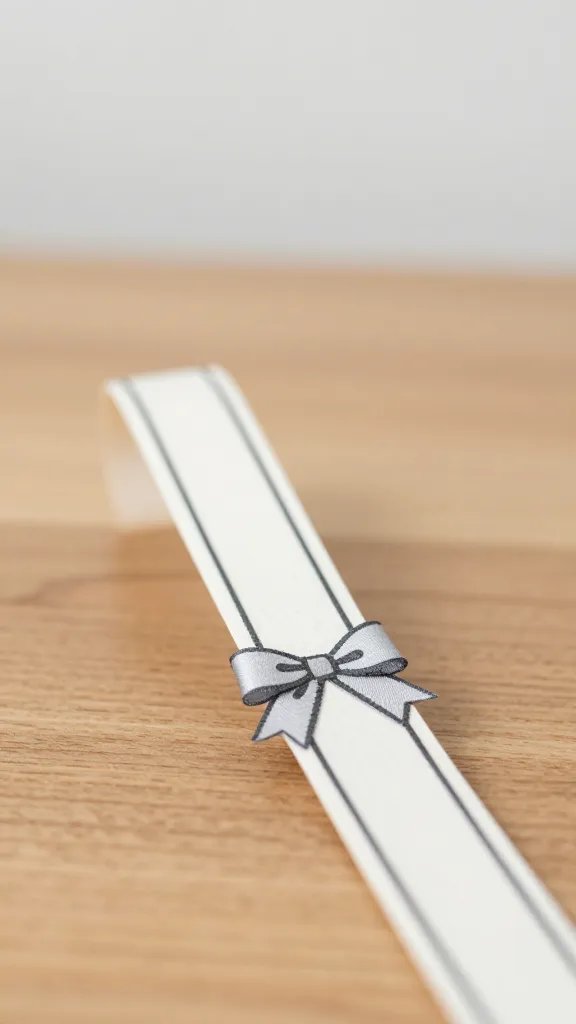
Ribbons add a touch of shop style without a big cost. Glue a length of decorative ribbon along a sturdy cardstock strip and knot a small loop to grab. This one neatly stays on the book’s edge and doesn’t slip. It takes roughly 30 minutes plus drying time if you seal the edge with a bit of clear glue.
Color note: Choose a ribbon color that echoes your favorite book cover. Copy the look: If you don’t have ribbon, use a fabric strip cut from an old shirt.
3. Painted Monogram Bookmark
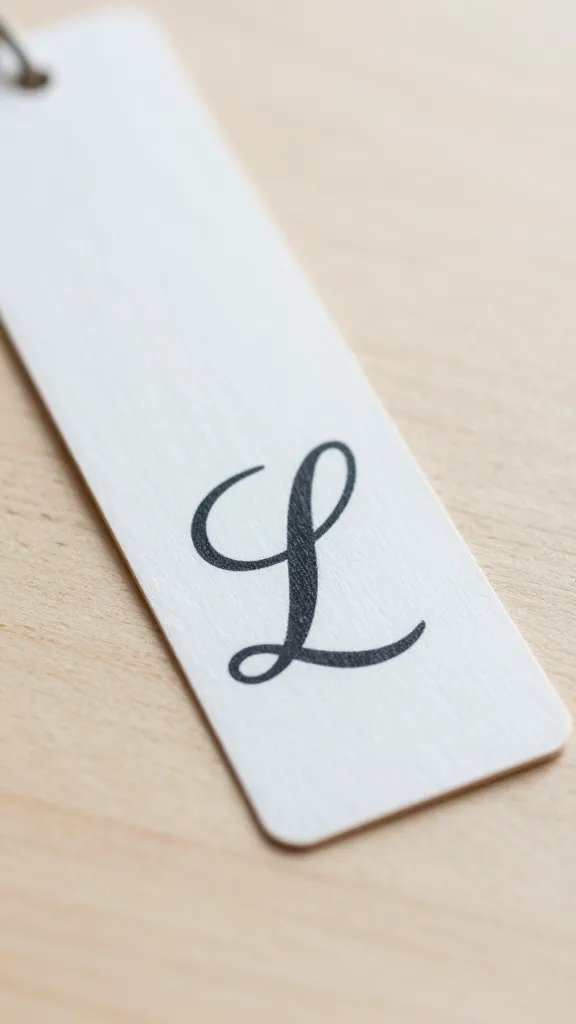
Personalized bookmarks feel thoughtful. Paint a 4 by 1.5 inch chip of wood or thick cardboard with your initial, then seal with clear nail polish or mod podge. A small notch at the top helps slide between pages. This project takes about 40 minutes plus drying time.
Best for: Gift swaps or themed reading parties. Safety note: Use kid friendly paints if little hands help, and supervise the drying stage to prevent smudges.
4. Seed Packet Bookmarks
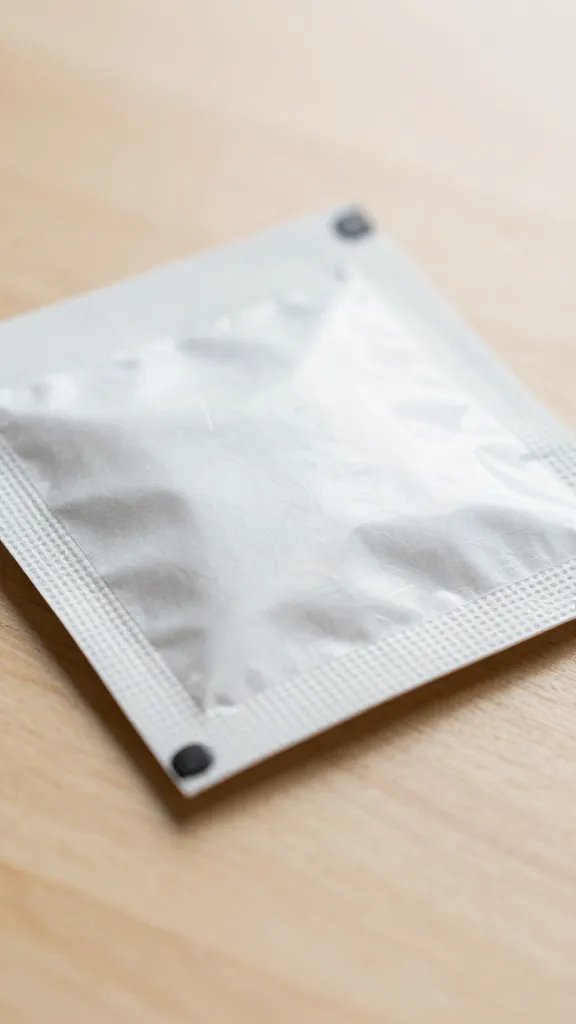
Turn tiny seed packets into practical, decorative bookmarks. Cut a rectangle from sturdy cardstock, glue to the seed packet backing, and trim. Add a small glassine window to peek at tiny seeds as a quirky bonus. This is a light afternoon project, about 45 minutes total.
What to avoid: Use dry seeds only; avoid loose items that could drop into a book’s pages.
5. Puzzle Piece Corner Bookmark
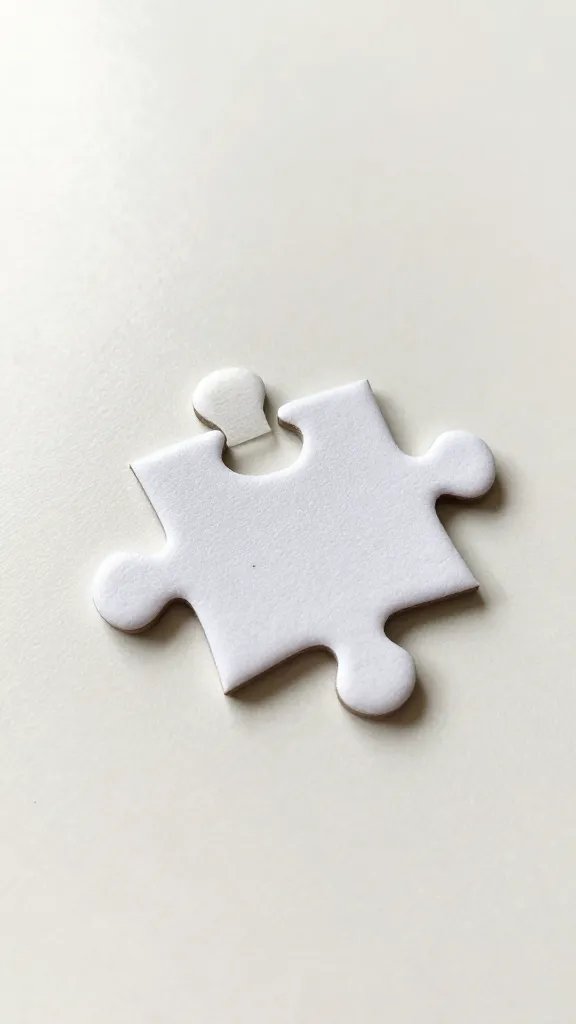
Find one puzzle piece that fits your mood or theme. Glue it to the corner of a cardstock strip so the piece anchors the page without blocking text. Add a gloss coating to protect the finish. Expect about 30 minutes from glue to finish.
Dollar store swap: A few decorative puzzle pieces from a thrift find can spark several bookmarks.
6. Origami Fold Bookmark
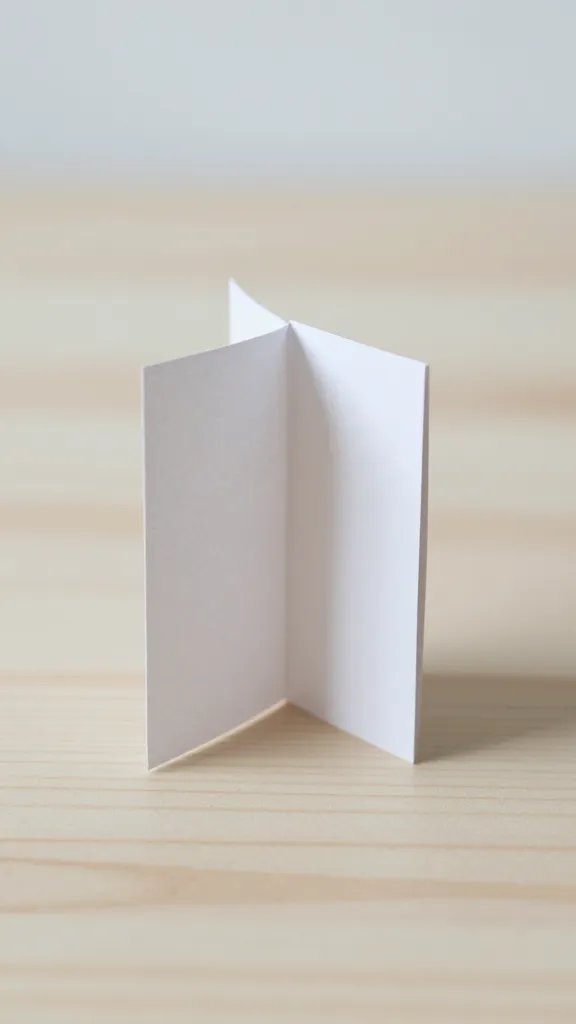
Fold a square of sturdy paper into a slim, double-layer bookmark with a small pocket at the end to hold receipts or a tiny note. This is a great quick project, around 20 minutes per bookmark. Use two colors for a two tone effect.
Beginner version: If origami feels tricky, use a preprinted decorative square and follow a simple two fold pattern instead.
7. Dried Flower Press Bookmark
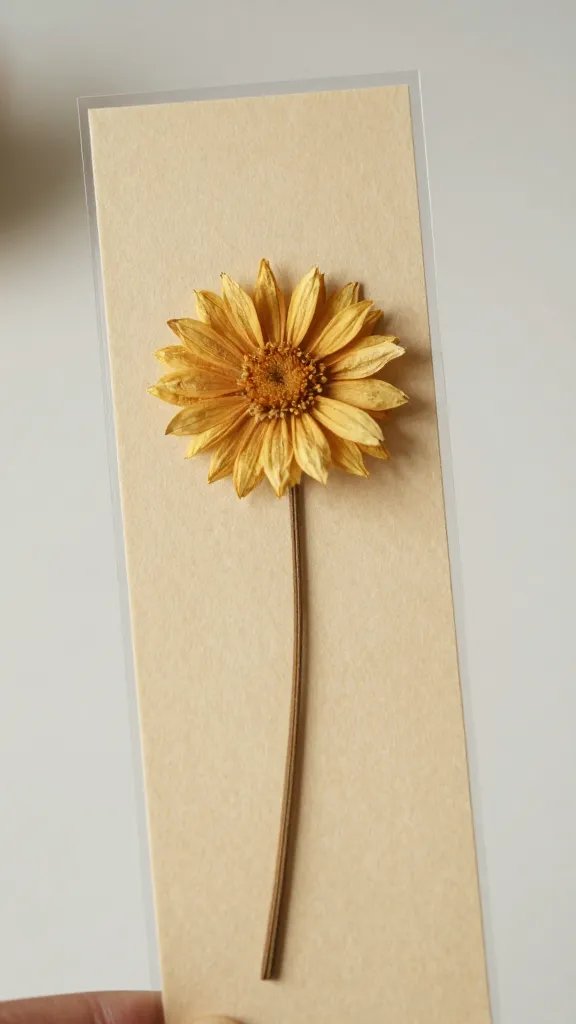
Preserve a tiny pressed flower inside a clear laminate or a sealed plastic sleeve mounted on cardstock. It keeps delicate petals safe and looks charming on natural colored paper. Start to finish is about an hour, including pressing time if needed. Keep the binder ready for longer uses.
Safety note: Avoid sharp edges when trimming; round corners with scissors to prevent snagging pages.
8. Chalkboard Label Bookmark
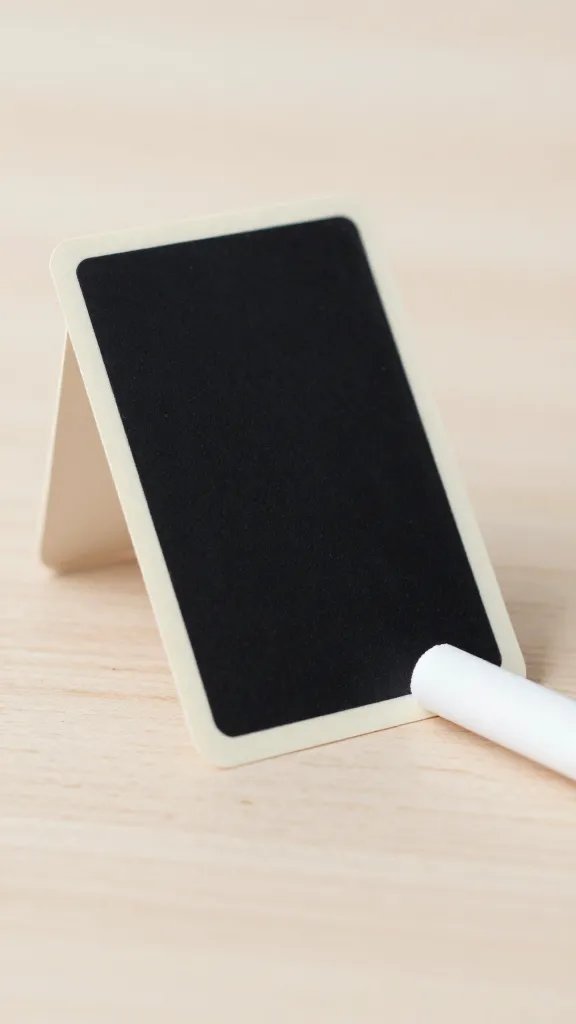
Use a small chalkboard tag anchored to a cardstock tail. Write a book’s title or quote with a chalk piece. Wipe clean between uses and reuse in a new color scheme. Plan about 25 minutes to assemble and color code a few ideas at once.
Why it works: The label stays legible and you can customize on the fly for a book club pick.
9. Felt Corner Bookmark
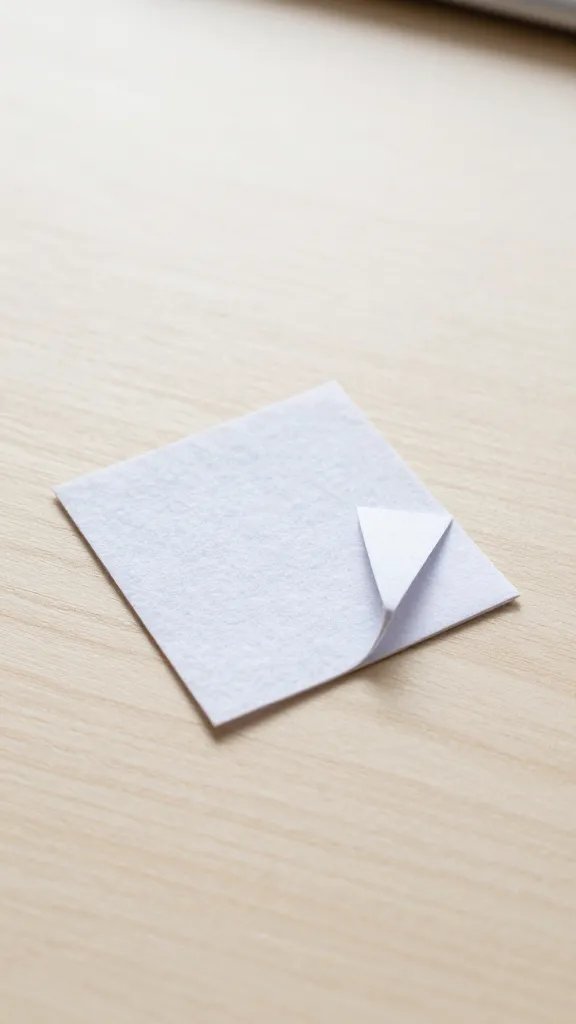
Cut a 2 by 2 inch felt square, notch a triangle to hold the page corner, and glue to a thin card backing. This cozy option protects page corners and adds a soft touch to a shelf. It takes about 35 minutes to assemble plus drying time.
Little hands tip: Kids can help with cutting the felt shapes under supervision.
10. Mini Card Sleeve Bookmark
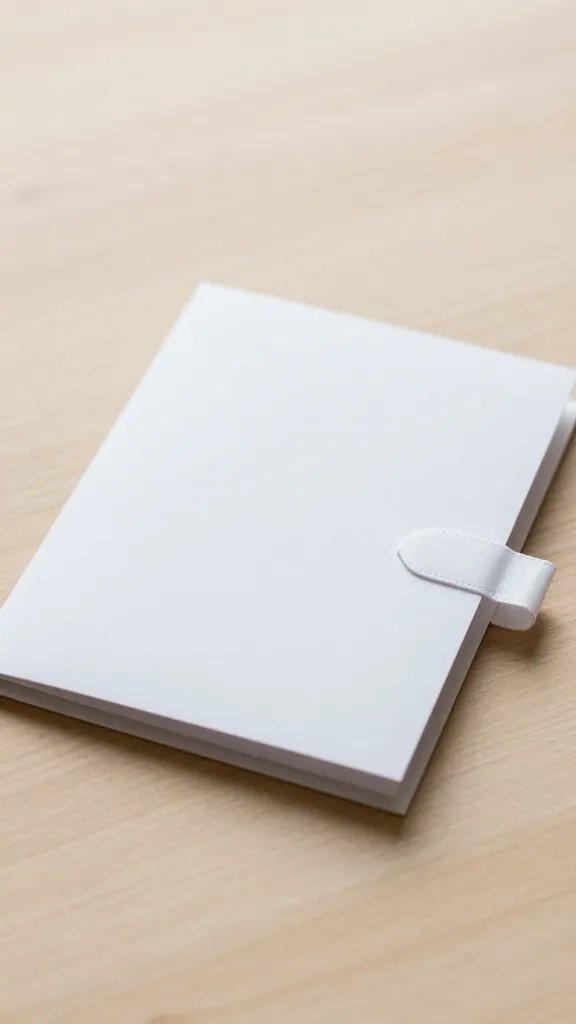
Recycle an old greeting card as a bookmark sleeve. Cut a slim strip, glue a thin card inside, and punch a hole for ribbon. The inside card can list favorite quotes or a reading challenge. About 20 minutes total.
What to avoid: Make sure the glue isn’t visible on the front so it stays neat in photos.
11. Fabric Scrap Bookmark
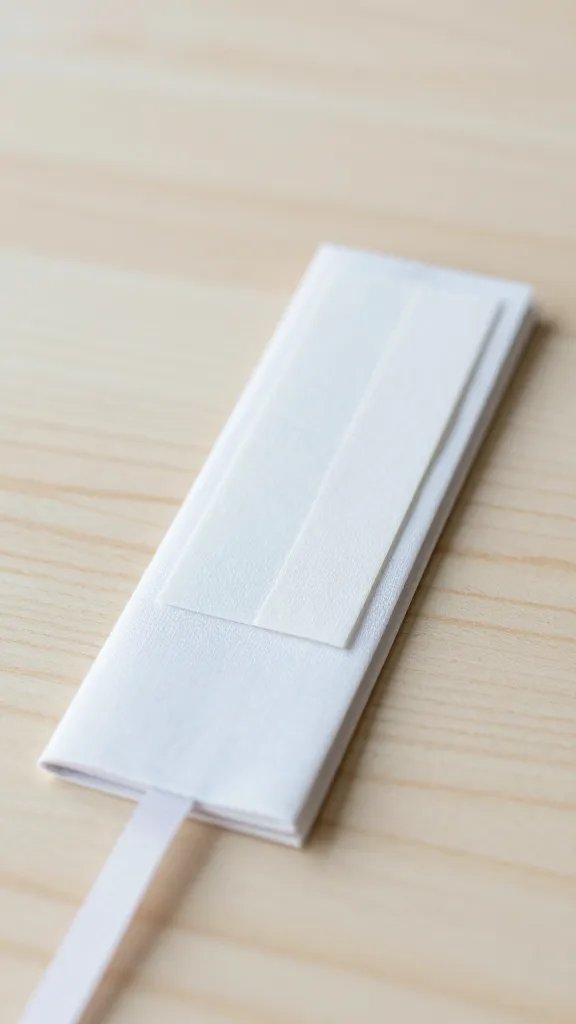
Layer two fabric scraps with a thin interfacing between them and stitch a simple edge or use fabric glue. Attach a ribbon or tassel for a finishing touch. This takes around 40 minutes and yields a tactile, durable bookmark.
Use what you have: Old fabric scraps from a sewing bin keep costs down and waste minimal.
12. Glitter Free Celebratory Bookmark
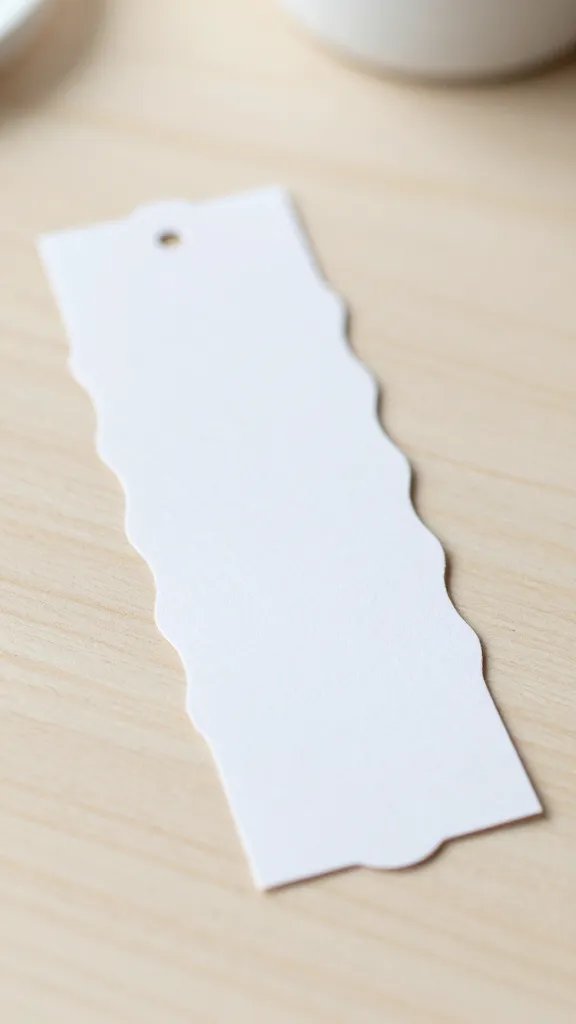
For a party or gift, mount a small scalloped paper shape on cardstock and emboss a simple reader motto with a white gel pen. Keep glitter out of the book; gold or silver accents work well without mess. Plan 25 to 35 minutes per piece.
Safety note: Avoid loose glitter near kids; substitute confetti with small cut paper shapes.
13. Card Deck Style Bookmark
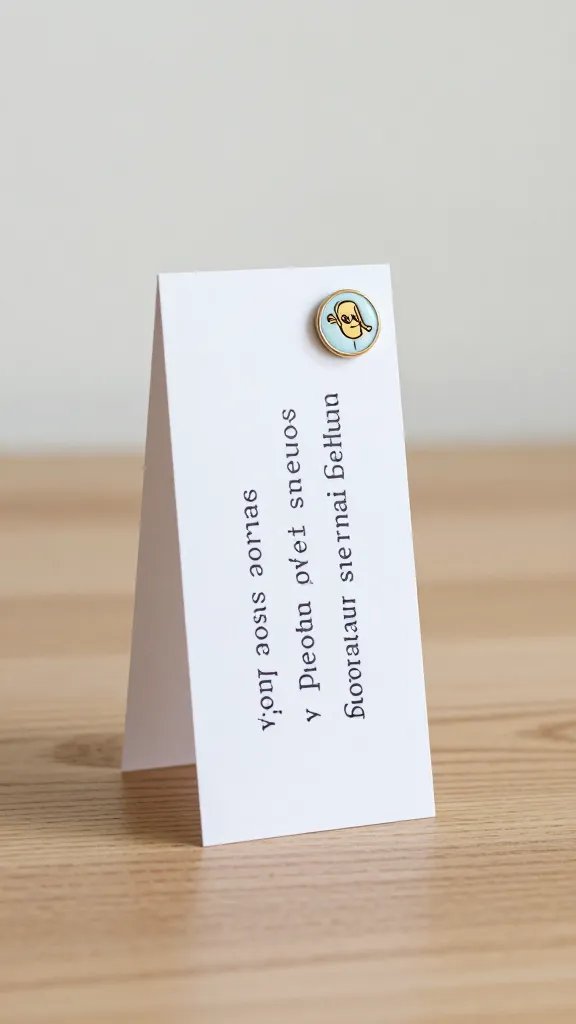
Cut a sturdy rectangular card to fit across the page and notch a small tab at the end. Decorate with a bookish quote and a tiny enamel pin at the top for a personal touch. This is a simple 30 minute project that yields multiple bookmarks from one card pack.
Best for: Small book clubs or reading pals who swap notes.
14. Bookmark Ruler Hybrid
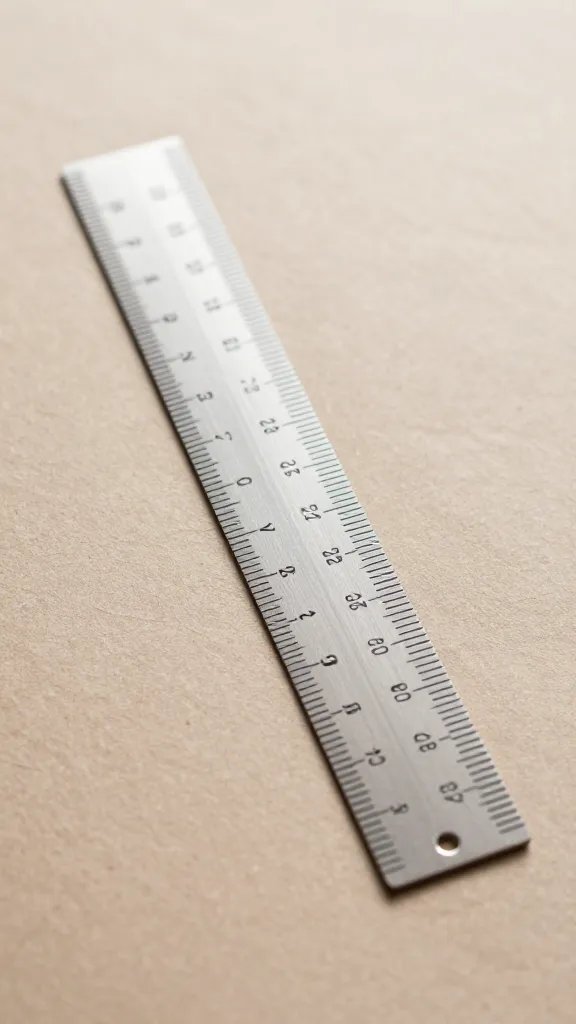
Attach a clear ruler to one edge of a cardstock strip so readers can measure margins or track pages. Add a decorative banner across the top with a short quote. It takes about 40 minutes to assemble and seal with a coat of mod podge.
Copy the look: If you don’t have a ruler, use a clear plastic sleeve you already own and cut to size.
15. Magnetic Corner Bookmark
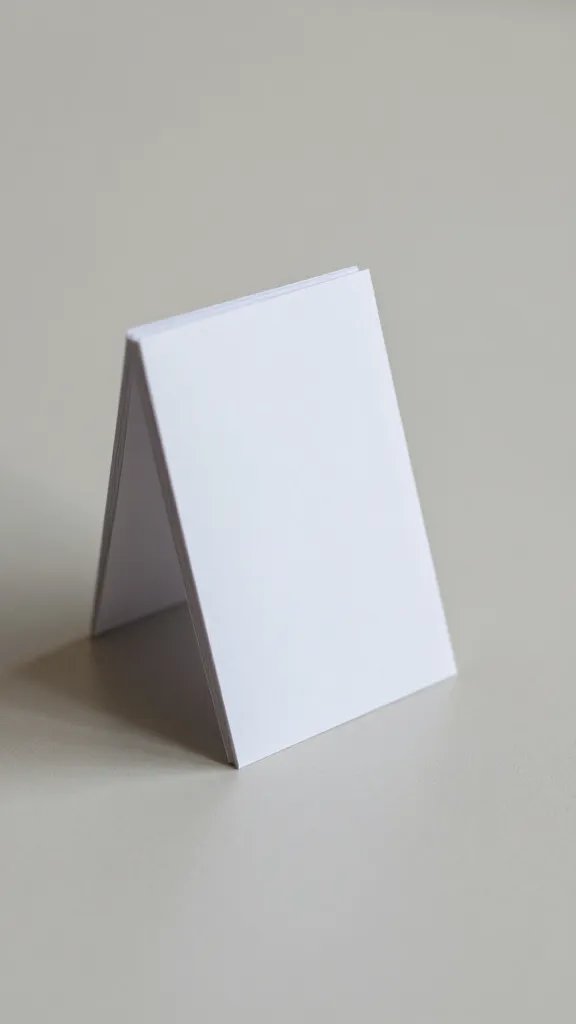
Two small magnets sandwich a folded cardstock corner to grip the page. This keeps your place without slipping. This project needs about 45 minutes and a steady hand with the glue gun or strong adhesive. Check magnets’ strength on thick pages to avoid tearing.
What to avoid: Use lightweight magnets to prevent pages from sticking together in a backpack or purse.
Printing, photos, and social media love a well-chosen bookmark that shows off personality. These ideas stay gentle on the wallet and friendly to many book sizes. Pick one to start tonight, and stash a few extras for the next gift swap or library night.