
15 Paper Craft Ideas for Teacher Appreciation Week

Teachers deserve a week of thanks that feels personal, not pricey. You want crafts that look polished, hold up to photos, and don’t require a full weekend to assemble. This guide gives you 15 paper based ideas you can actually finish this week, with supplies you likely have on hand and quick timelines. You’ll find simple twists that look thoughtful without being fussy, plus safety notes for kids and adults helping out. Let’s get you organized and set for a smooth week of appreciation.
Each idea is crafted to solve real party planning pains: a looming deadline, tight budget, or small space. The core moves stay fresh across the list, so you can mix and match without repeating the same technique. Ready to grab a snack, roll up your sleeves, and make something that teachers will treasure?
1. Banner of Gratitude Letters
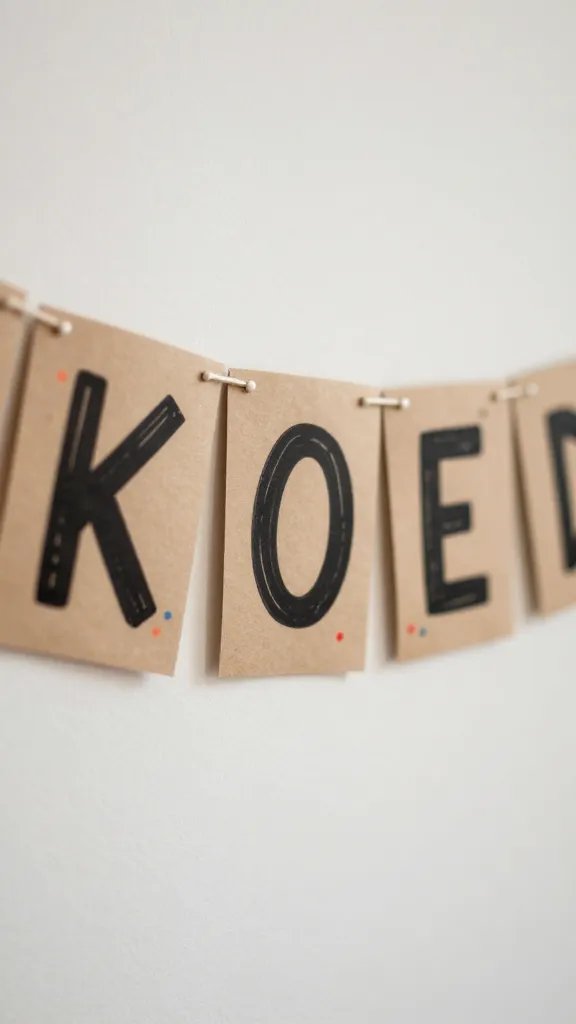
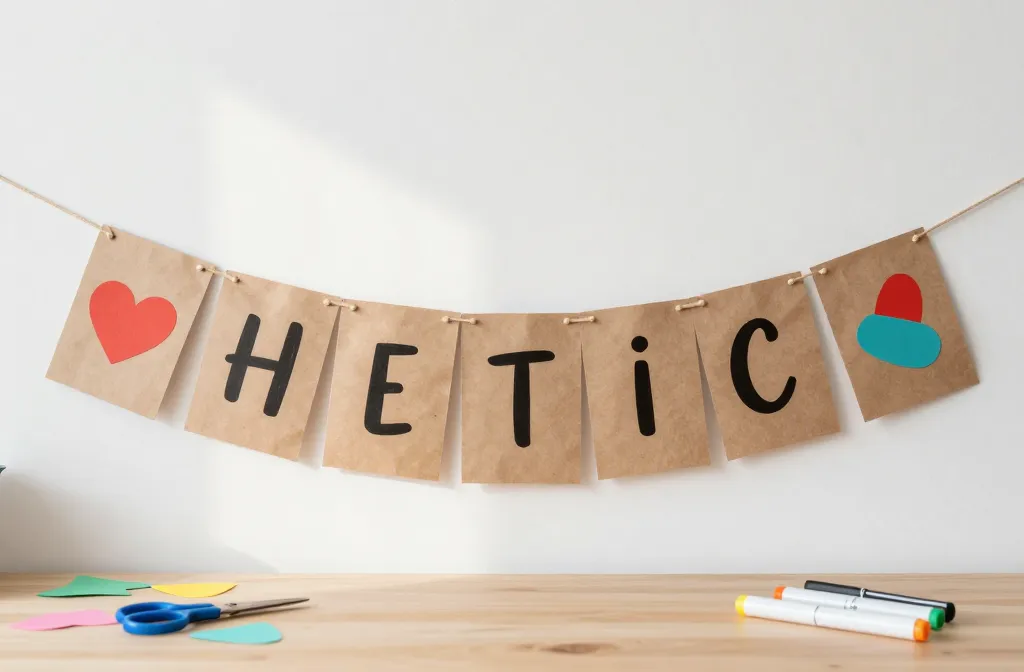
Turn a roll of kraft paper into a hand lettered banner that spells out a classwide message. It reads well in photos, hides wall flaws, and can be hung in a hallway for days. Use black or white marker for crisp letters, then add a few color shapes cut from construction paper for texture. This is a forgiving craft, as letters don’t have to be perfect to look charming on display. It also gives students a small role in the countdown to Teacher Appreciation Week.
Copy the look: Print and trace a bold font onto kraft, then fill in with markers. Placement note: Stretch the banner across a door frame or bulletin board so it catches the eye without blocking foot traffic.
2. Colorful Paper Pinwheels in a Jar
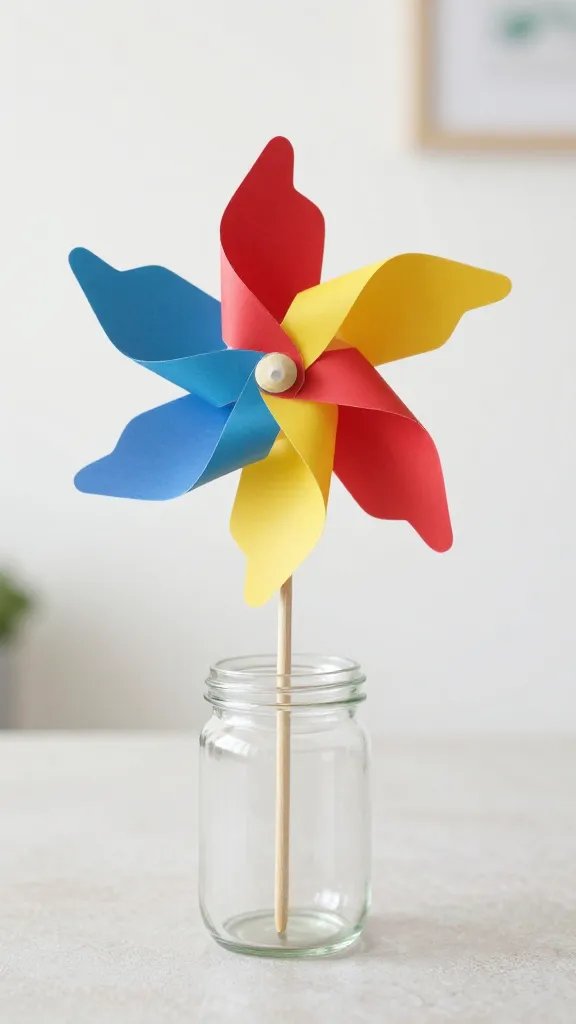
Sturdy colored paper and a few skewer sticks create a playful centerpiece that feels both cheerful and easy. Pinwheels spin gently in a breeze or a fan’s draft, adding motion to a display without extra fuss. Make five to eight in a row for a small bouquet or place several en masse by the teacher’s desk. You can customize with the teacher’s name or a simple “Thank You” message on the central paper circle.
Budget swap: Use scrap paper or old greeting cards cut into squares. Make it ahead: Cut and assemble the pinwheels a day before; store in a tall jar so they stay straight.
3. Mini Chalkboard Place Cards
Cut small squares from black card stock or chalkboard vinyl and write each teacher’s name with a chalk marker. Attach a paper clip or a tiny wooden stand so they sit on a table or desk. This idea solves the “table looks bare” problem by adding a personal touch to a small space. It’s quick: about 10 minutes to assemble per table, plus a few minutes to set names.
Use what you have: Old menu cards or cereal box backing makes sturdy mini boards. Color note: White or metallic pens show up best on dark backgrounds.
4. Folded Paper Blossoms Jar
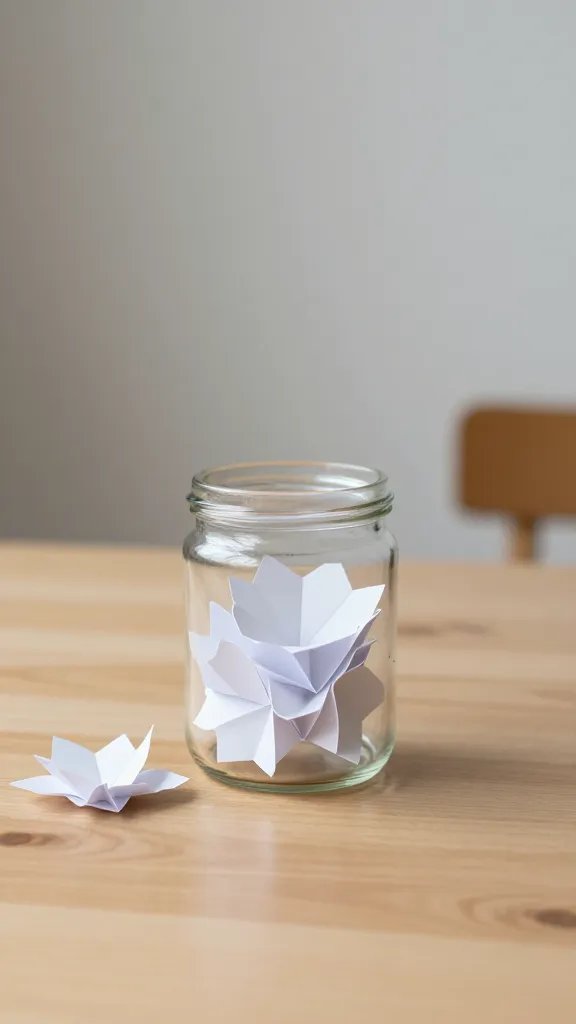
Slice paper into long rectangles, accordion fold, and then twist into a blossom shape. Bind a few blossoms with a pipe cleaner to create a tiny bouquet in a glass jar. This pack of blooms brightens a desk or teacher’s lounge and uses a handful of folds so it feels handmade, not machine made. It scales well for each teacher or grade level grouping.
The detail to steal: Add a small tag with the teacher’s name and a short note of thanks. Safety note: Avoid slender stems that could poke; use sturdy paper only.
5. Paper Garland of Stars
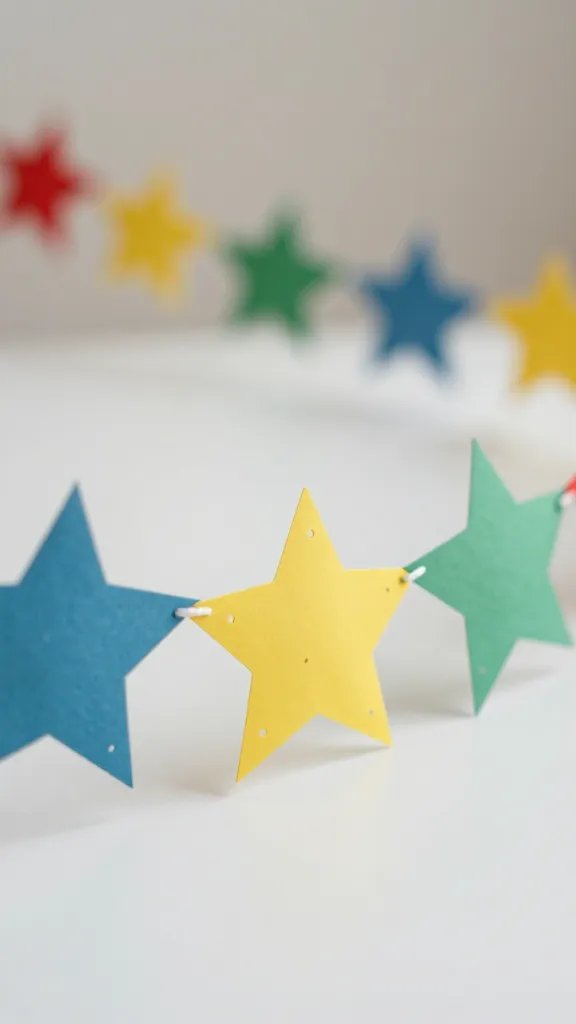
Cut stars from colored paper, punch holes, and string them with ribbon or twine. A star garland can be draped across a chalkboard, a doorway, or a shelf. It’s lightweight, inexpensive, and looks finished in photos. Plan for 2–3 feet per section and space stars about two inches apart for a balanced look. Students can help by punching holes and threading strings during a short session.
Color note: Use a cohesive palette to keep it polished. Make it ahead: Punch and cut a few days early; store in a labeled bin to stay flat.
6. Thank You Card Station in a Tray
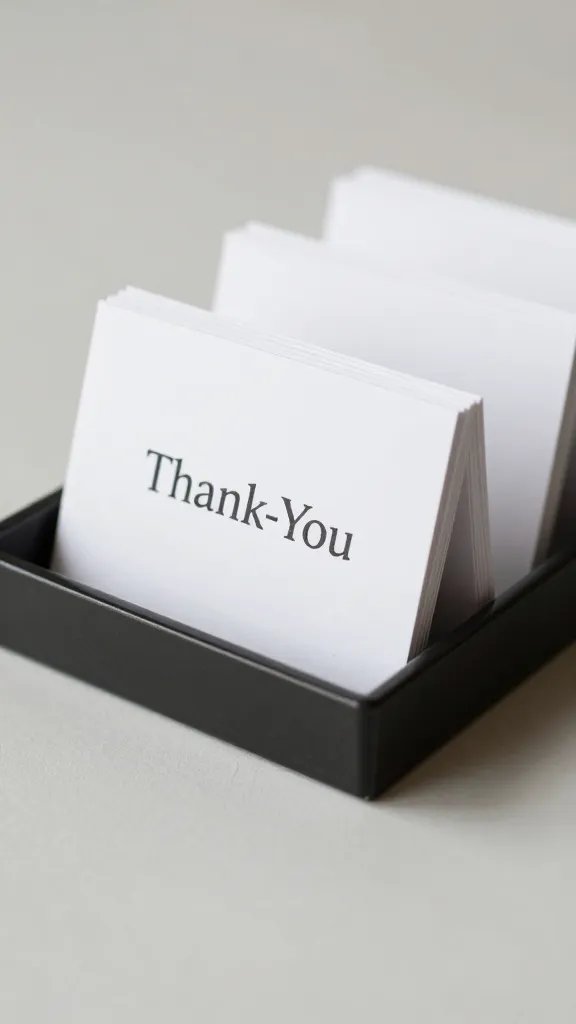
Gather white or cream cards, a few markers, and decorative scraps in one shallow tray. Invite kids to write a quick thank you note or add a doodle. It solves the “gift bag empty” moment by providing a ready-made, personal card for every teacher. The tray becomes a tiny station that you can refill as needed, keeping the process simple and quick for a busy week.
Copy the look: Stamp a small “Thank You” on the card fronts to unify the set. Make it ahead: Pre-cut card blanks and scraps help speeds things up on the day.
7. Paper Photo Frames with a Message
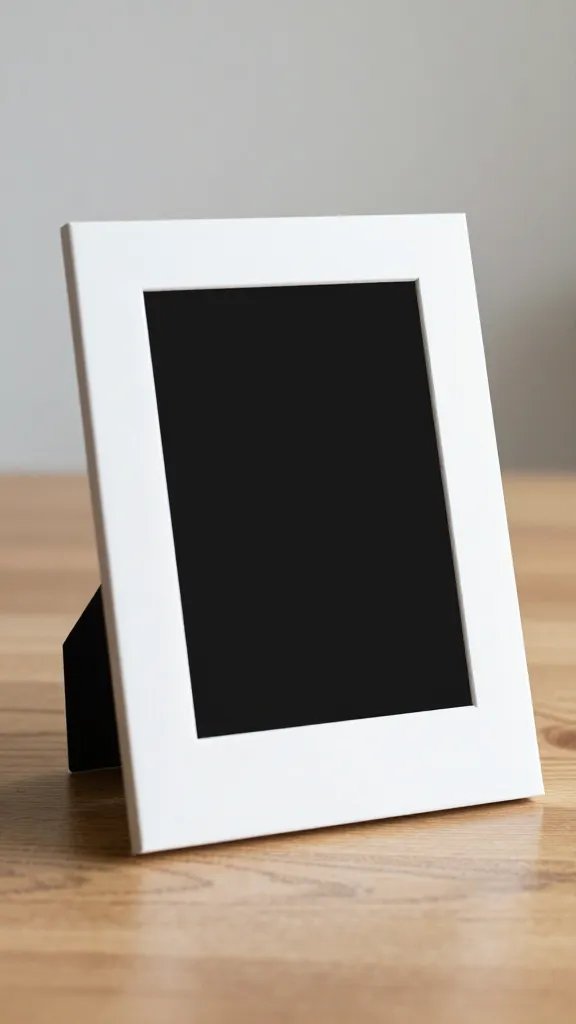
Cut four strips of colored paper to make a simple frame around a classroom photo or a teacher portrait. Embellish with a short banner reading “Appreciation Week” or “Thank you.” This gives a tangible keepsake that teachers can display in their room. It’s lightweight, quick to assemble, and easy to customize for each educator.
What to avoid: Too many tiny pieces can bend; keep the frame clean and flat. Make it easier: Use pre-scored card stock to assemble frames in minutes.
8. Tissue Paper Flower Centers
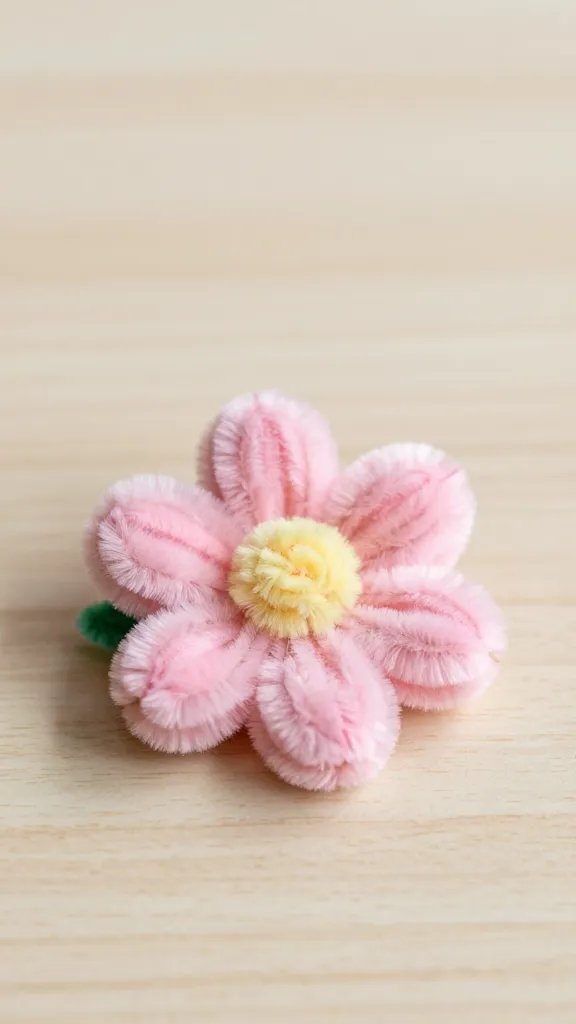
Stack four to six tissue squares, fold, and wrap with a pipe cleaner to create a compact flower accent. Attach to a simple paper straw or a stick to plant in a mason jar. This decor serves as a budget friendly bouquet that reads festive but not bulky. It’s easy to mass-produce for a classroom display and can be grouped for a strong visual impact.
Supplies / Time needed: Tissue paper, scissors, sticks; about 15 minutes per 5 flowers if you work in a line. Tag line: Add a small tag with a quick message for each flower.
9. Favor Cups with Quick Notes
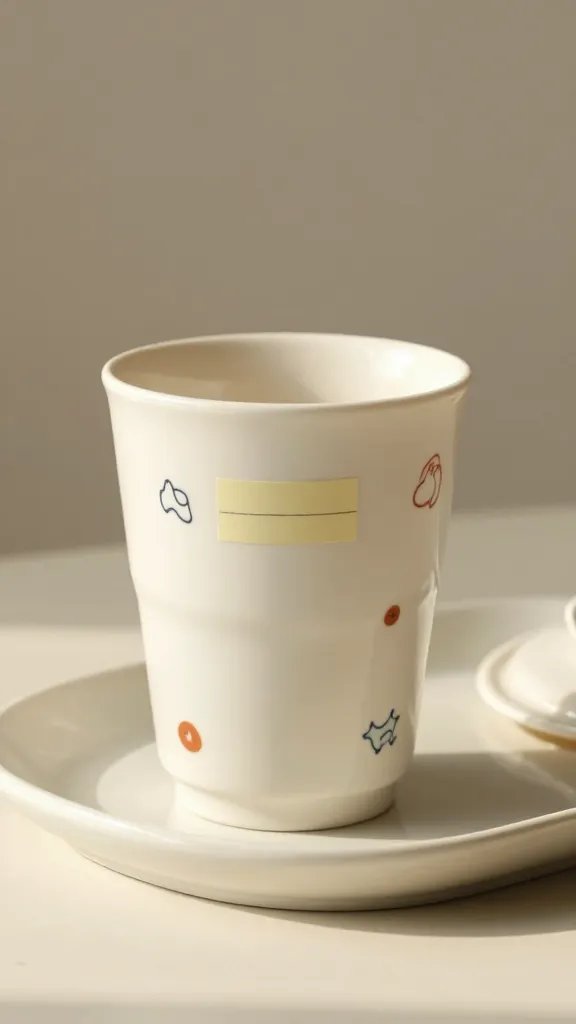
Decorate plastic cups with simple doodles or stickers and fill them with small treats or stationery. Tuck a short note under a lid or inside a sleeve that says “Thank you for helping us grow.” The cups act as both decor and a take-home token. Place them along a tray at the front of the room for easy distribution during or after class activities.
Use what you have: Reusable cups from a party supply stash keep costs down. Safety note: Avoid loose items that pose choking hazards for younger siblings during distribution.
10. Chalkboard Wall with Student Messages
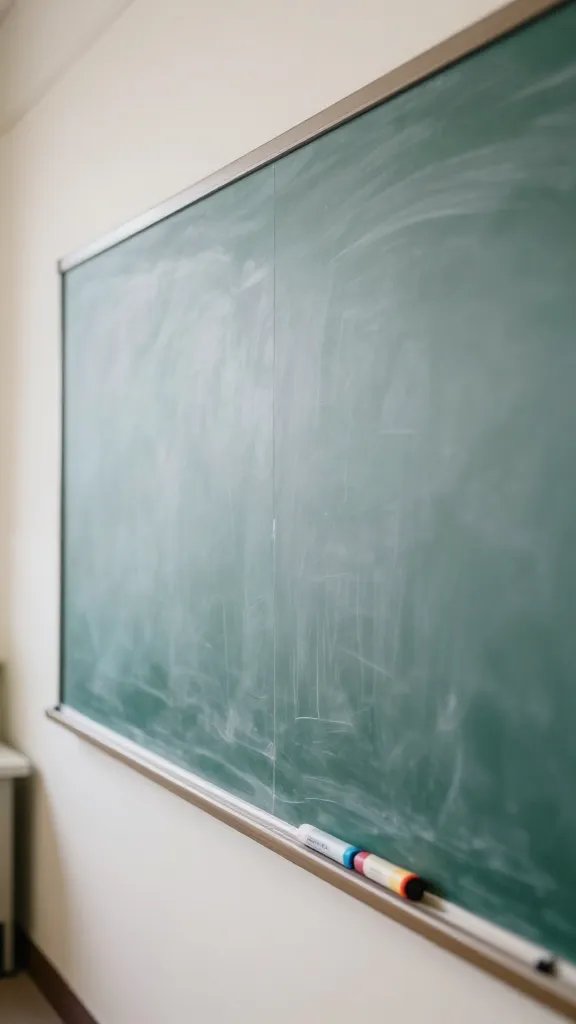
Cover a small panel with chalkboard contact paper and invite students to write messages in colored chalk markers. It gives an interactive element to a wall and serves as a living gift teachers can revisit. It’s fast, communal, and can be cleared to reuse later for another occasion.
Best for: Classrooms with a spare wall or corridor space. Make it ahead: Cut the board to fit a frame or sticky surface before the week starts.
11. Origami Envelope Goodie Bags
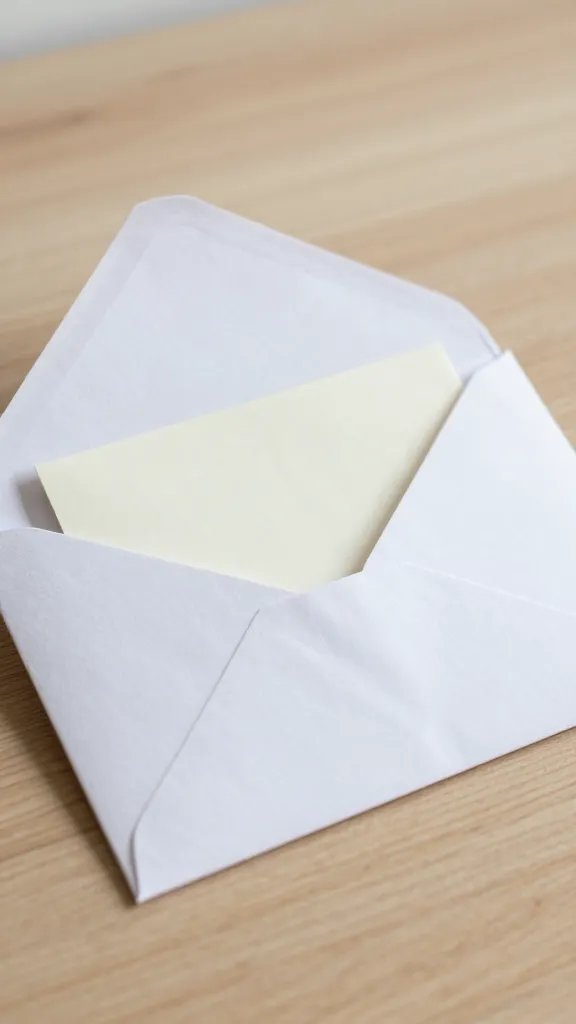
Fold simple origami envelopes from colored paper and tuck a note or small sweet inside. Place these at each desk for a surprising moment during the week. If you want to avoid candy, use a small packet of stickers or a rubber eraser as the surprise. Origami adds a tactile moment that kids enjoy folding themselves with adult supervision.
Delivery tip: Keep envelopes flat until you’re ready to place them. Time saver: Teach a quick, two-step fold to the kids so you can pop several at once.
12. Paper Bow Tie Magnets
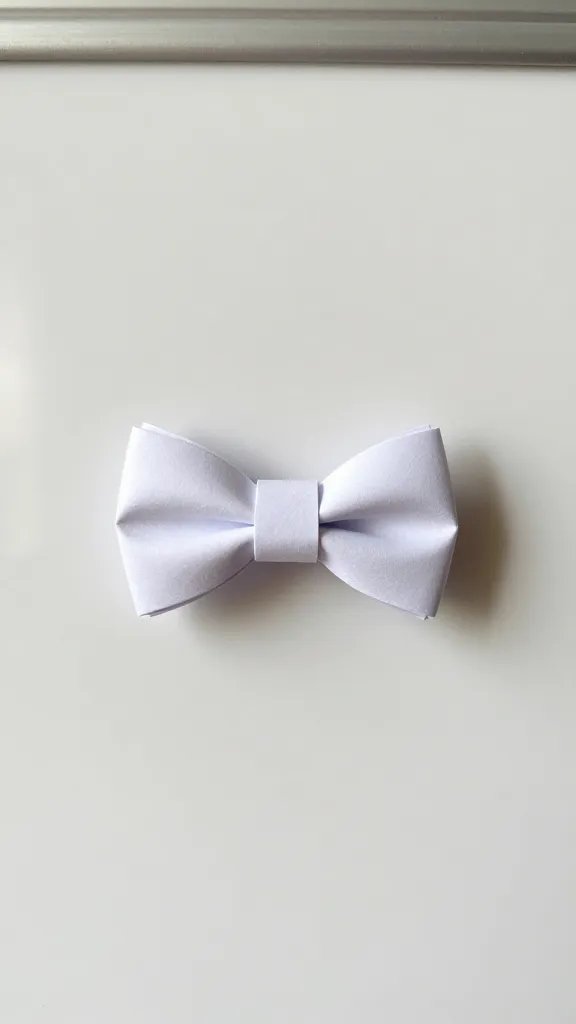
Make tiny folded paper bow ties and attach them to magnets for a cute desk accessory. They cling to metal desks or whiteboards, keeping the Thank You message visible. It’s a small project that yields a playful, useful gift for teachers who appreciate practical decor. The magnets can be hot glued by an adult to ensure sturdy attachment.
Safety note: Hot glue is for adults only. Make it ahead: Assemble the bows, then attach magnets the day before distribution.
13. Party Favor Tags on Potted Plants
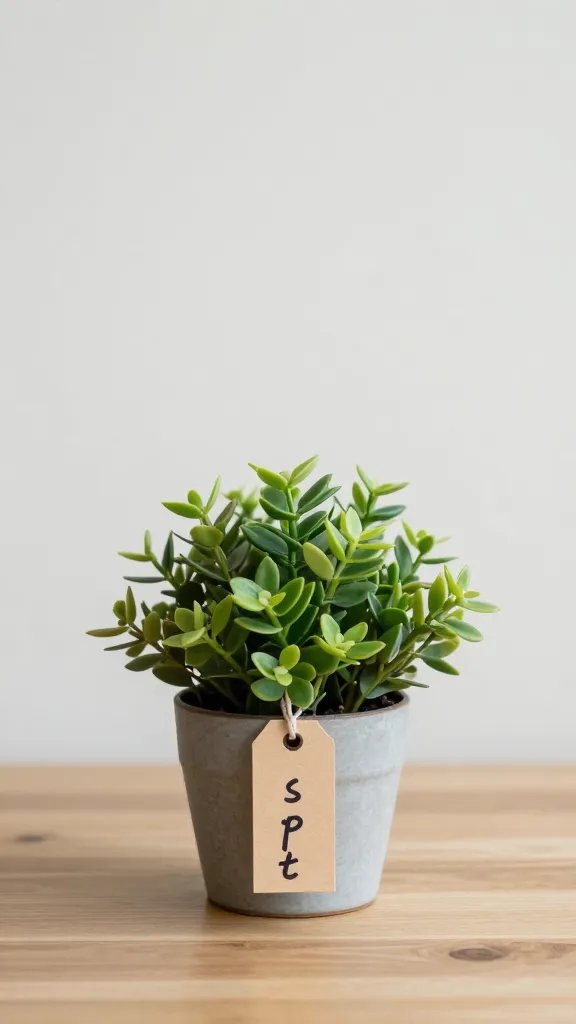
Write short thanks on tags and tie them to small potted plants or herbs you can purchase cheaply. If you can’t get live plants, use faux succulents in mini pots. The result is a living gift that teachers can reuse year after year, keeping the appreciation persistent beyond the week. It creates a natural, edible-friendly display in a classroom or staff room.
Color note: Match tags to your theme for a cohesive look. Storage tip: Stack pots in a bin to keep them safe during setup.
14. Paper Lanterns with Name Plates
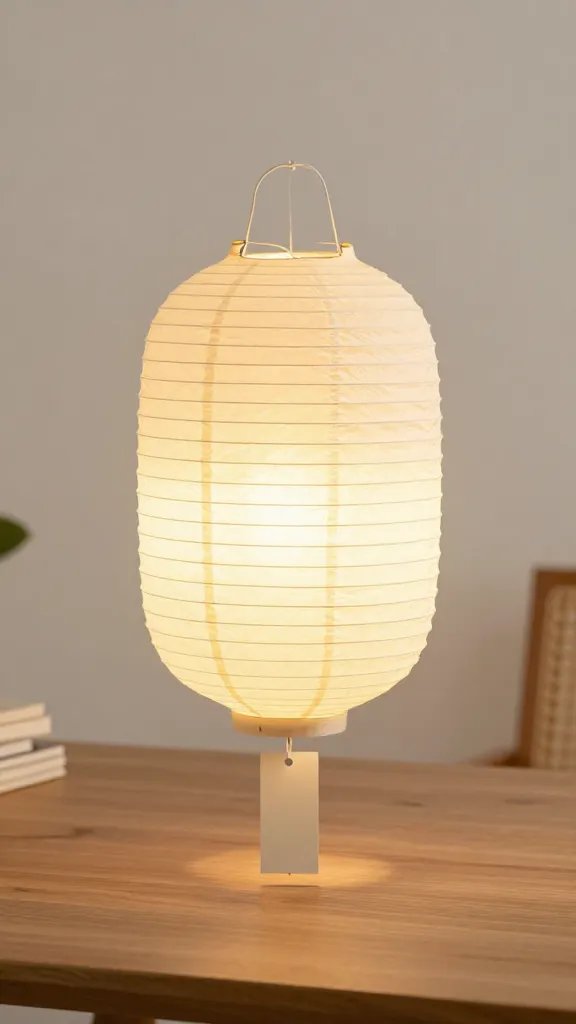
String a row of small paper lanterns and attach a rectangular name plate to each. When lit with safe LED fairy lights, they create a soft glow that looks warm in photos. This solution fills a large space without crowding a desk and gives teachers a cozy atmosphere to enjoy during receptions or hallway pop-ins.
Make it ahead: Assemble lanterns and label plates early; have the string ready to hang. Budget swap: Use tissue paper lanterns you already own and customize with markers.
15. Thank You Parade Crowns
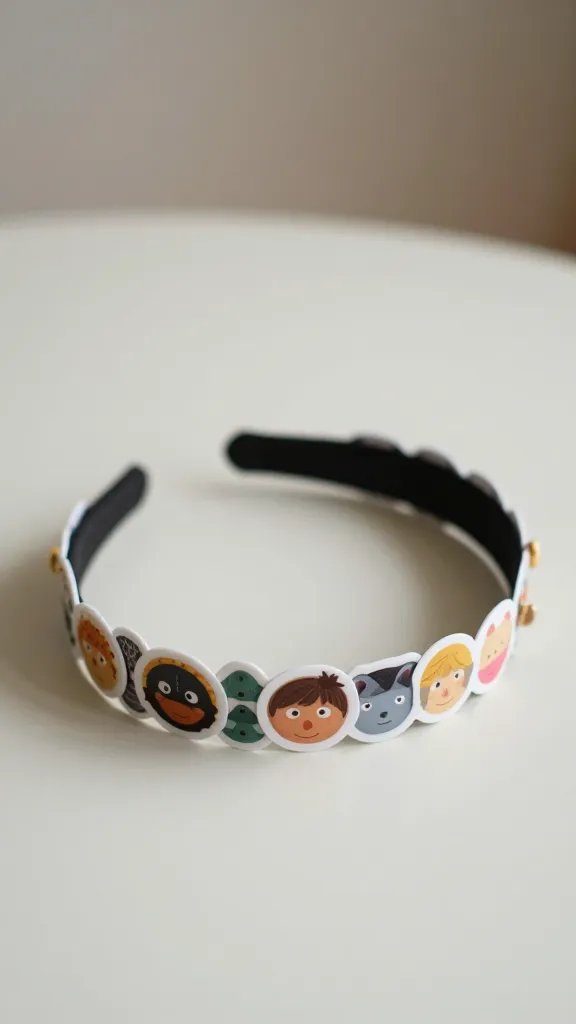
Cut crown shapes from sturdy cardstock, decorate with stickers and a short message, then mount on a headband. Kids can wear them during a classroom parade or a small celebration, creating a playful moment that’s easy to photograph. This idea pays off with a lot of smiles and a simple assembly line approach that fits a busy week.
Kid friendly: Let older kids handle the markers with supervision. Proof of safety: Use lightweight crowns and avoid sharp edges.
Teachers deserve appreciation that feels personal and practical. With these 15 paper craft ideas, you can plan a week that stays affordable, manageable, and memorable. Save this for the next project that sneaks up on you.