
16 Decorative Craft Ideas for a Bathroom Refresh

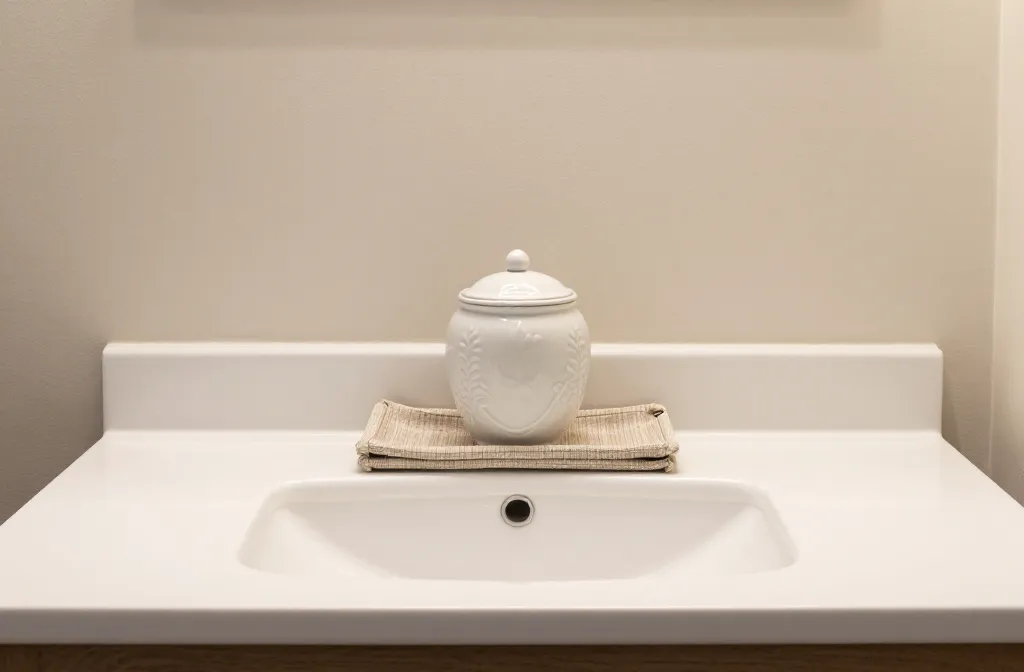
Staring at a blank bathroom wall with a limited budget and a tight timeline is a real-life obstacle. You want the space to feel fresh without a full remodel or a ton of fuss. This list helps you pull together craft-friendly updates you can actually finish this week, with supplies you likely already have. Each idea fixes a common bathroom refresh snag, from boring walls to dull accents, and keeps cleanup simple. If you’re skimming, these are the fast wins you can tap today and actually use for photos later.
We’ll rotate between quick makes, easy supplies, and small space fixes so you can mix and match. By the end, you’ll have a cohesive, handmade look that still reads polished in selfies. Ready to upgrade with your own two hands? Let’s dive into the ideas.
1. Fabric-Willed Magnetic Organizing Tray
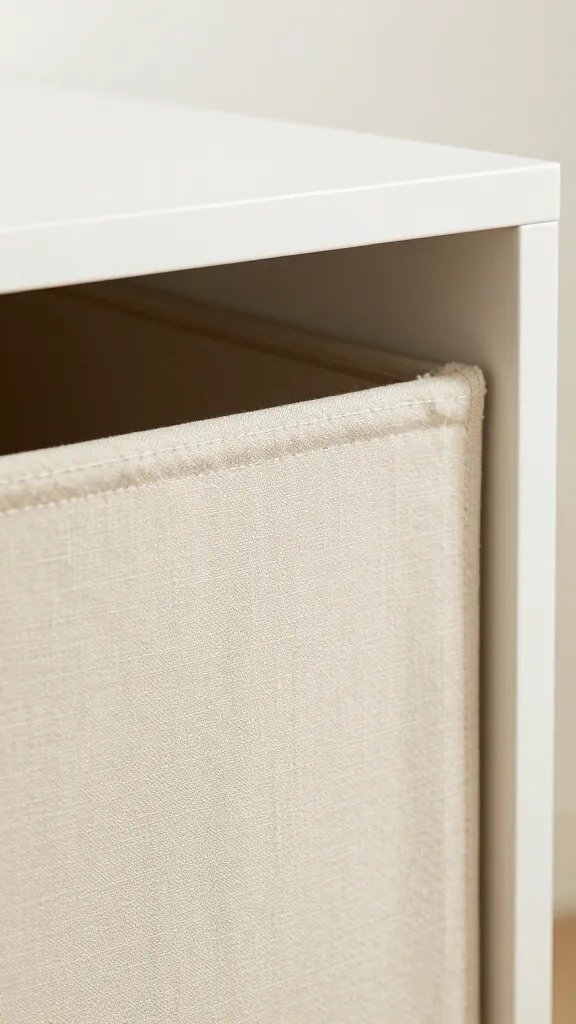
The cabinet door looks clunky, and a few tiny items keep sliding around. This tray adds soft texture and extra storage without rough hacks. Cut a piece of corkboard or thin wood to fit the inside of a shallow tray. Cover with a fabric scrap and attach small magnets to the back of hair ties, clips, and small bottles. Mount the tray on the door with removable adhesive strips. It takes about 45 minutes to assemble, plus dry time for glue.
What to reuse: A thrifted metal tray and fabric remnants from other projects save money.
2. Painted Glass Jar Grouping
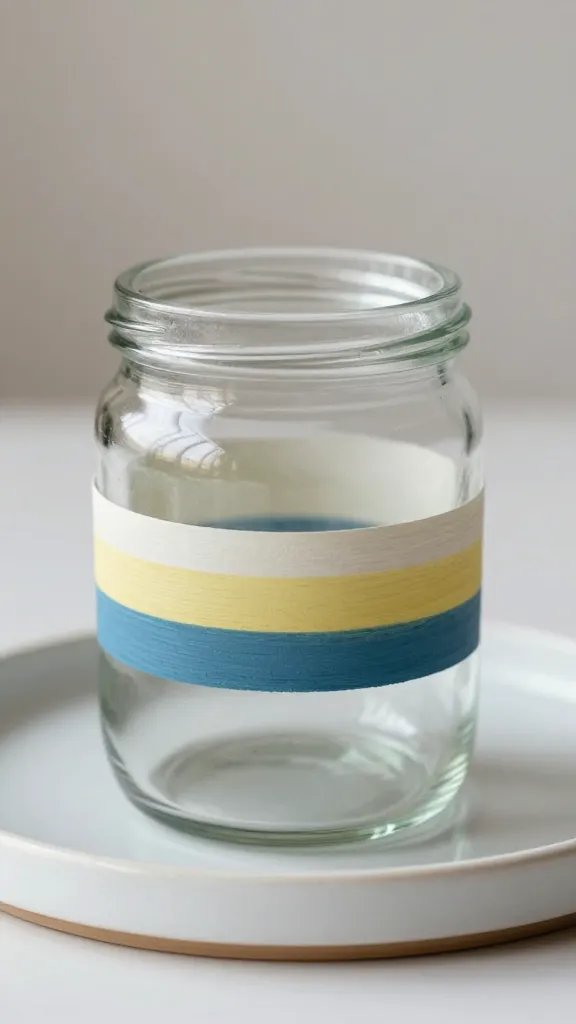
Uneven toiletries clutter the counter and nothing reads cohesive in photos. A simple cluster of painted glass jars gives a tidy, boutique vibe. Clean jars, apply painter’s tape to create two-tone bands, and paint with acrylic or spray paint. Let dry between coats. Label with a dry-erase marker or paint pen for easy updates. Place on a tray or shelf for a polished look. Plan for about an hour of work, plus drying time.
Make it ahead: Paint jars one day ahead to avoid smudges during place setup.
3. Linen-Ringed Hand Towel Wall Art
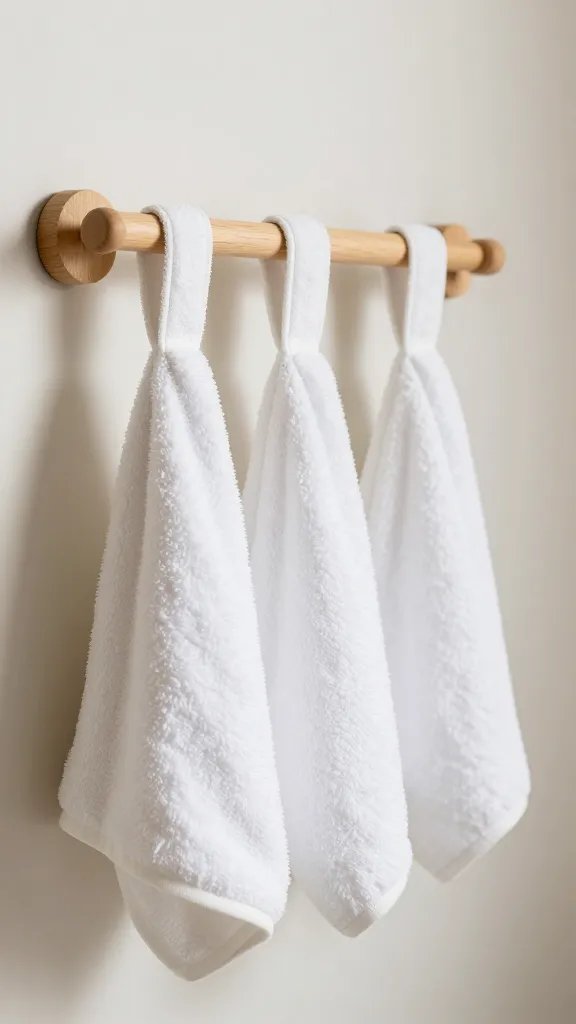
Stiff bath towels on rails feel dead on arrival. Create a little wall art with hand towels tied through fabric rings to form a geometric pattern. Use a small wooden dowel as a hanging rod, and secure rings evenly with hot glue. Choose two colors from your bathroom palette for contrast. This project is quick: about 30 minutes to assemble, plus time to set.
Color note: A two-tone combo ties the look together without overthinking.
4. Cork Tile Bath Quote Garland
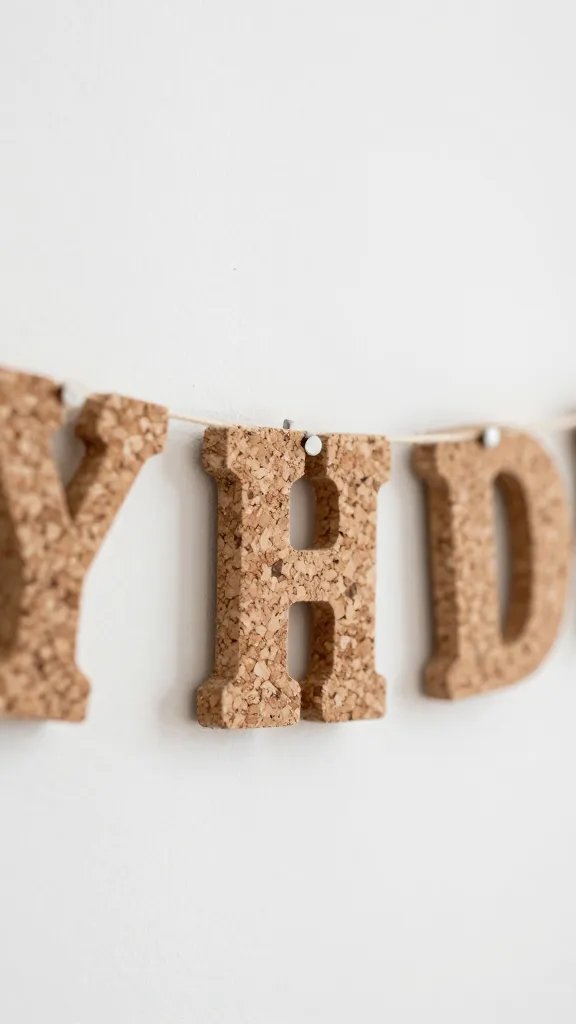
Plain walls are a canvas. Cut cork tile into small shapes to spell out a short bathroom-friendly quote or word. Seal with a clear spray and string with twine into a little garland. It’s easy to switch out for seasons or mood. The hardest part is measuring evenly, but a ruler and pencil line makes it simple. Expect about an hour from start to stringing.
Theme swap: Swap to a seasonal word for quick updates all year.
5. Mini Wicker Baskets as Trinket Nests
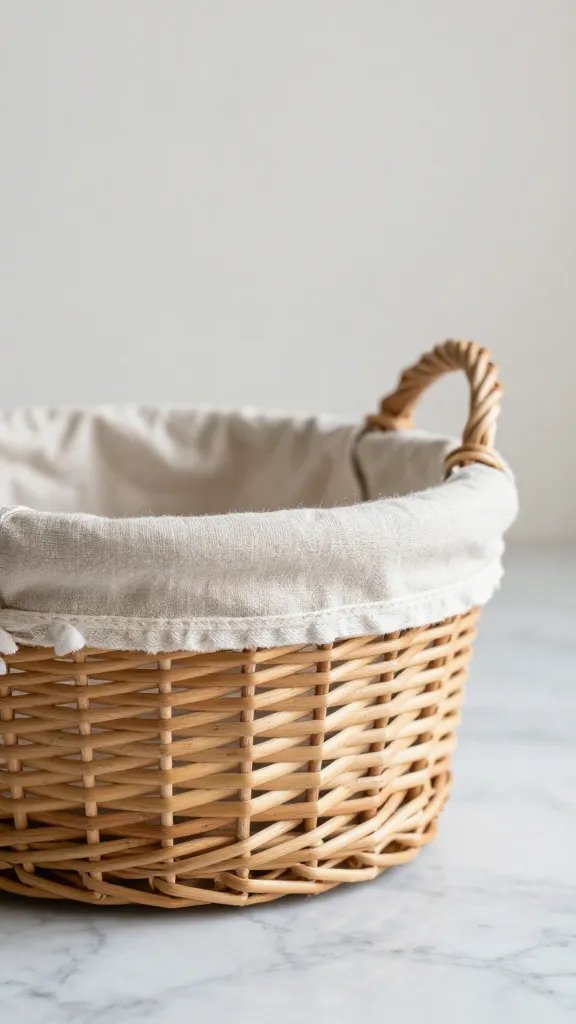
Counter clutter needs order. Small wicker baskets can corral cotton rounds, swabs, and travel-size items while adding natural texture. Line the inside with a scrap of fabric to keep items from snagging, or leave natural for a rustic look. Attach a small wall hook above the sink to hang one basket as a faux shelf. Assemble in about 40 minutes and enjoy the tidy upgrade thereafter.
Storage tip: Label baskets with a scrap of washi tape for quick swaps later.
6. Tissue Paper Bloom Wall Emblem
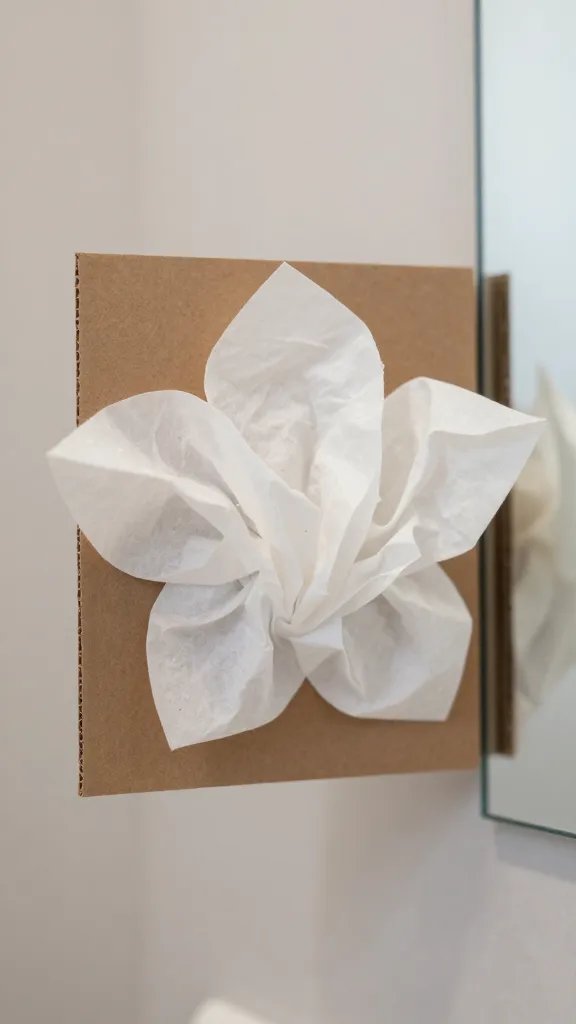
A bright focal point can disguise a dull mirror frame. Create a wall bloom using tissue paper petals layered on cardboard to form a large flower. Glue to a sturdy backing and mount with removable adhesive on the wall near the mirror. It takes about 60 minutes, including cutting and assembly. Fade resistant paints or markers help define edges for a crisper look.
Best for: A small guest bathroom that needs a cheerful focal point.
7. Dry-erase Mirror Note Board
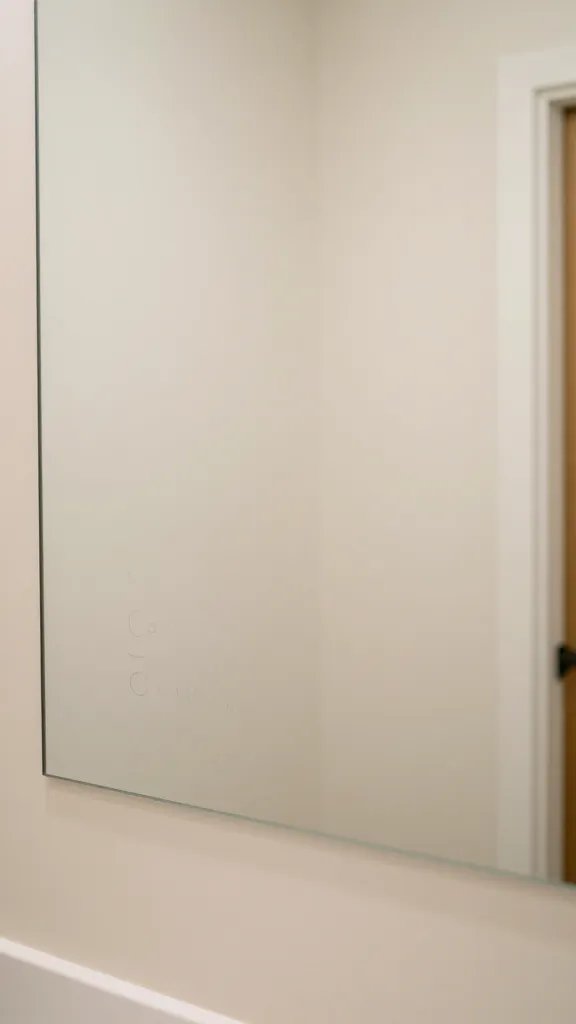
The mirror ends up with smudges from daily routines. Create a simple dry-erase panel using a glass cleaner-safe dry-erase film cut to mirror size. Attach with removable adhesive so you can swap messages and reminders. This is a low-effort, high-return update that costs almost nothing. Budget about 20 minutes to apply and a quick wipe to test.
Safety note: Use only removable adhesives to avoid damaging the mirror surface.
8. Tassel Tieback Curtain Accent
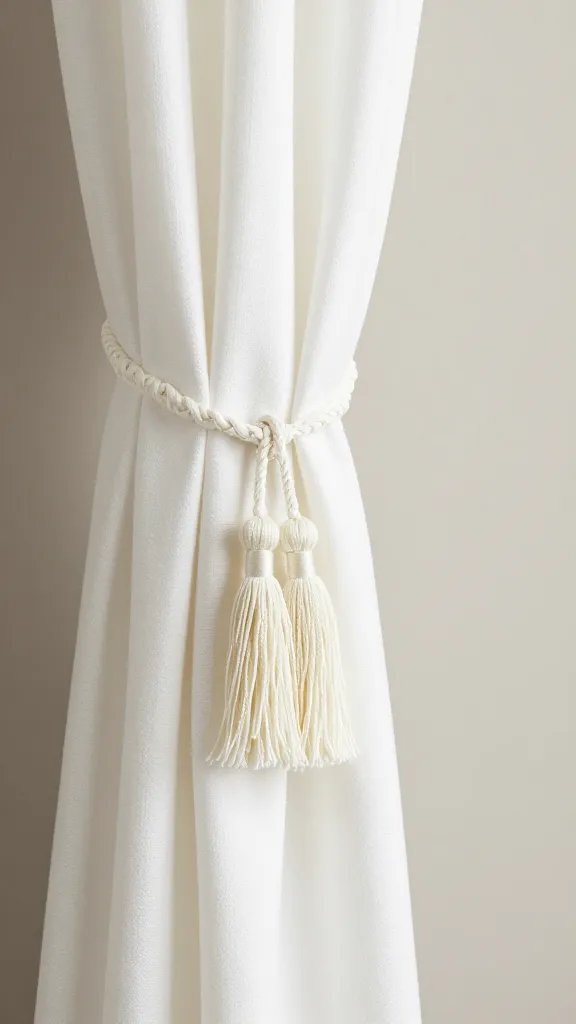
If your bathroom has a small window or a shower curtain, refresh by adding a tassel tieback. Use a scrap of cord or ribbon and a few pom-poms or tassels you already own. Drape the tieback over the curtain rod when not in use to keep it tidy. It’s an easy 15-minute swap that brings a touch of personality without a full remodel.
What to avoid: Too many tassels can overwhelm a small space; keep it simple and balanced.
9. Twine Frame Display
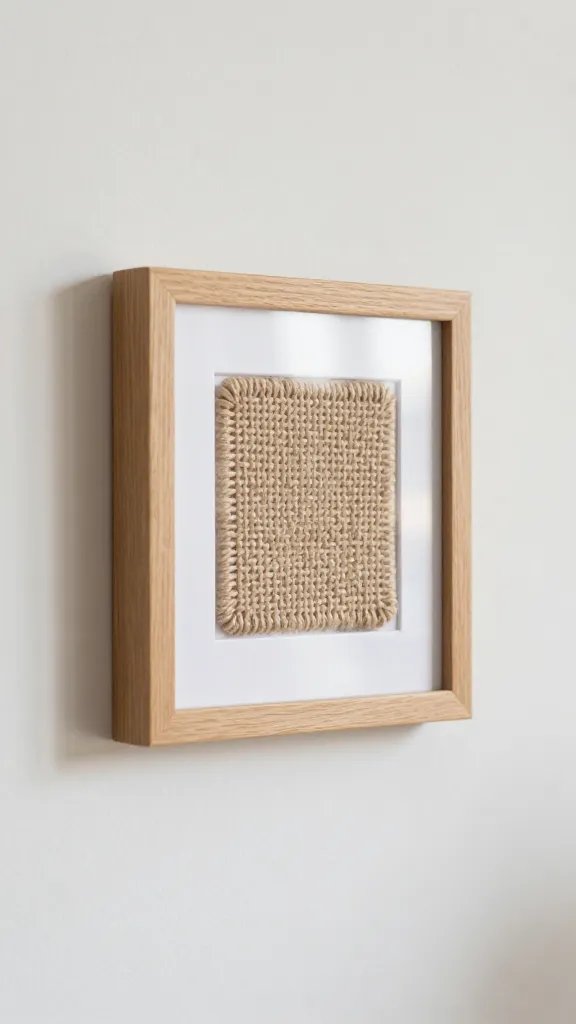
Photo frames in a row can look generic. Create a small wall display using thrifted frames with twine strung between them. Clip small fabric swatches, sticker labels, or pressed botanicals to the line for a living gallery feel. This setup takes about 45 minutes, depending on frame prep. Swap items seasonally for fresh visuals without buying new decor.
Display note: Use a single color palette to maintain a cohesive look across frames.
10. Marble-Effect Soap Dispenser Upgrade
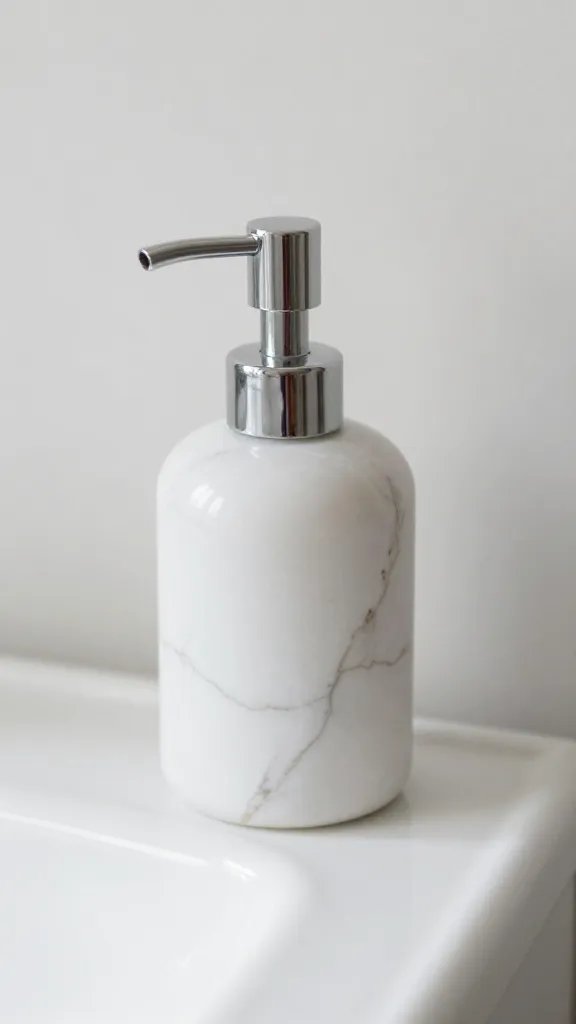
Plastic pumps look flat next to glossy tiles. DIY a marble effect on a plain soap dispenser using marbling technique with nail polish or acrylic paints. Roll a damp sponge over a tip of the brush to create veins, and seal with clear acrylic spray. Let it dry fully before refilling. Count on about 40 minutes from start to finish. This makes an everyday object feel stylish.
Beginner version: Skip the vein details and do a solid light gray for a softer upgrade.
11. Quick-Print Playful Bath Labels
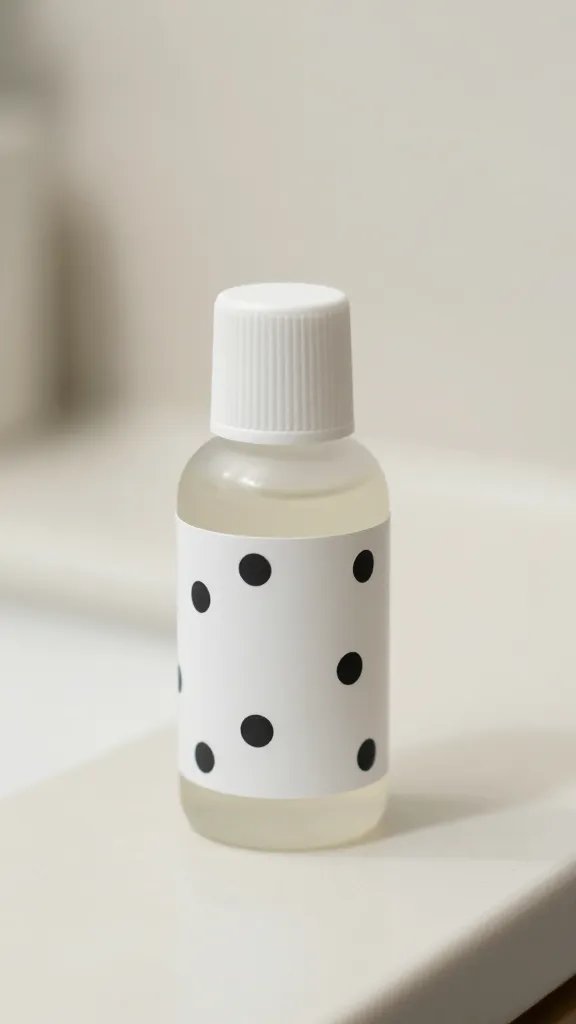
Matchy bottles feel boring. Print small, playful labels for travel-size soaps, mouthwash, and lotion. Use a font you like, print on white card stock, trim, and apply with removable glue dots. It reads neat in photos and keeps items organized. A 25 to 40 minute project depending on how many bottles you label.
Copy the look: Use a consistent label size and color for a coordinated vibe.
12. Felted Ball Jar Lid Ornaments
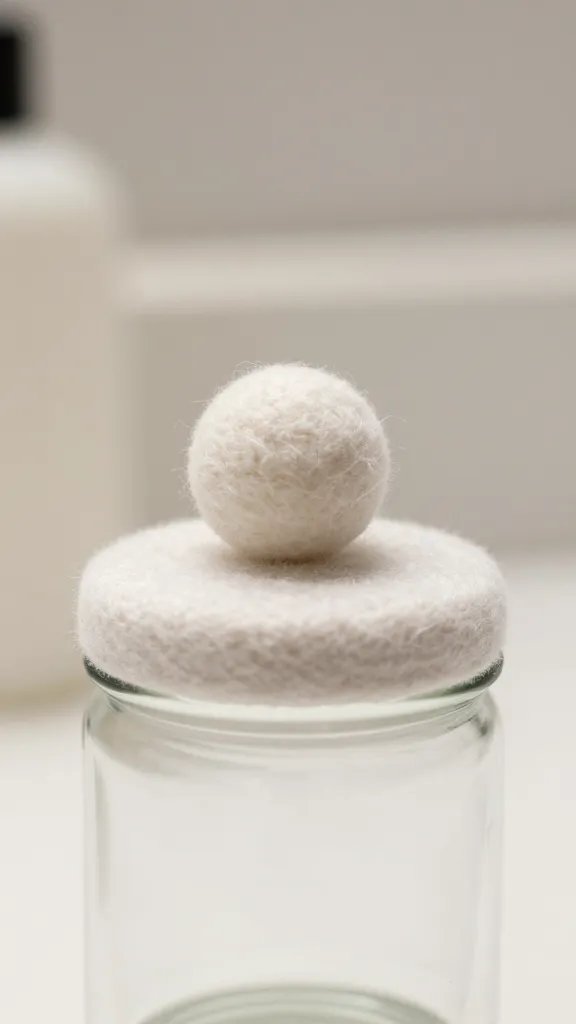
Jars with tight-fitting lids can miss the wow factor. Replace plain lids with felted balls or pom-poms glued around the rim for a playful texture. Keep colors coordinated with your bathroom palette. This is a small, quick craft that takes about 30 minutes for a few jars and a bit longer if you want extra embellishments.
Safety note: Use non-slip pads on the jar lids to prevent slipping when opening.
13. Cardstock Mini Banner on Shelf
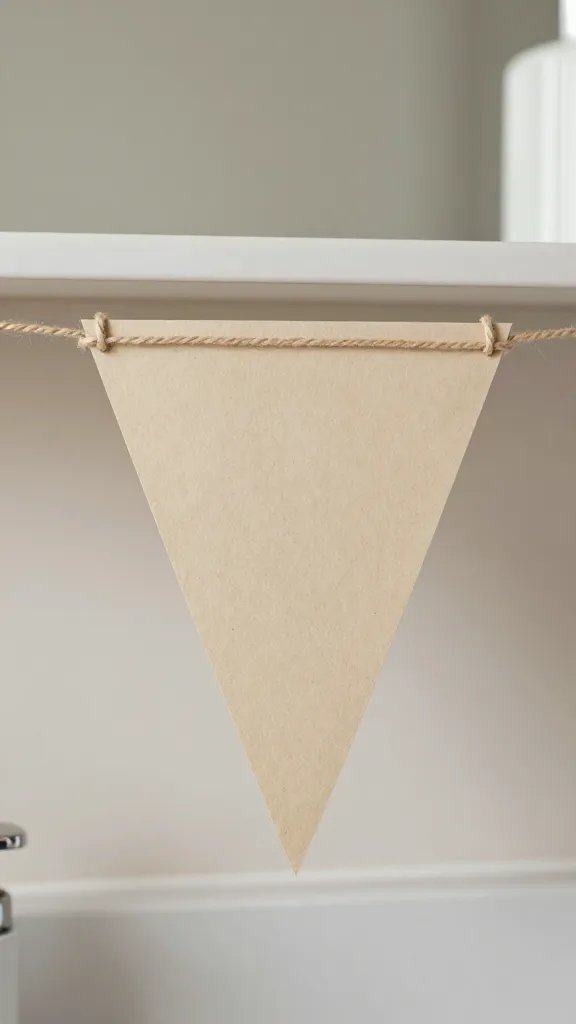
A short banner hung above a shelf or towel rack pulls the eye upward and adds color. Cut cardstock into mini pennants, string them with twine, and paint or letter a simple phrase like “Wash” or “Shine.” Attach to the wall with removable mounting strips. The project takes about 45 minutes to 1 hour and leaves you with a portable décor piece for future rooms.
Make it easier: Use pre-punched paper shapes to speed up assembly.
14. Seed-Pod Terrarium Accent
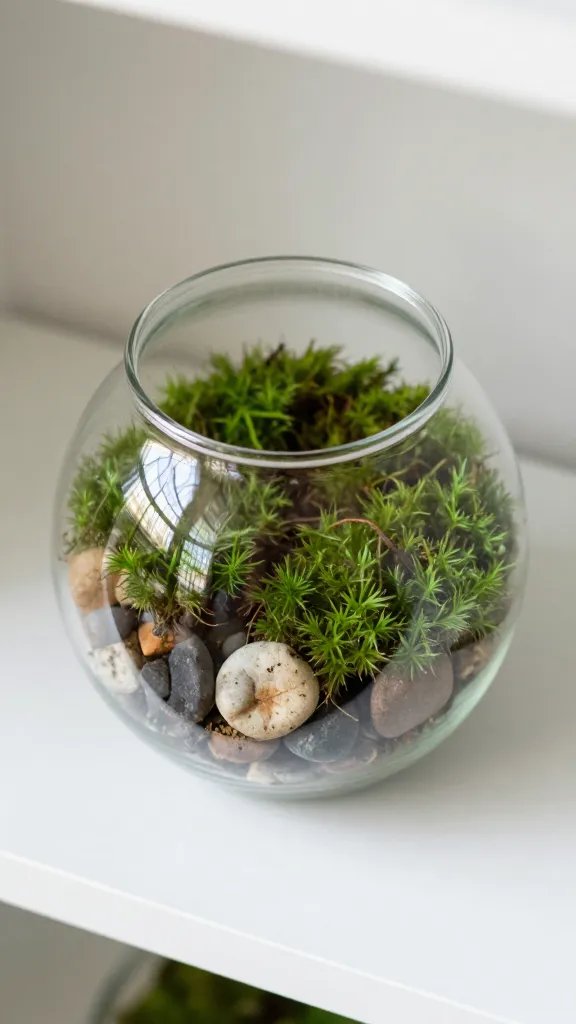
Bring a touch of greenery without heavy maintenance. Create a tiny terrarium display using a glass jar, a few pebbles, and dried seed pods or preserved moss. Place on a shelf or windowsill and mist occasionally. It’s a low-cost, high-reward project that takes about 20 minutes to assemble and a few minutes to style every week.
Best for: A small bathroom that needs texture and life without extra watering chores.
15. Paper Chain Shadow Box Wall
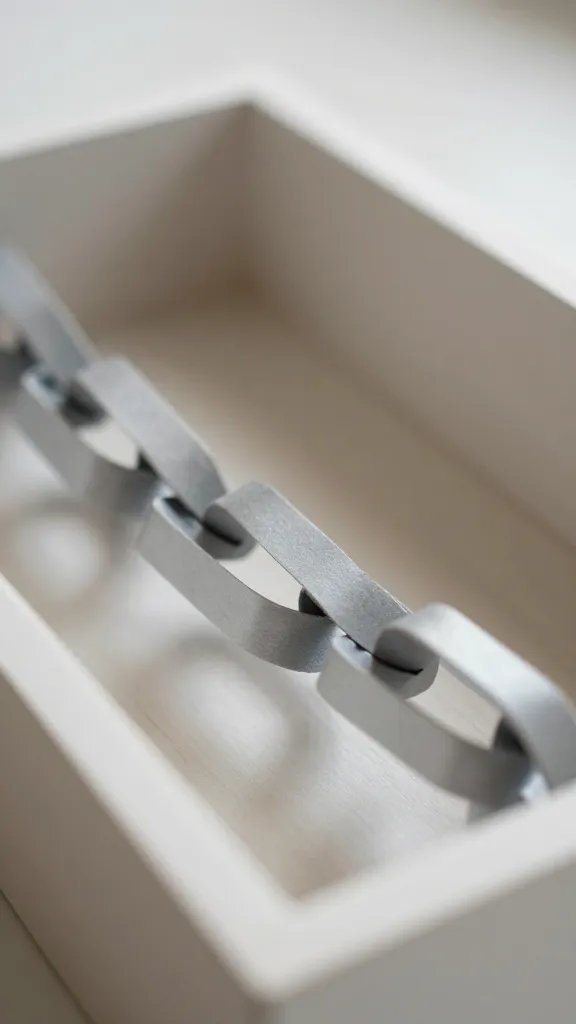
A small shadow box can look flat; fill it with a paper chain gallery for depth. Cut strips of metallic or matte paper and interlock them into a looped chain, then mount across the inside of a shallow frame. Hang in the bathroom where it catches light for an airy effect. Expect about an hour from start to finish, including dry time for any glue.
Theme tip: Keep the color family tight to prevent a chaotic look in photos.
16. Button Tile Coaster Wall Pocket
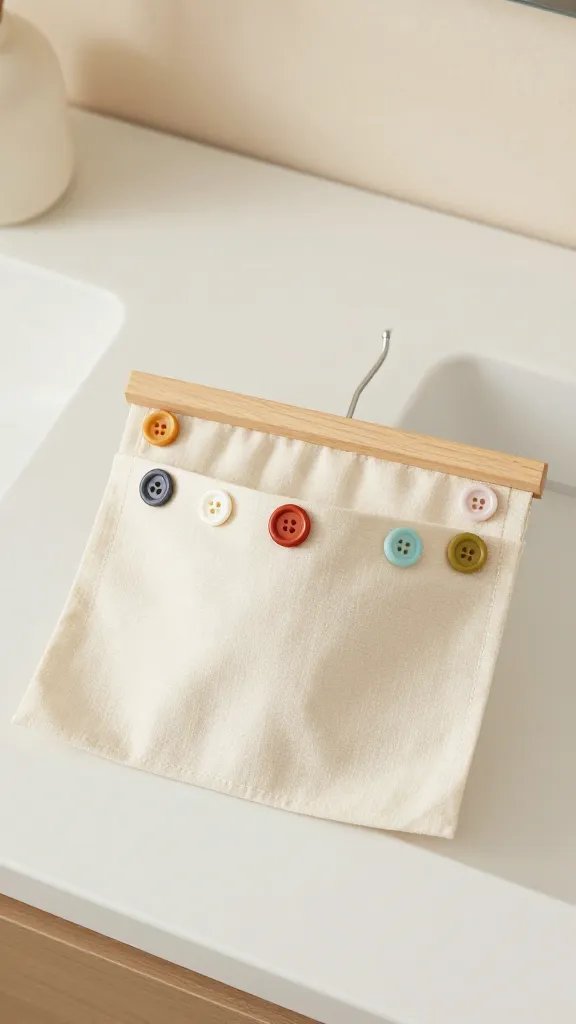
A pocket organizer on the wall gives a place for brushes, small sponges, and other daily items. Create a fabric pocket covered with a grid of colorful buttons or beads stitched to a sturdy fabric square. Mount on a thin wooden frame and hang by a picture hook. It takes around 60 minutes and adds a charming, craft-sense touch to the counter area.
What to reuse: Old buttons from scrap bins keep this budget-friendly and individual.
Conclusion
These ideas prove you don’t need a full remodel to refresh a bathroom. With a few simple supplies and a little time, you can create a space that feels intentional and on-brand for your home. Pick two or three projects to tackle this weekend, and save the rest for the next batch of refresh ideas.
Keep a mental list of what you already own, and use it to guide your choices so nothing feels duplicated. Save this for the next bathroom refresh that sneaks up on you.