
How to Display Kids Artwork Without Wrecking Your Walls

Your two sentence answer here.
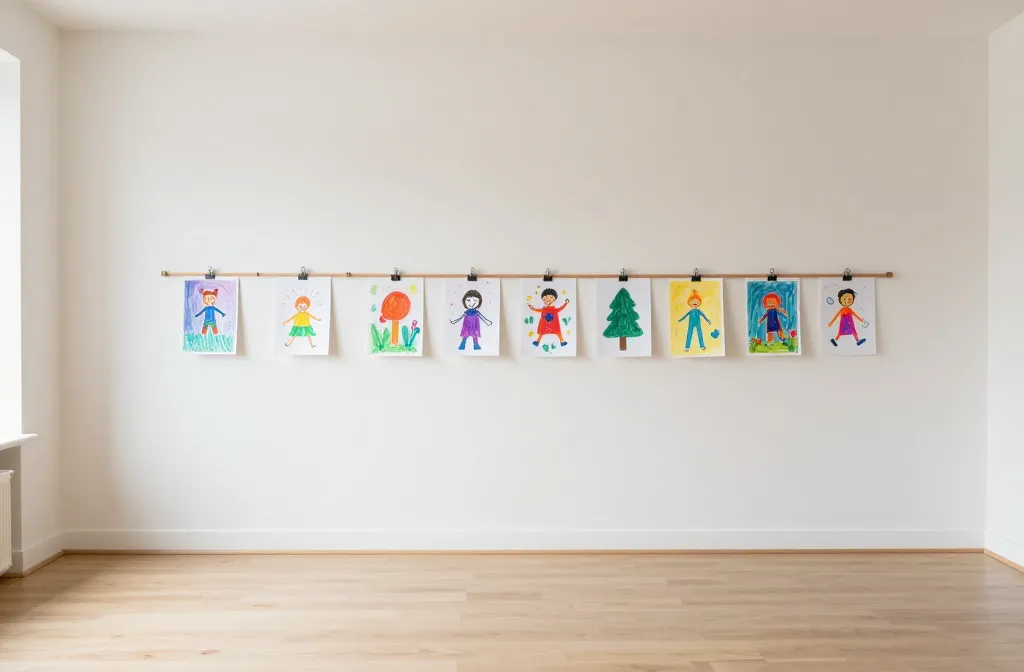
Kids’ art is precious, but nails, holes, and messy frames can wreck a wall fast. This guide shows a simple, renter-friendly system that looks polished and keeps every masterpiece in view today and easy to swap tomorrow.
If you’re short on time, gather the frames, clips, and a level first so you can see results in one afternoon. You’ll want a lightweight, modular approach that lets you rotate pieces without redoing the display each week.
What You Need
One quick list and a few optional extras.
- Low-profile picture rail or washi tape for boundaries
- Magnetic or adhesive friendly display option (magnetic strips, poster putty, or clipboards)
- Assorted frames or DIY display sheets
- Measuring tape and a pencil
- Level or phone spirit level
- Optional: decorative string lights or a small gallery rod
- Optional: label stickers for names and dates
Step 1: Plan Your Layout
Decide where you want the display to live—hallway, kitchen wall, or a family room corner. Sketch a rough grid or family a single scrolling line so pieces feel intentional, not haphazard. A common mistake is crowding the space; give each piece a little room to breathe so colors don’t clash.
Step 2: Choose a Display System
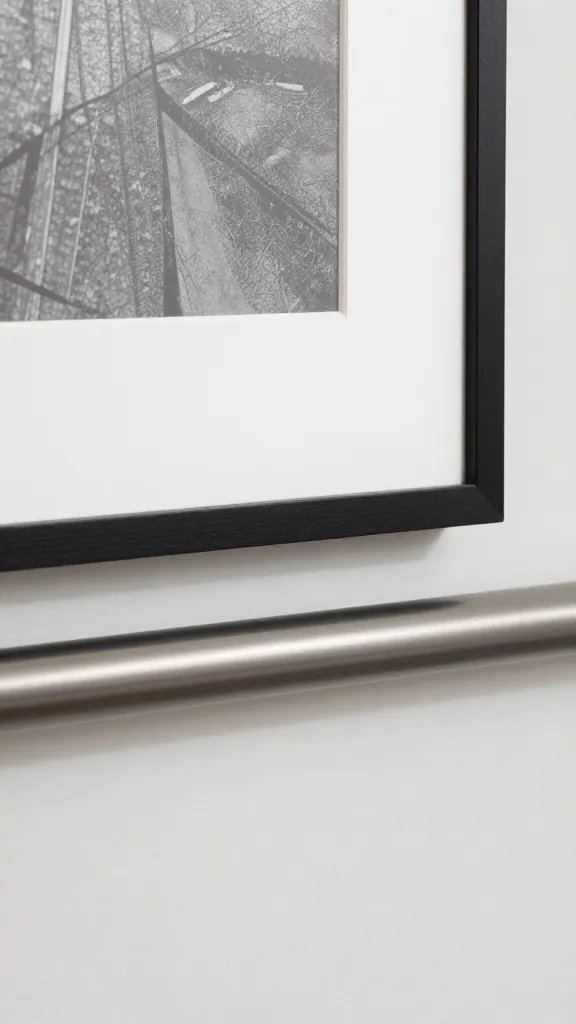
Pick a method that won’t damage walls: a lightweight picture rail with clips, a grid made from washi tape and mounting putty, or a clipboard wall. Test a small area with your choice and confirm it holds current artwork without leaving marks. Tip: go with a system that’s easy to update weekly.
Step 3: Prep the Artwork
Sort recent art by size and orientation. Trim any oversized pieces or mount smaller ones onto a uniform backing so everything reads as a cohesive gallery. Use an occasional age label on the back for memories—the child’s handwriting adds charm.
Step 4: Install Your Base Lines
Mark the top line or frame edge with a pencil and a level so everything hangs straight. Attach your rail, string, or grid using the chosen method, then step back to check that the spacing looks balanced. Common error: not leveling, which makes the whole wall look lopsided.
Step 5: Clip, Clip, Clip
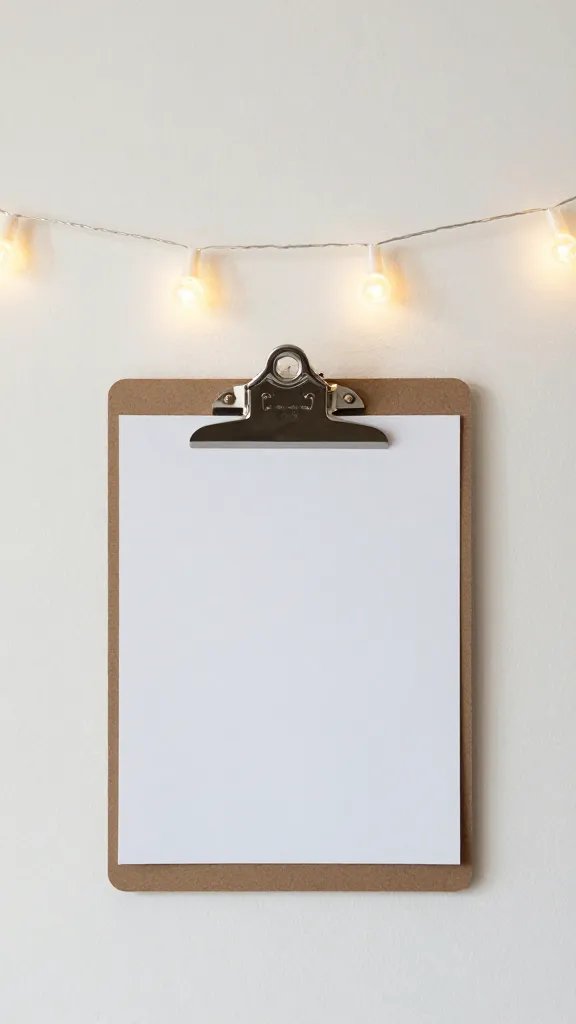
Arrange artwork along the line, clipping or taping pieces as you go. Start with the largest pieces first to anchor the display, then fill with medium and small items. Make sure clips are easy to reach so you can swap art without a ladder or stress.
Step 6: Rotate Regularly
Plan a 1- to 2-week rotation cycle, or set a monthly “gallery update” day. When swapping, take a quick photo for memories and store excess pieces in a labeled bin. A frequent rotation keeps it fresh and prevents display fatigue.
Step 7: Add Finishing Touches
If you want extra polish, add a uniform mat behind each piece or a small date label. A few decorative accents like a string of warm lights or a mounted clipboard row can elevate the display. Just don’t overcrowd—let some wall show through.
Key Takeaways
- Choose a wall-friendly display that’s easy to update and won’t require wall repair.
- Plan the layout first to avoid a crowded, chaotic look.
- Rotate artwork regularly to keep the gallery feeling fresh and meaningful.
- Use simple labeling to preserve memories without clutter.
Final Thoughts
Display systems that are flexible and forgiving tend to save you the most time and headaches. If you’re unsure, start with a single strip of washi tape and a few clipboards to test the vibe before committing to a larger setup. This approach to How to Display Kids Artwork Without Wrecking Your Walls keeps the focus on the art itself while respecting your space, and it’s easy to scale up as more masterpieces arrive—save this for your next party prep night.