
How to Keep Kids Crafts Without Drowning in Paper

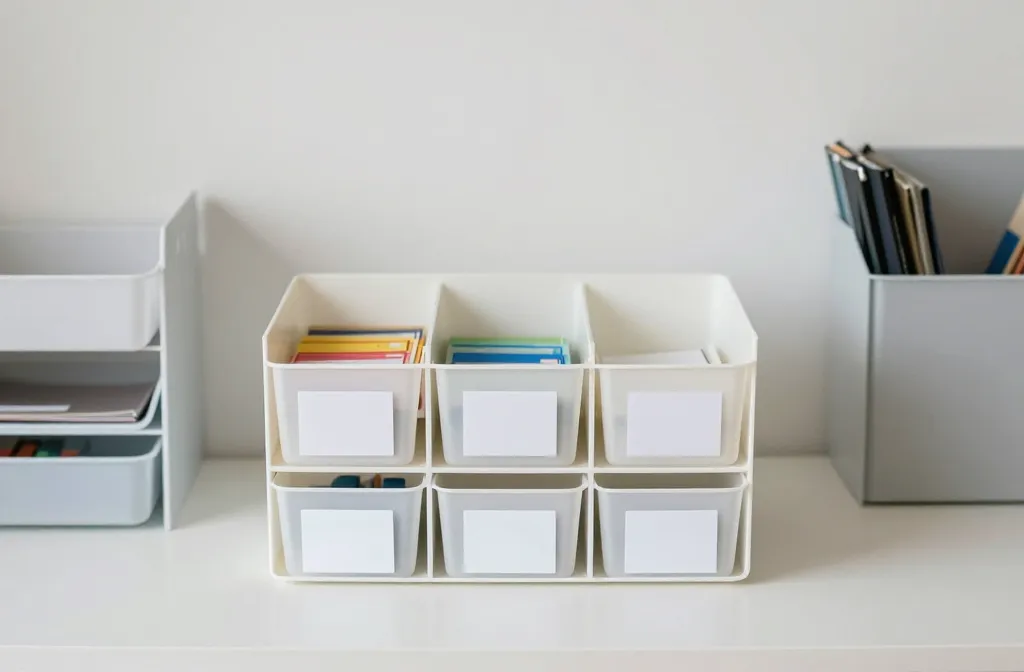
Store and display kids crafts in a simple system that protects scraps and makes finding favorites easy.
Keep your workspace calm by choosing a few clear storage ideas that work for most paper projects. This guide shows a quick setup and a routine you can run today to reclaim the fridge magnets and doyen of the craft shelf.
What You Need
Only a few practical items keep this simple.
- A labeled bin for finished crafts
- Several shallow trays or an organizer with sections
- One file folder or accordion file for loose paper scraps
- A small set of binder clips or clothespins
- Clear adhesive hooks or a small bulletin board for display
- Optional: a hanging file tote for ongoing projects
Step 1: Sort as You Go
When a project ends, take a moment to separate finished pieces from scraps that might be reused. This prevents pileups and makes the next project easier. If you skip this, you’ll spend an hour later digging through piles for a single piece.
Step 2: Create a Quick Storage Zone
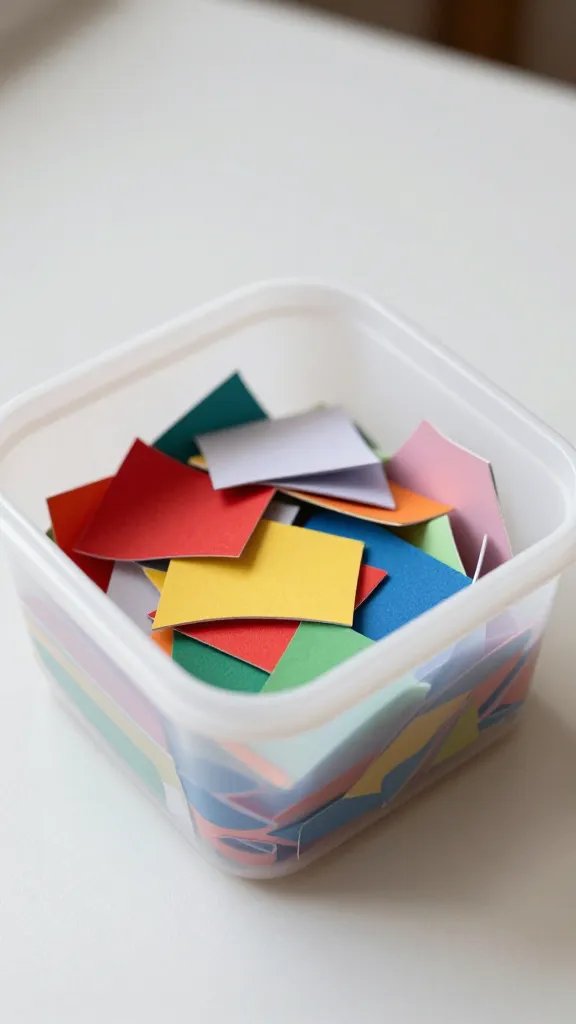
Set aside a single shelf or tray for finished works. Label it clearly and place it where kids can add new pieces themselves. This keeps art contained and makes a proud gallery wall feel doable. A common mistake is tucking crafts into random drawers where they get forgotten or bent.
Step 3: Save with a Paper Scraps System
Use a labeled accordion file or a single large folder to capture scraps by color or project type. Clip tall scraps to prevent shedding and keep edges straight with a light squeeze. If you don’t sort scraps, small pieces vanish into the carpet and your kids will ask for a new sheet every time.
Step 4: Display a Rotating Gallery
Choose a small display area—fridge, corkboard, or a string with clothespins—and swap pieces weekly. This keeps the art feeling valued without creating clutter. A mistake to avoid: stuffing a dozen new pieces onto the board at once; curating a few keeps it fresh and intentional.
Step 5: Reuse and Recycle Mindfully

Repurpose materials when possible. Use blank backs of old drawings for practice or create a collaborative collage with recent pieces. If a piece can’t be saved, recycle it in the paper bin. Don’t save every scrap; that just floods the system and makes clutter inevitable.
Step 6: Set a Simple Archive Rhythm
Every two to four weeks, review the finished works. Remove what you’re ready to part with, snap a quick photo for a digital album, and put the rest in the display or storage. A little routine stops sentiment from turning into chaos and makes kids feel their work matters.
Step 7: Involve Kids in the System
Explain the storage plan and let kids decide where to place new art. A rotating gallery gives them ownership, and a few clear rules keep the system honest. If you don’t involve them, the plan becomes another grownup chore and loses its staying power.
Key Takeaways
- Choose a single finished-art bin and a small display area to keep things organized.
- Sort scraps as projects end to prevent overwhelming clutter.
- Use a simple scraps file to capture reusable pieces and color groups.
- Rotate displays regularly so art feels special without taking over space.
Final Thoughts
Keeping kids crafts without drowning in paper is mostly about a light, consistent routine and a few friendly storage tricks. I’d start with a single display wall and a labeled scraps folder, then add a rotating gallery as you get comfortable. If you want, you can digitize favorites for a neat keepsake album and save the physical clutter for the most meaningful pieces, save this for your next party prep night.