
How to Send Craft Projects Home Without Them Getting Ruined

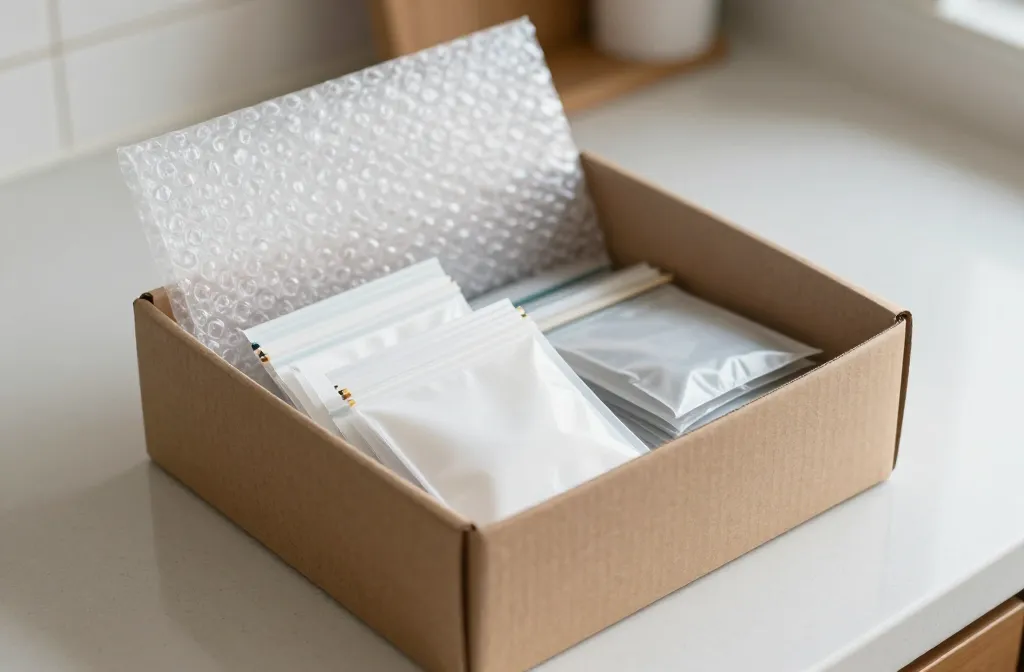
An artful guide that actually helps you keep your creations intact on the journey home. If you’ve ever transported a delicate craft and watched it resemble a modern art sculpture—unintentionally—this one’s for you. Let’s turn your DIY wins into travel-safe masterpieces.
Plan Before You Pack: Create a Preparation Routine
– Do a quick inspection of the project. Is anything loose or fragile? Tighten, secure, or remove risk points.
– Pick the right container. Think sturdy, not cute in theory—unless the cute container doubles as protection.
– Gather a tiny toolkit. Tape, bubble wrap, tissue, a zip-top bag, and a marker to label contents.
Choosing the Right Packaging: What Actually Works
– Use a rigid box for structure. A flimsy tote will betray you mid-ride.
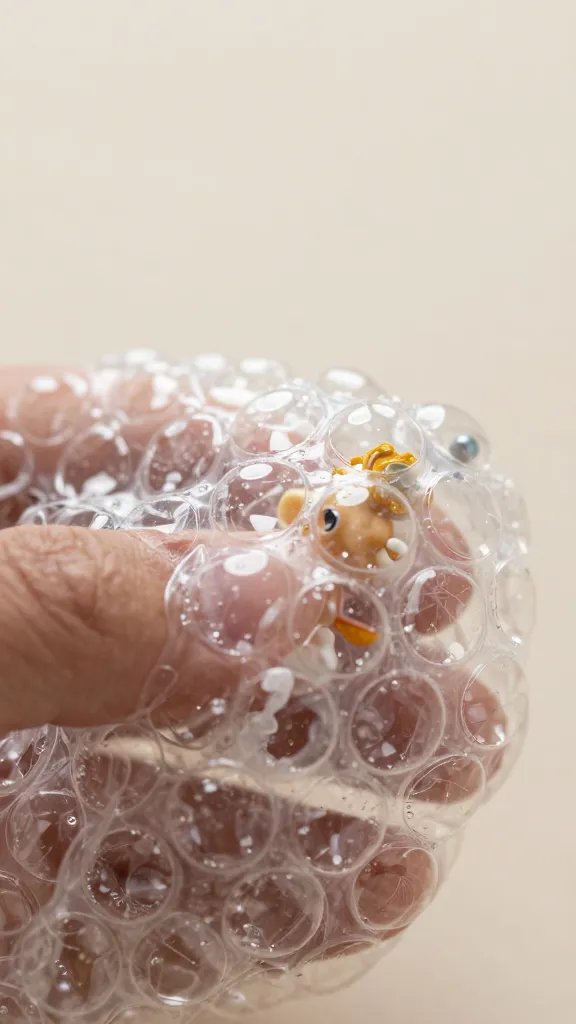
– Bubble wrap is your best friend. Do not skimp—wrap, not just cover.
– Consider a garment bag or poster tube for flat projects. It’s like giving your art a little fairy-tale carriage.
– Fill voids with packing material. No empty spaces means no rattling around.
Securing Delicate Details: Protecting Small Parts
– Attach small pieces with a touch of tape that won’t leave a mess. Double-sided tape can work, but test first.
– Use a pill organizer or tiny zip bags for beads, buttons, and pins. Label them so you don’t have a scavenger hunt later.
– For fabric-based crafts, lay a protective layer between layers to avoid transfer of colors or snagging threads.
Travel Scenarios: Adapting Your Strategy
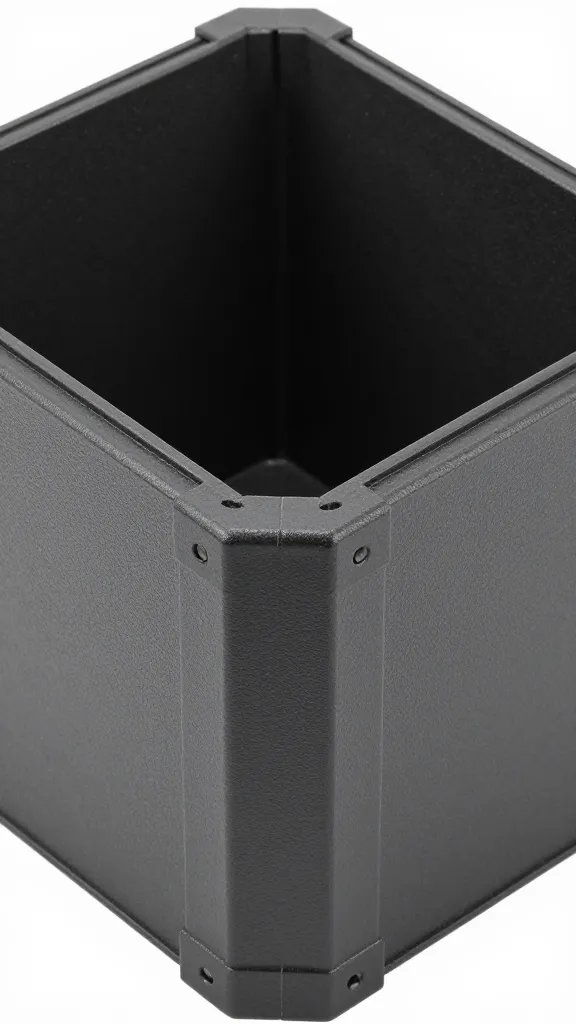
Car Ride Comfort
– Place the project on a flat seat or the trunk floor with a non-slip mat. No rolling around like a loose sock in a dryer.
– Keep it away from heat and direct sun. FYI, heat can warp certain materials and melt adhesives.
Public Transport Tips
– Carry a lightweight, durable container that fits in a backpack. You’ll thank yourself when you don’t have to juggle a fragile pedestal.
– Use a strap or sleeve to prevent shifting. Movement = chaos for delicate finishes.
Shipping So It Survives
– If you must mail it, use a sturdy inner box inside a larger outer box. Cushion generously.
– Include a “This Side Up” label if the orientation matters. People do forget.
Finishing Touches: Seal the Deal Without Fumes
– Choose the right sealant for your project and space. Test on a scrap piece first.
– Allow adequate dry time before packing. Rushing = disaster in disguise.
– Add a simple, informative label. Your future self will thank you when you’re unpacking.
Handling and On-the-Go Tips: Everyday Carry Solutions
– Use a dedicated craft tote with divided compartments. It keeps items from mingling like awkward dating stories.
– Label each section. It saves you time and misplacements later.
– Carry a small spill kit. Glue, tape, wipes—the holy trinity of “I spilled something on my masterpiece and it’s not ruined.”
What Not To Do: Common Packing Pitfalls
– Don’t cram. If you can’t rewrap tightly, you’re packing it wrong.
– Don’t rely on a single layer of protection for fragile pieces. Layer up like an onion.
– Don’t mix heavy items with fragile ones. Weight distribution matters.
Alternative Solutions: If You’re Short on Space or Time
– Flat-pack cleverness. Ship pieces flat, then assemble on arrival. It reduces risk and often saves space.
– Digital references. Take high-quality photos or scans before you travel—just in case.
– Local pickup options. If a friend or studio is nearby, consider dropping off for a quick refresh.
Subsection: Budget-Friendly Protection Hacks
– Reuse materials smartly. Old bubble wrap and cardboard can still save your day.
– Dollar-store finds can be surprisingly sturdy. Look for padding and boxes with good weight.
Aftercare: What to Do When You Get Home
– Inspect immediately. Check for crushed edges, bent components, or loose parts.
– Unpack gently and allow components to acclimate if needed. Don’t force a flat piece into a curved space.
– Address any touch-ups promptly. A quick fix today saves a bigger project repair later.
FAQ
Is bubble wrap always best for protecting crafts?
Bubble wrap is great for cushioning, but it’s not a one-size-fits-all. Use it in combination with rigid containers and void-filling materials. For some delicate finishes, tissue paper or foam can be gentler on the surface. FYI, test a small area first to ensure no residue or scratches appear.
How do I transport a large, delicate canvas without damage?
Use a sturdy, tall box with corner protectors and ample padding around the edges. Keep the canvas upright and avoid stacking heavy items on top. If possible, lay the canvas between layers of foam or bubble wrap to cushion against any contact.
What’s the best way to label and track multiple crafts?
Label each container with the project name, delicate parts, and handling notes. A quick inventory sheet or photo list helps you confirm everything arrives intact and in place. Quick tip: keep a spare tape measure handy for quick checks on sizes after transport.
Can I ship fragile projects in a regular mailer?
Usually no. Regular mailers aren’t designed for fragile items. Use a rigid outer box plus an inner packaging strategy to minimize risk. If you’re unsure, ask the shipper about their recommended packaging guidelines.
How can I save space without sacrificing protection?
Flat-pack where possible, and use multi-purpose containers. Reusable totes with compartments can hold tools and materials without bending or crushing your artwork. FYI, compact does not have to mean careless—smart packing saves both space and art.
Conclusion
Transporting crafty masterpieces doesn’t have to feel like a high-stakes mission. With the right planning, packaging, and a dash of DIY grit, you can send your projects home intact and ready to show off. Start with solid containment, tailor it to your project, and always assume you’ll need a little extra padding. You’ve got this—your future unpacked self will thank you.