
How to Plan a Term of Craft Lessons in One Afternoon

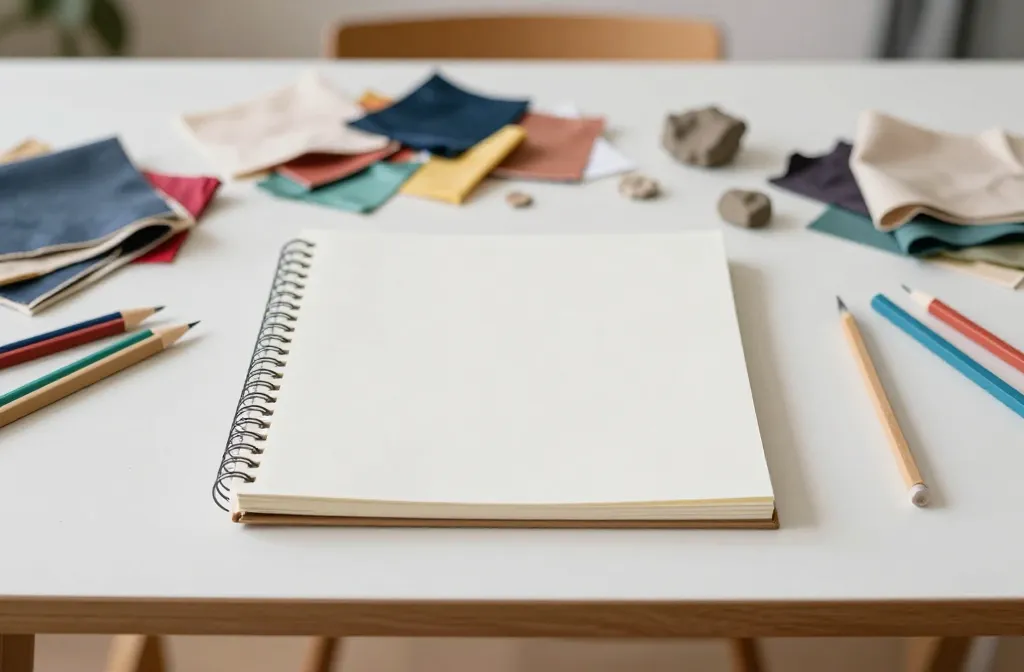
An afternoon doesn’t have to feel like chaos when you’re teaching crafts. You can map out a delightful, cohesive term in a single swoop and still leave room for creativity. Let’s break it down so you’ll almost laugh at how easy it is.
Why This Quick Planning Session Actually Works
You’re not trying to memorize a syllabus for a PhD program. You’re setting up a series of fun, beginner-friendly projects that build skills. The trick? Start with the end in mind and work backward. FYI, a clear arc keeps kids engaged and parents impressed.
- Define a lightweight learning arc: intro, practice, reflection.
- Balance creativity with manageable goals: no one wants a project that lasts a semester and a half.
- Leave room for customization: you’ll thank yourself when kids add personal flair.
Step 1: Decide the Term Theme and Skill Targets
Pick a broad theme that feels exciting but is easy to execute. Think “Textile Collage,” “Starter Sculpture,” or “Recycled Art Remix.” Then translate that into 6–8 skill targets so you can group lessons around core abilities.
How to choose a theme quickly
- Scan your supply closet for obvious anchors (fabric scraps, clay, pipe cleaners).
- Ask: What should kids be able to do by the end of the term?
- Pick two to three project ideas that clearly connect to the skill targets.
Step 2: Draft a 6–8 Lesson Skeleton

Sketch a simple sequence: intro/demo, hands-on practice, tweak and reflect. Treat each lesson like a mini-story with a beginning (hook), middle (work time), and end (share or showcase).
A clean, quick template you can copy
- Lesson 1: Spark curiosity and introduce the materials.
- Lesson 2: Teach a foundational technique.
- Lesson 3: Apply the technique in a guided project.
- Lesson 4–5: Independent practice with mini-challenges.
- Lesson 6: Create a guided final piece with your chosen theme.
- Lesson 7–8: Reflection, cleanup, and showcasing their work.
Step 3: Map Materials, Time, and Classroom Flow
Time management matters more than you think. Allocate a predictable rhythm: setup, warm-up, main activity, detour if needed, cleanup, and showtime.
Materials planning quick-win
- Inventory what you actually have and list a backup option for every item.
- Group supplies by station to minimize setup chaos.
- Label everything with quick-use instructions to cut down on questions.
Step 4: Build Simple Assessment and Showcasing Moments
Assessment doesn’t have to feel heavy. Use brief, friendly checkpoints and a final showcase that doubles as celebration.
Low-pressure checks that work
- Two-minute peer feedback at the end of each class.
- One sentence rubric: “Did the piece use at least one new technique?”
- Photo wall: take a quick pic and put it in a shared album so families can celebrate.
Step 5: Prepare for Variability Without Panicking
You’ll have barky toddlers one week and laser-focused older kids the next. Build in flexible prompts and optional extensions to accommodate energy and interest swings.
Dealing with the inevitable curveballs
- Have a “pause and pivot” plan: switch to a quicker version of the project.
- Offer an optional extension that uses a different medium but same skill.
- Keep a stash of “challenge folders” with extra tasks for fast finishers.
Step 6: Create a Bite-Sized Schedule You Can Stick To
One afternoon of heavy planning can translate into a rock-solid term plan. Map your 8 lessons over a loose calendar with built-in buffer days for field trips, guest artists, or weather delays.
Sample one-afternoon planning burst
- 30 minutes: Theme and targets finalized.
- 40 minutes: Lesson skeletons and materials lists drafted.
- 30 minutes: Time blocks, setup stations, and clean-up flow.
- 20 minutes: Assessment ideas and showcase plan.
Step 7: Gather Your Tools for Smooth Delivery
Preparation saves you from “uh oh, I forgot the glue sticks” moments. Gather, label, and test everything before the first session.
Checklist for a frictionless run
- Essential supplies ready at each station.
- Clear, kid-friendly instructions at each station.
- Backup plan for technology (if you’re using it) and a non-tech alternative.
Putting It All Together: A Live Example
Let’s pretend you’re planning a term called “Textile Tales: Storytelling Through Fabric.” Your skeleton might look like this:
- Lesson 1: Collage kickoff with fabric swatches and simple composition.
- Lesson 2: Color and texture mixing using fabric paint and markers.
- Lesson 3: Stitching basics via blanket stitches on fabric scraps.
- Lesson 4: Narrative panel creation—students plan a mini-story in fabric blocks.
- Lesson 5: Assembly and composition polish with layering techniques.
- Lesson 6: Final piece and class gallery setup.
- Lesson 7–8: Reflection, sharing, and celebration.
FAQ
How long should each class session be?
Each session should stay within 45–60 minutes for younger kids and 60–90 minutes for older groups. Keep transitions tight and activities varied to maintain energy.
What if students finish early?
Offer an optional extension that dives deeper into a technique or introduces a related mini-project. Fast finishers should feel like they’re choosing their own adventure, not escaping chores.
How do I handle messy materials?
Set up clearly labeled stations with aprons or old shirts. Have a dedicated cleanup song or ritual to make tidying part of the fun. A little chaos is part of craft; just keep it manageable.
Can I adjust the plan on the fly?
Yes. The beauty of a one-afternoon plan is its flexibility. If a project excites kids more than expected, lean in and extend that thread. If a station bombs, switch gears quickly or pivot to a simpler version.
How do I involve parents without turning it into a recital?
Create short, two-minute family sharing moments at the end of a couple of sessions. Allow students to explain their process and favorite part. It’s about celebration, not performance anxiety.
Conclusion
You don’t need a month-long planning sprint to run a term of craft lessons that feels cohesive and exciting. With a clear end-game, a solid skeleton, and flexible bones, you can map out 6–8 lessons in one afternoon and still leave room for magic. So grab a cuppa, set a timer, and plan like a pro who loves to improvise. You’ve got this, and your students will thank you with more awesome projects than you can brag about.