
How to Make Cardboard Look Like Wood Metal or Stone

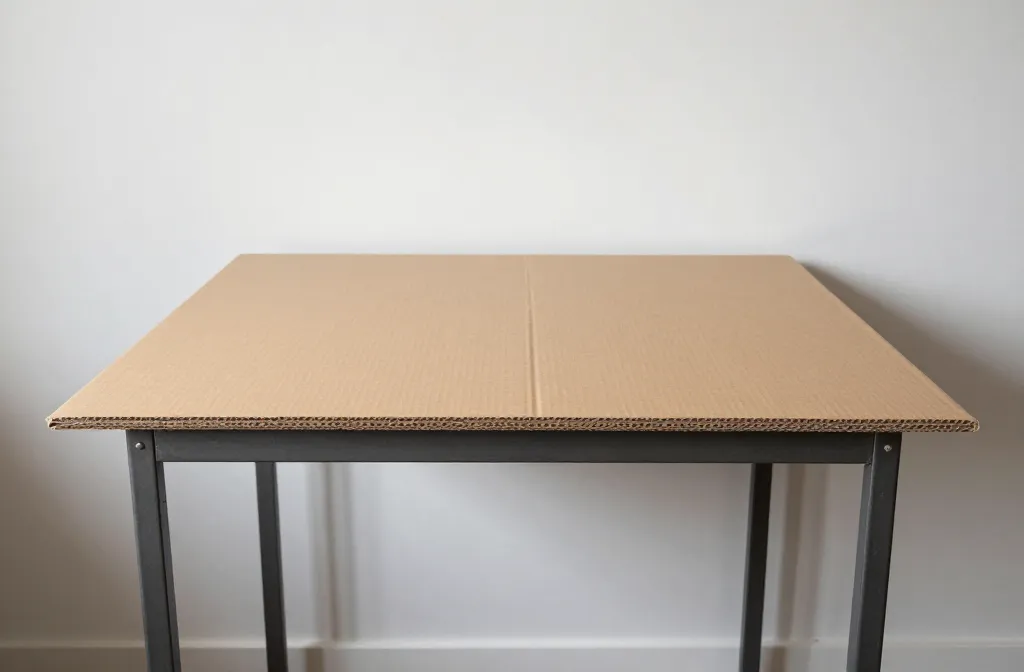
Intro: You’ve got a stack of cardboard begging for a glow-up, and you’re wondering if it’s possible to fool anyone into thinking it’s the real deal. Spoiler: yes, it is. With a few simple tricks, you can transform flat, boring cardboard into convincing wood, metal, or stone. Let’s dive in and make your DIY dreams tangible (without buying a single plank of real wood).
Why Cardboard? The Secret Weapon of DIYers
Cardboard is cheap, light, and endlessly forgiving. It’s also wildly versatile when you treat it right. Do you need a faux wood accent for a kids’ playroom, or a metal panel for a sci-fi prop? Cardboard can handle it. FYI, you don’t need fancy tools to get impressive results—just patience and a bit of creative shading.
Choosing Your Faux Finish: Wood, Metal, or Stone
Before you pick up the paint, think about the final look you want and the lighting in the room. Wood grain under bright light? Metals with a little metallic sheen? A stone surface that reads as rugged and textured? Decide the vibe first, then tailor your technique.
Wood Look: Grain, Knots, and Warmth
– Pick a base color: light tan or warm beige works as a good wood foundation.
– Create grain with a dry brush: use a nearly dry brush to drag long, curving lines. Vary pressure for authentic texture.
– Add knots with circular strokes: a few irregular circles in a darker brown sell the look.
– Finish with a matte seal: you want a soft, natural finish, not plastic shine.
Metal Look: Shine, Texture, and Depth
– Start with a metallic base: silver or aluminum spray gives you a believable metal core.
– Weather with washes: dilute black or dark gray and brush over to create depth and scratches.
– Highlight edges: a touch of bright silver on edges makes it pop.
– Seal with a satin or gloss topcoat to mimic real metal reflections.
Stone Look: Texture, Depth, and Imperfection
– Layer cool tones: gray, slate, and a touch of blue-gray create believable stone.
– Build texture with sponging: dab a sponge to add specks and micro-roughness.
– Imperfections sell it: tiny cracks or chips painted with darker grout tones.
– Protect with a matte sealant to keep the stone vibe intact.
Step-by-Step: How to Prep Cardboard for Any Finish

– Flatten and smooth: crush-free surfaces matter—glue layers or use gentle heat to flatten waves.
– Prime for adhesion: a light coat of primer helps paint stick and keeps colors true.
– Sand lightly: a quick once-over with fine sandpaper removes rough edges.
– Clean surface: wipe away dust so the paint doesn’t float on a dusty layer.
Adhesives and Reinforcements
– Use hot glue sparingly: it’s great for adding structure, not finishing surfaces.
– Add edge protection: cardboard edges fray, so wrap with masking tape or lightweight plywood accents.
– Consider a backing board: if the piece is large, a thin foam board behind the cardboard adds strength.
Painting Techniques That Sell the Look
– Start light, then build color: base coat first, then layers of color to add depth.
– Dry brush for texture: barely load your brush to catch tiny highlights.
– Washes and glazes: a watered-down pigment can settle into grooves, giving them life.
– Edge treatment: emphasize edges with a slightly darker tone to imply depth.
Layering Method for Realism
– Base coat: even, smooth color across the surface.
– Second layer: a more pigmented color to hint at grain, brushed along the direction you want the grain to run.
– Accent layers: add highlights and shadows in targeted spots to mimic light behavior.
– Final seal: a clear coat to preserve your work.
Hardware and Details: Small Touches That Make a Big Difference
– Hardware: metal-looking screws or hinges can boost authenticity. Use faux screws or paint-on nubs for quick realism.
– Velvet or wax: a tiny dab of wax on raised edges can imitate a patina or oil sheen.
– Weathering: tiny stains, scuffs, and dirt in a controlled way add character.
– Lighting: consider how the piece will be lit; direction is everything for fake wood, metal, or stone.
DIY Faux Wood Grains: Quick Tricks
– Pencil sketch guide: draw light wavy lines as grain guides before painting.
– Grain follow-through: always run grain lines with the flow of the object’s orientation.
– Shadowing: shade the edges of each grain line to give depth.
Finishing Touches: Seals, Sheens, and Longevity

– Matte sealant for wood: keeps it warm and natural.
– Satin or light gloss for metal: mimics reflective surfaces without looking cheap.
– Matte rock seal for stone: preserves the rugged texture and reduces glare.
– DIY maintenance: wipe with a damp cloth; avoid harsh cleaners that could strip paint.
Common Pitfalls and How to Avoid Them
– Too perfect: cardboard’s charm is in its imperfections. Embrace slight irregularities.
– Overloading with paint: heavy coats won’t look realistic; build color gradually.
– Not sealing: paint fades and chips without protection.
– Ignoring lighting: test how it looks under your room’s light before you declare victory.
Creative Project Ideas to Try Right Now
– Faux wood wall paneling for a rental space
– Metal arcade-style prop for a photo booth
– Stone-look fireplace surround for a mock-up
– Wooden-looking crate storage for a rustic vibe
– Cardboard furniture props for theater or cosplay
Project Safety and Handling
– Work in a well-ventilated area when spraying finishes.
– Wear a mask if you’re sanding or spraying fine particles.
– Let dry fully between coats to prevent smudges.
FAQ
Can cardboard really look like real wood, metal, or stone?
Yes. With the right base, texture, and finish, cardboard can convincingly resemble wood, metal, or stone from a normal viewing distance. The key is layering, shading, and sealing to mimic light behavior and material imperfections.
What supplies do I absolutely need to start?
– Cardboard pieces of various sizes
– Primer and paints (acrylics work well)
– Brushes, sponges, and a dry brush for texture
– Sealer (matte, satin, or gloss depending on your look)
– Optional: metallic paints, washes, and wax for detailing
How long does a project like this take?
Most small projects take a few hours spread over a day to allow for drying between coats. Larger pieces can stretch into a weekend, especially if you’re aiming for a high level of detail.
Will this hold up to regular use or outdoor exposure?
Cardboard isn’t built for harsh weather. Indoors, a good sealant makes it durable enough for light handling. For outdoor or high-traffic areas, consider reinforcing with a lightweight backing or choosing a more weather-resistant substrate.
Which finish looks the most realistic?
It depends on your lighting and the look you want. Matte seals tend to read more like natural wood or stone, while a satin or gloss can sell a metal look. A well-executed glaze or wash often tips the scale toward realism for any surface.
Conclusion: Cardboard, Your Endless Creative Canvas
Cardboard isn’t just trash waiting to be tossed; it’s a versatile DIY canvas begging for texture, color, and personality. With some careful prep, strategic painting, and smart sealing, you can craft convincing wood, metal, or stone looks that surprise and delight. So grab your brushes, pick a finish, and turn that cardboard into something you’re proud to show off. If you’re feeling bold, share your before-and-after shots—the internet loves a good cardboard glow-up.