
What Supplies You Actually Need for Decorative Crafting and What to Skip

Deco projects can be overwhelming. You walk into a craft store and suddenly your cart looks like a small garden gnome village. Let’s cut through the clutter and pin down what truly matters for a fun, productive crafting session.
What’s Really Needed: The Core Toolkit
When you’re just starting out, you don’t need an entire aisle of supplies. Start with the basics and expand as your projects demand.
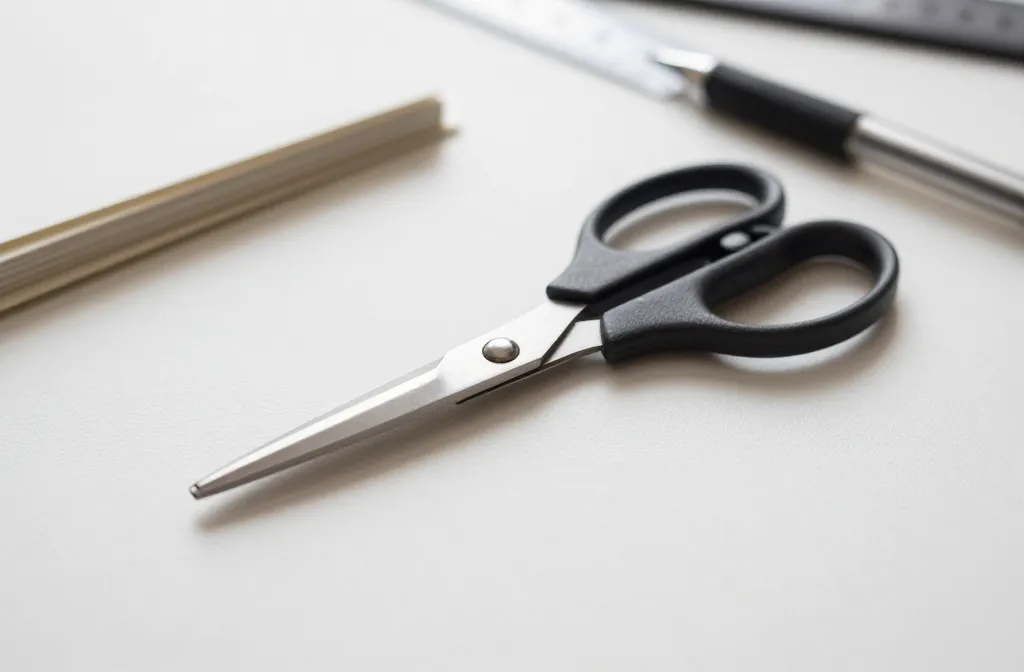
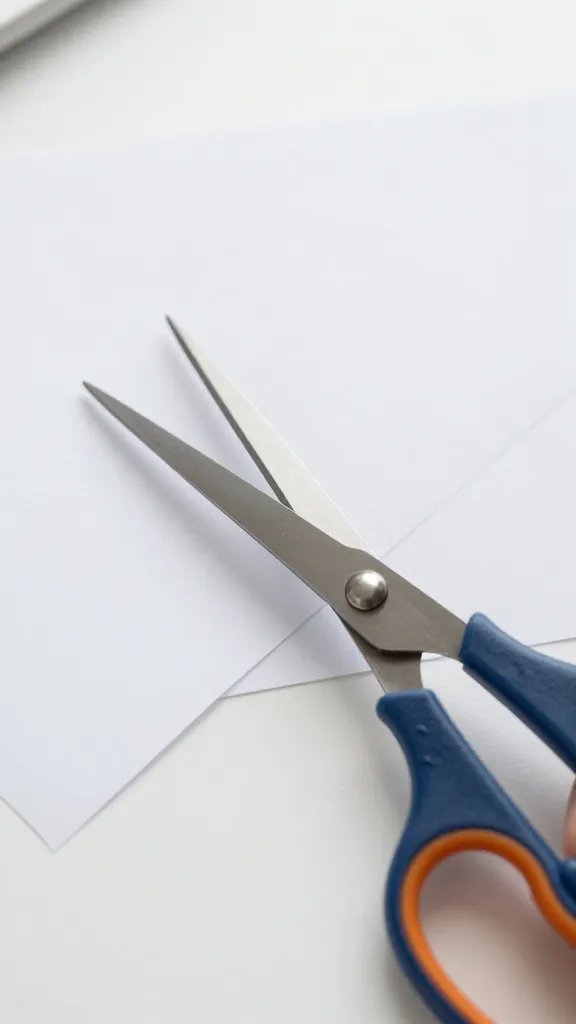
- Quality scissors that actually cut cleanly and don’t dull in a week.
- Adhesives that fit most surfaces you’ll tackle—glue sticks for paper, craft glue for wood, and a strong multipurpose option for mixed media.
- Cutting tools (rotary cutter or craft knife) with a sharp blade and a steady hand.
- Measuring tools like a clear ruler or tape measure to keep lines straight.
- Pens and markers in a few colors for outlining, labeling, and doodling.
FYI, you’ll thank yourself later for investing in decent basics. Cheap tools lead to jagged edges, messy glue, and frustration that kills the vibe.
Surfaces and Bases: What You Actually Need
A lot of projects crumble because the base isn’t right. Pick the right surface, and you’ll save time, mess, and mood.
- Cardstock and lightweight cardstock for templates, layering, and quick mockups.
- Primer or gesso for surfaces that soak up paint or ink—trust me, it’s a game changer.
- Protective mats or a dedicated craft tray to keep your workspace clean.
- Wooden shapes, canvas panels, or sturdy ceramic tiles as dependable bases for bigger projects.
Overspending on fancy bases can backfire when you’re still figuring out your style. Start with versatile, inexpensive options and upgrade as you go.
Color, Texture, and Finish: The Right Palette Matters
Color can make or break a project. Don’t drown in options; curate a small, cohesive set.
- Acrylic paints in primary colors plus a couple of neutrals for mixing.
- Paint brushes with a few shapes and sizes—flat for broad strokes, round for detail.
- Mod Podge or similar sealants to protect and finish pieces.
- Texture mediums (glitter, paste, sand) in moderation to avoid overdoing it.
Pro tip: keep a color wheel handy or use a simple palette with 3 complementary colors plus black and white. It keeps everything cohesive and less chaotic.
What to Skip: Common Pitfalls That Waste Time and Money
Not every trend is worth chasing. Here are things that usually end up as clutter or disappointment.
- Excessive specialty tools that you’ll rarely use—think every unique punch, tweezer set, or gadget you saw in a YouTube video.
- Glitter chaos in every project—glitter sticks around forever. If you’re not into a glittery finish, skip it or use minimal accents.
- Overpriced brand-name supplies with the exact same function as budget options.
- Excess packaging that creates waste and storage headaches. Reuse what you can and recycle the rest.
IMO, less is more at the start. Focus on quality basics, then add one or two interesting textures when you’re certain you’ll use them often.
Organizing Like a Pro: Simple Systems That Work
A cluttered desk kills momentum. A sane setup keeps you in the flow.
Quick setup ideas
- Use shallow bins for tools and a dedicated cup or jar for frequently used items.
- Label storage with short notes—no need for fancy labels unless you love labeling.
- Keep a “project bin” for in-progress crafts with all needed supplies in reach.
Consistency matters more than fancy storage. If you can find things without a scavenger hunt, you’ll actually finish projects.
Project Planning: From Idea to Finished Piece
A plan keeps your brain from exploding mid-project.
- Sketch or print a simple template before you start. It saves mistakes and material waste.
- List the supplies before you sit down so you’re not interrupted by a missing tape wheel or glue cap.
- Test a small sample on a scrap piece of the base material to see how everything behaves together.
FYI, testing is not cheating. It’s smart crafting. It saves time, money, and your sanity.
Specialized Supplies: When They Make Sense
Certain crafts demand specific tools, but only when you actually do those projects often.
- Heat embossing tools for metallic accents on paper or fabric—fun, but only if you’re into stamping.
- Wire and jewelry findings if you’re into small sculptural pieces or charms.
- Fabric paints and sewing supplies if your decorative craft veers into textiles.
If you rarely touch these, skip them. Your wallet and workspace will thank you.
Maintenance: Keeping Your Supplies Fresh
Dull blades, dried glue, and sticky containers slow you down.
- Store adhesives upright to prevent leakage and dry-out.
- Wipe brush tips clean after use and dry thoroughly before storage.
- Replace or sharpen blades regularly to maintain clean cuts.
Regular maintenance keeps your craft flow smooth and your pieces looking neat. Trust me on this one.
FAQ
Do I need to buy all the basics at once?
Nope. Start with a small, curated kit based on the types of projects you enjoy. You can expand gradually as you discover what actually gets used and what doesn’t.
What’s a good starting color palette for most projects?
A basic trio of primary colors (red, blue, yellow) plus black, white, and a neutral works well. You can mix to create many hues, so you don’t need dozens of colors at the start.
How do I choose between brushes and sponges?
Brushes are versatile for precise lines and painting. Sponges work great for texture and backgrounds. Start with a few brushes in different sizes and one small sponge.
Are heat tools necessary for decorative crafts?
Not for every project. Heat tools are fun for embossing and certain finishes, but you’ll be just as happy with ink, stamps, and paint if you don’t plan to do a lot of metal or heat-pressed work.
Is it worth investing in expensive tools?
Often, no—at least initially. Quality matters, but you can get durable results with budget-friendly options. Upgrade when a tool proves indispensable to your favorite projects.
Conclusion
Decorative crafting should feel like a creative joy, not a head-spinning shopping spree. Stick with a lean, reliable core set of supplies, layer in texture and color thoughtfully, and avoid the trap of chasing every new gadget. As you gain confidence, you’ll naturally discover which tools truly elevate your unique style. So go forth—craft boldly, but with a pocket that doesn’t scream “I bought everything in the store.” Happy creating!