
How to Store Craft Supplies in a Small Space

An organized craft corner can feel like therapy, even in a shoebox-sized apartment. You don’t need a giant studio to keep everything neat and accessible. Ready to turn chaos into a cozy, creative nook?
Assess Your Space and Priorities
Take stock of what you actually use. Do you reach for washi tape more than fondant tools? Identify the five most-used items and build around them. FYI, decluttering is half the battle—prioritize function over fancy. Ask yourself: What creates the biggest roadblocks to access right now?
Make a Quick Inventory
- List tools by category: cutting, gluing, coloring, organizing.
- Note sizes that dominate your stash (think: jars, containers, and drawers).
- Mark items you rarely touch for donation or reuse elsewhere.
Smart Storage Furniture That Multiplies Small Spaces
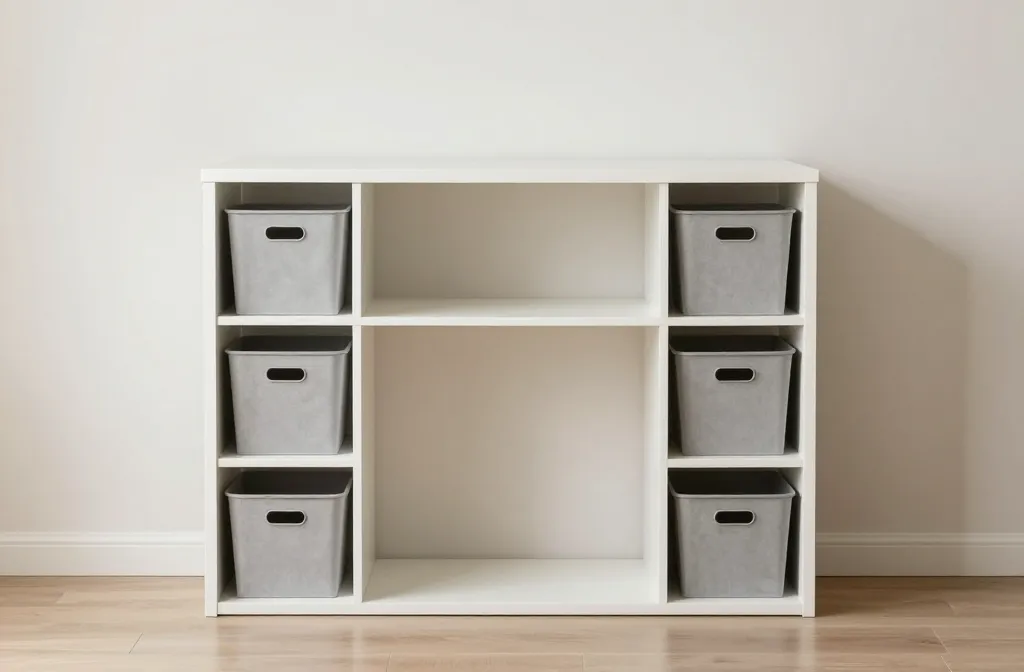
Furniture can be your best friend or your worst enemy. Look for pieces that serve multiple purposes and keep the footprint minimal. A bed with drawers, a tall bookcase, or a rolling cart can become a command center for crafts. Maximize vertical space and keep frequently used items within arm’s reach.
Rolling Carts and Modular Totes
- Three-tier rolling carts = instant mobile workstation.
- Stackable bins = expandable storage as your stash grows.
- Label the heck out of everything for quick grabs.
Creative Zoning: Zones That Keep You Sane
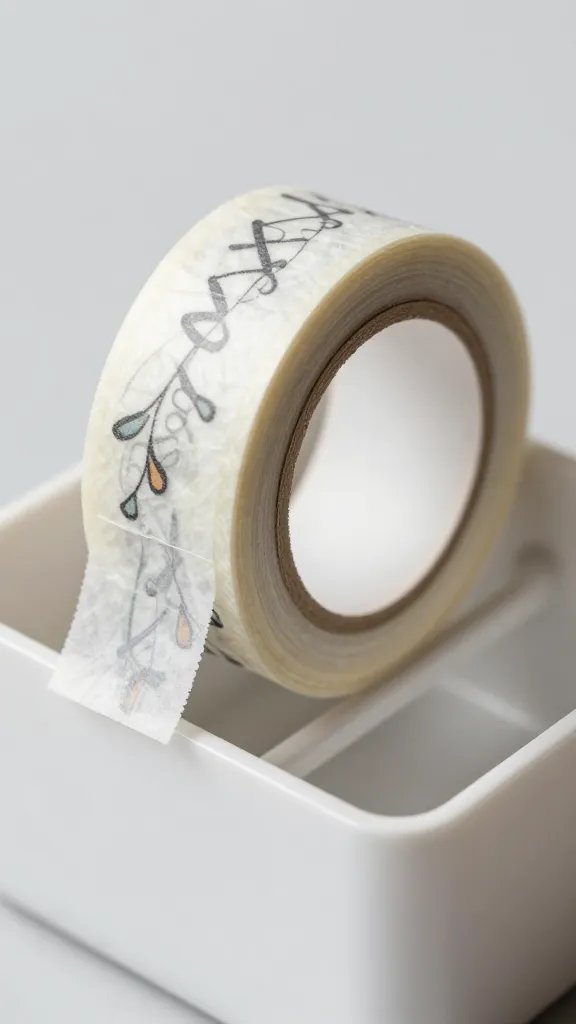
Break the space into tiny zones that correspond to your crafting flow. For example, a sketch zone, a cutting zone, and a finishing zone. When things have a home, you actually finish projects instead of starting new ones and stacking debris.
Labeling Systems that Actually Work
- Clear acrylic bins with mounted labels for visibility.
- Color-coded lids or tags to separate different media (markers, paints, fibers).
- Keep a small whiteboard or chalkboard for quick lists and reminders.
Containers That Seal, Stack, and Smile at You
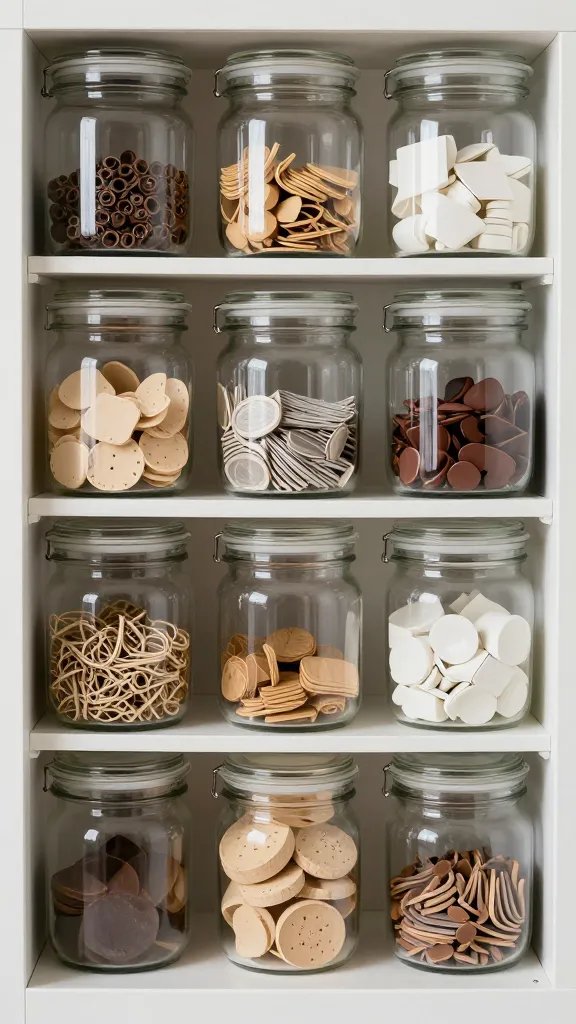
Containers are the unsung heroes. Use airtight options for liquids and powders, and transparent containers for quick visibility. When you can actually see what you have, you stop buying doubles. Choose sizes that stack neatly on shelves or inside cabinets.
From Jars to Jigsaws: Pick the Right Styles
- Clear jars with airtight lids keep spices-like scents and pigments fresh.
- Stackable plastic bins save space without tipping over.
- Small yet sturdy drawers fit on desks and inside closets.
Practical Organization: Daily Habits That Keep It Tidy
Organization isn’t a one-and-done deal. It’s a habit. Spend a few minutes at the end of each session tidying up, returning items to their homes, and re-sizing containers if needed. IMO, consistency beats grand revamps every time.
Fast-Pass Declutter Routine
- Return tools to their zone immediately after use.
- Wipe down surfaces to prevent pigment buildup.
- Rotate seasonal supplies to the front so you actually use them.
Labeling Like a Pro (Without Losing Your Mind)
Labels save you hours of rummaging. Use big, bold fonts for shelf names and smaller text for contents. If you’re feeling fancy, invest in a label maker or printable labels. If you can’t read your own handwriting, you’re not alone—labels save relationships with your future self.
Label Placement Tricks
- Position labels at eye level for the most-used items.
- Group by project: sewing, papercraft, painting, etc.
- Update labels when you reorder containers or change setups.
Dealing with Seasonal and Special-Use Supplies
Not all supplies stay in rotation year-round. Create a “seasonal vault” or a dedicated box for items you only use during holidays or special projects. This keeps your main space uncluttered while still letting you pull the goods when inspiration strikes.
Rotation System for Seasonal Goods
- Store off-season items in a labeled tote or bin.
- Keep a quick-access shelf for current projects.
- Review before buying: do you actually need it, or is it impulse sparkles?
Tech and Tools: Keeping Digital and Physical in Sync
Don’t forget about the non-physical side of crafting—design files, color palettes, and inspiration boards. A simple digital catalog can complement physical storage. Take photos of bulky setups for quick replication later, and keep a running list of tools you’d love to upgrade.
Digital Inventory Hacks
- Photograph each container’s contents and label files by category.
- Maintain a quick notes doc with supplies you’re running low on.
- Use a simple spreadsheet to track quantities and reorder points.
FAQs
How can I maximize tiny corners for crafts?
Push furniture against walls, use corner shelves, and consider wall-mounted pegboards. Hooks, baskets, and magnetic strips turn empty nooks into functional spaces. FYI, magnet strips are surprisingly magical for scissors and metal rulers.
What if I don’t have a dedicated craft room?
No problem. Convert a closet, under-bed space, or a slim hallway cabinet into a craft station. Use a curtain or accordion doors to hide the mess when guests come over. IMO, presentation is half the battle—when it looks organized, you’ll feel more inclined to create.
How do I choose containers on a budget?
Repurpose what you already own, like empty jars or snack boxes. Look for clear acrylic or labeled stacking bins at discount stores. The key is consistency—don’t mix bulky jars with tiny drawers, or you’ll spend more time searching than crafting.
What’s the fastest way to reset a cluttered space?
Follow a quick three-step sprint: sort into keep, donate, and trash; wipe surfaces; and reassemble your zones. Do it in one focused session, and you’ll feel an immediate relief. You got this, captain of glue sticks!
How often should I reevaluate my setup?
Do a lightweight audit every 1–3 months. If you notice frequent reorganizing, it’s a sign you should adjust zones or container sizes. Adaptability wins in small spaces, so stay flexible and keep tweaking.
Conclusion
A small space doesn’t have to mean a cramped craft life. With smart storage furniture, thoughtful zoning, and containers that actually make sense, you can create a workspace that fuels creativity instead of fighting it. Start with a quick audit, pick a couple of organizing moves you love, and watch your projects flow from idea to finished piece. Happy crafting, and may your drawers always close with a satisfying click.