
17 Decorative Craft Ideas for a Gallery Wall on a Budget

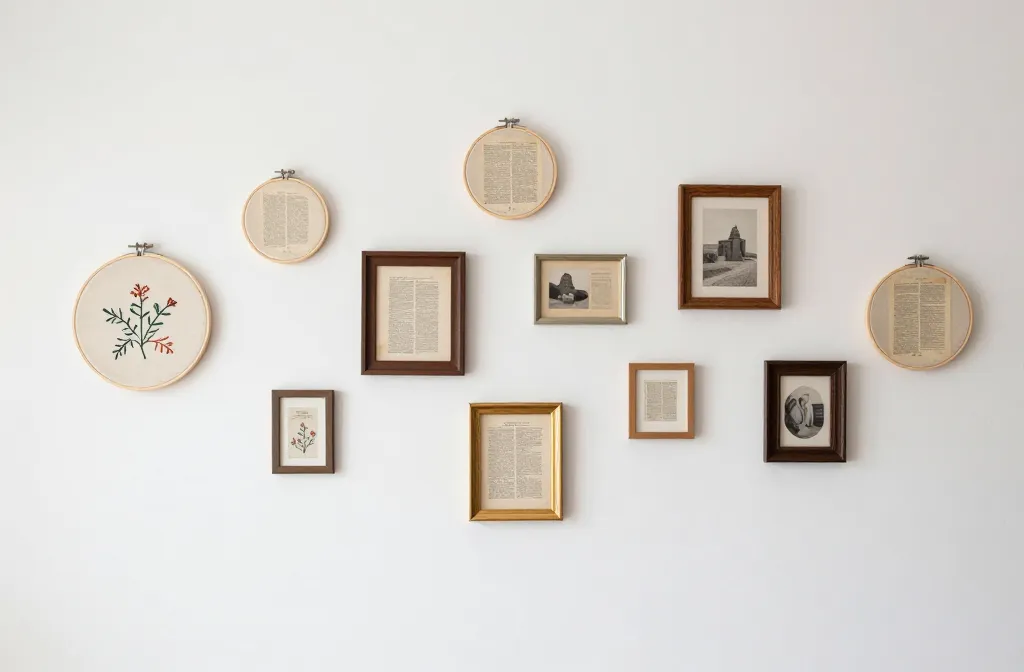
Gallery walls look expensive in magazines, but pulling one together without dropping serious cash feels impossible. You want something better than blank walls, but frames add up fast and most tutorials assume you already own a pile of matching art.
These seventeen decorative craft ideas for a gallery wall on a budget use supplies from the dollar store, printables you already have, and tricks that make mismatched pieces look intentional. Most take an hour or less, and nothing here requires special skills or a trip to the frame shop.
1. Frame Fabric Scraps in Embroidery Hoops
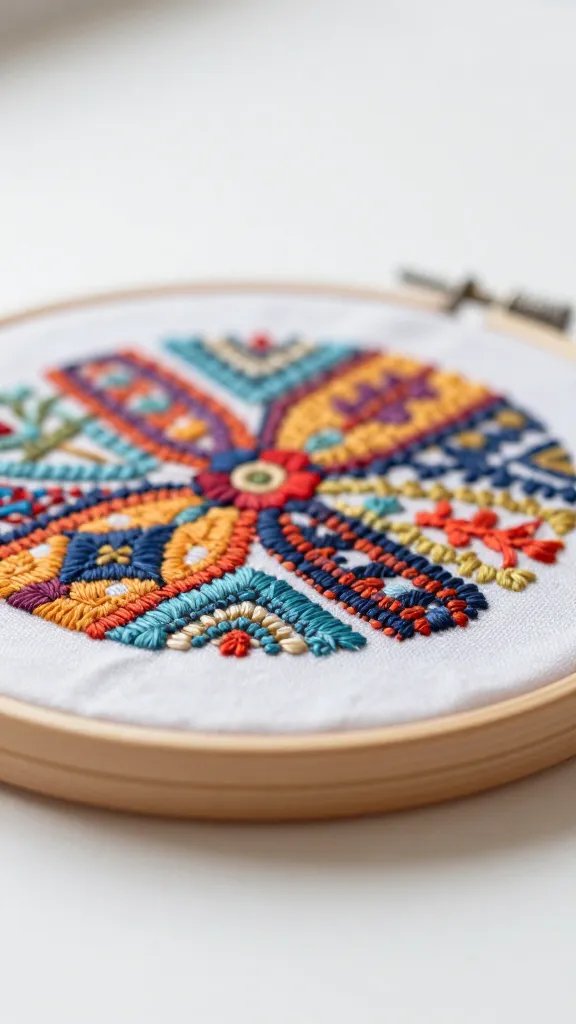
Fabric sits in drawers doing nothing. Embroidery hoops cost about a dollar each and turn small scraps into finished art in under ten minutes per piece.
Stretch the fabric tight across the hoop, trim the back, and hang. No ironing, no glue, no glass. The wood rings add warmth that metal frames do not, and you can swap fabrics whenever you want a new look.
Color note: Pick three patterns that share one color so the hoops feel planned, not random.
2. Cut Pages From Old Books Into a Grid
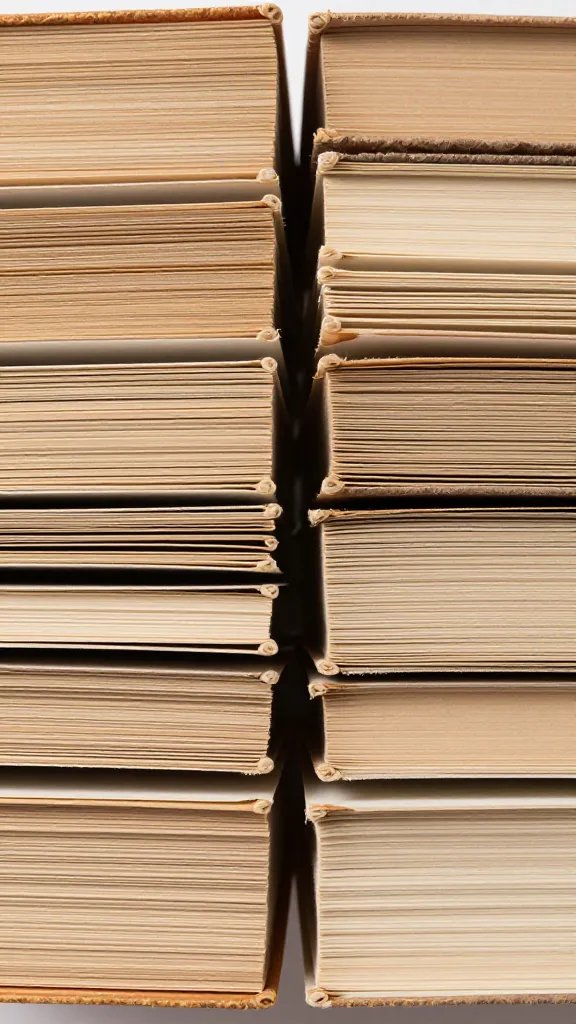
Books with torn covers or water damage still have good pages inside. Pull out illustrations, maps, or text blocks with interesting fonts and arrange them in a tight grid.
- Base: pages with aged edges or vintage illustrations
- Main supply: identical small frames from the dollar store
- Detail: a level and painter’s tape for planning the layout
- Finishing touch: frames hung close together, no more than two inches apart
Thrift swap: Library book sales sell damaged books for fifty cents or less.
3. Layer Paint Sample Cards in Shadow Boxes
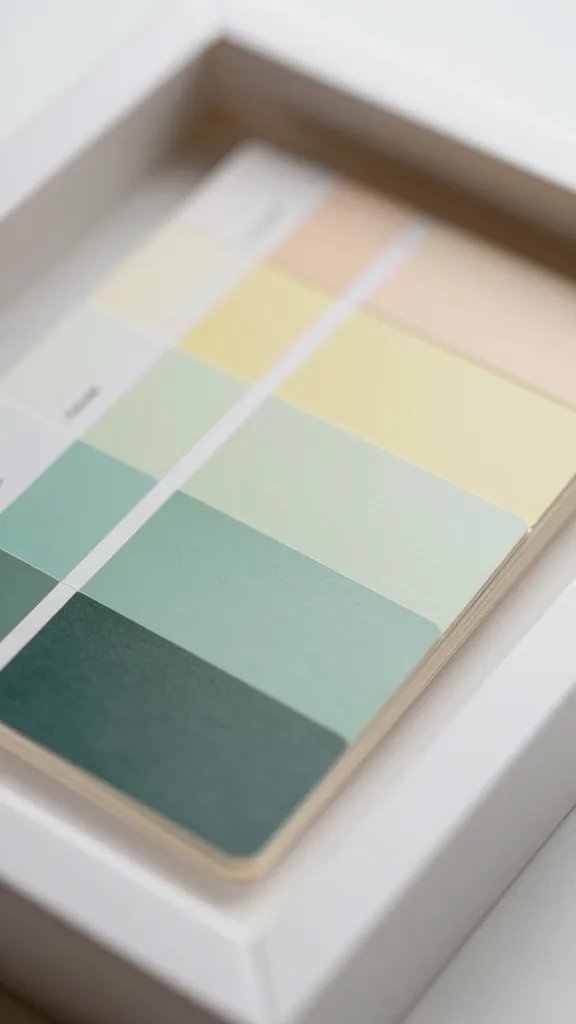
Paint samples are free, and a shadow box makes them look deliberate. Arrange cards in a gradient, a rainbow, or overlapping strips that create depth.
Best for: a small wall section that needs color without competing with the rest of the room.
Hot glue the cards to foam board before placing them in the box so they do not slide. The raised edge of the shadow box hides rough cuts and keeps the whole piece looking clean. Three boxes in different color families grouped together fill more space than you would expect.
4. Print and Frame Your Own Photos in Black and White

Phone photos live on a screen and never make it to the wall. Printing them at home in black and white skips the photo lab and makes mismatched subjects look cohesive.
Why it works:
- Black and white hides different lighting and makes random shots feel like a series
- Printer paper is cheaper than photo paper and looks fine behind glass
- You can test layouts and reprint without guilt when something does not fit
Stick to the same filter or print setting for every image so they match.
5. Hang Clipboards as Rotating Art Holders
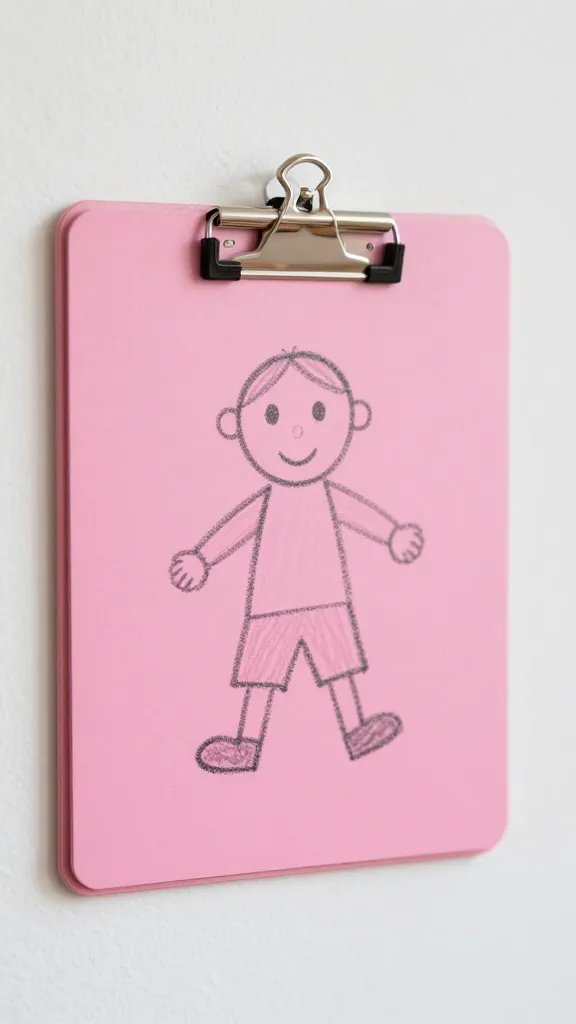
Frames lock you into one piece forever. Clipboards let you swap art whenever you get bored, and kids can update their own section without asking for help.
Spray paint cheap plastic clipboards one solid color, clip in drawings or printables, and hang them in a loose cluster. The metal clip becomes part of the design, and changing the display takes five seconds.
Kid friendly: Let them switch their own artwork so the wall stays fresh without you doing anything.
6. Glue Dried Leaves Between Two Sheets of Glass
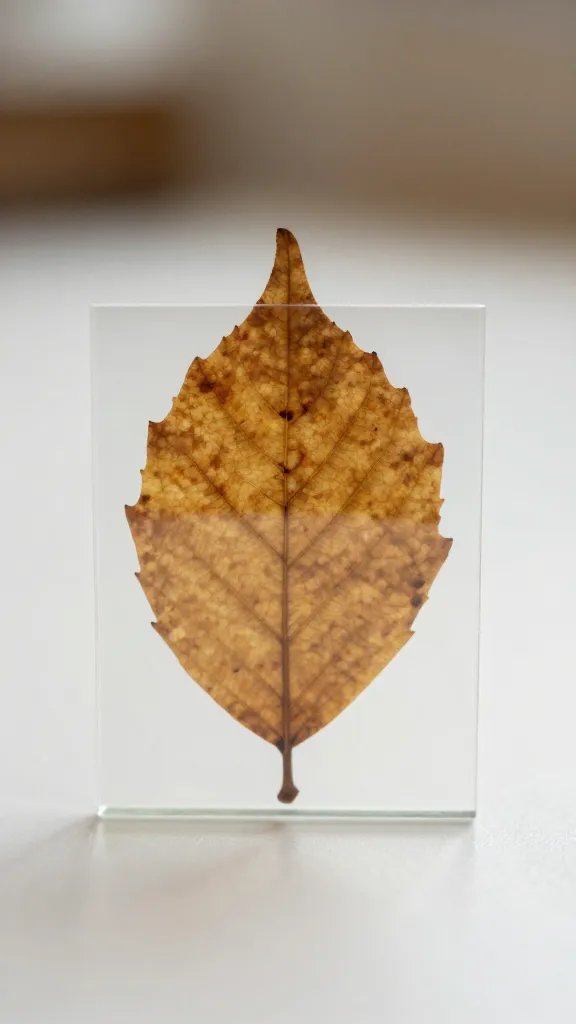
Pressed leaves feel fancy, but you do not need a real press. Sandwich a leaf between two small panes of glass, tape the edges, and hang with picture wire.
The make: Collect leaves that are already flat and dry, not thick or curled.
Glass panes from old frames work, or buy small pieces cut to size at the hardware store for about two dollars each. The see through layers look light and modern, especially when hung in front of a white wall. Three or five pieces in a vertical line fill a narrow wall without crowding it.
7. Arrange Postcards on a Wire Grid Panel
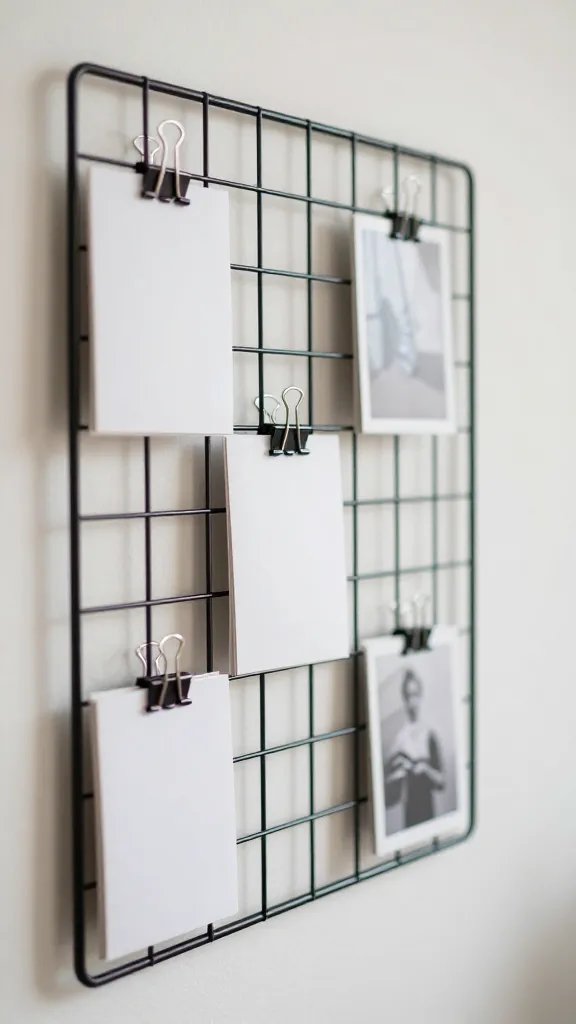
Wire grid panels meant for organizing also hold lightweight art. Clip postcards, greeting cards, or magazine pages to the grid with small binder clips.
The grid itself becomes part of the look, and you can rearrange pieces anytime without new nail holes. Lean the whole panel against the wall or hang it with two hooks at the top. Black grids feel modern, white ones blend in, and gold looks warmer.
Budget swap: Dollar stores sell wire cooling racks that work the same way.
8. Turn Cardboard Into Faux Ceramic Plates
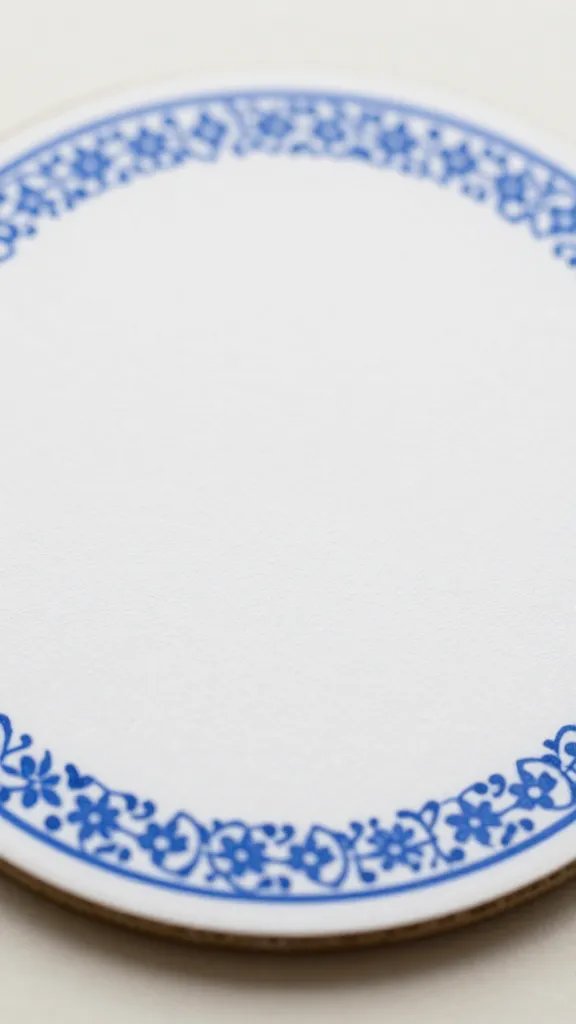
Decorative plates cost too much for something you never use. Cardboard circles painted white with a simple design look like the real thing from three feet away.
- Trace dinner plates onto cardboard and cut clean circles
- Paint both sides white so the brown does not show through
- Add a border or simple pattern in one accent color
- Hang with adhesive plate hangers meant for lightweight pieces
Skill level: Beginner friendly, and wobbly lines add to the handmade charm.
9. Frame Wrapping Paper Squares in Matching Frames
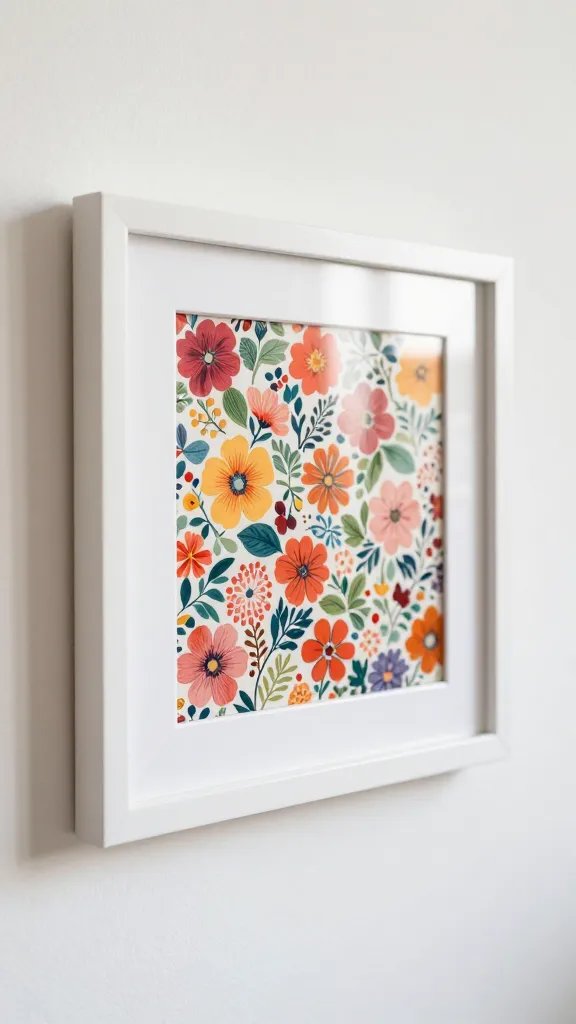
Wrapping paper gives you huge sheets of pattern for three dollars. Cut it into squares, frame them all the same way, and suddenly it is a gallery wall.
Why it works:
- Identical frames make any pattern look intentional
- One roll of paper fills six to eight frames depending on the size
- You can match the wall to a season or holiday and swap the paper later
Tape paper to the cardboard backing so it stays smooth and does not buckle over time.
10. Stitch Simple Shapes Onto Burlap and Frame Them

Burlap costs almost nothing and forgives uneven stitches. Stretch a piece across cardboard, stitch a basic shape like a heart, star, or initial in yarn or embroidery floss, and frame it.
Time needed: About thirty minutes per piece, even if you have never stitched before.
Make it easier: Draw the shape on paper, pin it to the burlap, and stitch through both layers so you have a guide.
The texture adds warmth that flat paper does not, and the handmade look feels cozy instead of unfinished.
11. Cut Scrapbook Paper Into Layered Mountains

Scrapbook paper in blue and gray tones becomes a simple mountain landscape when you layer torn edges. Rip three or four strips with rough peaks, glue them overlapping on a white background, and frame.
The torn edge hides the fact that your cuts are not straight, and the layers create depth without any painting skill. Each piece takes about fifteen minutes, and you can make a set of three that look like a series even though every mountain range is different.
Matte colors work better than shiny paper.
12. Hang Small Mirrors in a Cluster
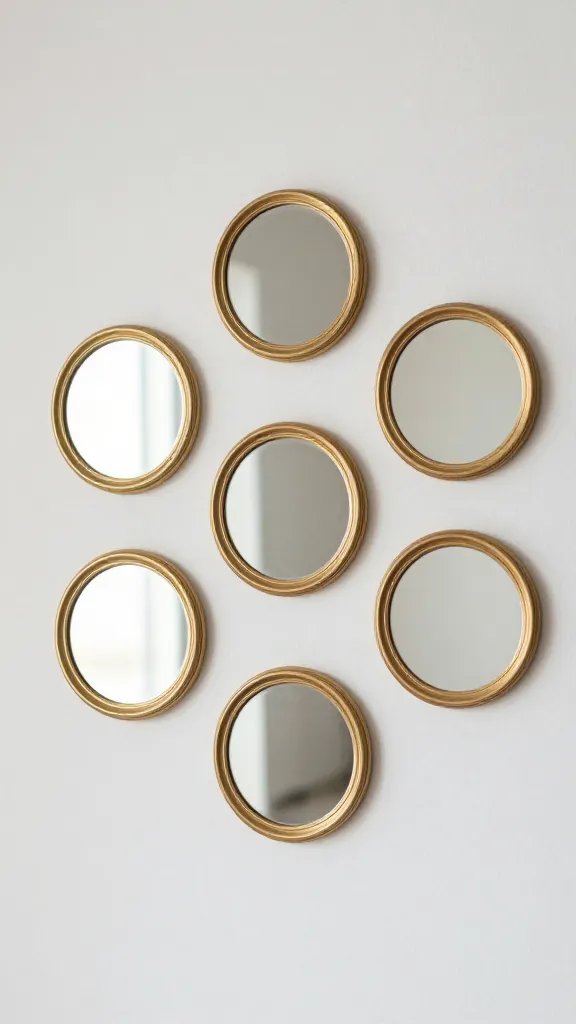
Mirrors reflect light and make a small space feel bigger. Grouping cheap pocket mirrors or small framed mirrors fills a section of wall and adds function.
Best for: a narrow hallway or entryway that needs both art and light.
Stick to one finish, either all silver, all gold, or all frameless, so the cluster does not look like leftovers. Odd numbers feel more balanced than even. Five mirrors arranged loosely looks better than four in a tight square.
Placement note: Hang them at eye level so they actually reflect faces, not the ceiling.
13. Press Flowers in Wax Paper and Tape to Glass Frames
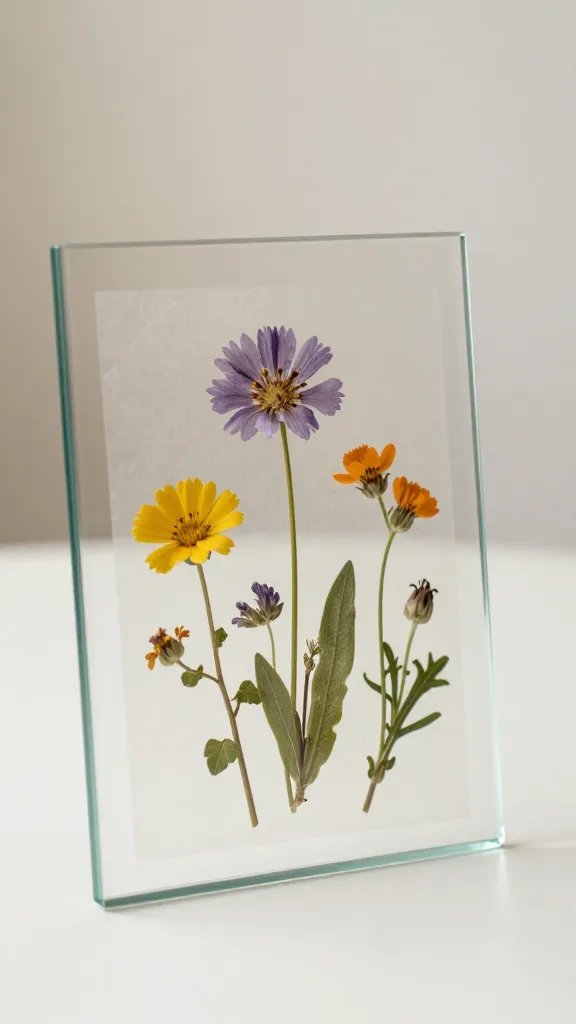
Pressing flowers between wax paper takes a week, but the actual craft is just ironing two sheets together with petals inside. Once sealed, tape the wax paper sheet to the inside of a frameless glass pane or clip it into a frame without the backing.
Supplies: Wax paper, a warm iron, fresh flowers that are mostly flat, and a frame or two panes of glass taped together.
The wax makes the paper translucent, so the flowers look suspended. Hang them where light can shine through, or layer them over a white mat for contrast.
14. Paint Abstract Blocks on Canvas Boards
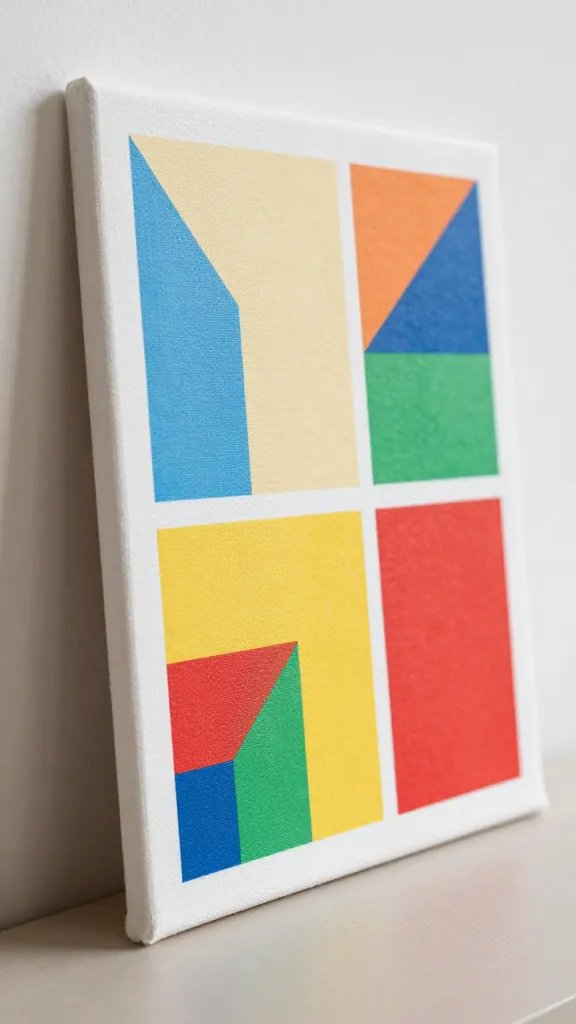
Canvas boards cost about two dollars each. Tape off sections with painter’s tape, fill each block with a different solid color, peel the tape, and you have modern art.
Why it works:
- Straight lines from tape look crisp even if you have never painted
- Using the same three colors across multiple boards ties them together
- Squares, rectangles, and stripes feel modern without looking like a kid did it
Let the paint dry completely before removing tape or the edges will smear.
15. Frame Doilies on Colored Cardstock
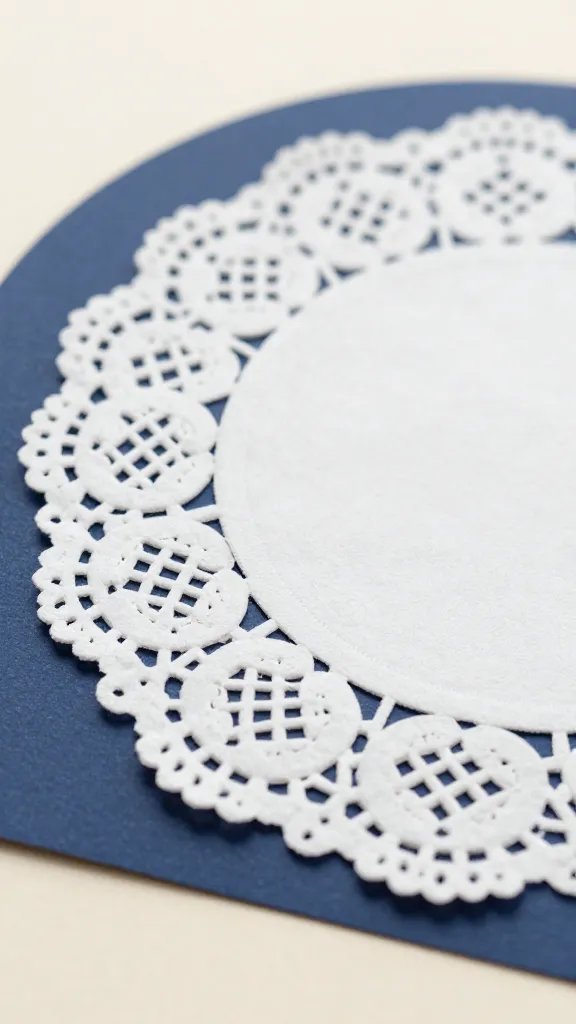
Paper doilies come in packs of twenty for a few dollars. Glue one centered on bright cardstock, frame it, and the contrast between the lacy white and the solid color makes it look fancier than it is.
Different doily patterns in matching frames create variety without chaos. The raised texture of the doily adds dimension, and the whole thing takes about five minutes per frame once the glue dries.
Color note: Deep colors like navy, forest green, or burgundy make the white pop more than pastels.
16. Trace Silhouettes From Printed Photos
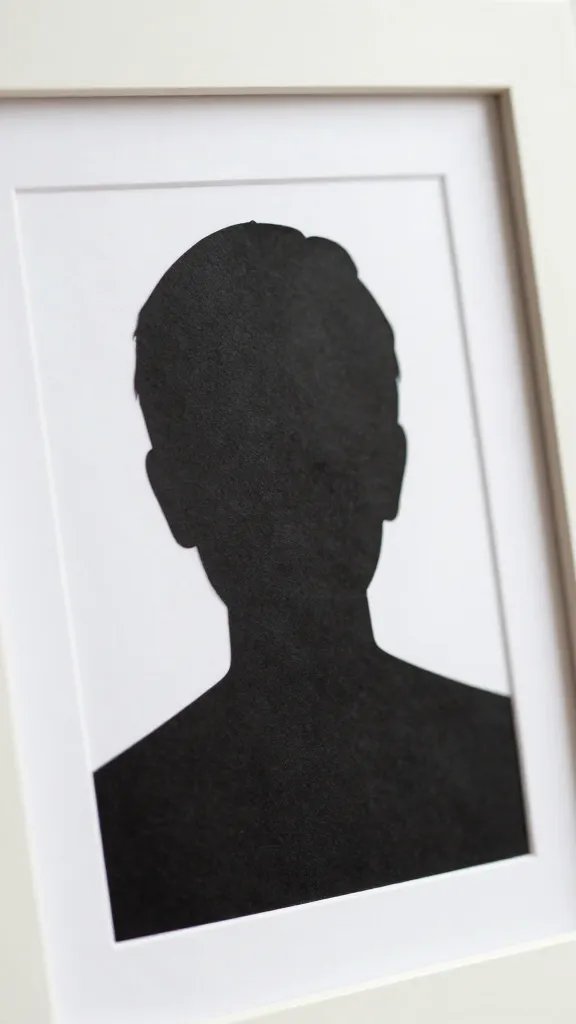
Print a photo, tape it to black cardstock, and cut around the outline of a person, pet, or object. Glue the black silhouette to white paper and frame it.
The detail to steal: Side profile photos trace easier than front facing ones because the outline is simpler.
Beginner version: Print the photo darker so the outline shows through the cardstock when you hold it up to a window, then trace instead of cutting freehand.
A set of family silhouettes in matching frames looks classic and hides the fact that you are not a skilled cutter.
17. Arrange Pressed Leaves on Book Pages and Frame Them
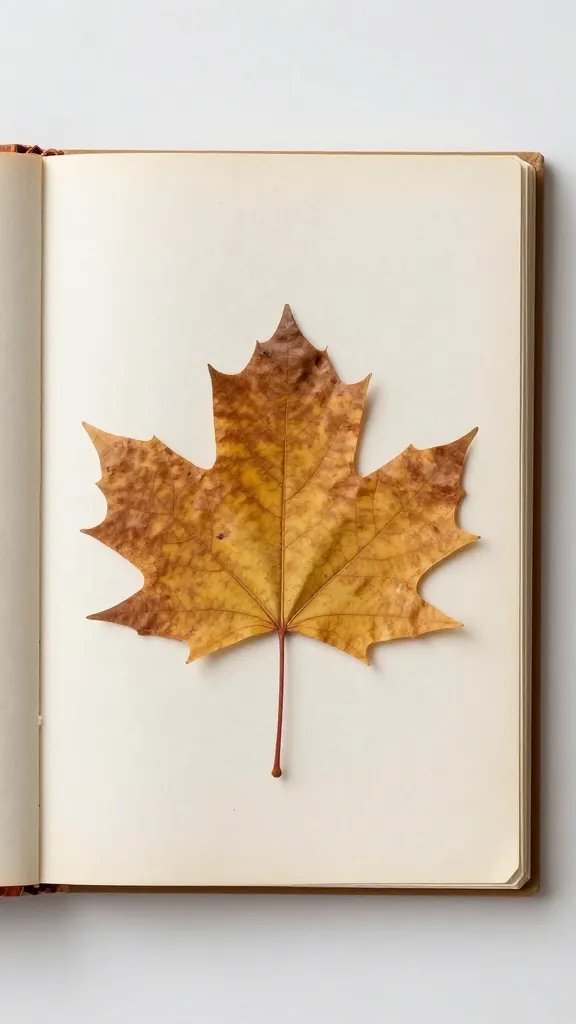
Old book pages and pressed leaves both have texture and history. Glue one or two leaves to a page with interesting text, frame it, and the combination feels collected, not crafted.
Dictionary pages, sheet music, and vintage recipe cards all work. The text adds a layer of detail that plain paper does not, and the aged look makes everything feel more expensive. Group three or five frames together so the small pieces do not get lost on a big wall.
Skip glossy leaves because they do not press flat and curl after a few days.
Gallery walls do not need matching frames or expensive art. They need enough pieces to fill the space and a plan that keeps them from looking random. Start with a few of these ideas, hang them close together, and add more when you find supplies. Save this for the next time a blank wall stares you down and you do not want to spend a fortune fixing it.