
15 Decorative Vase Craft Ideas From Old Jars

# 15 Decorative Vase Craft Ideas From Old Jars
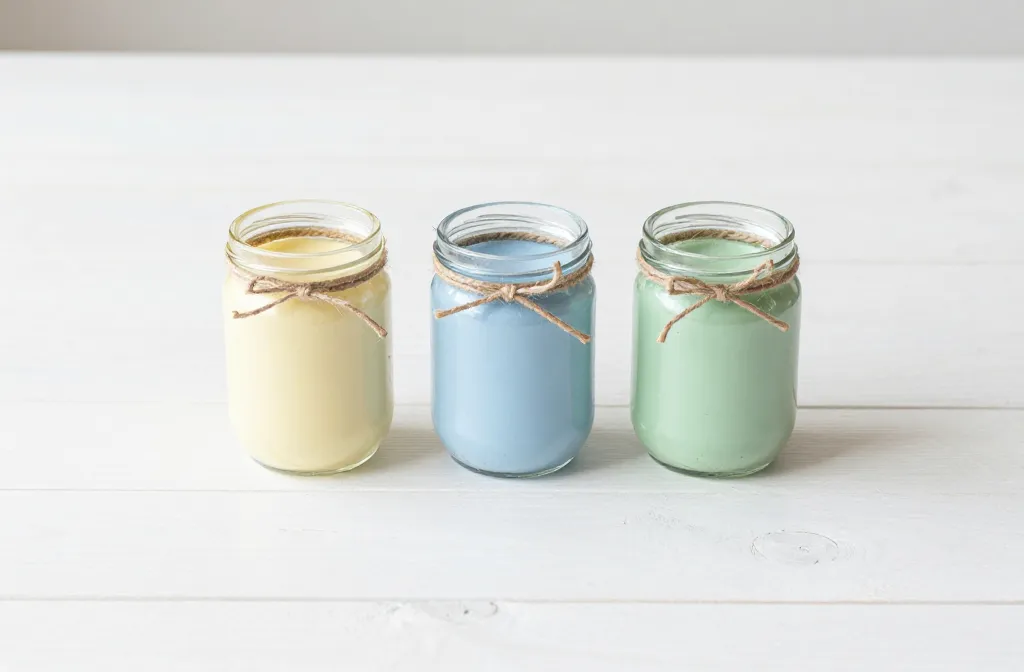
Empty jars pile up fast, and buying vases for every room or event feels wasteful. Those glass containers already have the shape and weight you need, they just need a quick makeover to look like something you’d display on purpose.
These fifteen decorative vase craft ideas turn plain jars into pieces that work for your table, shelf, or party without a craft store trip. Most use paint, fabric scraps, or supplies already sitting in a drawer.
Pick one that matches your space and start gluing.
1. Wrap Jars in Twine for a Farmhouse Look
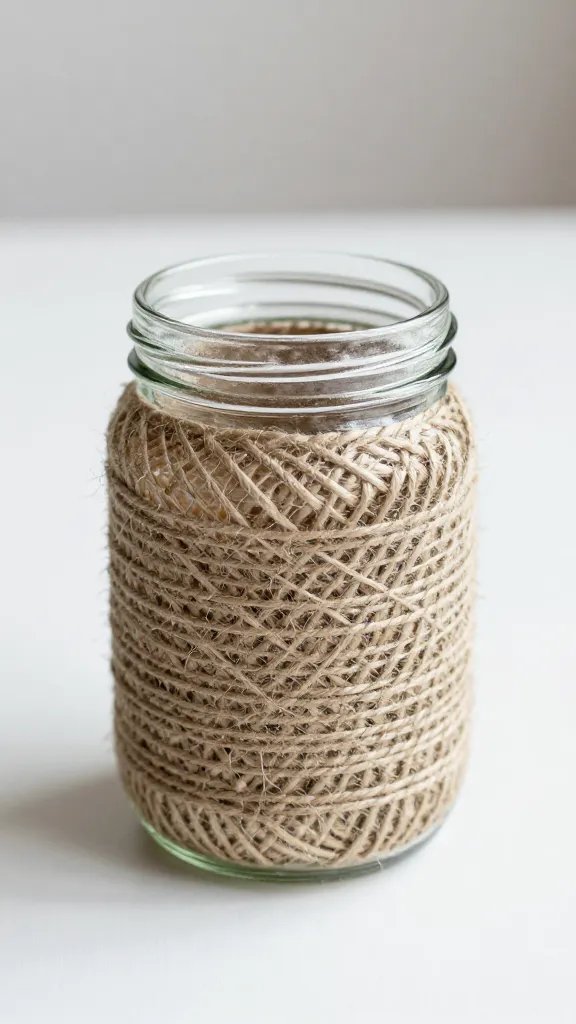
Glass jars read as kitchen storage until you cover them. Twine hides labels, adds texture, and turns any jar into something that belongs on a dining table.
Start at the bottom with a dab of hot glue, then wind the twine tightly around the jar in even rows. Glue the end at the top and tuck it under the last loop. The whole process takes about fifteen minutes per jar.
Budget swap: Jute rope from the hardware store costs less than craft twine and has the same look. Cut it with scissors, not your hands, because the fibers are rough.
2. Paint Mason Jars in Matte Pastels
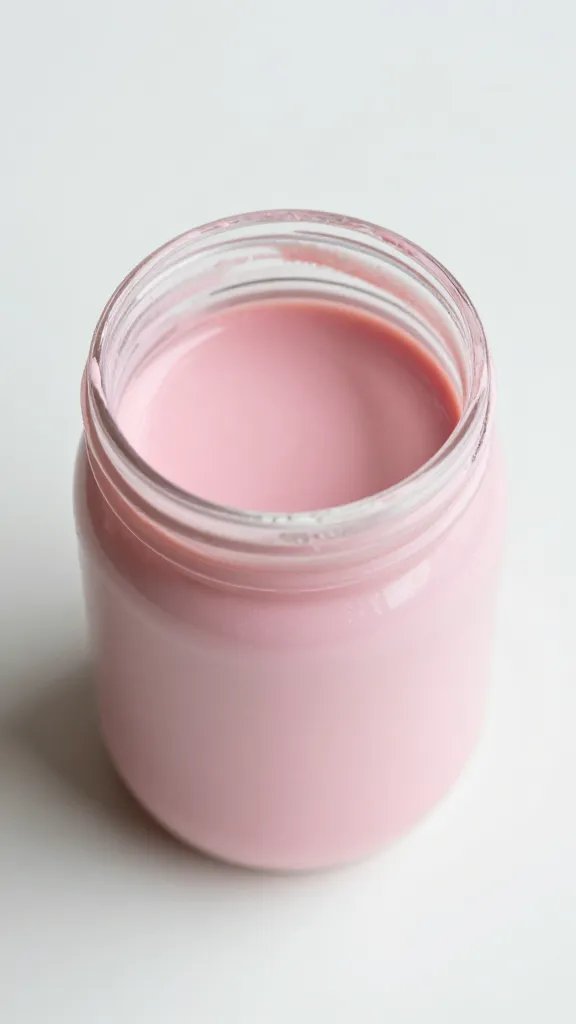
The make: Pour acrylic paint inside a clean, dry jar, swirl it around until the inside is coated, then pour out the excess and let it dry upside down on a paper towel.
The color shows through the glass but stays on the inside, so water won’t damage it when you add flowers. Soft pink, mint, or butter yellow work for spring and summer tables without looking too sweet.
One small bottle of paint covers three standard jars. Let them dry overnight before you fill them, or the paint will streak.
3. Glue Lace Trim Around the Middle
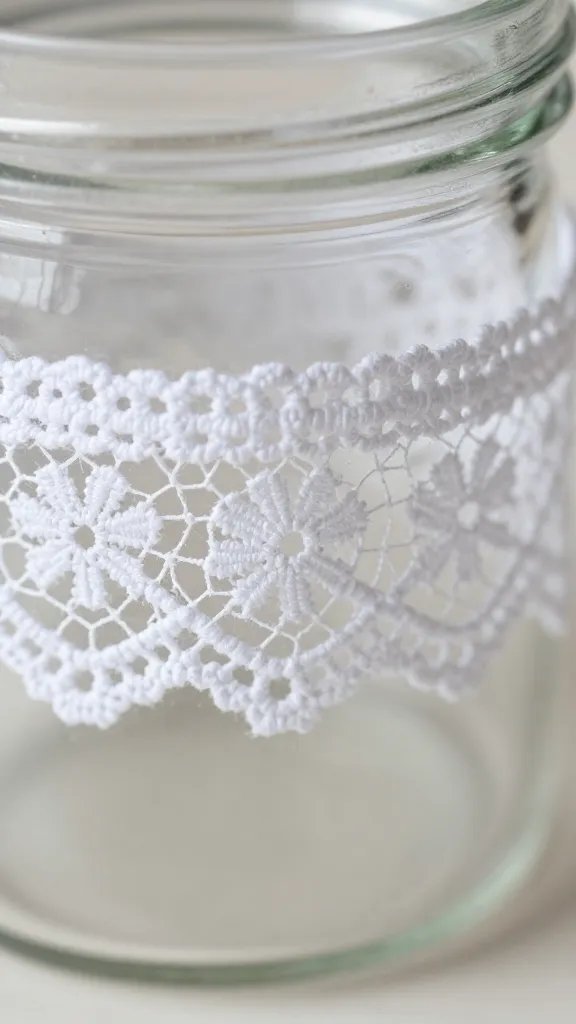
A strip of lace softens the hard edges of a jar and makes it look like something you’d find at a garden party. This solves the problem of jars that look too plain but don’t need a full paint job.
- Base: clean glass jar, any size
- Main supply: cotton or nylon lace trim, one to two inches wide
- Color: white, ivory, or blush for classic, or dyed lace for themed events
- Finishing touch: a small button or fabric flower glued over the seam
Glue note: White craft glue works better than hot glue here because it dries clear and won’t show through the lace holes.
4. Brush on Metallic Gold for Modern Tables
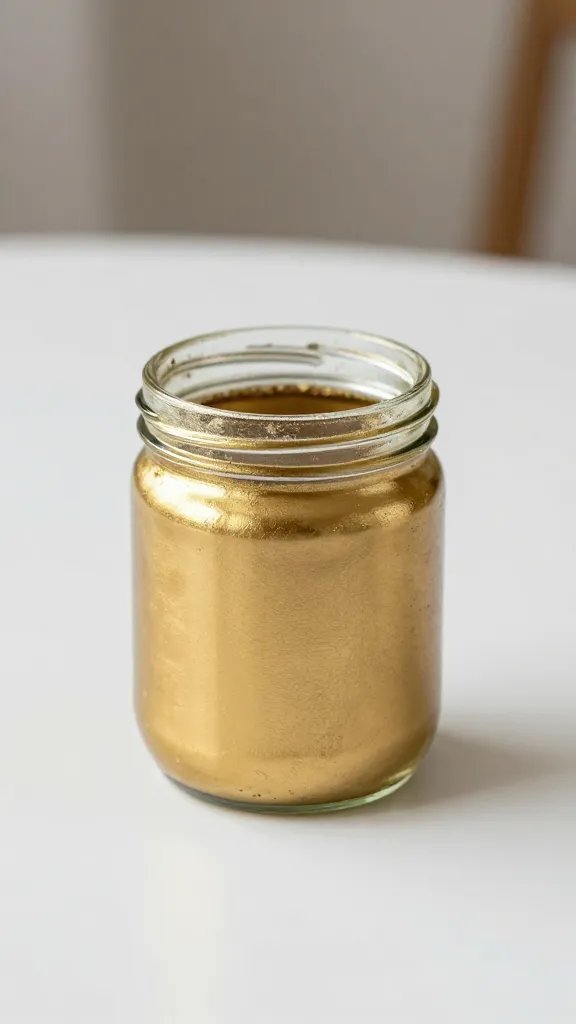
Metallic paint makes jars look expensive and hides every label or logo without extra layers. Gold works year round, not just for holidays.
Why it works:
- One coat of metallic acrylic covers most jars completely, so the project finishes in under an hour
- The shine catches light and makes small arrangements look bigger on a table
- Gold pairs with almost any flower color, from white to deep burgundy
Let the paint cure for two days before you handle them a lot, or your fingerprints will show.
5. Cover Jars With Scrap Fabric and Ribbon

Best for: Using up fabric scraps from other projects or jars that need to match a specific party theme.
Cut fabric into a rectangle that wraps around the jar with a small overlap. Glue it in place with fabric glue or a glue gun, then cover the top and bottom edges with coordinating ribbon to hide any fraying. The fabric adds pattern and texture that paint alone can’t give you.
Theme swap: Burlap and twine ribbon for rustic, gingham for picnics, floral cotton for showers.
6. Add Chalk Paint and Write Guest Names
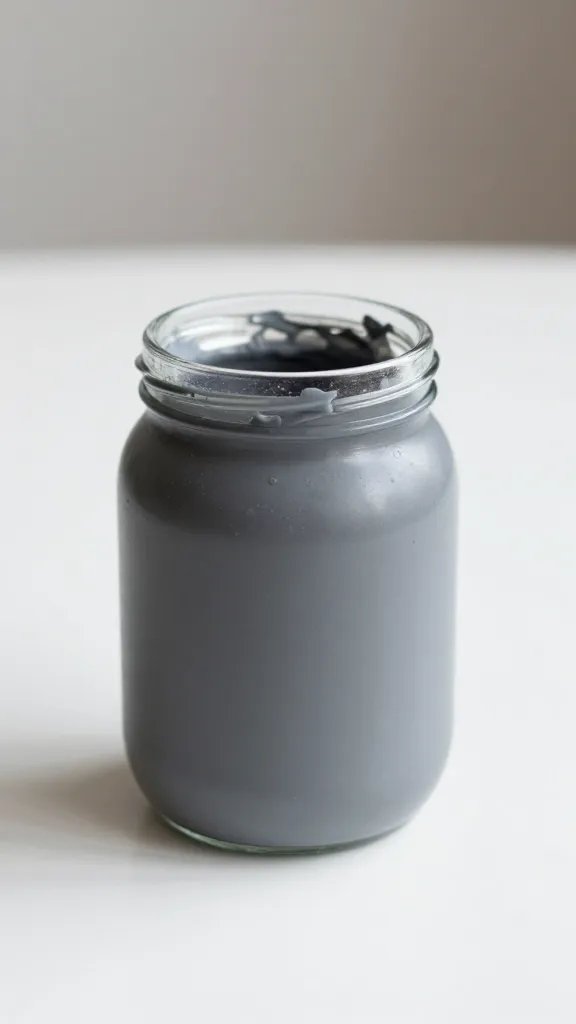
Chalk paint turns a jar into a vase you can label, which makes it useful for escort cards, party favors, or a buffet where each dish needs a sign.
Supplies: Brush two coats of chalk paint on the outside of the jar, let it dry, then write with chalk or a chalk marker. Erase and rewrite as many times as you need.
Reuse it later: After the party, wipe off the names and use the jars as kitchen storage with new labels, or leave them blank and fill them with flowers.
7. Tie Raffia in a Loose Bow at the Neck
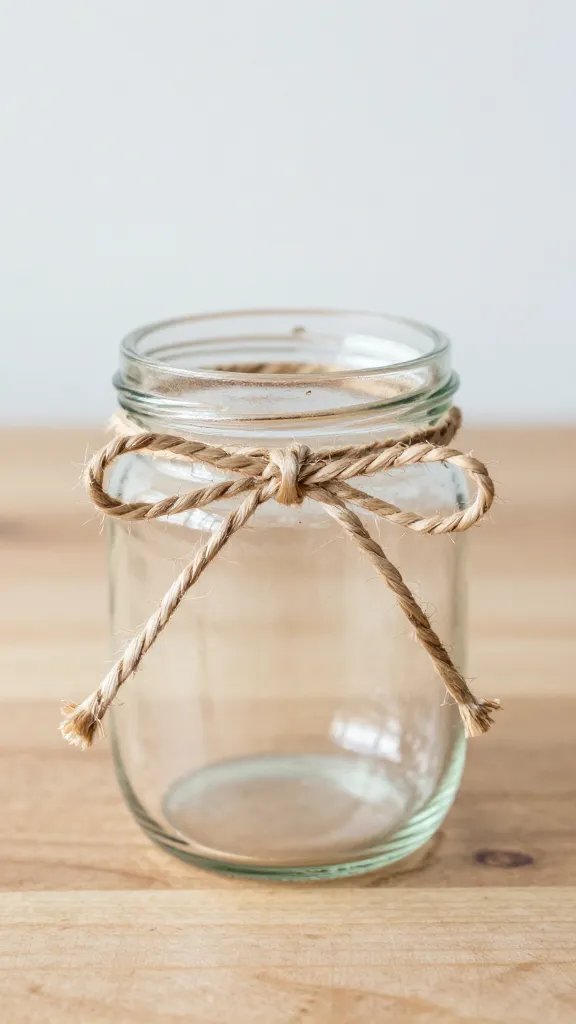
Raffia is cheap, comes in a dozen colors, and instantly makes a jar look like it belongs at a farmers market or outdoor dinner. No glue, no paint, just a bow.
Wrap a thick bundle of raffia around the neck of the jar two or three times, tie it in a simple bow, and trim the ends to the length you want. The whole thing takes two minutes and you can untie it when the party is over.
Stack three jars of different heights, each with the same raffia color, for a grouped arrangement that looks intentional.
8. Dip the Bottom Third in Colored Paint
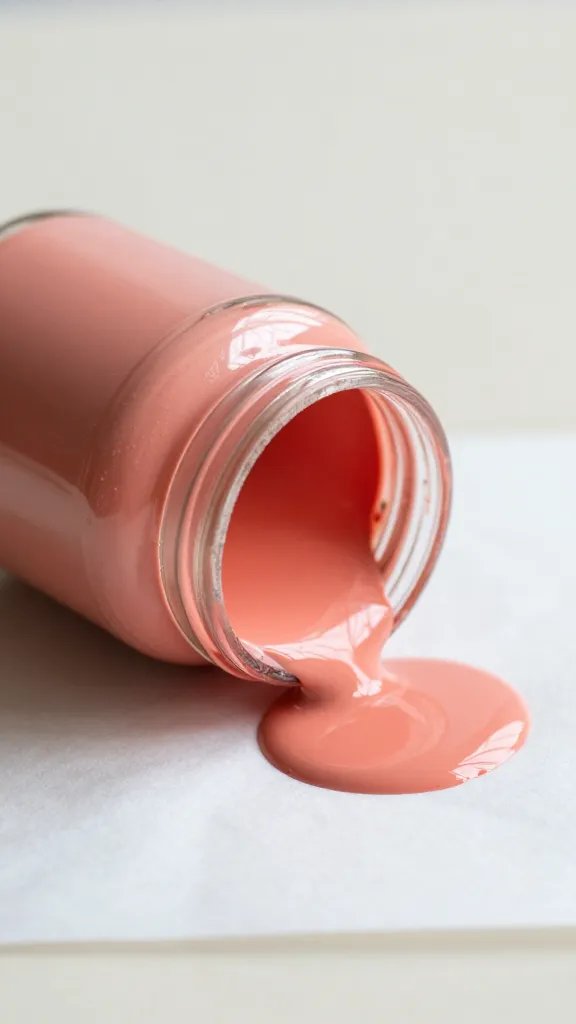
Two tone jars feel modern and let the flowers show at the top while adding color at the base. This technique works best with jars that have straight sides.
Pour paint into a shallow dish, dip the jar upside down to the height you want, then lift it straight up and let the excess drip back into the dish. Set it right side up on wax paper to dry. The paint line won’t be sharp, but that’s part of the look.
Color note: Bright coral, navy, or sage green work for everyday decorating without feeling too themed.
9. Glue Buttons in Vertical Rows

The detail to steal: Rows of buttons in one color add dimension without busy patterns, and they use up buttons that don’t match anything in your sewing box.
Pick buttons that are all the same size or graduate from small at the top to large at the bottom. Glue them in straight lines from the rim to the base, spacing the rows evenly around the jar. The texture catches light and makes the vase interesting even when it’s empty.
White buttons on a clear jar look crisp and cottage style. Mixed wood buttons give a warmer, handmade feel.
10. Brush Mod Podge and Roll in Glitter

Glitter jars look festive without much effort, and the Mod Podge seals the glitter so it doesn’t shed all over your table. This solves the problem of glitter crafts that keep sparkling in places you don’t want them to.
Why it works:
- The glue goes on thick enough to hold fine glitter in one coat
- Rolling the jar in a shallow dish of glitter covers it faster than sprinkling
- A second coat of Mod Podge over the dried glitter locks everything down for good
Work over a baking sheet so you can pour the extra glitter back into the jar.
11. Wrap Jars With Burlap and Lace Layers
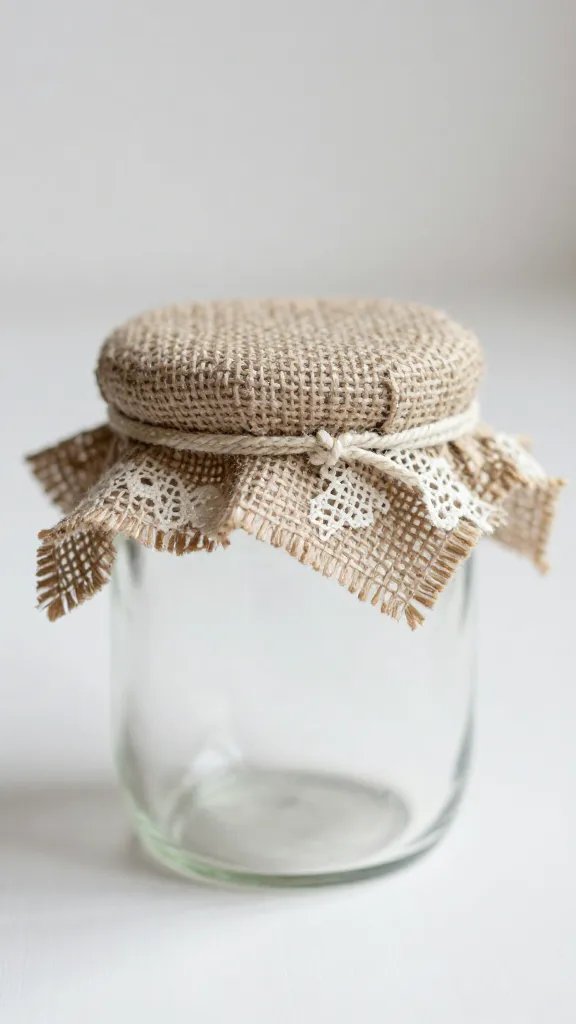
Burlap alone can look rough. Lace alone can look too delicate. Layering them balances both and makes a jar that works for weddings, showers, or casual dinners.
Cut a strip of burlap wide enough to wrap around the jar once, glue it in place, then glue a narrower strip of lace down the center or along one edge. The texture contrast makes the whole piece more interesting than either material on its own.
Make it easier: Skip measuring and just tear the burlap to the width you need. The frayed edges add to the casual look.
12. Paint Horizontal Stripes in Two Colors
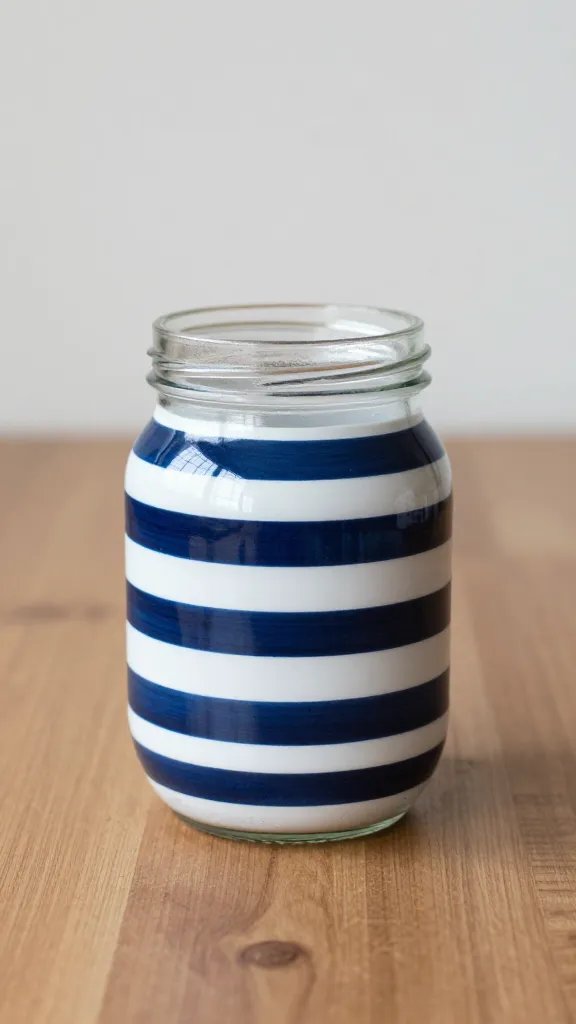
Best for: Kids’ parties, nurseries, or any table that needs a playful accent without cartoon characters.
Tape off even stripes with painter’s tape, paint the exposed sections in one color, let it dry, remove the tape, then fill in the blank stripes with a second color if you want full coverage. The tape keeps the lines clean even if your hand isn’t steady.
Navy and white stripes work for nautical themes. Pink and cream stripes soften a baby shower table. Leave every other stripe clear if you want the glass to show through.
13. Hot Glue Faux Flowers to the Rim
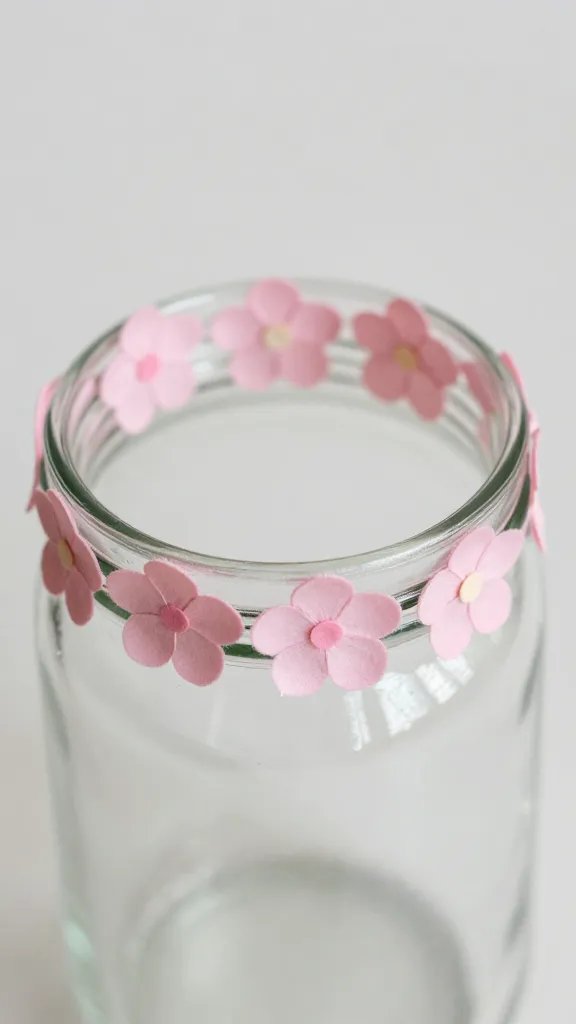
Flowers glued around the top of a jar frame whatever you put inside and turn a plain vase into a centerpiece on its own. Small fabric blooms or foam flowers from the dollar store work best because they’re lightweight and won’t slide off.
Space them evenly or cluster them on one side for an asymmetrical look. The jar itself can stay clear or painted, depending on how much color you want.
Party favor idea: Fill the jar with wrapped candy, add a flower rim, and send one home with each guest.
14. Tie a Sprig of Greenery With Twine
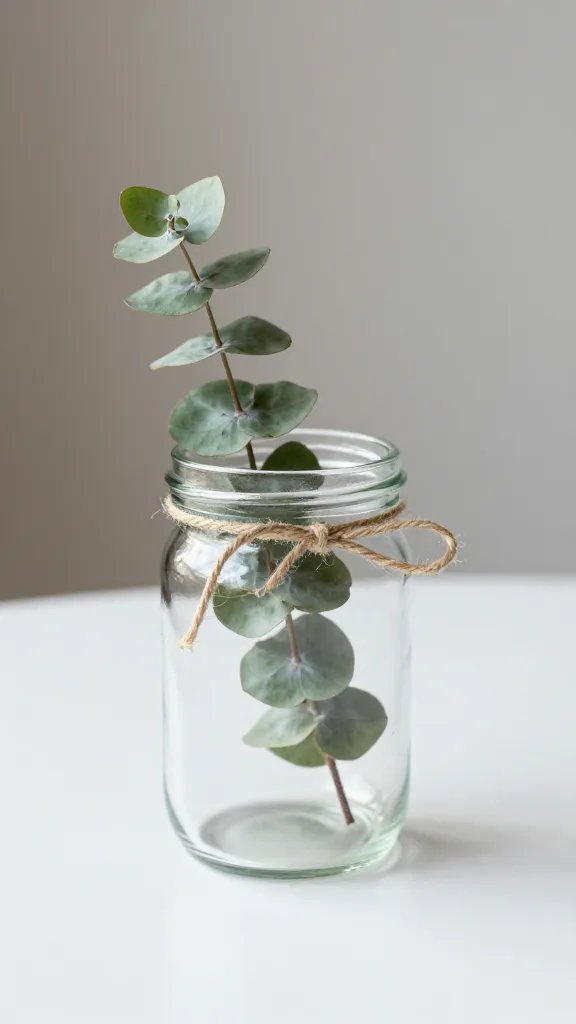
Sometimes a jar just needs one small detail to feel finished. A sprig of eucalyptus, rosemary, or olive leaves tied to the neck with plain twine adds a natural element without covering the whole jar.
Time needed: About thirty seconds per jar, which makes this the fastest option when you’re decorating a dozen at once.
Storage tip: Dried greenery lasts for months, so you can leave it attached and store the jars for the next event.
15. Stencil a Simple Design in White Paint
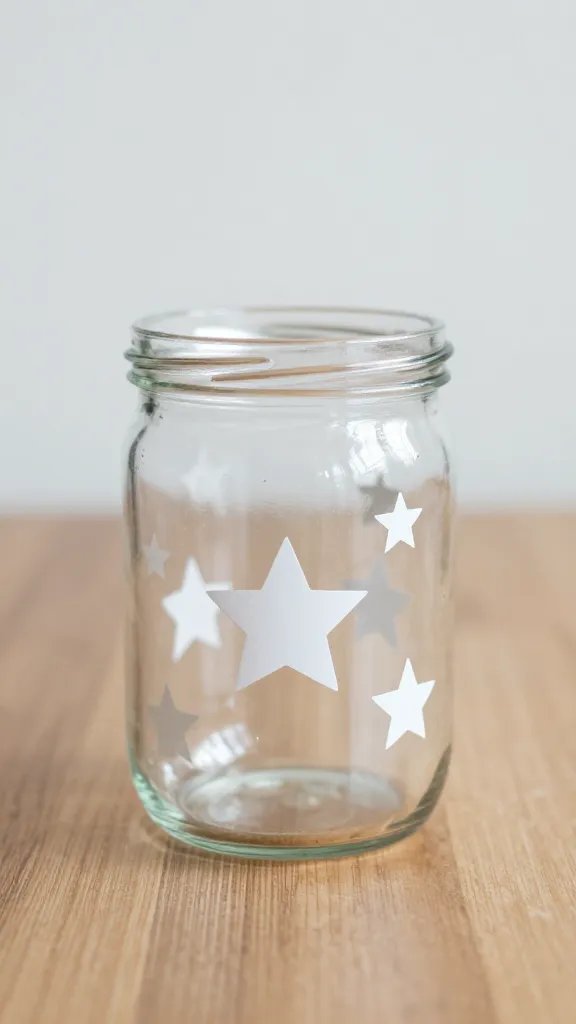
Stencils let you add pattern without freehand painting skills. A single motif, like a star, heart, or initial, centered on the jar gives it personality without overwhelming the flowers inside.
Hold a small stencil against the glass, dab acrylic paint through the openings with a foam brush, then lift the stencil straight up. Let the paint dry for an hour before you move the jar. White on clear glass reads crisp and clean. White on a colored jar creates contrast.
Repeat the same stencil on every jar for a matched set, or use different designs for an eclectic grouping.
Most of these jars cost less than two dollars to make and take under half an hour, which makes them more practical than buying new vases every time you need flowers on the table. Pick a few techniques that match your space and use them on repeat. The jars you’ve been tossing already have the shape you need.
Save this for the next dinner party or shower that sneaks up on you.