
15 Decorative Craft Ideas Under 20 Dollars

Decorating on a budget shouldn’t mean settling for blank walls and boring tables. The real challenge is finding craft ideas that look intentional without emptying your wallet or requiring a full weekend to pull off.
These fifteen decorative craft ideas under 20 dollars use supplies you can grab at the dollar store or pull from what’s already in your closet. Each one takes an hour or less and solves the problem of spaces that feel unfinished right before people show up.
1. Mason Jar Candle Holders Wrapped in Twine
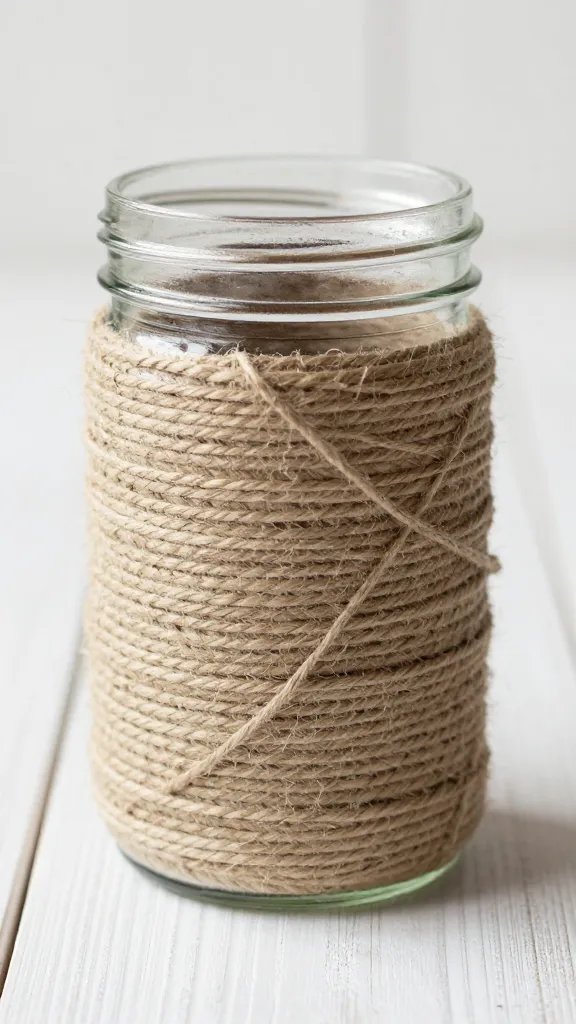
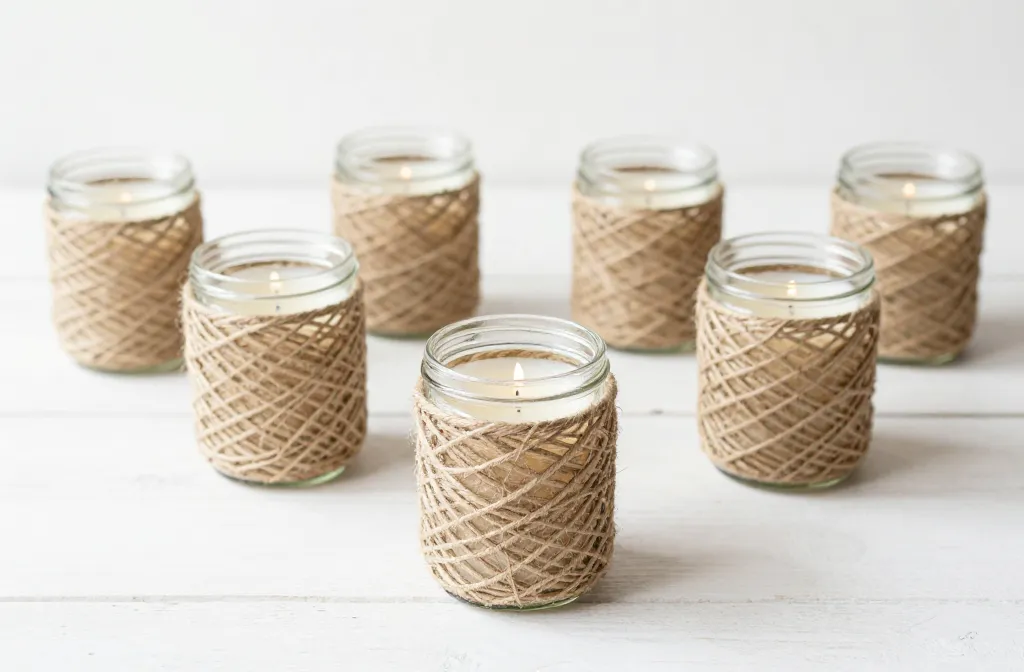
Empty jars pile up fast, and buying candle holders for every surface gets expensive. Wrapping clean jars in twine turns them into votives that look rustic without looking messy.
Start at the base with a dot of hot glue, then wind the twine tight as you go up. The glue gun will string a little, so keep a damp cloth nearby to wipe the nozzle between rows.
Budget swap: Use jute from the hardware store instead of craft twine. It costs about three dollars for a roll that covers six jars.
Drop in a tea light or a few stems of dried lavender. Both work, and the lavender skips the flame worry if kids are running around.
2. Build a Balloon Garland Without the Arch Kit
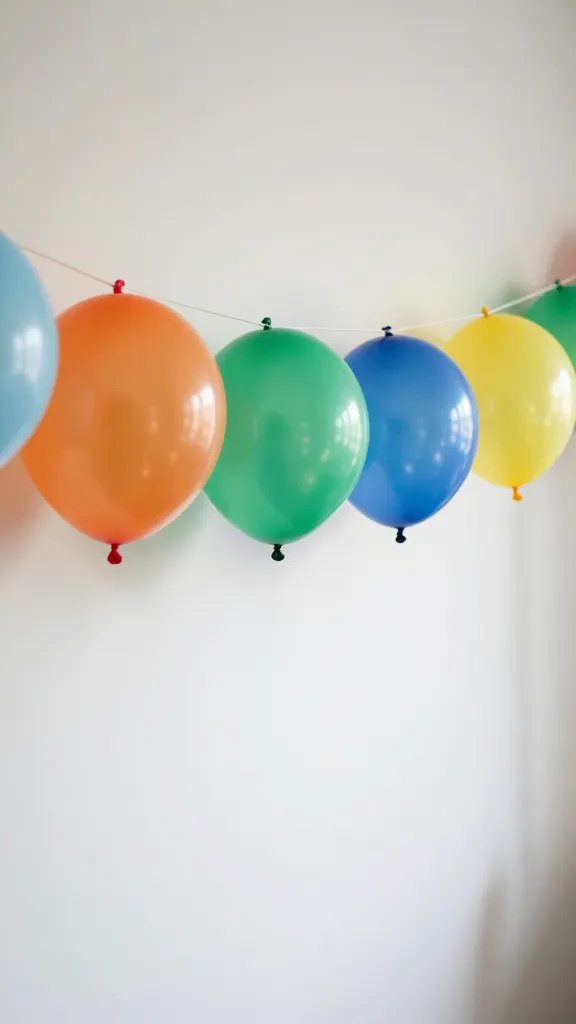
The make: Balloon garlands cost a fortune at party stores, but fishing line and a bag of balloons in three colors get you there for under fifteen dollars.
Blow up balloons in different sizes, then tie them directly to the fishing line in clusters of two or three. No fancy strip needed. Pin the line to the wall with small nails or command hooks at each end, letting it swag in the middle.
The garland will sag a bit by hour two if the room is warm. That’s normal. Just push a few balloons closer together before guests arrive to tighten the look.
3. Frame Pressed Flowers in Thrift Store Frames

Bare walls make a room feel unfinished, but art adds up fast. Pressed flowers between two pieces of glass in a secondhand frame look expensive and take about ten minutes to arrange.
- Flowers: pick flat blooms like pansies or daisies and press them in a heavy book for three days
- Frames: mismatched thrift store finds in similar sizes work better than a perfect set
- Background: white cardstock or even printer paper keeps the focus on the petals
- Placement: group three or five frames together on one wall instead of scattering them
Skip this: Roses and thick blooms don’t press well. They turn brown and lose their shape.
4. Drape Fabric Across a Curtain Rod for a Textured Backdrop
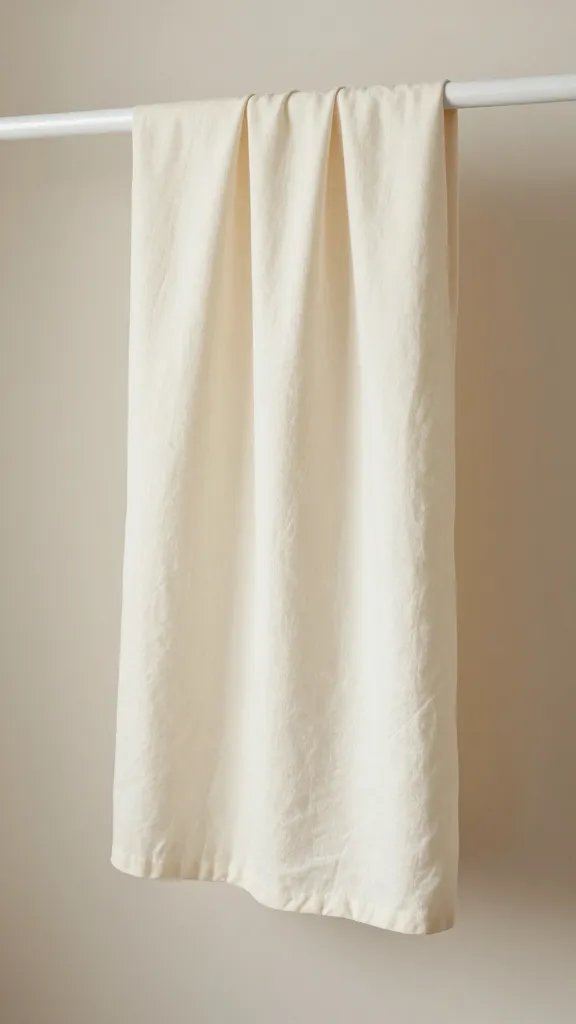
Best for: anyone who needs a photo wall but doesn’t want to tape things directly to paint or wallpaper.
Buy two yards of cotton muslin or a flat sheet from the clearance rack. Drape it over a tension rod or an existing curtain rod, letting it puddle a little at the floor. The folds add depth without extra work.
Pin a few paper flowers or greenery stems to one side if the fabric feels too plain. The whole setup takes about five minutes and comes down just as fast, leaving zero marks on the wall.
5. Cut Paper Leaves Into a Hanging Garland
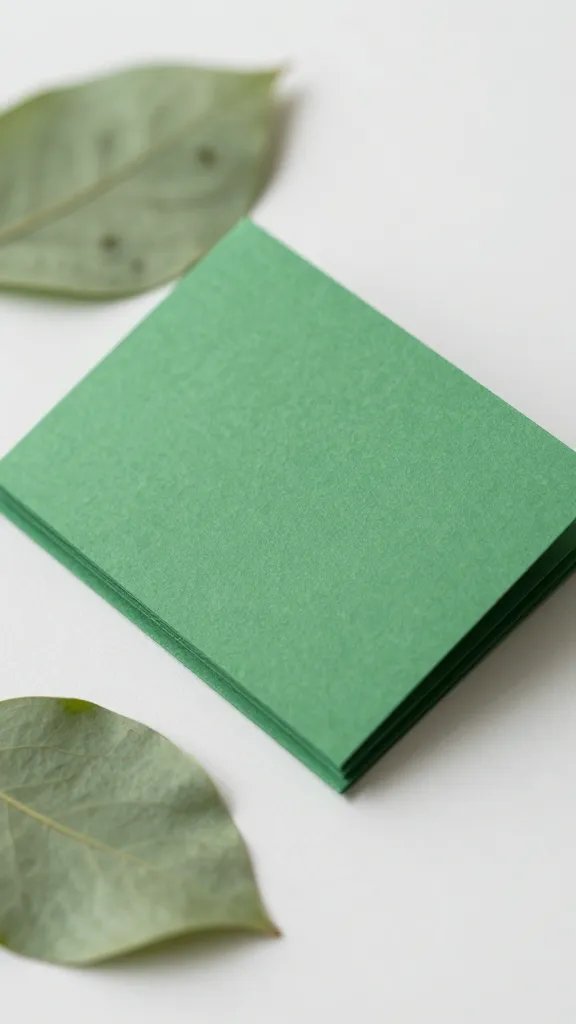
Greenery garlands from the craft store eat through a budget, especially if you need more than one strand. Cardstock leaves on a string cost about four dollars and look surprisingly real from a few feet away.
Supplies: green cardstock in two or three shades, scissors, a needle, and thread or fishing line.
Time needed: Cutting takes the longest. Expect about forty minutes for a six foot garland.
Fold each leaf in half lengthwise before you string it. That small crease makes flat paper look dimensional. Hang it across a doorway or above a table where the light catches the edges.
6. Stack Books and Cake Stands for a Tiered Display
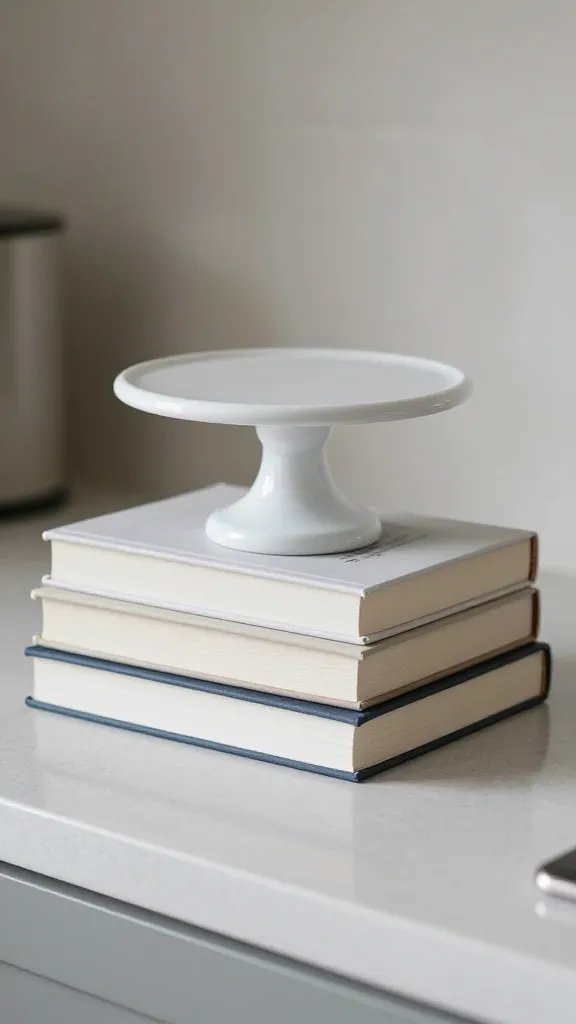
Dessert tables look bare when everything sits at the same height. Stacking what you already own creates levels without buying risers.
Why it works:
- Books give you control over exact height and cost nothing if you pull them from your shelf
- A small cake stand or upside down bowl on top of the stack keeps food off the book covers
- Varying the heights across the table makes six cupcakes look like a real spread
Wrap the book spines in kraft paper if you want a cleaner look. Twine around the stack holds the paper in place.
7. String Dried Orange Slices on a Ribbon
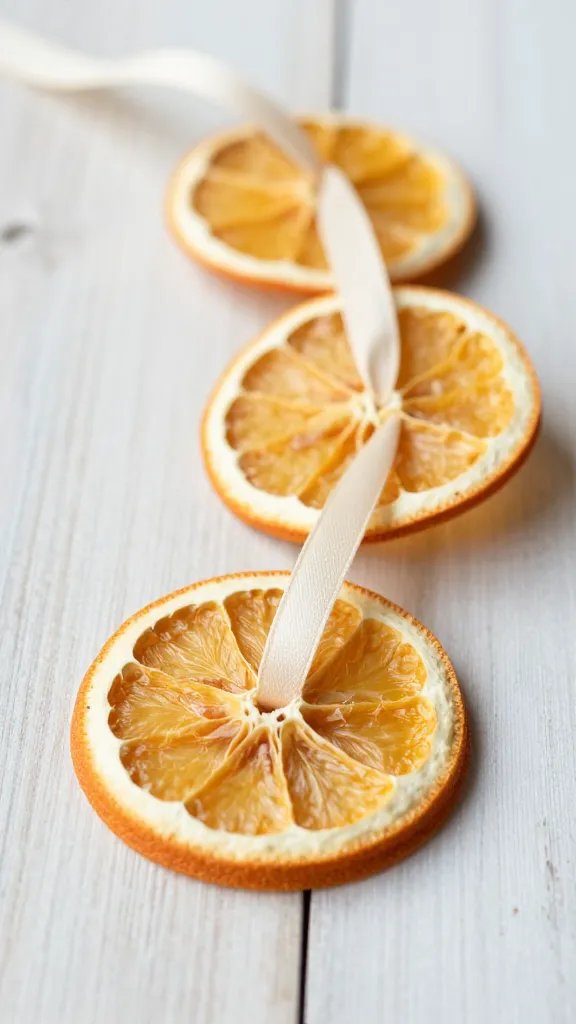
Citrus garlands smell good, look seasonal, and use fruit that’s already in the kitchen. Slice two or three oranges thin, bake them at 200 degrees for about three hours until they dry out, then thread them onto ribbon with a needle.
The slices curl a little as they dry. That’s fine. It makes them look more organic and less like you’re trying too hard.
Make it ahead: Dry the slices up to a week early and store them flat in a container. String them the night before your event.
Seasonal swap: Lemon slices and bay leaves work the same way and lean more neutral if orange feels too fall focused.
8. Fill Clear Vases With Layered Dried Beans
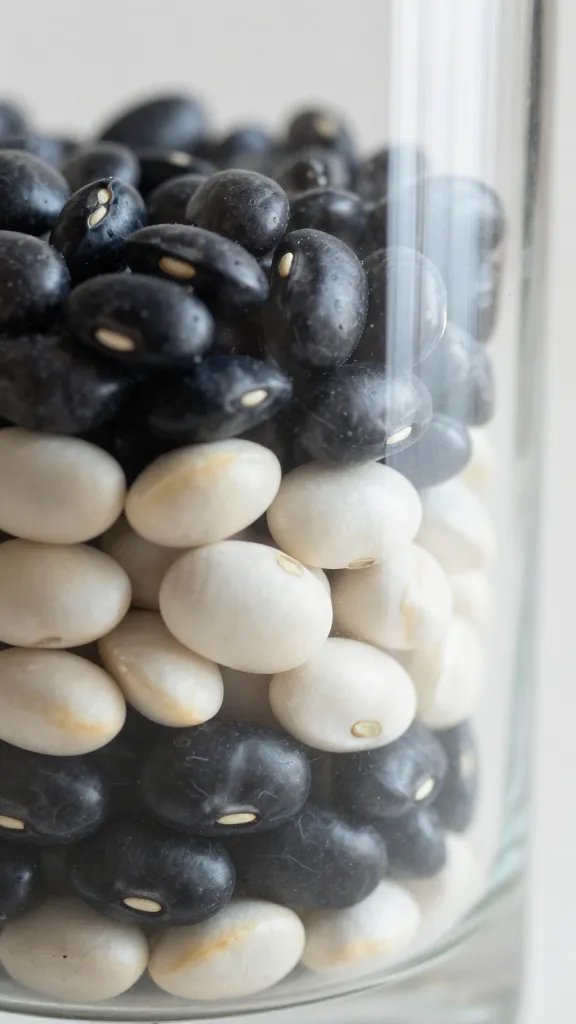
The detail to steal: Grocery store vases filled with dried beans in stripes give you color and texture for about eight dollars total.
Pour one type of bean into the vase until it reaches about two inches, then add a different color on top. Black beans, white navy beans, and red kidney beans create strong contrast without any dye. Stick a few tall branches or faux stems in the center.
The beans hold the stems steady, so you skip the floral foam. They also pour back into the bag when you’re done, which means you can actually cook with them later or save them for the next event.
9. Paint Terra Cotta Pots in a Two Tone Pattern
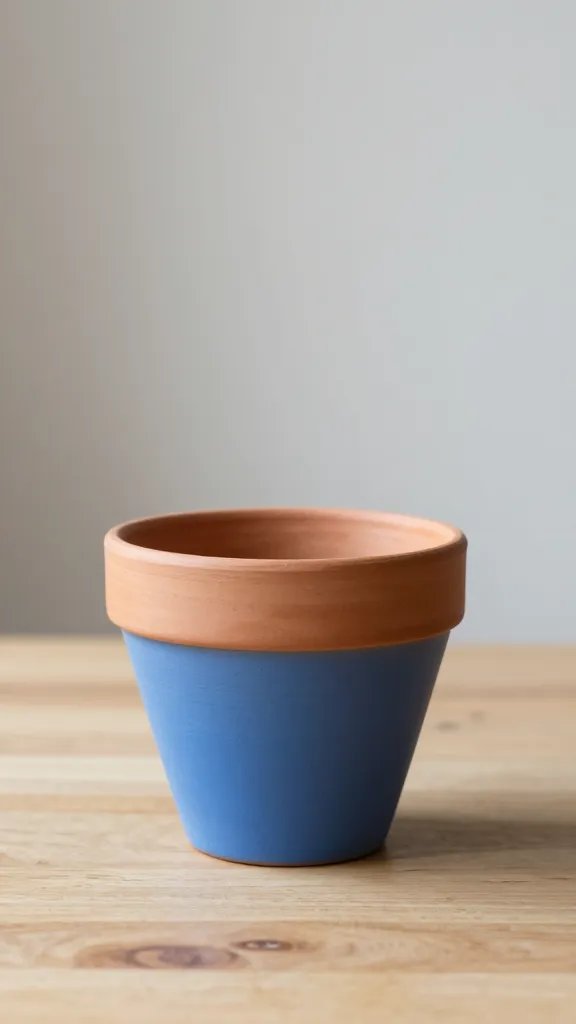
Plain pots cost about a dollar each and take paint beautifully. A two tone pattern makes them look intentional instead of leftover from spring planting.
- Tape off the top third of the pot with painter’s tape
- Paint the bottom section in one solid color and let it dry for an hour
- Remove the tape and leave the top terra cotta or paint it a second shade
- Fill with greenery, utensils for a buffet, or even rolled napkins
Mess control: Paint outside or on a plastic tablecloth. Terra cotta is porous and drips more than you’d expect.
10. Fold Cloth Napkins Into Standing Pocket Holders

Best for: tables that need a little structure but don’t have space for a full place setting.
Fold a cloth napkin in half twice to make a square, then fold one corner down to create a pocket. Tuck a sprig of rosemary, a name tag, or a breadstick inside. The napkin stands on its own and gives each spot a finished look.
Cloth napkins from the thrift store run about fifty cents each, and they wash clean for next time. Paper napkins won’t hold the fold, so don’t bother trying to make this work with those.
11. Wrap Foam Balls in Yarn for Bowl Fillers
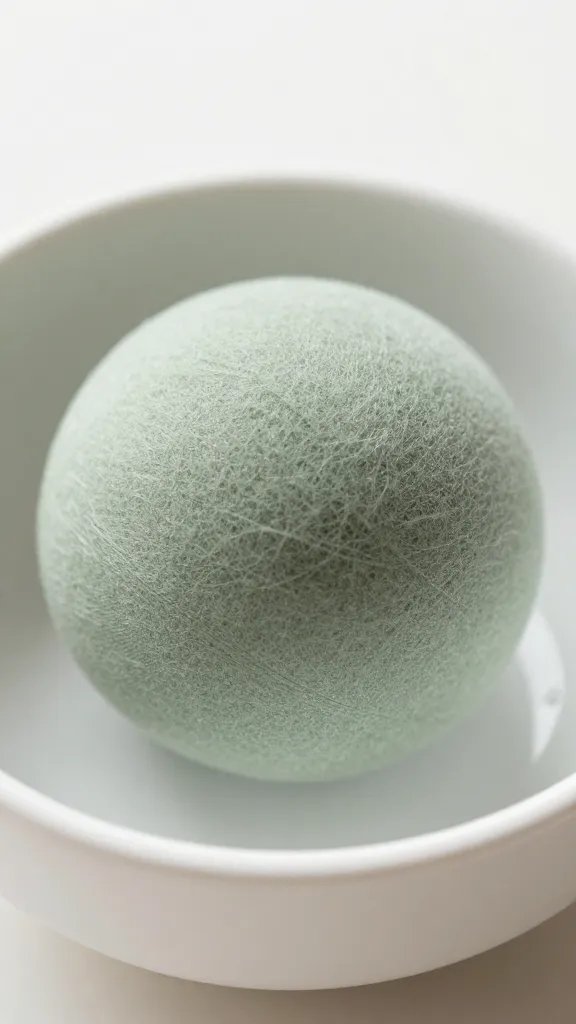
Empty bowls on a console table or counter look like you forgot something. Yarn wrapped balls fill the space with color and texture for under ten dollars.
Anchor the yarn end with a straight pin, then wrap it tight around a foam ball from the craft store. The wrapping goes fast once you find a rhythm. Three balls in different sizes take about twenty minutes total.
Color note: Stick to two yarn colors that share a tone. Three or more starts to look like a kid’s project instead of decor.
Drop them in a wooden bowl or a wide glass vase. They add warmth without needing water or wilting by day two.
12. Print and Trim Paper Bunting Flags

Banners give a room instant personality, but the pre-made ones rarely say exactly what you need. Printing your own flags on cardstock lets you customize the message and the colors.
Supplies: cardstock, a printer, scissors, and a length of twine or ribbon.
Make it easier: Skip the design software and hand letter each flag with a marker. It takes the same amount of time and looks more personal.
Fold the top edge of each flag over the twine and secure it with a dot of glue or a small staple. Space them about four inches apart so the words don’t crowd. Hang it across a mantel or above a doorway where it catches eyes without blocking the view.
13. Arrange Pinecones and Candles on a Wood Tray

Centerpieces eat up a budget fast, but a wood tray filled with pinecones and a few pillar candles costs almost nothing and works year round.
Collect pinecones from outside, brush off any dirt, and arrange them on the tray with candles in the center. The pinecones hold the candles steady and add height variation without any glue or wire.
Safety note: Keep lit candles at least six inches from the pinecones. They’re dry and will catch if a flame tips.
Reuse it later: Swap the pinecones for lemons in summer or small pumpkins in October. The tray stays the same.
14. Glue Felt Flowers Onto a Foam Wreath Form
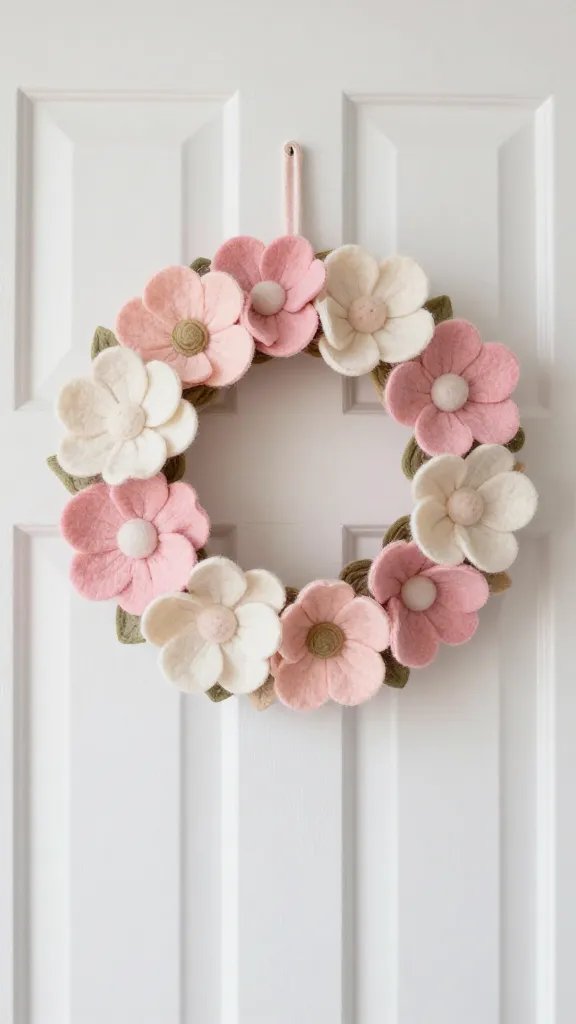
The make: Felt flowers don’t wilt, cost about six dollars for a full sheet, and cut easily without fraying.
Trace petal shapes onto felt in two sizes, cut them out, and layer them with a dot of hot glue in the center. Attach each flower to a foam wreath form until it’s covered. The whole wreath takes about an hour if you work steady.
Hang it on a door or prop it on an easel at the entry. Felt has a soft texture that photographs well and doesn’t scream homemade the way some paper crafts can.
15. Line a Basket With Fabric Scraps for a Bread Display
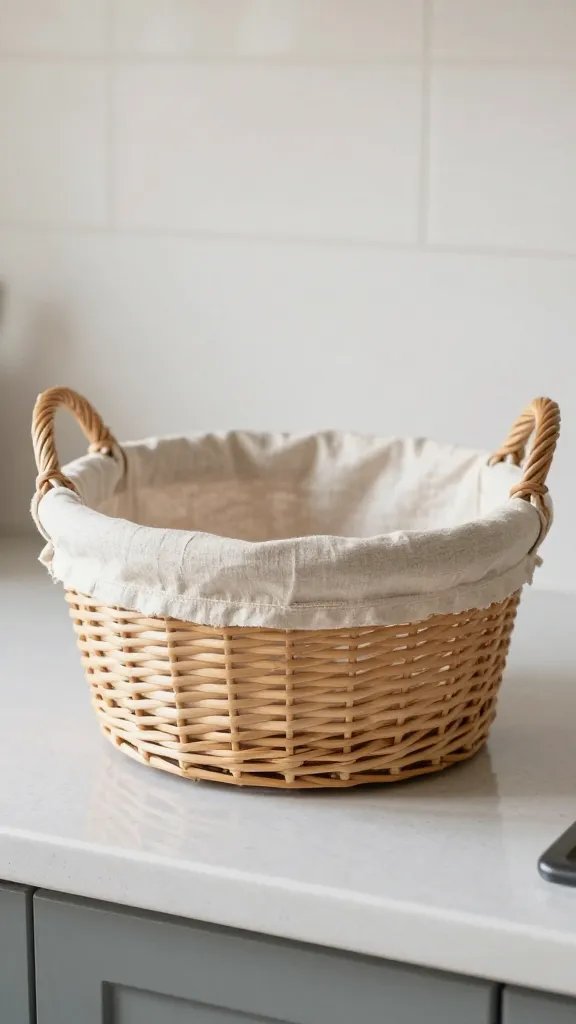
Baskets look unfinished when you drop food straight into them, but fabric liners soften the look and keep crumbs contained. Cut a square of fabric about twice the size of the basket, press it flat, and tuck it inside so the edges drape over the rim.
Use what you have: Old dish towels, bandanas, or even a pillowcase work just as well as new fabric.
Cleanup tip: Pull the fabric out when the party’s over and toss it in the wash. The basket stays clean.
This trick works for rolls, wrapped utensils, or even small favors. The fabric adds a layer of detail that makes the whole table feel more thought through.
Decorating under twenty dollars doesn’t mean your space has to look like you ran out of time or ideas. These crafts use simple supplies and straightforward steps, so you can finish them in one evening and still have energy left for the actual event. Save this for the next gathering that sneaks up on you.