
How to Reinforce Cardboard So It Holds Weight

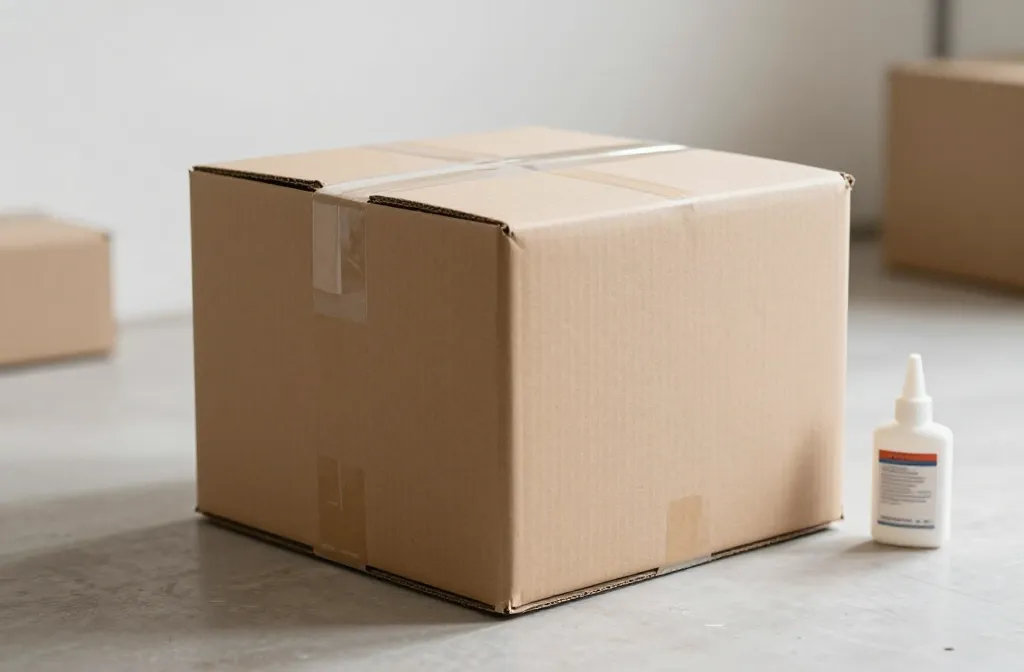
An easy, surprisingly sturdy DIY hack for upgrading cardboard. You’ll learn practical ways to load boxes without them collapsing, whether you’re building a planter, a mini shelf, or a clever prop. Grab a few supplies and let’s get nerdy about cardboard engineering.
Start with the Right Cardboard: Pick Your Hero Pieces
Cardboard comes in different thicknesses and flute styles. Do you have corrugated or solid panels? Corrugated cardboard is your best friend for weight-bearing projects. Look for double-wall or triple-wall options if you’re planning something hefty. FYI, lighter boxes can still surprise you after some reinforcement.
- Choose box faces that are clean and unmarred by moisture or tears.
- Avoid boxes with saggy, bent walls unless you plan to reinforce them hard.
- Double-wall corrugated boards provide two protective layers and better stiffness.
Strategies That Make Cardboard Stronger: The Core Techniques
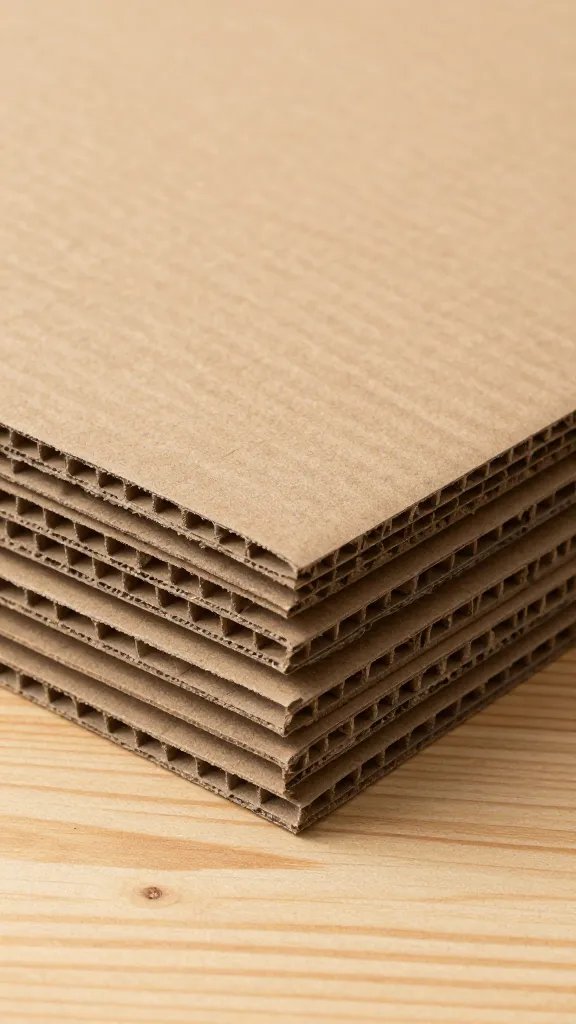
There isn’t a magic trick—just smart engineering. Here are the go-to methods that actually work.
Flatten and Layer for Stiffness
– Run a straight edge along the edge of the cardboard to true it up. A little sanding or trimming helps.
– Layer multiple sheets to create a sandwich that’s tougher than a single piece.
– Alternate grain direction if possible to stop curling.
Glue, Glue, Glue
Shout-out to adhesive that isn’t shy about bonding. Use a strong PVA wood glue or hot glue for quick setups. For permanent builds, consider liquid nails or contact cement for a rock-solid bond. Apply evenly, clamp, and let it cure.
Trusses and Ribs: Build a Skeleton
If you want a shelf, table, or platform that won’t flop, add internal supports. Create a lattice or rib structure by cutting thin strips and forming a grid. This converts flat panels into a box-like load-bearing element.
Edges, Seams, and Fasteners: Don’t Skimp on Joints
Joints are where the magic happens. A weak seam will ruin your whole build. Invest in the joints like a pro.
- Fold and score edges for sharper bends that don’t kink.
- Use corner brackets or U-channels made of cardboard to add rigidity at corners.
- Consider screws with washers and plenty of glue for a more permanent fixture.
How to Avoid Warping
– Keep away from moisture. Cardboard hates water like a cat hates baths.
– Apply a light sealant or polyurethane spray to create a tiny protective layer.
– Don’t overload a single panel; distribute weight across the design.
Reinforcement Accessories: Simple Add-Ons That Make a Difference
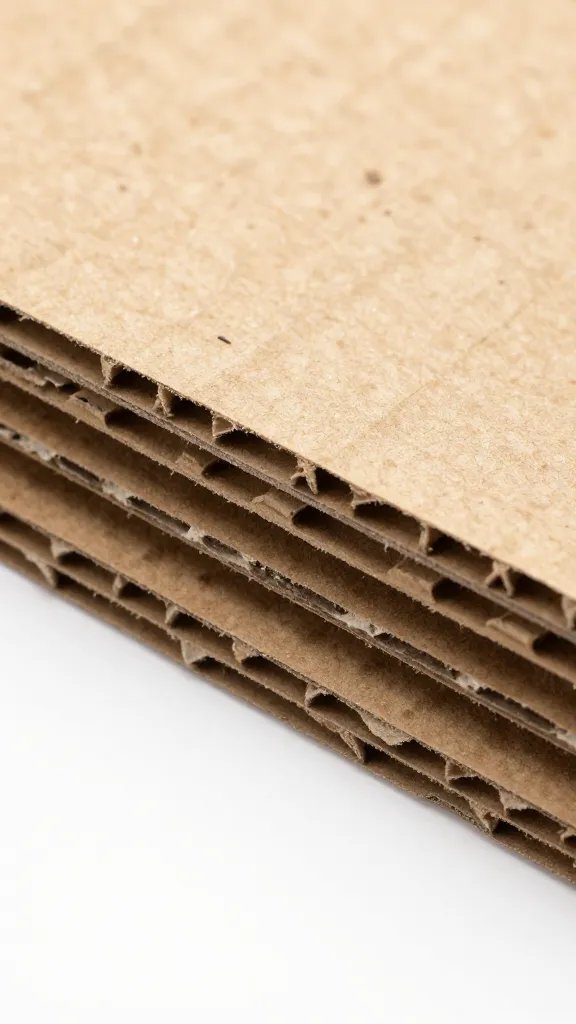
Sometimes small extras do all the heavy lifting.
- Foam core or cardboard honeycomb sheets as internal supports.
- Plastic or wooden dowels as vertical posts for extra stability.
- Rubber feet or a silicone pad grid under the base to prevent slipping.
DIY Corner Braces
Cut small triangular braces from scrap cardboard. Glue them into corners where two panels meet. They act like tiny lifeboats, keeping joints from twisting under load.
Base Plates for Stability
Create a broader base by attaching a larger, flat sheet at the bottom. It distributes weight more evenly and reduces sag.
Practical Projects: Weight-Bearing Examples You Can Try
Ready-to-build ideas that actually work, not just show-and-tell.
Cardboard Shelf That Holds Books
– Build a shallow box frame with two side panels and top/bottom panels.
– Add a couple of internal dividers to turn it into a modular mini-shelf.
– Reinforce with a cross-brace at the back and a base plate for even weight distribution.
Planter Box That Won’t Fold
– Use double-wall corrugated cardboard to form the outer shell.
– Line with a plastic tray to prevent moisture damage.
– Add internal ribs along the back and sides to keep the box square under soil weight.
Prop-Style Table or Display
– Create a box-like frame with a central spine to resist bending.
– Mount legs with bracing on each joint.
– Use a sealant to keep moisture out and a flex-proof finish for longevity.
Maintenance and Real-Life Tips: Keeping Your Reinforced Cardboard Alive
You’ll want your creation to outlive a single project.
- Store it in a dry place away from heat sources that dry and crack the cardboard.
- Reinforce periodically as your load or use-case evolves.
- Use edge protectors for any cutting or tearing risk along the perimeter.
Common Mistakes to Avoid
– Over-sharing weight on one corner—weight distribution is everything.
– Skipping glue cure time. Quick setups don’t stick as well as patient ones.
– Neglecting moisture exposure. A damp box just collapses into a soggy mess.
FAQ: Quick Answers to Cardboard Reinforcement Questions
Can regular cardboard hold a lot of weight after reinforcement?
Yes, with the right design and internal supports you can transform flimsy boxes into surprisingly sturdy structures. The key is distributing weight and adding a ribbed backbone to resist bending.
What glues work best for reinforcing cardboard?
PVA wood glue or thick white glue works well for most projects. Hot glue is great for quick holds, but for long-term durability, consider PVA plus clamps during curing. If you need a permanent bond, look at construction adhesives rated for cardboard or lightweight wood.
How do I prevent cardboard from warping?
Keep it dry and balanced. Use edge sealing, avoid over-wetting during glue application, and add internal supports that run in multiple directions to resist warping forces.
Are there eco-friendly options for reinforcement?
Absolutely. Use recycled scrap cardboard for braces, repurpose cardboard from other packaging, and opt for water-based glues. You can even seal with natural sealants to reduce chemical exposure.
Is it okay to use screws on reinforced cardboard?
Yes, but pre-drill and don’t overtighten. Use washers to distribute the load and prevent the surface from tearing. If you want a cleaner look, use zip ties or screws with a cardboard-friendly insert.
Conclusion: You’ve Got This—Cardboard Isn’t Just Cardboard
Reinforcing cardboard is less about magic and more about smart design. Think like a furniture maker, not a kid with a glued box. Start with sturdy material, add internal ribs, seal joints, and test with gentle loads before you go all out. With the right approach, you can turn humble cardboard into a reliable, weight-bearing structure that surprises you.
If you’re curious, try a small test project first—a mini shelf or a display stand. FYI, you’ll probably end up amazed at how far a bit of glue and clever geometry can go. And if you want, share your results—I’m geekily rooting for your cardboard victory.