
How to Build a Cardboard Fort That Will Not Collapse

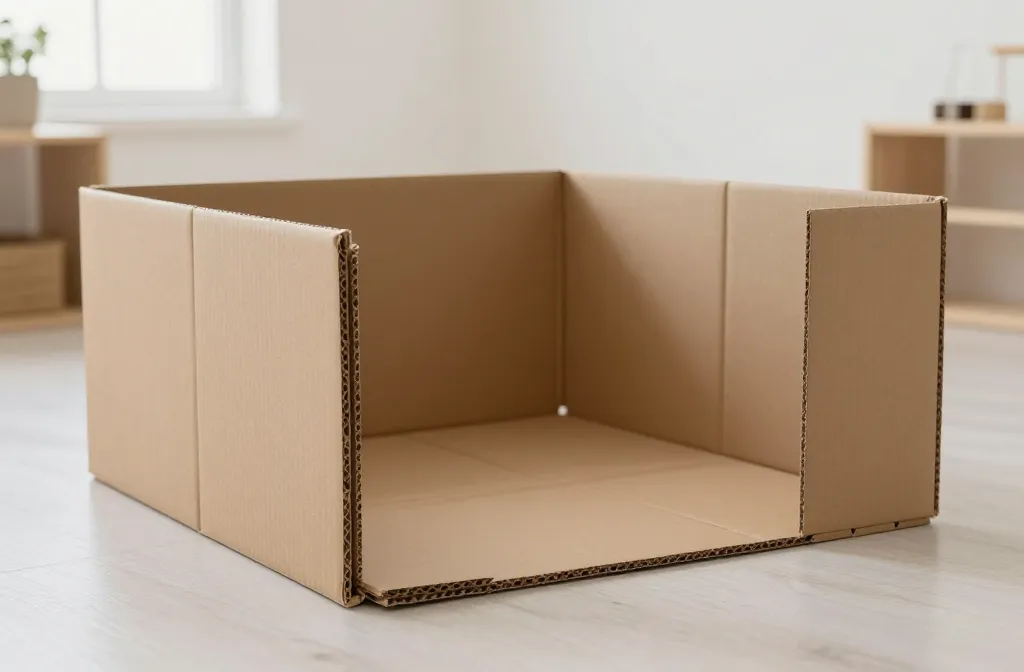
Ready to build a cardboard fort that actually stands up to your wild imagination (and maybe a tail-wagging dog or two)? You’re in the right spot. We’ll skip the fluff and get straight to a sturdy, kid-friendly, reuse-it-next-week kind of fort. FYI, this one is all about smart design, solid joints, and a healthy dose of creativity.
Choosing the Right Cardboard and Tools
– Start with corrugated cardboard from large boxes, ideally double-walled if you can get it. It’s tougher than the thin stuff and behaves better under pressure.
– Gather a few basic tools: a craft knife, a ruler, a pencil, masking tape, and a hot glue gun if you’re comfy with it. Don’t overthink it—simple tools do the job.
– Keep a small supply of Velcro strips and binder clips handy. They’re the secret sauce for quick, non-permanent holds.
Planning Your Fortress Layout
– Sketch a rough floor plan before you cut anything. Think rooms, doorways, and windows. A slightly 3D design helps you visualize stability.
– Aim for a low center of gravity. Place taller walls toward the back and shorter sections up front to prevent tipping.
– Consider modular sections. If you can build separate panels that snap together, you’ll improve stability and make disassembly a breeze.
Building Strong Joints and Panels
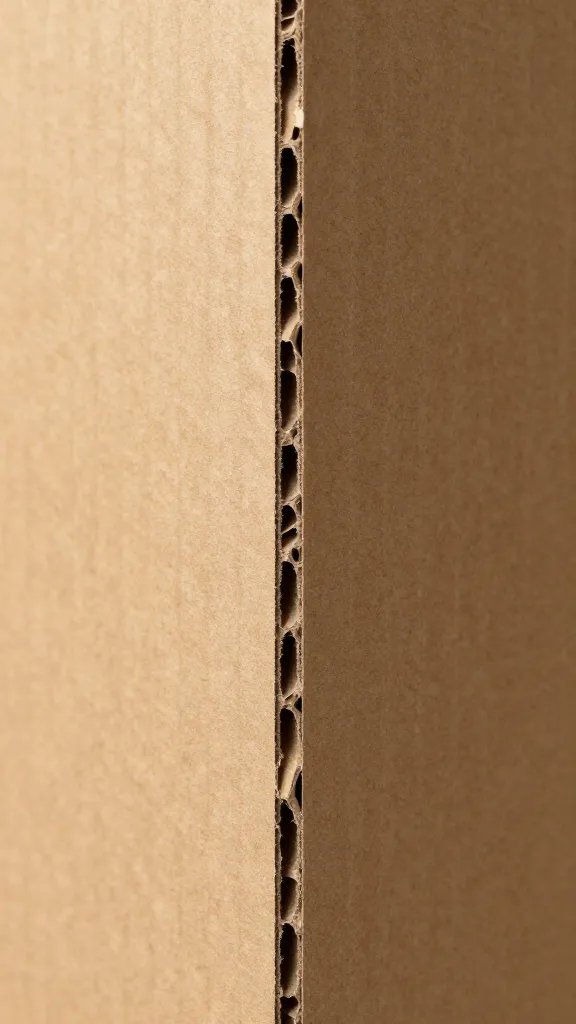
– Use “L” joints for corners. Glue or tape them securely, but don’t rely on tape alone—combine with a small cardboard brace on the inside.
– Create thickness by layering: two or three sheets laminated together create a stronger panel. Let glue dry fully between layers.
– Reinforce mid-span. A cross-brace or an internal strip of cardboard running from floor to ceiling dramatically improves rigidity.
Inside-Out Stability Tip
– Build from the inside out: start with the main frame, then add outer walls. This keeps everything square and avoids a wobbly outer shell.
Flooring, Foundation, and Floor Protection
– Start with a flat, sturdy base. Use a large, single piece of cardboard as a floor or laminate several sheets with careful alignment to avoid gaps.
– Add a non-slip underlayer. A thin sheet of fabric or rubber mat protects the floor beneath and helps prevent sliding.
– If you’ll move the fort around, attach a simple handle system to the base so you don’t have to lift the whole thing. Genius and practical.
Doors, Windows, and Play Features
– Cut doors at a slight angle for easy opening and closing. Don’t overdo the cuts; keep the door frame intact for extra strength.
– Window openings should be backed with extra cardboard on the inside. It keeps the frame from bending inward when kids press on it.
– Include a secret hatch or fold-down panel for extra fun. Just ensure it’s reinforced so it won’t sag with use.
Ventilation Matters
– Leave small gaps near the top of walls or add a few vent holes. Cardboard breathes, and so do your fort occupants. No one wants to feel like they’re inside a suitcase.
Decoration Without Drama
– Use removable elements like painted panels and fabric drapes that can be swapped out. Avoid heavy items that could shift the center of gravity.
– Decorate with stickers, markers, or paper cutouts. Keep the weight low and distributed evenly to avoid warping or sagging.
Safety and Maintenance
– Check joints regularly. A quick wiggle test can reveal a weak spot before it becomes a collapse event.
– Avoid sharp edges. Sand or trim any rough cuts and cover corners with extra cardboard or tape.
– Think about cleanup. Cardboard can weather in humidity, so store panels flat and dry to keep them sturdy for re-use.
Taking It Down (Smartly) and Reuse Ideas
– Disassemble in reverse order of assembly. This minimizes stress on joints and makes each piece easier to reuse.
– Flatten panels carefully and stack them. Label sections for easy rebuild later.
– Recycle or repurpose parts. Extra panels can become a play kitchen, a fort-for-ready-to-hide-and-seek, or a cardboard spaceship for the next project.
Smart Reuse Tricks
– Use panels as painting surfaces for future crafts.
– Turn door panels into a foldable table surface for crafts or snack time.
– Save the cross-braces as handy supports for other DIY projects.
FAQ
How long does it take to build a sturdy cardboard fort?
A solid fort can be assembled in a few hours with a friend and a plan. If you’re aiming for extra polish, plan a half-day with dry runs and tweaks. It’s a fun project, not a sprint.
What makes a cardboard fort genuinely stable?
Two things: strong joints and smart weight distribution. Use L-shaped corners, internal braces, and layered panels. Keep tall walls anchored to the structure and avoid top-heavy additions.
Can I use glue-free methods?
Absolutely. If you want to avoid glue, combine tape, binder clips, Velcro, and interlocking panel designs. The key is to create enough friction and contact points so pieces don’t slide apart during play.
Is it safe for kids of all ages?
Yes, with supervision and smart design. Round edges, no loose bits, and secure fastenings reduce risk. Check for loose tape and trim any sharp corners before playtime begins.
How can I make it more eco-friendly?
Use second-hand cardboard from large boxes, avoid single-use fasteners, and choose recyclable tapes. Reuse panels for future builds or donate the fort when your crew moves on to the next adventure.
Conclusion
Building a cardboard fort that stays up isn’t magic—it’s a mix of sturdy joints, smart planning, and a little creative know-how. Start with a solid plan, layer your panels, and reinforce key joints. Toss in a few play features, and you’ve got a fort that’s not only fun but surprisingly durable. FYI, the best part is you can take it apart, reuse the materials, and brag about your engineering prowess to anyone who’ll listen. Ready to build? Grab some cardboard, rally a friend, and turn your living room into a legendary fortress.