
How to Finish a School Craft Project the Night Before

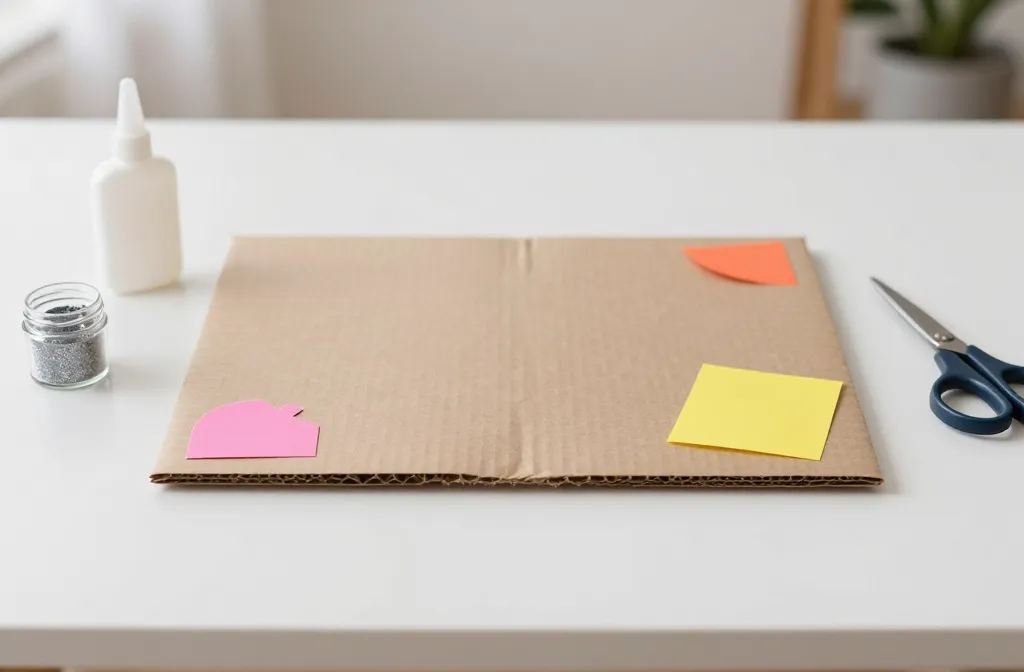
Ever been sprinting toward the clock, glue in one hand and glitter in the other? Yeah, me too. Let’s turn this frantic energy into a solid plan that gets you a project you’re proud of—without pulling an all-nighter that ruins your vibe tomorrow.
Set the Scene: Quick Prep That Saves Hours
First things first: assess what you actually need. Do a 60-second inventory of supplies, mess included. If you’re missing something critical, Instagram your local store’s hours and plan a 15-minute run before the chaos hits. FYI, procrastination loves making mountains out of molehills—keep the goal in sight, not the mess.
Make a Simple Plan
Sketch a tiny checklist of steps. The plan should be realistic, not heroic. Example: 1) Gather materials, 2) Assemble base, 3) Add decorations, 4) Seal and dry. No detours. If you can’t visualize the end product in your head, I’ll be honest: you’ll wander the craft room like a cat chasing a laser.
Choose Your Focus: Prioritize One Big Win
In a rush, your brain defaults to “make everything perfect.” Don’t. Pick one standout feature that will wow your teacher or classmates. Is it a clever centerpiece, a bold color scheme, or a clever use of recycled materials? Pick that and let the rest fall into place like a neatly organized desktop.
How to Decide Quickly
- Ask: What will most visible when the project is on display?
- Check the rubric or assignment prompt for clues about emphasis.
- Consider time: what can you finish cleanly in the remaining hours?
Dry Runs and Quick Fixes: Technology-Free Tactics
You don’t need fancy tools to finish on time. Dry runs help spot timing issues and messy glue disasters before they explode on your desk. Trust me, you’ll thank yourself when the glue dries in the right places instead of smearing all over your masterpiece.
Test Before the Real Thing
Assemble the core structure first, then add the finishing touches. If something wobbles, reinforce now, not later. Pro tip: let critical pieces dry while you work on smaller details elsewhere.
Layered Drying: Time-Saving Tricks
Drying is your enemy and best friend in disguise. Use strategic gaps to maximize your time. Layer glue in thin coats, use quick-dry adhesives wisely, and take advantage of ambient air or a fan. If you’re sharing a desk, designate a “quiet zone” for drying to avoid accidental smudges from a curious sibling or parent.
Technique: Thin Coats, Strong Finish
Thin coats dry faster and look cleaner. Resist the urge to cram everything on at once. Less is more when time is ticking.
Color and Texture Hacks That Don’t Add Hours
Nobody wants a flat craft that looks like a kiosk brochure. Add depth with simple color choices and textures. Swap a messy paint job for a couple of well-placed accents. You’ll create interest without a full-blown artistic coup.
Smart Color Pairings
Use 2-3 colors max. High-contrast combos pop, but they can look chaotic if overused. If you’re stuck, pick one bold shade and pair it with neutrals. Your future self will thank you for the cohesive look.
Finishing Touches: Sealing, Labeling, and Presentation
Finish strong by sealing surfaces (where appropriate), labeling the project with a simple name, and presenting it neatly. A tiny bow, a tag, or a decorative base can elevate your entire piece without stealing precious time. Presentation matters—teachers notice the little things.
Sealable Surfaces and Safety
Choose a sealant compatible with your materials. If you’re using paper or fabric, a spray sealant can help, but test on a scrap first. Don’t skip safety: work in a ventilated area and follow product directions.
Communication and Ownership: Owning Your Quick Finish
Be confident about what you produced, even if you had to hustle. Share a quick, honest note with your teacher or group—no excuses, just what you accomplished and what you’d like to improve next time. IMO, accountability turns a rushed job into a learning moment, not a regretful memory.
How to Talk About Your Process
Briefly describe the steps you followed, the challenges you faced, and how you solved them. This shows you know what you did and learned from it, even under pressure.
Five Common Night-Before Scenarios—and How to Handle Them
Here are quick, practical fixes for typical last-minute craft crises. Pick your scenario and use the tactics below to salvage the project.
Scenario A: Missing Materials
Use substitutes you have on hand. Cardboard can replace a base, scrap fabric can stand in for decorative elements. Get creative; you’ll often surprise yourself with clever DIY hacks.
Scenario B: Glue Is Not Drying Fast Enough
Use a hot glue gun if you have one, or apply a thin layer and let it set while you work on other items. A fan can speed up air-drying, too.
Scenario C: Colors Bleed or Run
Wipe excess color immediately, dab with a clean cloth, and switch to a lighter shade for any corrections. Water-based paints often dry faster and are easier to fix.
Scenario D: Pieces Won’t Stay Put
Try removable adhesive putty or double-sided tape for a quick, temporary hold. Think about framing or mounting the piece to a stable base to reduce wobble.
FAQ
Q: What if I genuinely don’t have the right materials?
Improvise. Borrow from a friend, use recyclable finds, or repurpose outdated craft items. The goal is a neat, presentable piece, not a museum-quality sculpture.
Q: How can I make the project look polished with little time?
Focus on clean edges, a cohesive color palette, and a simple, well-executed centerpiece. Extra decoration is fine, but don’t chase perfection; aim for a strong, cohesive look that reads well from a distance.
Q: Is it okay to tell the teacher I finished late due to a learning moment?
Be honest but concise. Frame it as: I learned that planning ahead helps, and here’s one concrete change I’ll implement next time. Honest reflection earns respect more than excuses.
Q: How do I stay calm while finishing in a rush?
Take a few deep breaths, pause to water down a potentially messy step, and tackle one section at a time. A calm, methodical pace beats frantic, erratic moves any day.
Q: What’s the best way to present the finished project?
Set it on a clean surface, give it a quick wipe or brush, and place a small label or name tag. A simple display can boost perceived effort and make your work stand out.
Conclusion
Finishing a school craft project the night before doesn’t have to be a sprint that leaves you with glue on your shirt and dread in your heart. With a clear plan, smart prioritization, and a few drying-minded tricks, you can turn a potential chaos into something you’re genuinely proud of. FYI, the real win isn’t the perfect piece—it’s the confidence you gain from knowing you can pull this off without burning the midnight oil. So next time you’re staring at a looming deadline, remember: a little strategy, a dash of creativity, and a calm mindset go a long way. You’ve got this. IMO, you always do.