
How to Make Craft Activities Work for Students With Disabilities

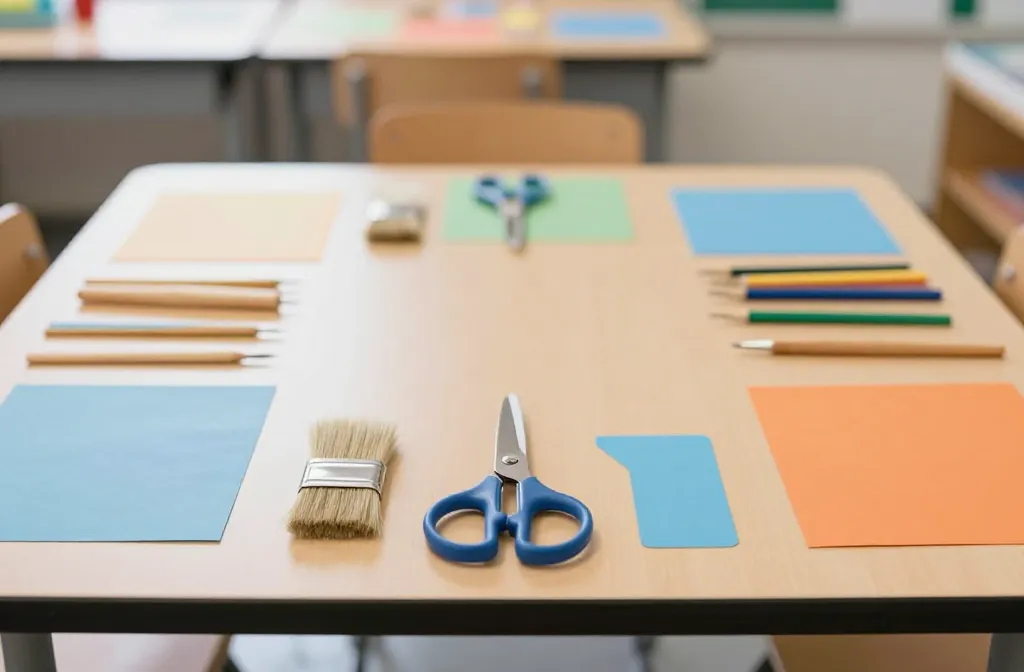
An introduction to crafting that actually sticks: yes, it’s possible to make art time inclusive, fun, and mess-free for everyone in the room. You don’t need a magic wand—just a few thoughtful tweaks, a dash of patience, and a readiness to let creativity lead the way. Let’s dive into practical, doable steps that turn craft activities into accessible, joyful learning moments.
Why Craft Time Deserves a Radical, Inclusive Makeover
Craft activities are more than glitter and glue. They’re opportunities for students to express themselves, build fine motor skills, and practice communication in a low-stakes setting. When we design with accessibility in mind, every kid gets a chance to shine. FYI, the payoff isn’t just prettier projects—it’s confidence, resilience, and a classroom that feels safe to take creative risks.
Start With Accessible Materials: The Right Tools Make All the Difference
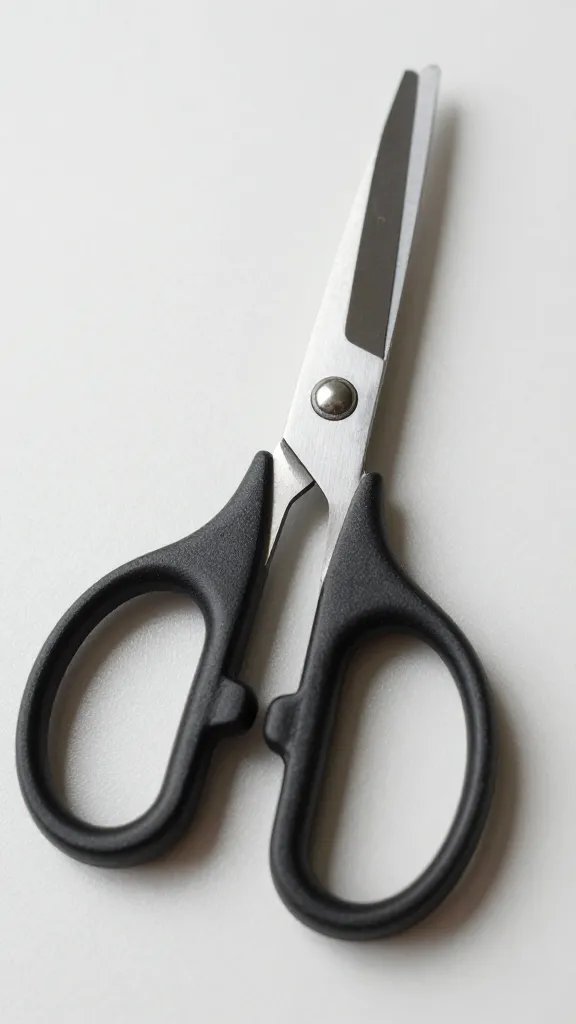
– Use adaptive grips, larger handles, and chunky scissors to reduce fatigue and frustration.
– Choose non-toxic, low-sensory materials for kids who are sensitive to textures.
– Provide velcro, magnets, or reusable stickers for students who can’t manage tiny pieces.
– Offer pre-cut shapes or templates to minimize setup time and maximize participation.
Choosing the Right Tools
– Have a range of pencils and brushes with different grip sizes.
– Stock up on thick markers, high-contrast colors, and tactile stamps for students with visual impairments.
– Keep a simple button-and-string setup for weaving or threading tasks.
Build Clear, Flexible Routines: Structure Without Stifling Creativity
Routines reduce anxiety and give students a predictable path to success. But you don’t want to bore them with “the way we’ve always done it.” You want a structure that’s pliable enough to accommodate differences.
– Start with a quick, visual checklist of steps.
– Use timer-friendly goals so students know what “done” looks like.
– Allow alternative demonstrations: a quick video, a demonstration by a peer, or a hands-on walkthrough.
Break It Down
– Break projects into small, manageable steps.
– Pair students with roles that fit their strengths (idea generator, color chooser, glue master).
– Offer options for pace: some students work in 5-minute chunks, others need longer blocks.
Override Sensory Overload: Create a Calm Craft Zone
Sensory issues pop up fast during crafting: loud scissors, strong smells, bright lights. Design a space that minimizes overwhelm.
– Set up a quiet corner with noise-damping panels and soft lighting.
– Keep scent-free or mildly scented materials; offer scent-free alternatives.
– Have a dedicated “wipe-down station” to manage gluey hands and messes before the next activity.
What to Put In Your Quiet Zone
– Quiet, comfortable seating and a small table for focused work.
– A rotate-and-switch signal so students can opt out without drama.
– Visual timers and simple icons to show status (working, taking a break, finished).
Differentiate Like a Pro: Meet Each Student Where They Are
Differentiation isn’t a luxury; it’s a must. The goal is participation, not perfection. Start by offering choices and gradually adding supports as needed.
– Provide alternate tasks that align with the same learning objective.
– Allow different media: paper, fabric, clay, digital art could all meet the same goal.
– Scaffold instructions with visuals, simple sentences, and one-step directions.
Practical Differentiation Ideas
– For fine motor shortfalls, let a student assemble a pre-glued collage, then add finishing touches.
– If counting or sequencing is tough, use color codes or icons to indicate order.
– Use peer support buddies who model steps and encourage peers without singling anyone out.
Involve Families: Extend Craft Time Beyond the Classroom
Family involvement makes craft learning stick. Include simple at-home activities and materials lists so families can continue the practice.
– Send home a “Craft at Home” mini kit with easy-to-find supplies.
– Provide optional online tutorials or quick calls to walk parents through setups.
– Celebrate at-home成果 with a photo gallery or a small, inclusive showcase.
Communication Tips for Busy Families
– Use short, clear messages with visuals.
– Offer flexible pickup times or virtual show-and-tell sessions.
– Invite families to share what works best for their child’s needs.
Assessment That Feels Like Progress, Not Pollution of Time
Assessments should capture growth, not just the final project. Use ongoing, low-pressure checks to understand what’s working and what isn’t.
– Track skills like grip strength, hand-eye coordination, and ability to follow steps.
– Note social and communication gains during collaborative projects.
– Use a simple rubric with visuals and student-friendly language.
Sample Rubric Snippet
– Participation: full, partial, or minimal involvement.
– Tool Use: appropriate grip, control, or needs modification.
– Creativity: originality and use of materials.
Self-Advocacy and Student Voice: Let Students Lead
Encourage learners to express what helps them learn best. This isn’t a one-way street; it’s a collaboration.
– Ask students to vote on materials or project themes.
– Create a “voice wall” where students post quick notes about what works for them.
– Encourage students to request adjustments in real-time, and model how to do it respectfully.
FAQ
How do I handle mixed-ability classrooms during craft time?
Plan inclusive activities with several layers of challenge built in. Start with a core task everyone can do, then offer optional extensions or alternative materials for students who need them. Keep signals simple and consistent so students understand expectations, no matter their ability level.
What if a student is overwhelmed by a project’s complexity?
Scale back. Provide a simplified version of the assignment, or offer a ready-made kit with pre-cut pieces. Give a quick break and offer a choice to switch to a different activity that still targets the same learning goal. The key is to keep momentum without pushing past a hard limit.
How can I involve peers in a way that’s supportive, not stigmatizing?
Pair students for collaboration with clear roles that leverage each person’s strengths. Train buddies to model tasks and offer gentle, encouraging prompts. Celebrate teamwork as a skill in itself, not just “helping someone else.”
What if I don’t have fancy adaptive tools?
You don’t need a toolkit full of gadgets to be effective. Start with everyday items: sponge brushes, felt shapes, tape, and washable markers. Creativity shines when you adapt what you already own. FYI, improvised solutions often spark the best ideas.
How do I measure success beyond “finished project”?
Focus on process goals too: how well students follow steps, sustain attention, switch tasks, or collaborate. Use quick observations or a simple checklist. The project is just the payload; the learning happens along the way.
Conclusion
Craft activities can be a powerful engine for inclusive learning when you design with intention. Start with accessible materials, set flexible routines, and build a calm, sensory-friendly environment. Differentiate, involve families, and give students real voice and choice. With a little creativity and a lot of patience, you’ll turn craft time into a highlight of the day for all your students. So, what’s the first tweak you’re going to try in your next session?