
How to Run a Craft Activity for 30 Students at Once

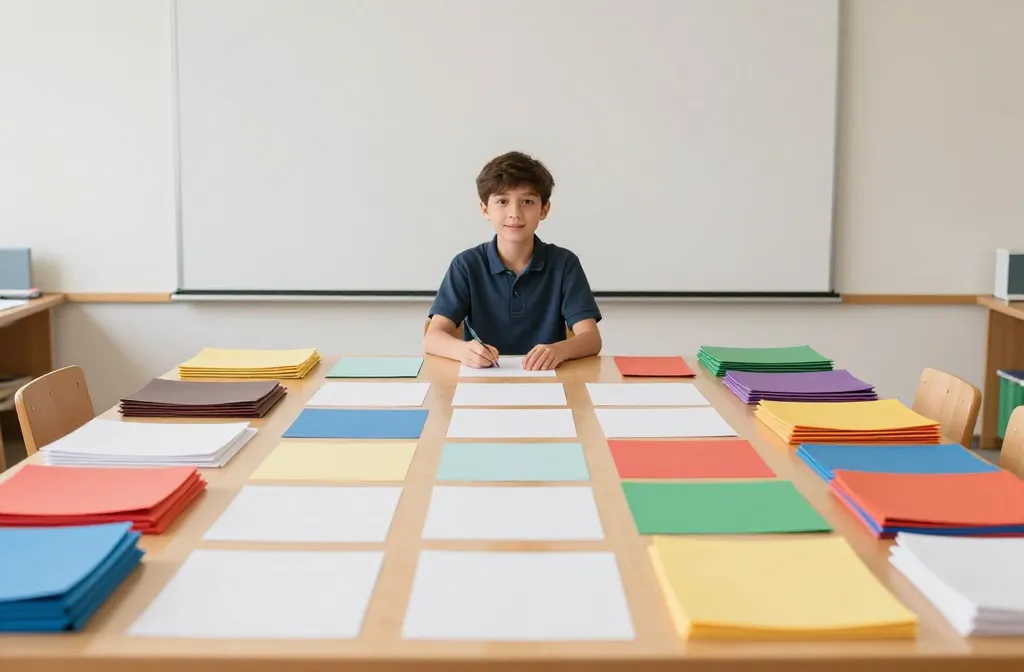
Are you about to run a craft session for 30 students and feel a mix of excitement and panic? You’re not alone. Let me walk you through a smooth, practical plan that turns chaos into creativity with room to breathe. FYI, you’ll walk away with a classroom full of smiling, proud makers.
Plan Like a Pro: Set the Stage for 30 Mini-Monsters of Creativity
Preparing before the bell rings saves you headaches later. Start by choosing a project that scales well and uses readily available materials. Think simple, bold, and forgiving—things kids can assemble with minimal guidance.
- Pick a strong, visual concept: collage, paper weaving, or painted tiles work wonders.
- Define a clear, single objective per session: color balance, pattern repetition, or texture contrast.
- Estimate materials for 30 students plus a few spares; nothing derails a class like a missing glue stick at the crucial moment.
Prep Checklist You’ll Thank Yourself For
- Materials: per-student bundles or color-coded kits to speed up distribution.
- Tools: scissors, brushes, AP-safe glue, and protective towels or mats.
- Workspace: stations focused on specific steps to minimize crowding.
- Safety: quick rules display and accessible first-aid kit.
Student Flow: How to Move 30 Minds Like a Well-Oiled Machine
Your big challenge is sequencing. If you break the activity into clear, repeatable steps, you get smooth sailing, not a chaotic craft storm.
- Demonstrate once, clearly. Let them see the end product first, then walk them through the steps.
- Assign roles that mirror real-world tasks: cutter crew, glue squad, paint captains.
- Stage transitions so kids never stand around waiting—rotate stations or offer two-minute build goals.
Station Setup That Saves Time
- Station A: Materials Handout & Prep
- Station B: Assembly & Glue Tricks
- Station C: Finishing Touches & Display
Engagement Tricks: Keeping 30 Energetic Minds Focused
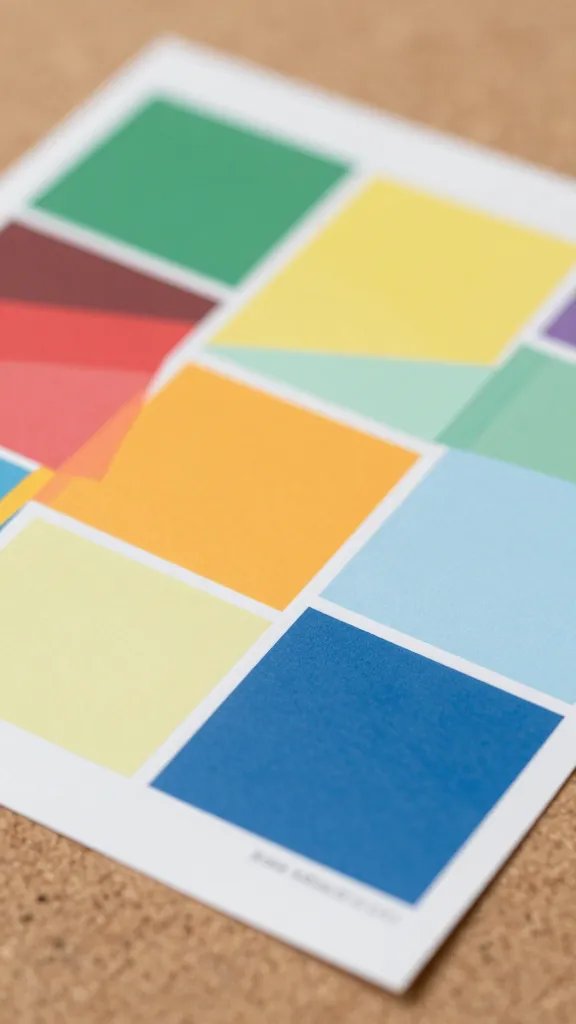
Here’s where you lean into the fun. The goal is participation, not perfection, and a little friendly competition never hurts.
- Make it a team sport: 6 groups of 5, each with a quick shared objective.
- Sprint rounds: 5–7 minutes per step with a visible timer. Quick checks keep momentum high.
- Showcase moments: a mini “gallery walk” where teams present their progress.
Microskills That Make a Big Difference
- Bright, explicit language: “Place the blue hexagon here, then press firmly.”
- Positive reinforcement: “Nice color balance—grow that contrast in the next step.”
- Nonverbal cues: thumbs up, claps, or a cheer to celebrate small wins.
Common Pitfalls—and Quick Fixes You Can Use Tonight
We’ve all been there: materials spilled, kids stuck on a single step, or a meltdown because the glitter is not in the same color family. Here are fast fixes that actually work.
- Problem: Glue runs out mid-project. Fix: Keep a glue reserve and pre-fill mini bottles for quick swaps.
- Problem: Too many different options. Fix: Narrow to 2–3 color families or patterns to maintain cohesion.
- Problem: Noise levels spike. Fix: Give a visual cue (lights or a hand signal) to bring everyone back to focus.
Assessment Without the Stress: Quick Ways to Gauge Learning
Assessment doesn’t have to be a formal quiz. You can weave it into the process and still have fun.
- Process check-ins: “Show me your next step; what comes after this?”
- Exhibit-style display: set up a mini gallery where students explain their choices.
- Peer feedback: quick 30-second rounds where partners share one strength and one idea to improve.
Documentation Ideas
- Take photos of each group’s progress at key milestones.
- Capture a short video clip of a student explaining their piece.
- Keep a simple reflective sheet for students to jot one thing they learned.
Inclusive Approaches: Making It Accessible for Everyone

Craft activities should be inclusive and fun for all learners. Plan with accessibility in mind so every student can participate meaningfully.
- Offer alternative tools: adaptive scissors, larger grips, and high-contrast materials for visibility.
- Pair students strategically: mix confident and newer crafters to support each other.
- Provide multiple entry points: allow variations in complexity so students can push their own boundaries.
Language and Communication
Use concise, actionable instructions and check for understanding with a quick thumbs-up or a nod. FYI, a little humor goes a long way in clarifying steps without raising stress levels.
Managing the Environment: Space, Time, and Safety
The physical setup matters as much as the project itself. A calm, organized space makes creativity bloom.
- Clear boundaries: designate zones for cutting, gluing, and drying.
- Spill controls: have towels, wipes, and a quick-dry surface ready.
- Safety first: emphasize safe tool use and supervision with enough adults to cover stations.
Teacher Roles That Shine
Rotate through stations to keep energy high and give yourself a moment to troubleshoot. If you’ve got an assistant, empower them to lead a station with you backing them up.
FAQ: Quick Answers to Your Burning Questions
How do I keep 30 students engaged without chaos?
Break the activity into clear, timed steps and appoint small roles within teams. Short, check-in moments beat long monologues every time. Also, celebrate tiny wins loudly—kids love a good victory dance.
What materials scale best for a large class?
Choose flexible, low-muss materials: colored paper, pre-cut shapes, kid-safe glue, and washable paints. Bundle by student or by station to speed up distribution and setup.
How do I handle safety without killing the vibe?
Set basic rules at the start and keep supplies within easy reach of adults. Have a quick safety demo and post the rules where everyone can see them. FYI, kids respond to consistency and clear expectations.
What if a student finishes early?
Offer extension options: add a background collage, create a matching accessory, or help a peer who’s still working. Early finishers become peer mentors, which is a win-win.
How can I assess learning without stifling creativity?
Focus on process: did they plan, execute, and reflect? Use simple check-ins, a tiny exhibit, and a quick reflection note. The goal is to see growth, not to grade a masterpiece every time.
Conclusion: You’ve Got This—A Happy, Productive Craft Session
Running a craft activity for 30 students is absolutely doable with a clear plan and the right setup. Keep steps simple, roles clear, and energy high, and you’ll see creativity blossom across the room. IMO, the best part isn’t the final pieces—it’s watching kids collaborate, experiment, and own their work. So go ahead, line up those stations, rally the team, and let the magic happen.