
14 Winter Decorative Craft Ideas That Are Not Christmas

# 14 Winter Decorative Craft Ideas That Are Not Christmas
January through March still feels cold and dark, but most winter decorations vanish the day after the holidays. Your shelves and walls sit bare for months even though you still need color and warmth to look at.
These fourteen winter decorative craft ideas skip red, green, and any mention of December. They use white, silver, navy, rust, cream, and natural wood to match the season without fighting your need to move on.
Each one takes an afternoon or less and uses supplies you already own or can grab during one quick trip.
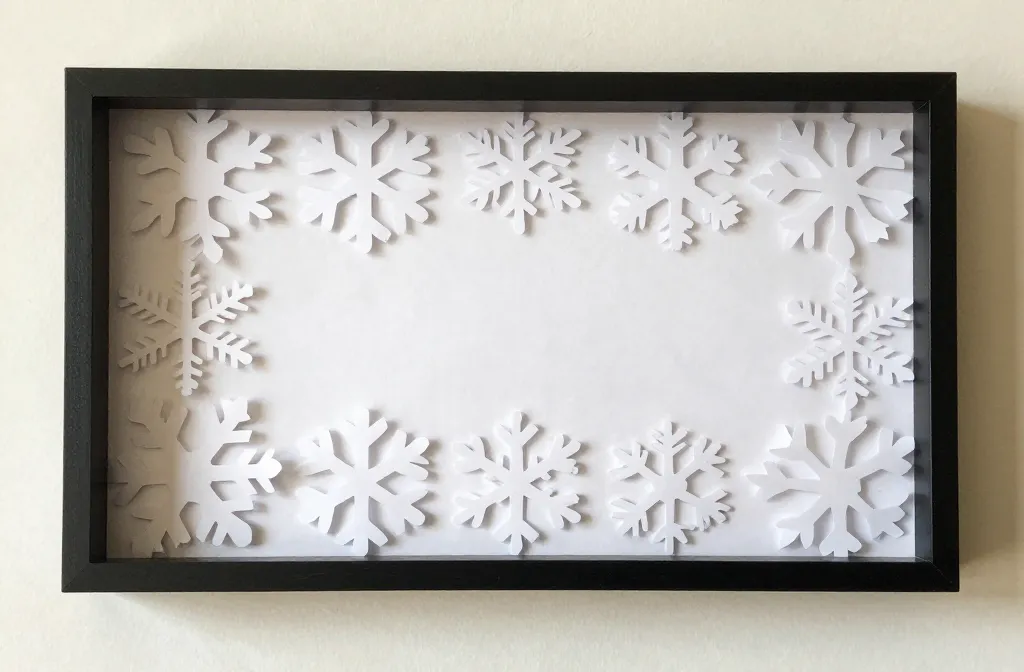
1. Fold Paper Snowflakes and Layer Them in a Frame

Snowflakes cut from white paper feel like elementary school until you stack three sizes inside one deep frame with foam dots between each layer. The depth makes shadows, and suddenly it looks intentional.
Supplies: white printer paper, scissors, a shadow box frame from the thrift store, and adhesive foam dots.
Time needed: About an hour to fold, cut, and arrange three snowflakes. An adult should handle the fine scissor cuts if kids help with the folding.
Hang it near a window so afternoon light catches the edges.
2. Bundle Bare Branches in a Tall Vase

A gathering of sticks sounds like giving up on decor, but a cluster of bare branches in a narrow vase reads as modern once you add height. The secret is scale. Use branches taller than the vase by at least two feet, and pick ones with interesting angles or small offshoots.
Why it works:
- The brown and gray tones match winter without any holiday association
- Branches are free if you prune your own yard or ask a neighbor
- They last for weeks without water and never droop
Spray paint them white if you want a softer look, but plain wood has more texture.
3. String Felt Pom Poms on Twine for a Garland

Best for: mantels, bookshelves, or doorways that need a soft touch without glitter or glass.
Felt pom poms come in bags at craft stores, or you can make them with yarn and a fork if you have the evening. Thread them on jute twine in a repeating pattern of three colors. Navy, cream, and rust works. So does gray, white, and pale blue.
Space them about two inches apart so the garland drapes instead of clumping. The texture keeps it from looking flat in photos, and nothing breaks if a kid tugs it.
Storage tip: Roll it around an empty paper towel tube when the season ends so it does not tangle.
4. Wrap a Foam Wreath Form with Chunky Yarn
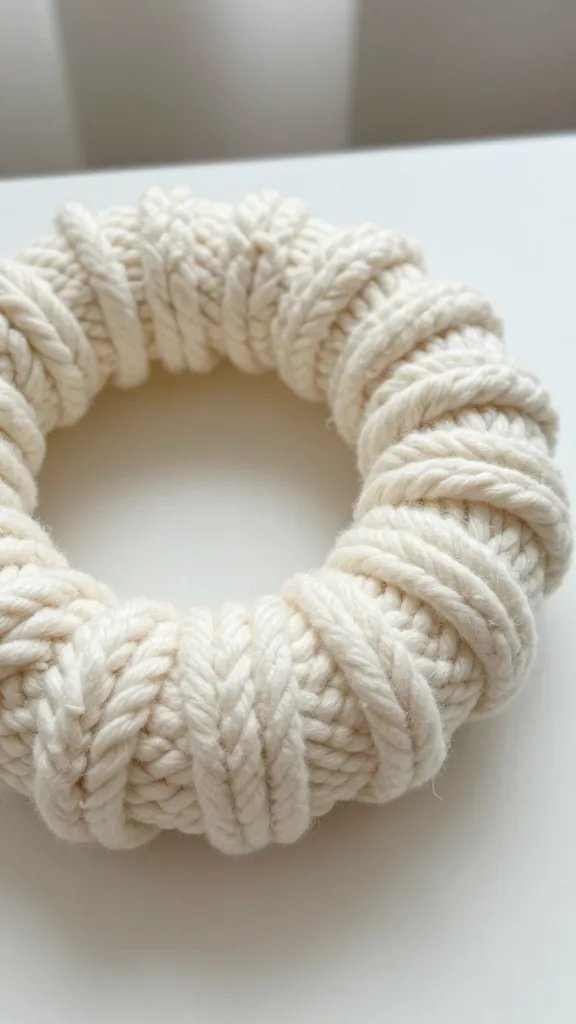
A wreath does not need greenery or berries. Wrapping a foam ring with thick yarn in one solid color gives you a soft circle that works on any door.
Start with a twelve inch foam wreath form and two or three skeins of bulky yarn. Pin the end to the back with a straight pin, then wrap the yarn around the form, overlapping slightly so no foam shows through. When you reach the starting point, tie off the end and tuck it under a few loops.
Make it easier: Use two colors and switch halfway around the circle for a two tone effect.
Budget swap: Old t-shirts cut into strips work the same way and cost nothing.
5. Fill Glass Jars with Epsom Salt and Battery Candles
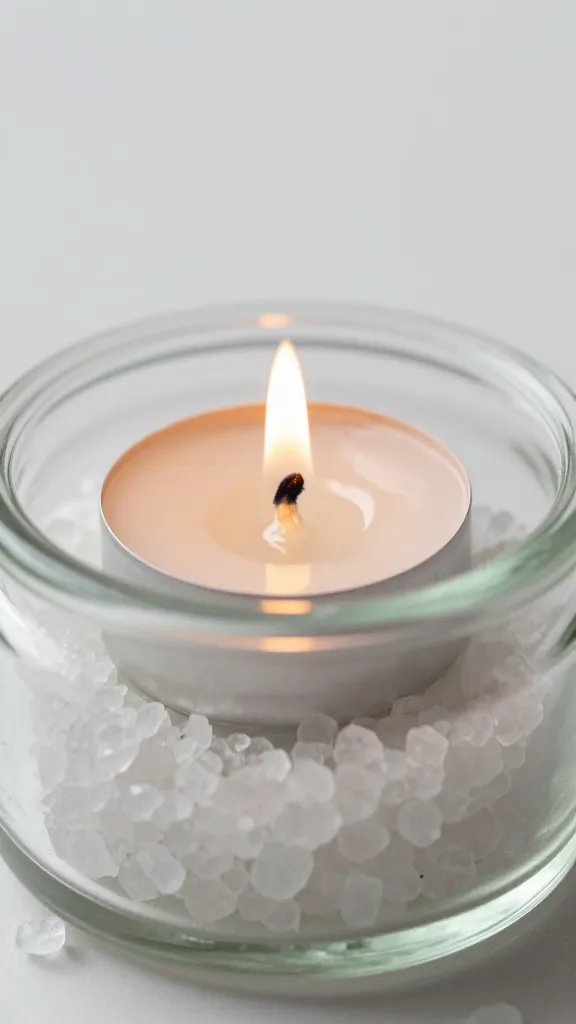
The make: Pour a layer of Epsom salt into the bottom of a clear jar, nestle a small battery operated tea light into the salt, and set it on a windowsill.
The salt looks like snow but does not melt or make a mess. The fake candle flickers without any fire risk near curtains or paper decor. Three jars clustered together on a tray read as a vignette instead of a leftover science project.
Use jars you already have instead of buying new ones. Mismatched sizes look better than a perfect set.
6. Cut Circles from Cardstock and Hang Them as a Backdrop
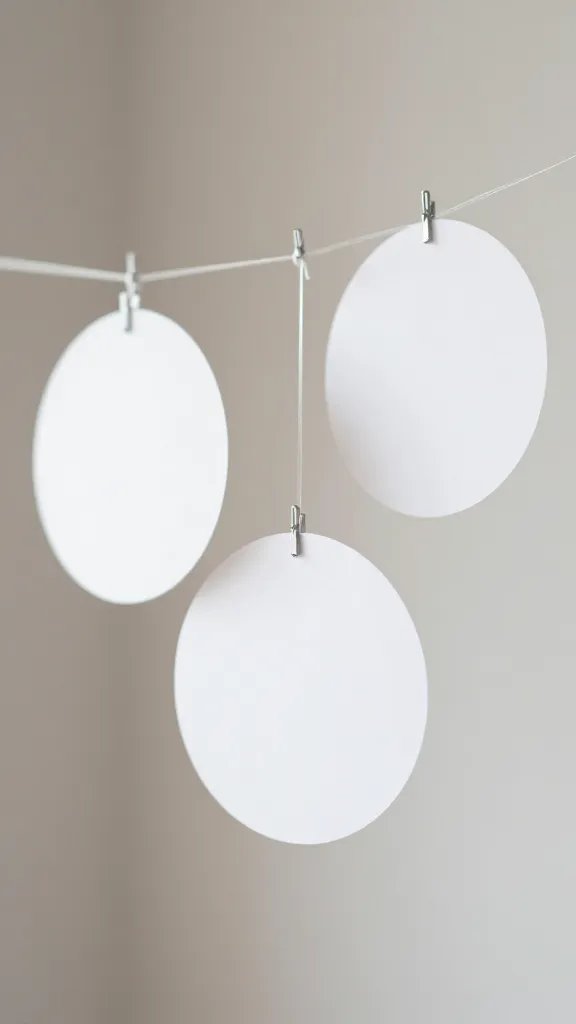
A wall of hanging circles in winter whites and grays fills a blank space behind a reading chair or an entry table. Cut circles in three sizes from cardstock using a bowl, a mug, and a jar lid as templates. Punch a hole at the top of each circle, thread them on clear fishing line, and tape the lines to the ceiling at staggered heights.
Why it works:
- Cardstock is stiff enough to hang straight without curling
- Fishing line disappears against most walls
- You control the density by spacing the lines closer or farther apart
Overlap some circles and leave gaps in others so it feels loose, not rigid.
7. Stitch Simple Shapes onto Burlap and Stretch It in an Embroidery Hoop
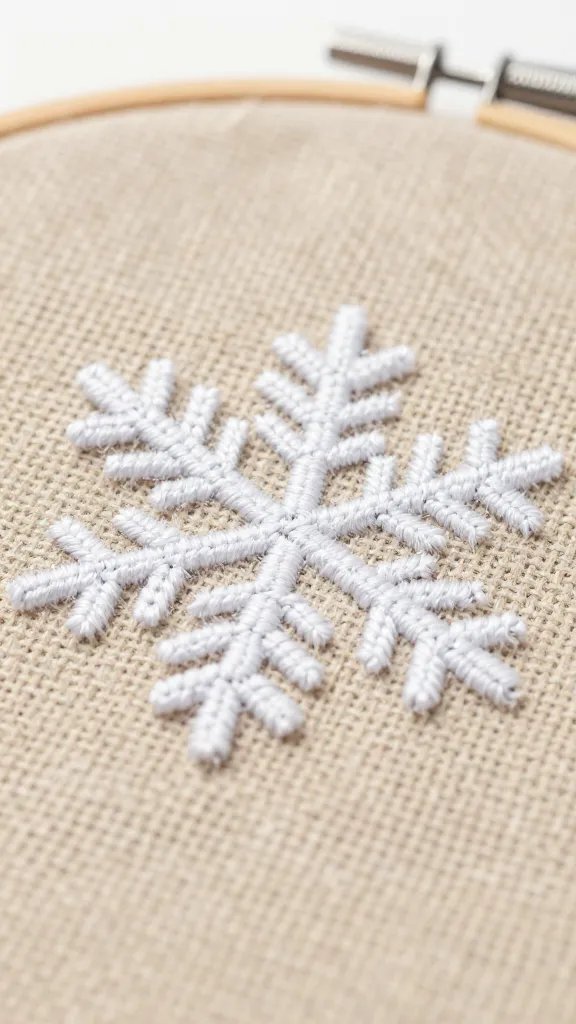
Best for: a gallery wall that needs texture or a shelf that feels too plain.
Embroider a single snowflake, a bare tree, or a simple geometric mountain outline onto a square of burlap using white or navy thread. Stretch the finished piece in a wooden embroidery hoop and hang it as is. The hoop becomes the frame.
Running stitch and backstitch are the only two stitches you need. Both are easy to learn from a five minute video if you have never held a needle. The rough weave of burlap hides uneven tension, so beginners can relax.
Skill level: No prior embroidery experience required, but plan on an evening to finish one hoop.
8. Arrange White Candles on a Wooden Tray with River Rocks

Pillar candles in different heights grouped on a tray look expensive if you add weight around the bases. Scatter smooth river rocks or white pebbles between the candles to anchor the arrangement and give it a wintery, minimal feel.
- Base: a flat wooden tray or a cutting board you no longer use for food
- Main supply: three to five white pillar candles in varying heights
- Texture: a handful of river rocks from the garden center or a craft store
- Safety: real candles need supervision, or swap in battery pillars for the same look
Placement note: Keep this arrangement on a table away from fabric or paper, and never leave real candles burning unattended.
9. Paint Pinecones White and Pile Them in a Bowl

Pinecones left natural look like something you swept off the porch. A coat of white craft paint turns them into a centerpiece.
Collect pinecones from your yard or a park, brush off any dirt, and let them dry for a day. Paint each one with white acrylic craft paint using a cheap brush, getting into most of the crevices but not worrying about full coverage. The brown peeking through adds dimension.
Pile them in a wide, shallow bowl once they dry. The cluster reads as snowy and intentional without any glitter or glue.
Mess control: Paint them outside or on a sheet of newspaper so drips do not matter.
10. Drape a Faux Fur Throw Over the Arm of a Chair

The detail to steal: Winter decor does not always mean wall art or tabletop arrangements. A soft throw in cream or gray draped over the arm of a chair warms up a room and begs people to sit down.
Faux fur reads as cozy and seasonal without pointing to any specific holiday. Fold it loosely instead of spreading it flat so the texture shows. Place it where people actually sit, not on a decorative chair no one uses.
This trick works in a living room, bedroom, or even a reading nook. The throw does double duty as decor and as something genuinely useful on a cold evening.
11. Trace Leaf Outlines on Kraft Paper and Tape Them to the Wall

Large simple shapes cut from kraft paper feel modern and graphic. Trace around real leaves to get the outlines, or freehand a few basic oak or maple shapes if you do not have leaves on hand. Cut them out with scissors and tape them directly to the wall in a scattered pattern.
Why it works:
- Kraft paper is cheap and comes in rolls wide enough for big shapes
- The brown tone matches winter without feeling dull
- Removable tape keeps paint safe when you take them down
Overlap a few leaves and let others float alone. The randomness keeps it from looking too stiff.
12. Build a Miniature Landscape in a Shallow Dish
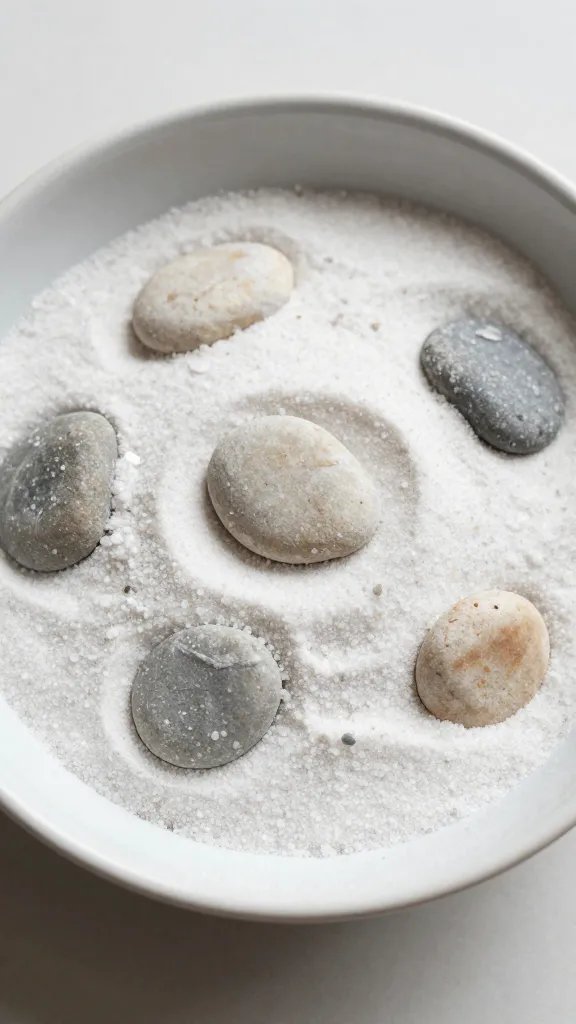
A long low dish filled with sand, small stones, and a few tiny figurines becomes a winter landscape you can stare at while drinking your morning coffee. Use white sand or plain beach sand as the base, add a few larger rocks to create hills, and tuck in a small toy deer, bird, or tree.
Supplies: a shallow ceramic dish, sand from the hardware store or leftover from summer, smooth stones, and a miniature figure or two from the craft store.
Kid friendly: Let kids arrange the stones and figurines while you handle the sand layer. They enjoy moving pieces around, and nothing is fragile.
The whole setup takes fifteen minutes and sits nicely on a coffee table or shelf.
13. Hang Fabric Strips from a Branch for a Wall Hanging
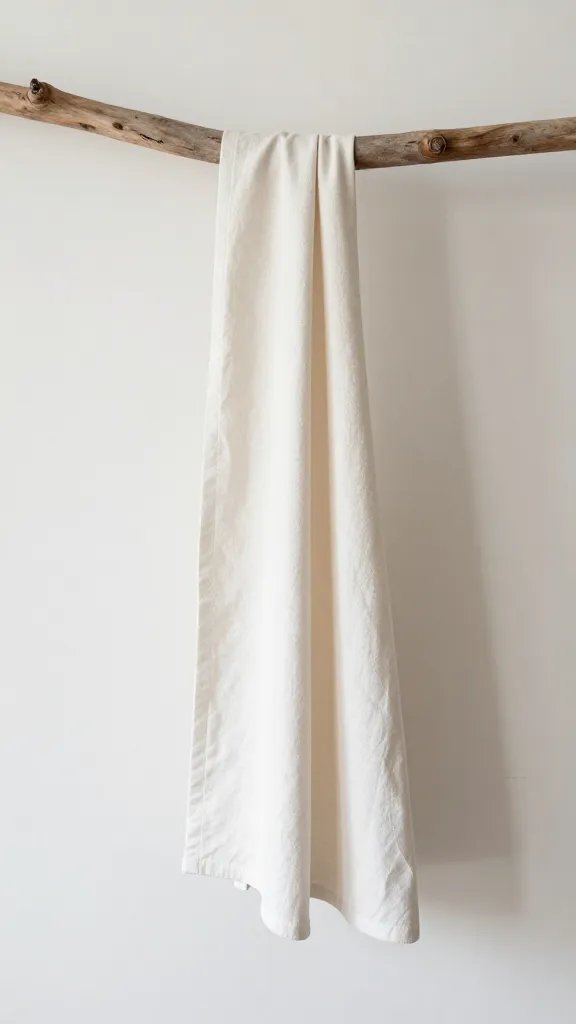
Best for: a bedroom or hallway that needs softness and movement.
Cut strips of fabric in winter tones like cream, gray, navy, and rust, each about two inches wide and varying in length from twelve to twenty inches. Tie them along a sturdy stick or a piece of driftwood, spacing them close together so the fabric overlaps slightly. Tie twine to both ends of the stick and hang it on the wall.
The strips sway when you walk past, adding gentle motion to a still room. Use fabric scraps you already have, or buy a quarter yard of a few coordinating solids.
Reuse it later: Swap the fabric colors in spring and you have a new piece without starting over.
14. Stack Books and Top Them with a Small Potted Plant
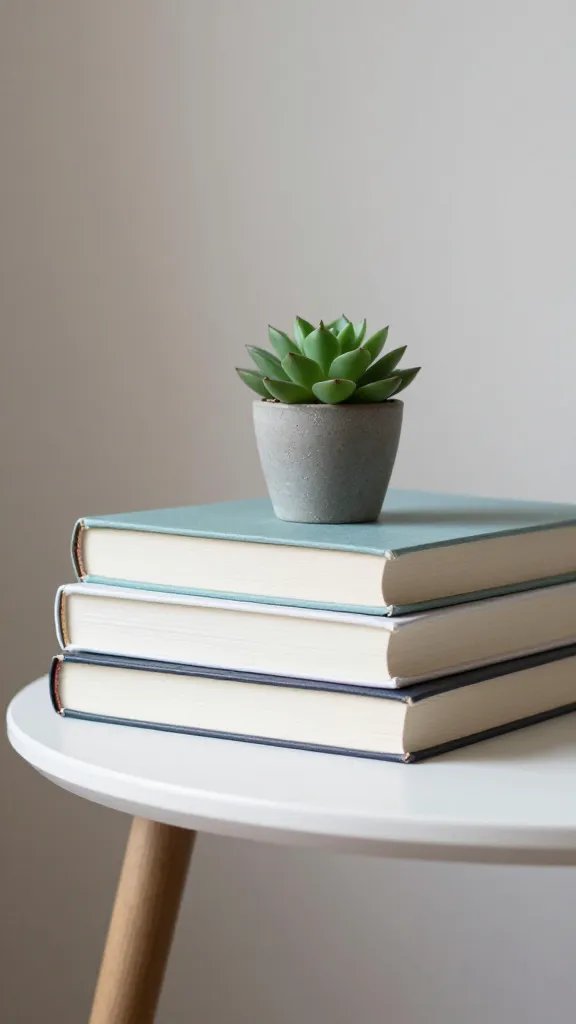
Three or four books stacked on their side with a small potted succulent or fern on top creates a layered vignette that feels put together. Choose books with spines in neutral tones or turn them so the pages face out for an all white look.
The plant adds life without needing much care, and the books give it height. This setup works on a side table, a mantel, or a bookshelf that feels too empty. Rotate the books every few weeks so the same ones do not always carry the weight of the pot.
One small change: Add a candle next to the plant for a second layer, or tuck a small framed photo between the books.
Winter lasts longer than we plan for, and your space should feel lived in through all of it. These crafts use materials that show up in most homes already, and none of them shout about a holiday that has passed. Make one this weekend, or save a few ideas for the next cold afternoon when your walls need something new to look at.