
17 Craft Ideas for Teens Using Old Clothes

# 17 Craft Ideas for Teens Using Old Clothes
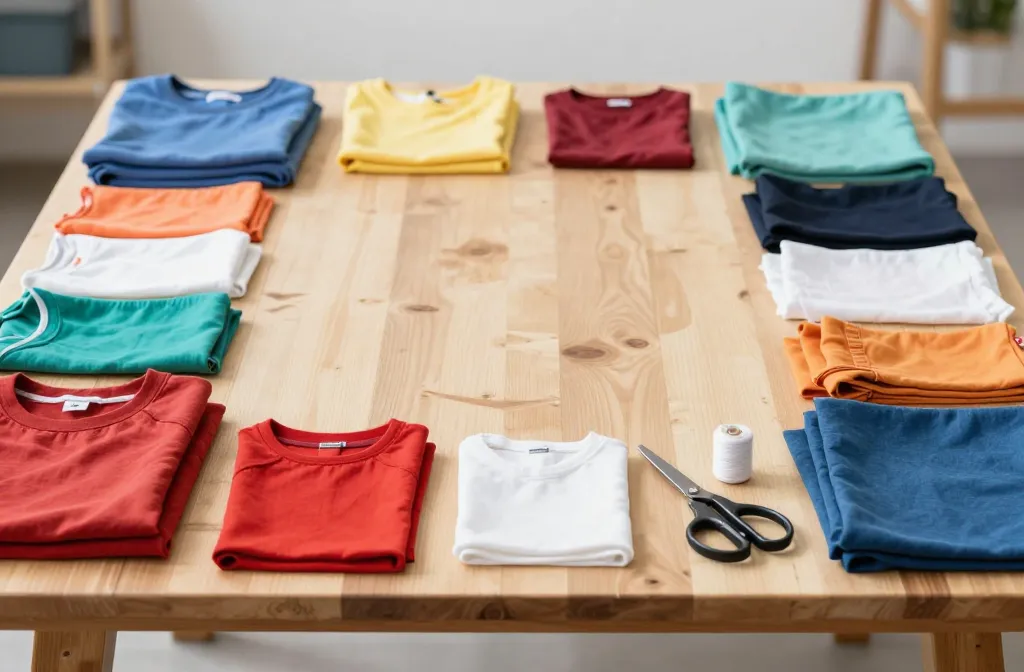
That pile of outgrown jeans and faded tees sitting in the donation bag can turn into something better than clutter. Teens want projects that feel personal, look good on camera, and don’t cost a fortune in supplies. Old clothes already have texture, color, and memories built in.
These seventeen craft ideas for teens using old clothes need basic tools and an afternoon. Some take twenty minutes, some take longer. All of them turn fabric you already own into something worth keeping or giving.
1. Tote Bag From a Flannel Shirt
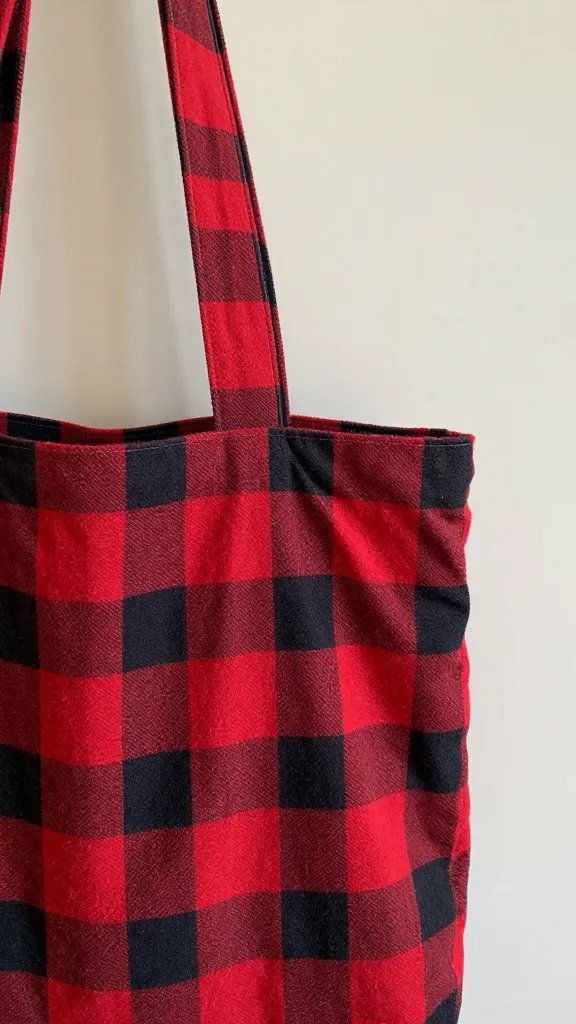
A worn flannel with a good pattern still has life in the fabric. Cut off the sleeves, sew the armholes shut, and stitch across the bottom hem. The button front becomes the bag closure without extra work.
Skill level: Hand sewing works fine if a machine is not around. Use doubled thread and a running stitch along each seam.
Time needed: About forty minutes for someone who has sewn a little before, closer to an hour for a first timer.
2. No Sew Knotted Fleece Blanket
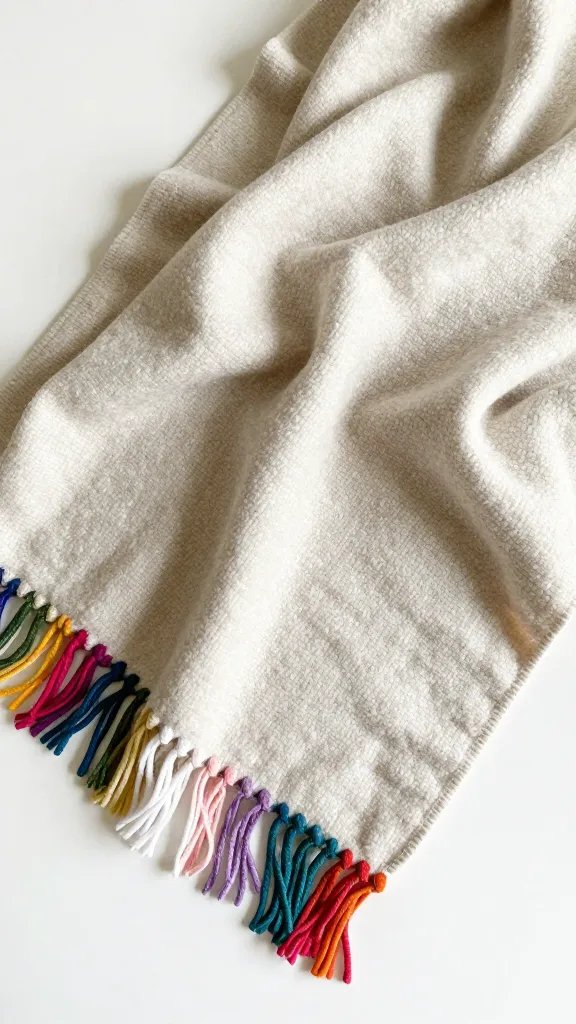
Old fleece hoodies and sweatpants cut into squares make a soft throw without touching a needle. Trim each piece into a rectangle, fringe the edges about two inches deep and half an inch apart, then tie matching fringes from two layers together. The knots hold everything in place.
- Base material: fleece clothing in any solid color or print
- Cutting tool: sharp fabric scissors, not the ones from the junk drawer
- Size guide: aim for at least twelve squares to make a lap blanket
- Finishing touch: trim uneven fringe ends after all knots are tied
Mess control: Fleece sheds while you cut, so work over a sheet you can fold up and shake outside.
3. Denim Pocket Organizer
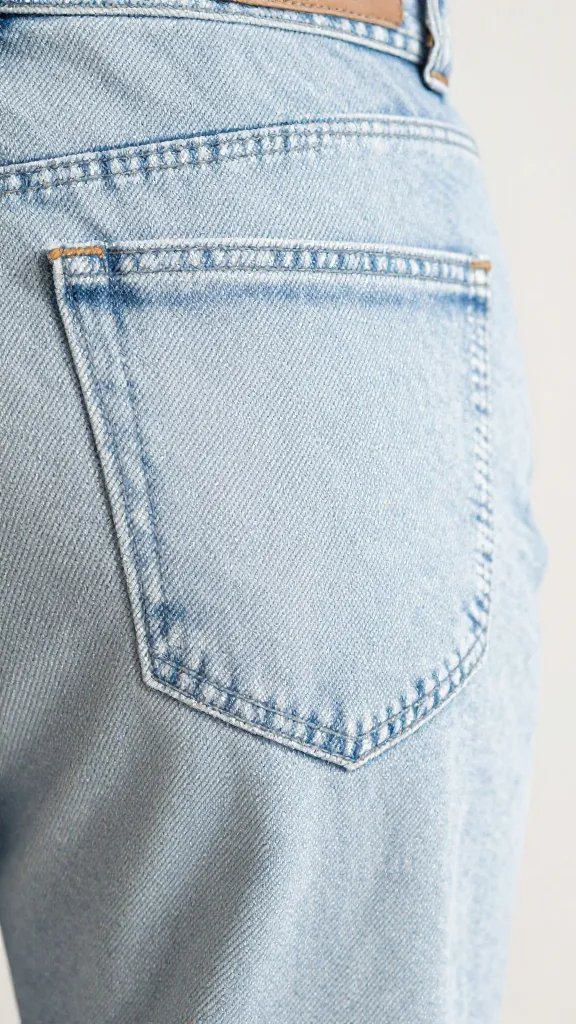
Jeans pockets are already finished and sturdy. Cut them off with a border of denim around each one, then hot glue them to a canvas board or a piece of cardboard wrapped in fabric. Mount it near a desk for pens, charging cables, and earbuds.
Why it works:
- Pockets come in different sizes, so you can sort small and large items without bins
- Denim holds its shape better than most fabric scraps
- Teens actually use organizers that hang at eye level instead of sitting in a drawer
Hot glue guns string everywhere, so keep a damp cloth nearby to wipe up drips before they harden.
4. Braided Headband Stack
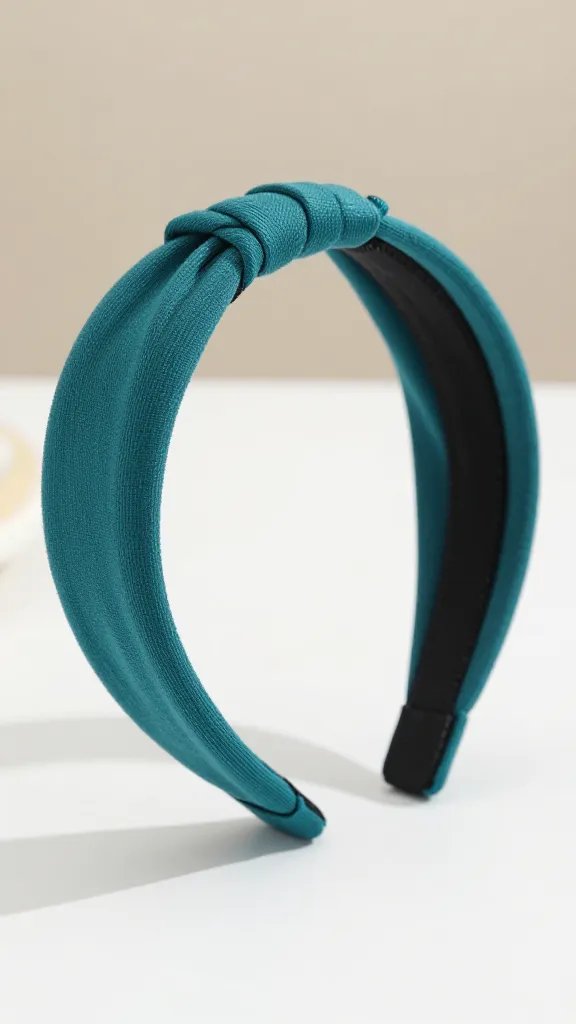
Long strips of stretchy tee shirt fabric braid into headbands that fit without clips or ties. Cut across the shirt from side seam to side seam in one inch loops, stretch each loop so the edges roll in, then braid three strands together. Knot the ends and trim the excess.
Best for: Athletes who need sweatbands that stay put, or anyone who wants a no slip accessory that matches old team shirts.
Make a stack of five in different colors in under half an hour. Lighter knit fabric works better than heavy cotton because it stretches more evenly. Try layering two thin headbands for a striped look without complicated braiding.
5. Frayed Denim Coasters
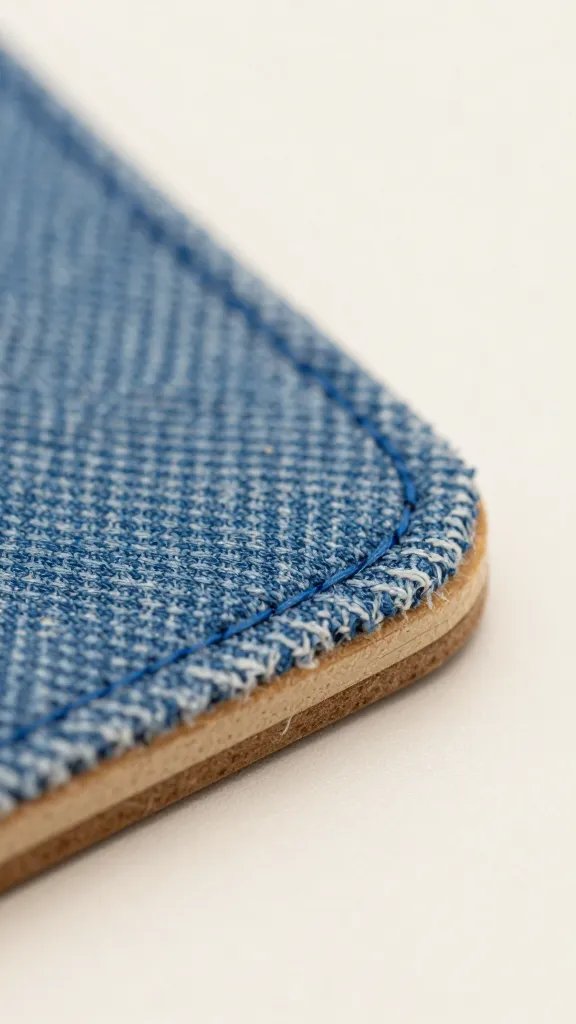
Denim layers glued together soak up condensation better than most craft store coasters. Cut four inch squares from old jeans, stack three or four layers, and glue them with fabric glue. Let them dry under a heavy book overnight, then pull threads from the edges to create a half inch fringe.
The detail to steal: Use the side seam or a back pocket as part of the design instead of cutting around it. The stitching adds a finished look without extra steps.
6. Tie Dye Scrunchie Set
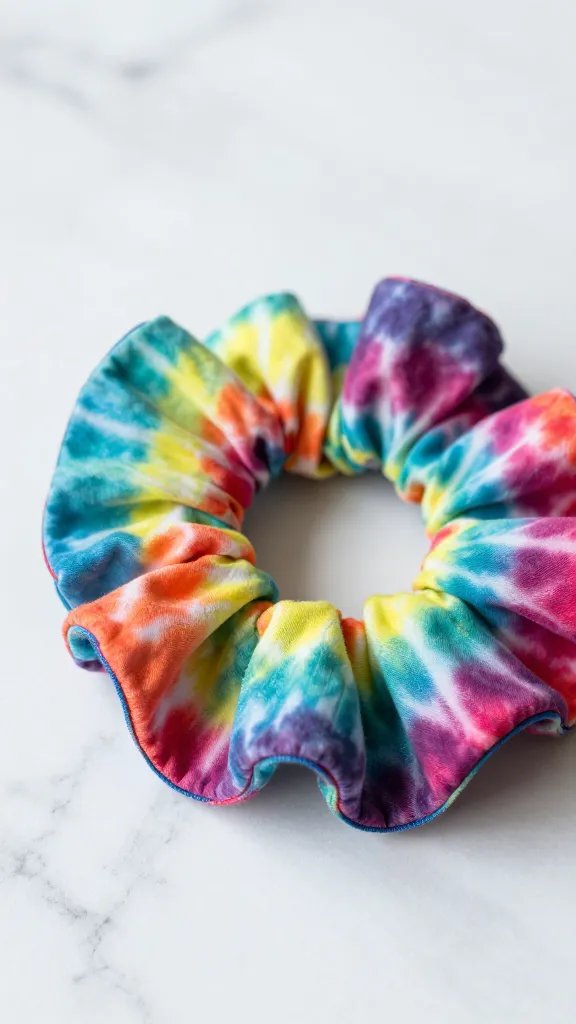
The make: White or light colored tee shirts that have seen better days become scrunchies with more personality than store versions. Tie dye the fabric first, let it dry completely, then cut into long strips about three inches wide. Fold each strip in half lengthwise, sew the long edge, thread a hair elastic through the tube with a safety pin, and stitch the ends together.
A batch of six takes about an hour after the dyeing and drying. Teens can customize colors to match specific outfits or make sets to give as gifts. The fabric tube hides wonky stitching, so hand sewing works just fine.
7. Patchwork Throw Pillow Cover
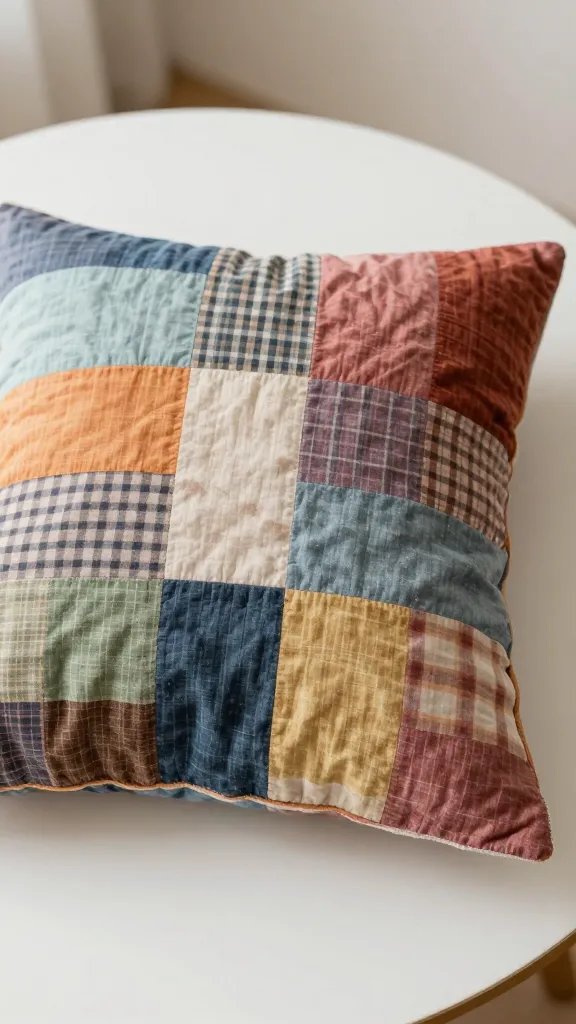
Favorite tee shirts with logos, concert prints, or team names cut into squares and sewn together make a pillow cover that tells a story. Arrange nine or twelve squares in a grid, sew them together with a half inch seam allowance, then sew three sides and add a zipper or buttons to the fourth.
- Cutting guide: five inch squares end up about four inches after sewing
- Layout trick: snap a photo of your arrangement before sewing so you remember the order
- Backing fabric: use a solid color tee for the reverse side to save time
- Stuffing option: a cheap pillow insert from a discount store fits an eighteen inch cover
Make it easier: Iron on hem tape seals edges without sewing if a machine is not available.
8. Fabric Wrapped Bangle Bracelets

Old bangle bracelets from thrift stores or a jewelry box wrap with thin strips of colorful fabric for a completely different look. Cut fabric into quarter inch strips, glue one end to the inside of the bangle, wrap tightly with slight overlap, and glue the other end when you reach the start.
Why it works:
- Cheap plastic bangles look custom wrapped in fabric that matches a specific outfit
- Wrapping takes about ten minutes per bracelet, so making a whole stack is easy
- Mistakes peel off and rewrap without wasting the bangle
Lightweight cotton works better than thick knits because it wraps smooth.
9. Distressed Band Tee Crop Top
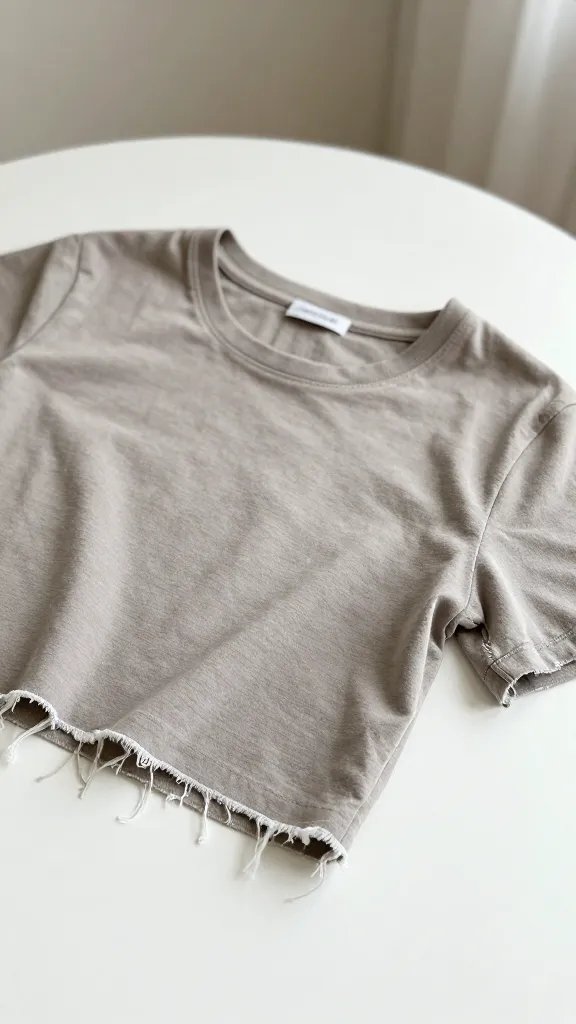
Oversized tees that hang shapeless get a second life with a pair of scissors and twenty minutes. Cut the hem off at the desired length, snip small horizontal cuts along the new bottom edge, and stretch each cut to create a distressed look. The collar and sleeves can get the same treatment.
Safety note: Sharp fabric scissors are easier to control than dull ones, but cut away from yourself and keep fingers clear of the blade path.
Beginner version: Practice on a shirt you don’t care about first, because cuts are permanent and knit fabric can run if you snip too close to a seam.
10. Rolled Fabric Necklace
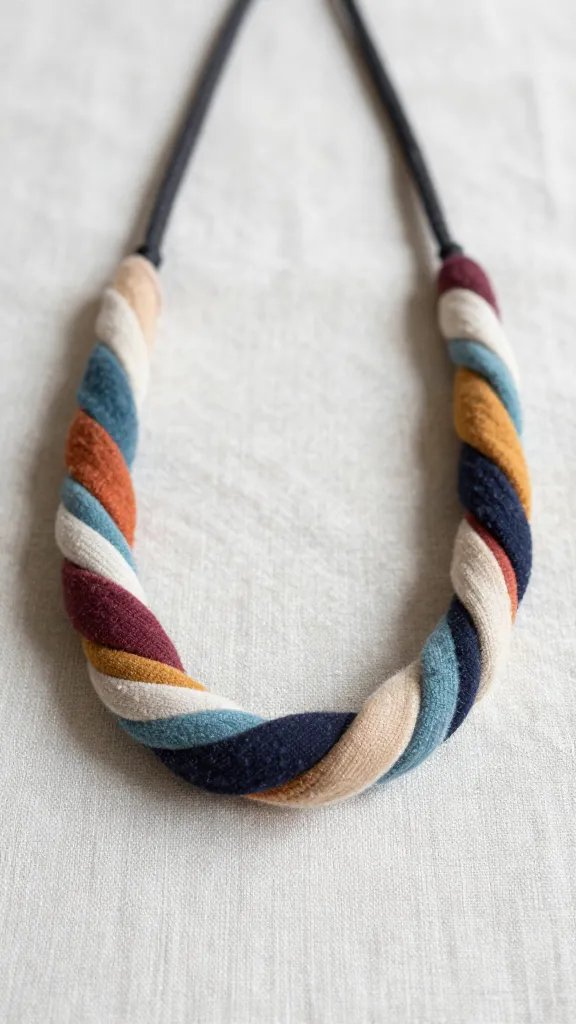
Thin strips of patterned fabric roll and twist into a chunky necklace that looks nothing like the original shirt. Cut five or six strips about one inch wide and two feet long, tie them together at one end, braid or twist them into a rope, and tie off the other end. Add a clasp or just tie it around your neck.
Color note: Mixing three colors in one necklace looks intentional, but more than four starts to look chaotic unless they are all in the same family.
This project clears out tiny fabric scraps left over from other makes. The finished necklace weighs almost nothing and packs flat for travel.
11. Drawstring Backpack From Jeans
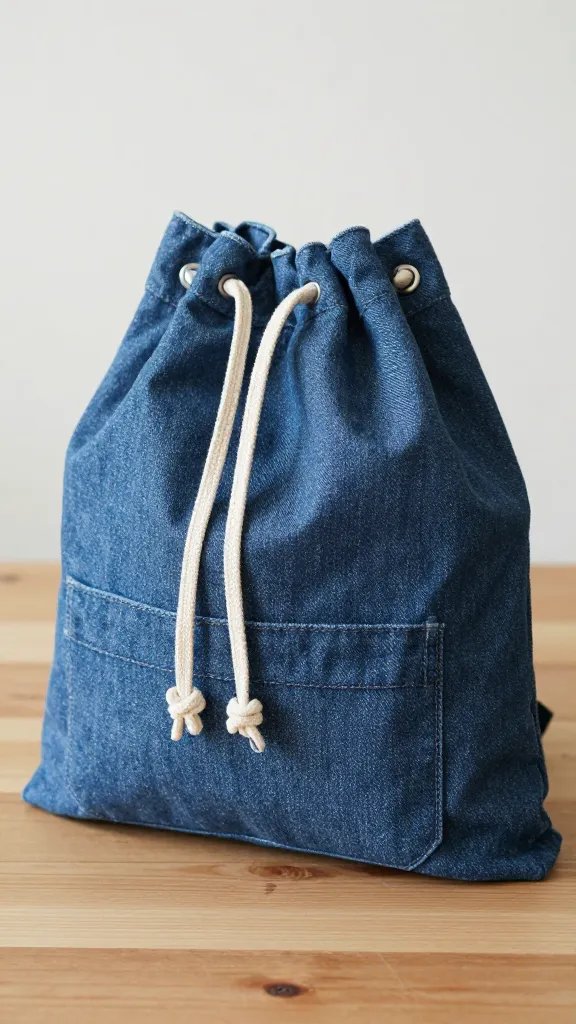
One leg from a pair of jeans becomes a simple drawstring bag for gym clothes or shoes. Cut the leg off at the thigh, sew the bottom shut, fold the top edge down to create a channel, and thread a shoelace or cord through it.
Supplies:
- One denim pant leg with no holes in the knee area
- A long shoelace, paracord, or ribbon for the drawstring
- Thread that matches or contrasts on purpose
- A safety pin to guide the cord through the channel
Reuse it later: These bags hold wet swimsuits without soaking through or store craft supplies by type.
12. Fabric Scrap Bookmarks
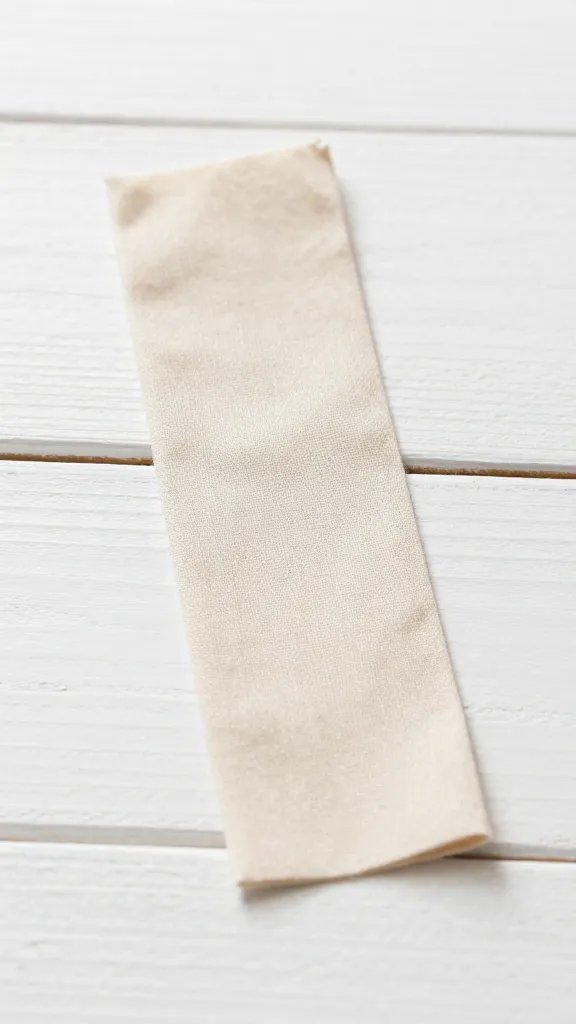
Best for: Using up the last bits of fabric too small for anything else, and making quick gifts for friends who actually read.
Cut strips about two inches wide and six inches long from any tightly woven fabric. Fold the long edges in to meet at the center back, glue or sew them down, and add a ribbon or button at the top if you want. Denim, flannel, and quilting cotton all work.
A stack of ten takes less than half an hour. Pinking shears on the top and bottom edges prevent fraying without hemming.
13. Denim Circle Rug

Jeans cut into strips and braided into a coil make a rug sturdy enough for a bedroom or bathroom. Cut denim into two inch wide strips, braid three strands, and coil the braid flat while stitching it together from the underside with heavy thread. Keep adding strips and stitching until the rug reaches the size you want.
Time needed: This one is a long project, closer to three or four hours for a rug about two feet across. Put on a playlist and work in stages.
Cleanup tip: Vacuuming picks up stray threads better than sweeping, and denim dust settles everywhere while you cut.
14. Sleeve Cuff Wrist Wallet
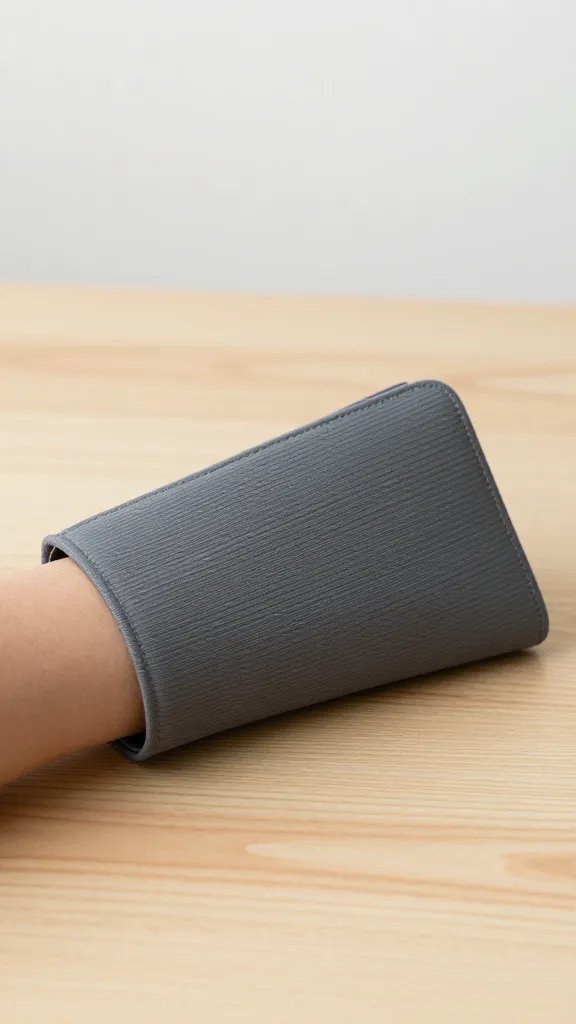
The ribbed cuff from a hoodie or sweatshirt slips over a wrist and holds a key, a folded bill, or a student ID. Cut the cuff off about four inches long, sew one end shut to create a pocket, and leave the other end open to slide your hand through.
The detail to steal: Use the cuff from a favorite hoodie that ripped or stained beyond repair instead of tossing the whole thing.
This works for runners, concertgoers, or anyone who needs a phone free pocket. The ribbing grips without elastic that digs in.
15. Fabric Covered Storage Boxes

Cardboard boxes from deliveries look better wrapped in old clothes than sitting bare on a shelf. Cut fabric larger than each box side, glue it down with a thin layer of white glue or mod podge, fold the edges to the inside, and glue those too. Let everything dry flat before stacking.
What to avoid: Thick fabric like fleece wrinkles and bubbles when glued flat. Stick with thinner cottons, old tee shirts, or worn out dress shirts.
Budget swap: Use leftover wrapping paper on some sides and fabric on others to stretch materials without buying more.
16. Knotted Tee Shirt Rag Rug
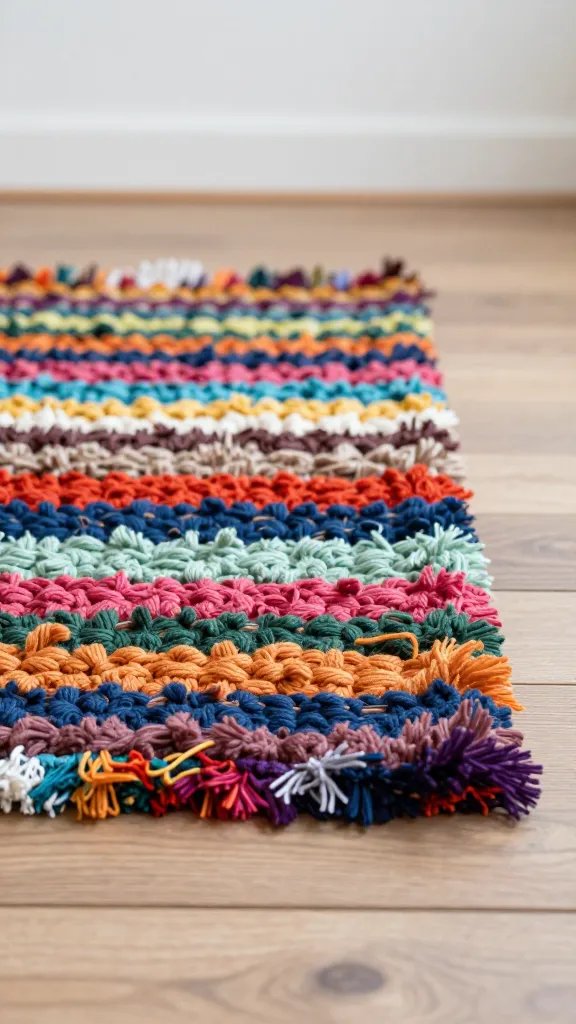
Tee shirts cut into loops and knotted onto a non slip rug mat create a shaggy bathroom or door mat. Cut shirts into one inch strips, tie each strip onto the mat grid with a simple knot, and keep going until the whole mat is covered. Fluff the loops when finished.
- Base: a rubber sink mat or a non slip rug pad with holes or a grid pattern
- Fabric prep: cut off hems and seams so only the stretchy body fabric is left
- Spacing: knot strips close together or the mat shows through
- Final look: trim uneven ends with scissors after all knots are tied
Skip this: If you hate repetitive tasks, this one will test your patience. Try the braided denim rug instead.
17. Patchwork Laptop Sleeve
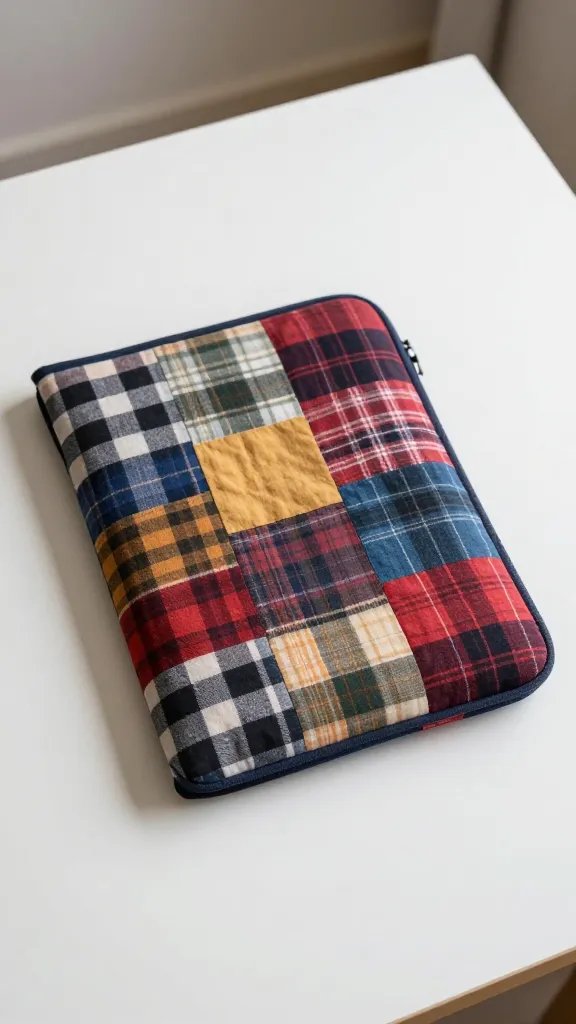
Fleece or flannel scraps sewn together and lined with a layer of felt protect a laptop or tablet without spending on a padded case. Measure the device, add an inch on each side, sew fabric squares into a front and back panel, place a felt layer inside each one, sew three sides together, and add a button or velcro closure at the top.
Make it ahead: This takes about two hours start to finish, so plan for an afternoon when you are not rushing.
The patchwork front makes it easy to spot in a backpack. Felt padding is not as thick as foam, but it keeps scratches off the screen and stops minor bumps.
Old clothes hold more potential than most teens realize until they start cutting and stitching. These projects prove that a pile of castoffs can turn into something useful, personal, and actually worth keeping. Save this list for the next rainy weekend or the moment someone says they are bored and need a project that does not cost anything.