
16 Jewelry Craft Ideas for Teen Beginners

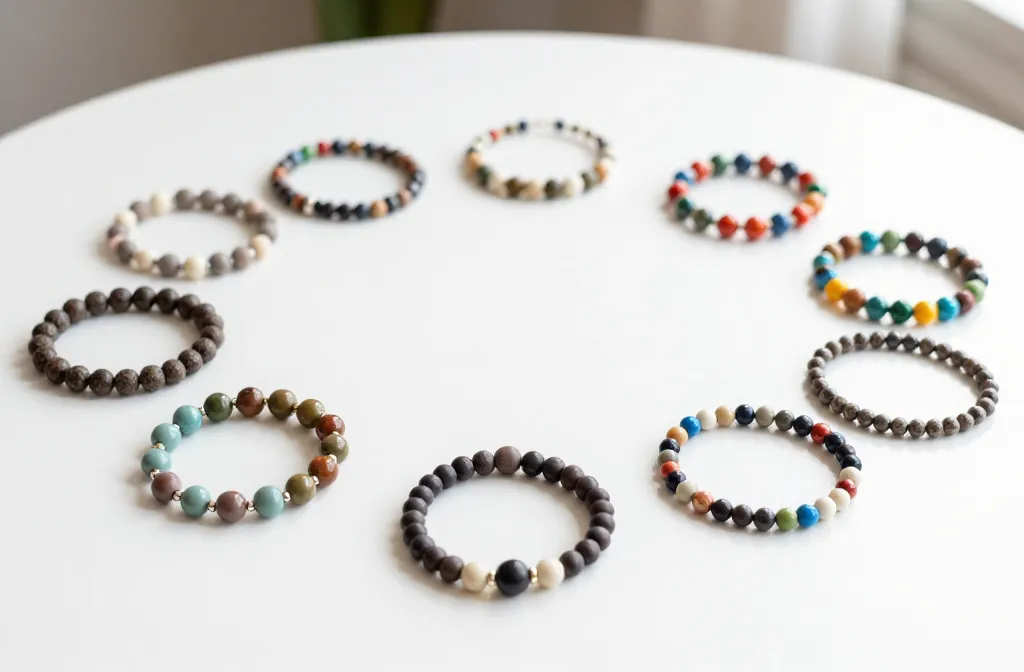
Your teen wants to make jewelry, but those online tutorials skip steps and assume you already own a wire cutter and crimping pliers. Most beginner kits sit half finished in a drawer because the instructions lose them halfway through.
These sixteen jewelry craft ideas start with supplies you can grab at one store and techniques that actually make sense the first time. Each one builds confidence without requiring a full toolbox or an art school background.
1. Clay Bead Bracelets With Alphabet Tiles
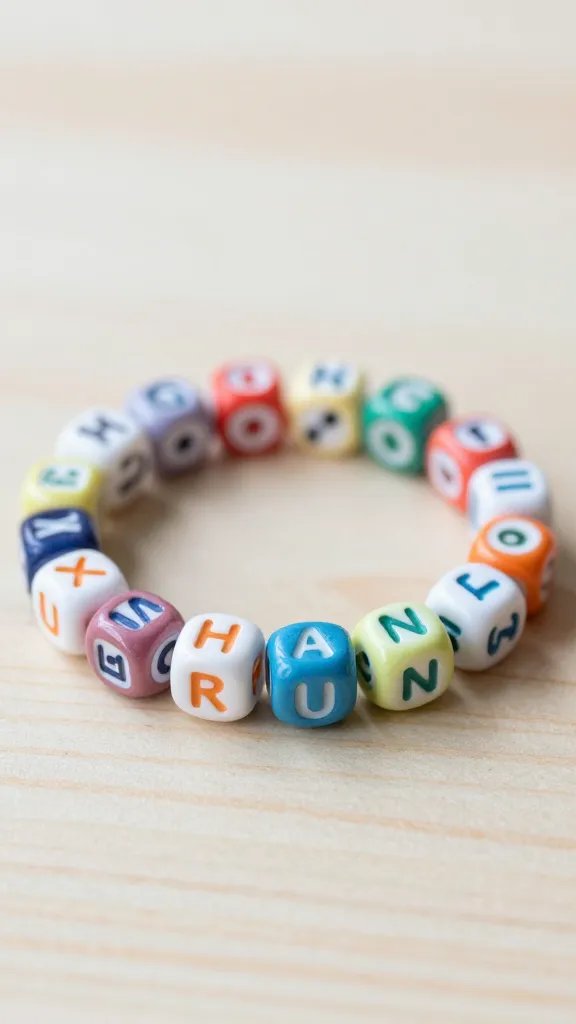
Polymer clay is the easiest place to start because mistakes bake away and you control every color. Roll small balls, poke a skewer through the center, then bake according to package directions.
The make: Mix your clay beads with white alphabet tiles from the craft aisle to spell out a name or word. String everything on stretchy cord so there is no clasp to fuss with.
Let the beads cool completely before stringing or they crack. A bracelet with eight to ten beads takes about thirty minutes plus baking time.
2. Paperclip Chain Necklaces
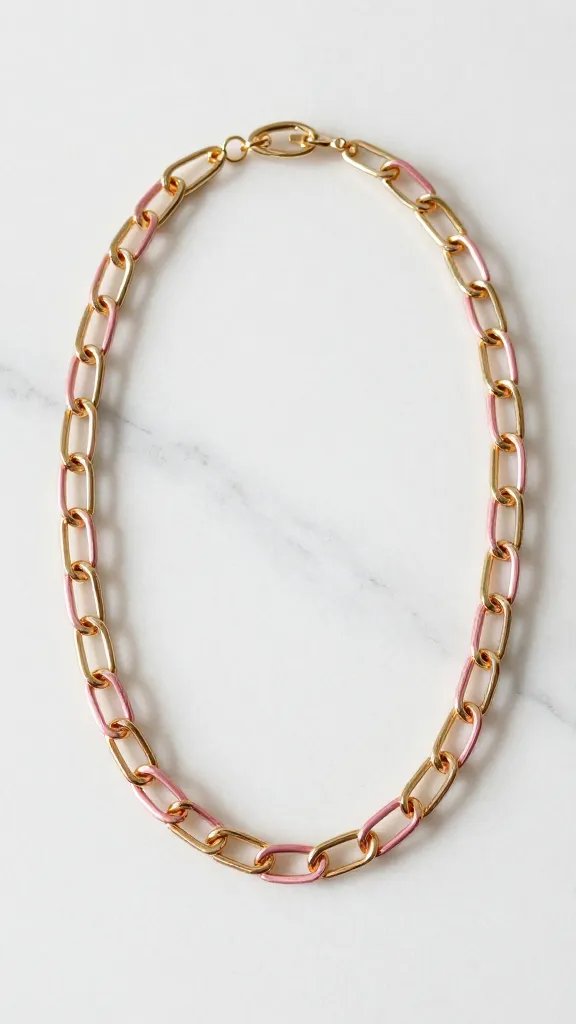
Best for: Teens who want something they can wear tomorrow without waiting for glue to dry or paint to cure.
Colored paperclips link together into a chunky chain that looks intentional, not office supply. Choose clips in two or three colors and alternate them in a pattern. Add a small lobster clasp to one end or just make the chain long enough to slip over your head.
Budget swap: Plain silver clips work if you skip the color and lean into the minimalist look instead.
3. Shrink Plastic Charms
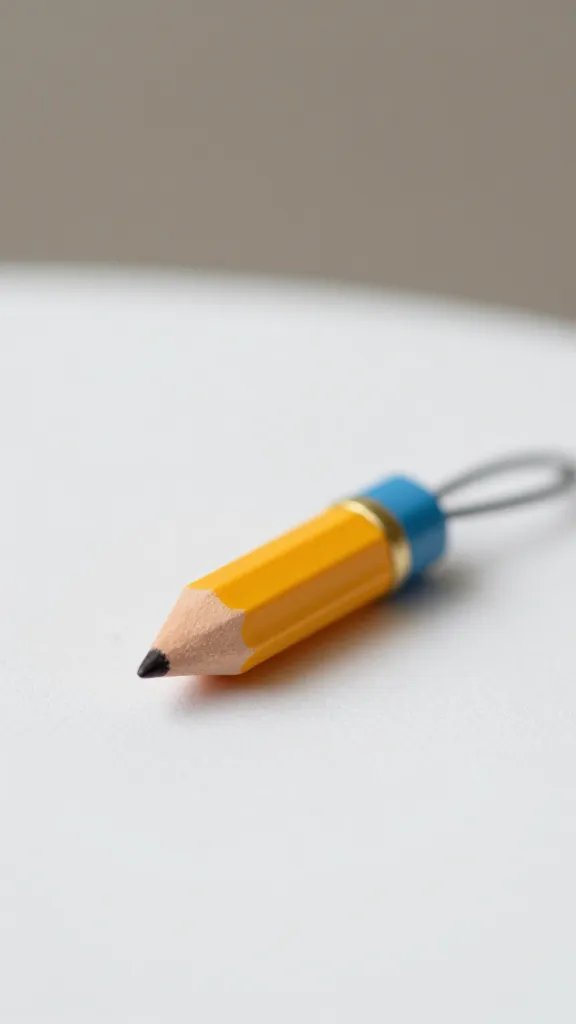
Shrink plastic is that magic material that goes into the oven flat and comes out thick and tiny. Trace or draw a simple shape on the rough side with colored pencils, cut it out leaving a small border, then punch a hole near the top edge before baking.
- Base: one sheet of shrink plastic from the craft store
- Drawing tool: colored pencils, not markers, so the color stays put
- Cutting: regular scissors work fine for simple shapes
- Finishing: a jump ring connects the charm to a chain or bracelet
Skill level: Watching the plastic curl and flatten in the oven is the hardest part, and it happens in about two minutes. Do not open the door early or it stays warped.
4. Embroidery Floss Friendship Bracelets

Friendship bracelets teach the basic knot that shows up in half of all jewelry making. Start with the diagonal stripe pattern because it only uses one type of knot repeated over and over.
Why it works:
- Embroidery floss costs less than a dollar per skein and comes in every color.
- Mistakes do not waste expensive materials, so teens actually experiment.
- Each bracelet becomes a gift, which solves the birthday present problem for friends.
Tape the top knot to a table edge or clip it to a clipboard so both hands stay free to tie.
5. Wire Wrapped Rings With Large Beads
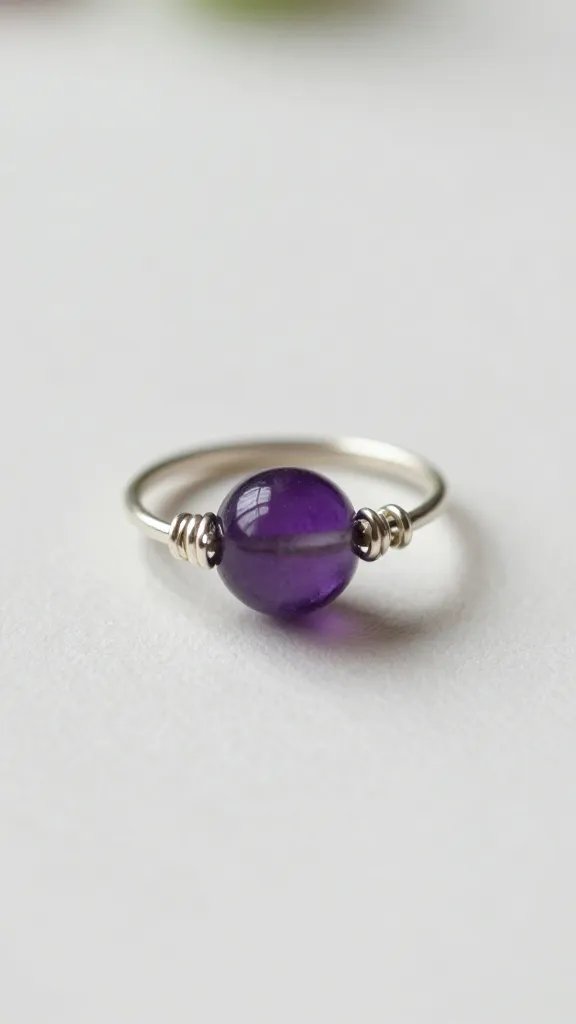
Supplies: One spool of thin craft wire in silver or gold and a handful of large beads with holes big enough for wire to pass through twice.
Wrap the wire around a marker or lip balm tube to create a ring shape that fits your finger, then thread a bead onto the wire and twist the ends together underneath. Trim the excess with nail clippers if you do not own wire cutters yet.
Make it easier: Use a bead with a flat bottom so it sits stable on your finger instead of rolling to the side.
6. Fabric Scrap Wrapped Bangles
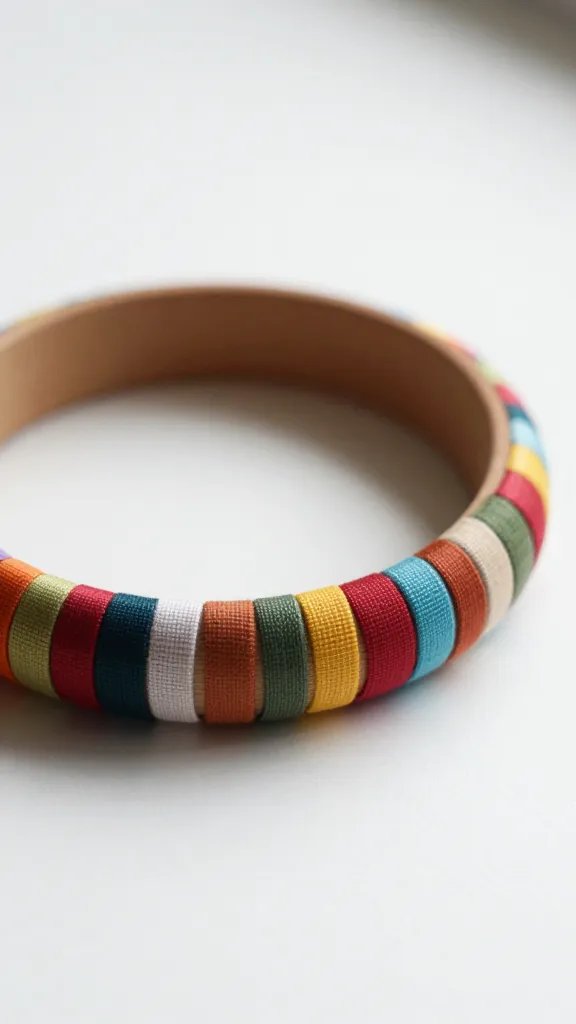
Old wooden bangles from a thrift store turn into custom pieces with fabric strips and a glue stick. Cut fabric into long thin strips, glue one end to the inside of the bangle, then wrap it around and around until the whole surface is covered.
Tuck the final end under the last wrap and add a dot of glue. The fabric hides scratches and worn finish, so the uglier the starting bangle, the better the transformation looks. A single bangle takes about fifteen minutes if you do not stop to answer texts.
7. Safety Pin and Seed Bead Bracelets

Best for: Teens who liked friendship bracelets but want something with more structure and a finished edge.
Thread tiny seed beads onto small safety pins, one pin at a time, then string all the closed pins onto two pieces of elastic cord, one through the top holes and one through the bottom. The pins line up side by side and create a flat beaded band.
Choose a pattern before you start or the color placement looks random. Diagonal stripes and checkerboards both read clearly with just two bead colors.
8. Leather Cord Chokers With Pendant Drops
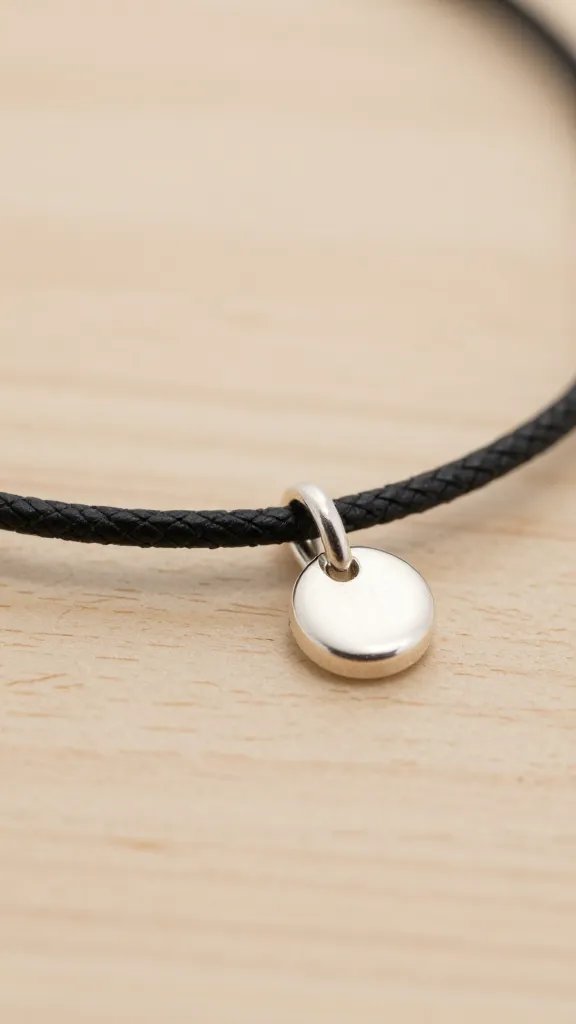
A simple leather cord necklace solves the problem of teens who want jewelry but hate anything fussy. Cut a length of thin leather cord long enough to tie around the neck with a small bow in back.
The detail to steal: Thread one charm or small pendant onto the cord before tying it closed, so the charm sits at the center front.
Leather cord comes in black, brown, and sometimes colored dye at the craft store. Look near the beading aisle, not the leatherworking section, for the thinnest version that works as a necklace.
9. Button Stud Earrings

Flat backed earring posts glue directly onto small decorative buttons to make custom studs in any color or pattern. Choose buttons with a smooth flat back, not a shank or holes.
Why it works:
- No piercing or wire wrapping skills required, just glue and patience.
- Buttons give you designs you could never paint by hand at this scale.
- One card of earring posts makes six pairs, so there are extras when one goes missing.
Use jewelry glue or super glue, not a glue gun, because hot glue peels off metal. Let them dry overnight before wearing.
10. Tassel Earrings From Embroidery Floss
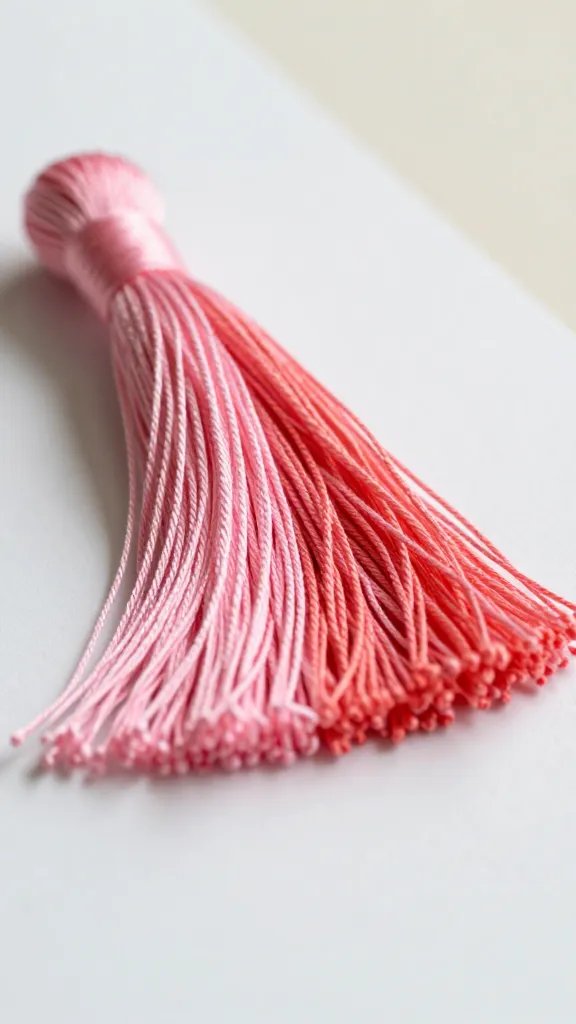
Wrap embroidery floss around a small rectangle of cardboard about twenty times, slide it off, tie a short piece of floss tightly around the top, then cut through the loops at the bottom. Trim the ends even and attach the tied top to an earring hook with a jump ring.
Time needed: Each tassel takes about five minutes to wrap and trim, so a full pair is done in fifteen minutes or less.
Color note: Ombre tassels happen when you wrap with two colors at once, letting one run out halfway through so the bottom half shifts lighter or darker.
11. Wooden Bead and Macrame Cord Bracelets
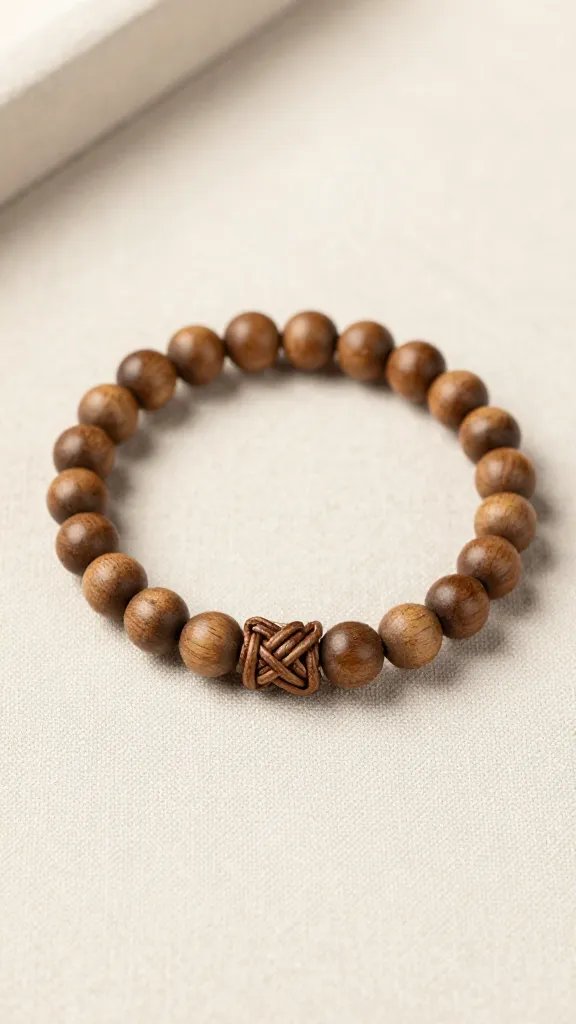
Large wooden beads with wide holes let you practice basic macrame knots on a small scale. Thread a few beads onto a length of macrame cord, tie square knots between each bead, then finish with an adjustable sliding knot closure so the bracelet fits any wrist size.
Natural wood looks clean and modern, or paint the beads with acrylic before stringing. The sliding knot sounds complicated but it is just two square knots tied around the main cord ends. Search for a basic sliding knot tutorial and it clicks in one try.
12. Resin Coated Paper Pendants

Supplies: Small circles or squares punched from magazine pages, old book text, or printed images, plus a bottle of clear dimensional glaze from the craft store.
Glue your paper shape onto a blank metal pendant base, let it dry, then coat the top with a thick layer of dimensional glaze. The glaze dries clear and creates a glass like dome that protects the paper underneath.
Mess control: Work on wax paper because glaze drips off the edges and dries sticky. Let pendants cure for twenty four hours flat so the glaze does not slide to one side and dry uneven.
13. Chain and Jump Ring Layering Necklaces

Pre cut jewelry chain from the craft store connects with jump rings to make custom length necklaces that layer. Buy three different chain styles in the same metal finish, cut them to three different lengths with wire cutters or heavy scissors, then add a clasp to each one with two jump rings.
The trick is varying the lengths by at least two inches so each chain shows when you wear all three at once. Shortest sits at the collarbone, medium hits mid chest, longest falls just above or below that. Opening and closing jump rings takes practice, but they are cheap enough that bending one wrong does not ruin the budget.
14. Felt Ball Earrings
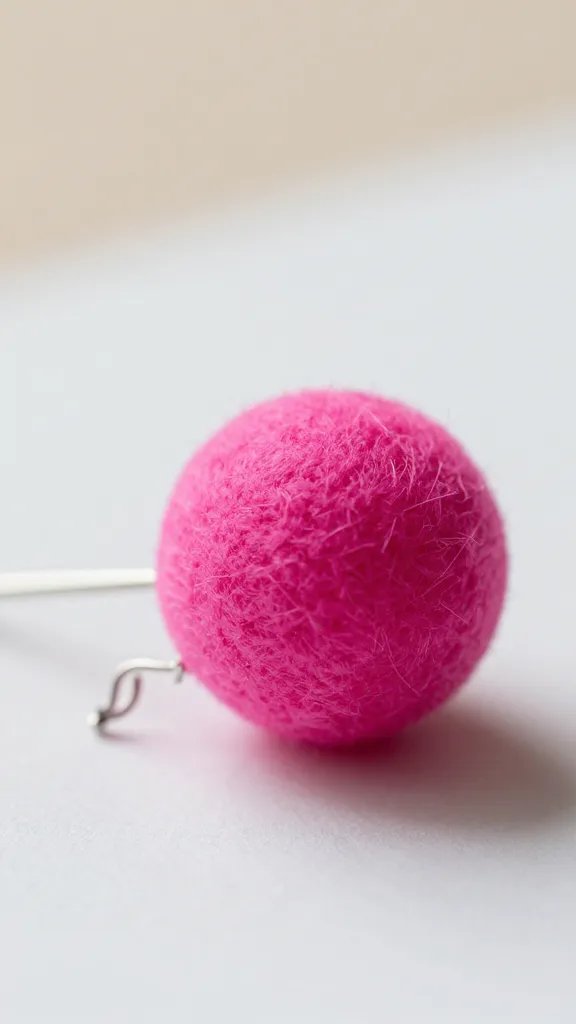
Best for: Teens who want bold color and almost zero skill requirement.
Felt balls come pre made in bags at the craft store, usually sold for garlands or kids crafts. Thread one onto a headpin, trim the wire leaving about a half inch above the ball, bend that wire into a loop with needle nose pliers, and attach it to an earring hook.
Choose two different sizes and stack a small ball on top of a large one for a snowman shape. Felt is lightweight so even big earrings do not pull on your ears by the end of the day.
15. Beaded Bobby Pins
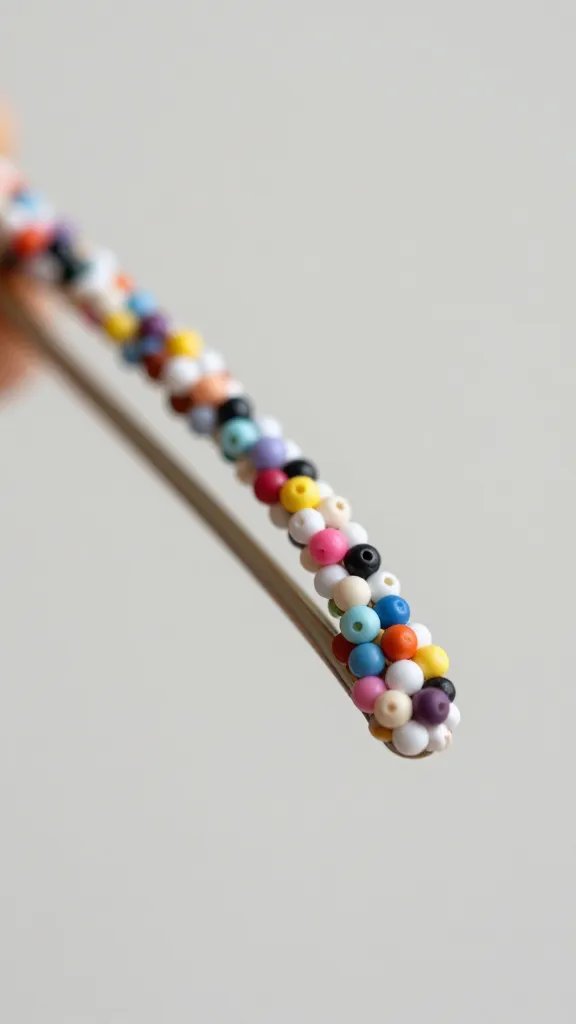
Plain metal bobby pins turn into hair jewelry when you glue a row of small beads or a single decorative button along the top curved edge. Line up seed beads in a pattern or use one large flat backed gem.
Glue note: Jewelry glue works better than hot glue here because it dries thin and clear so the beads sit flat instead of wobbly.
Party favor idea: Make a set of three in matching colors and package them in a small organza bag for birthday gifts or group craft sessions.
16. Knotted Suede Cord Bracelets With Metal Tube Beads
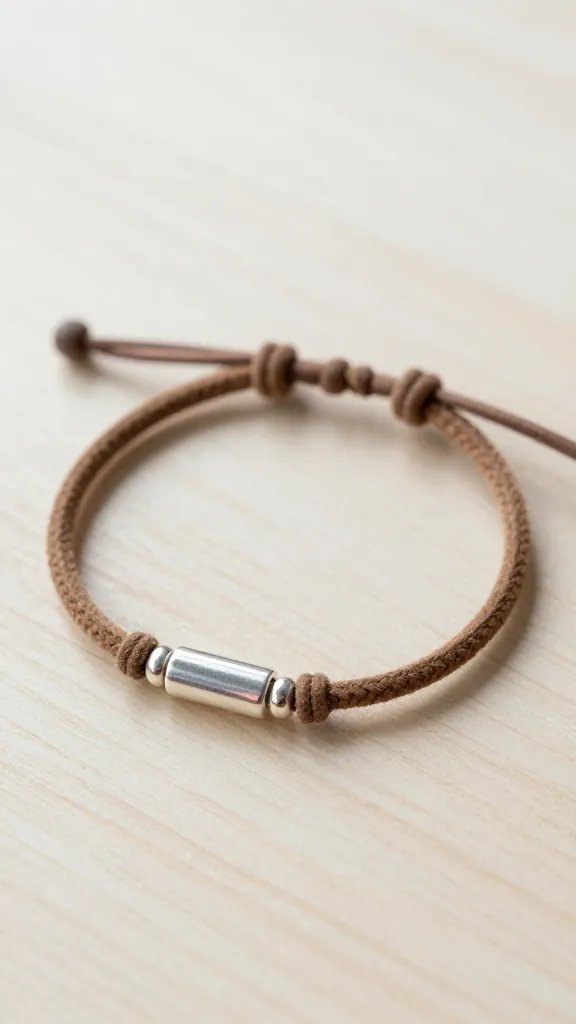
Suede cord is softer and more forgiving than leather, which matters when you are learning to tie clean knots. Cut a length of cord, thread on a few metal tube beads spaced out with simple overhand knots between them, then tie the ends together with a square knot.
Metal tubes add just enough shine without requiring wire skills or crimp beads. The knots keep beads from sliding into a pile at the bottom of your wrist. Suede comes in earth tones and bright dyes, and it is thin enough to wrap twice around your wrist for a layered look with just one piece of cord.
Start with the easiest idea that uses supplies you already recognize at the store, then add one new skill with each project. Most of these take less than an hour, and the ones that need overnight drying still let you wear the finished piece the next day.
Save this for the next time your teen needs a birthday gift to make or wants to try something creative that does not involve a screen.