
How to Store Kids Craft Supplies So They Can Reach Them

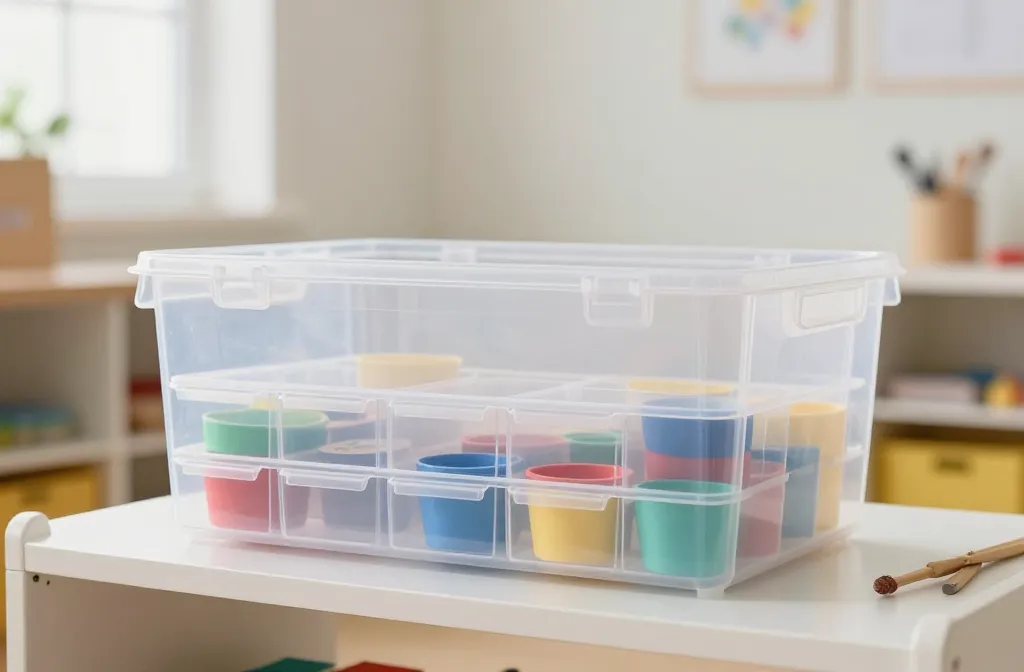
Store crafts where kids can reach them by using clear bins and accessible shelving, organized by project type. This approach saves time and reduces mess, and it works in about an afternoon with simple labels.
Having art time go smoothly depends on where everything lives and how easy it is to grab. If supplies are tucked away, kids will wander and so will the chaos. Let’s set up a bright, reachable system that invites little hands to create without a scavenger hunt.
What You Need
Keep it simple and budget-friendly.
- Clear plastic bins or drawers in small, medium, and large sizes
- Stackable tote organizers or a low bookshelf with bins
- Label maker or sticky labels and a permanent marker
- Colorful cups or small jars for loose items
- Binder clips or dividers for topping lids and keeping lids with containers
- Optional: a rolling cart for moveable stations
- Optional: protectors or liners for tabletop surfaces
Step 1: Sort Supplies by Accessibility
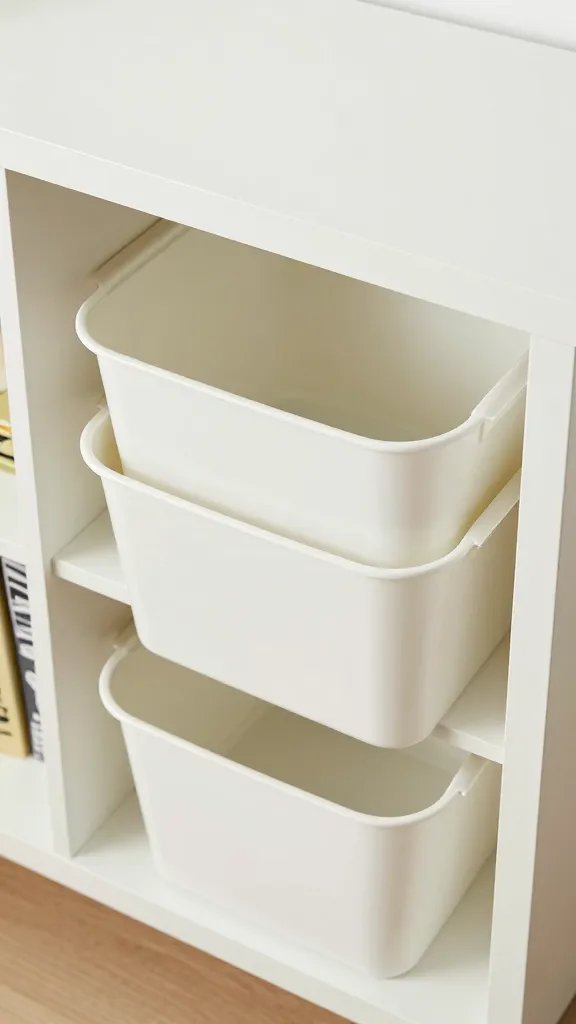
Start by pulling together all craft items and grouping them by how often your kids use them, like markers, paper, and small embellishments. Place frequently used items in the top, easiest-to-reach bins. If a bin is heavy or too tall for your child, move it to a lower shelf. A common mistake is overloading one bin; split items into several shallow containers so little hands can grab what they need without spilling.
Step 2: Choose Clear, Stackable Storage
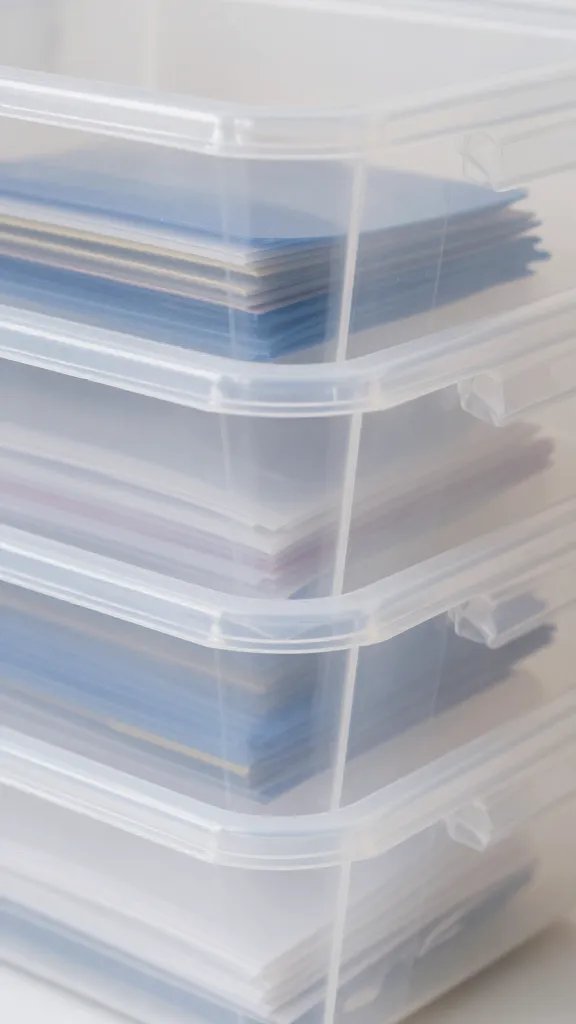
Use clear bins so you can see contents at a glance, and pick shallow, stackable options to avoid digging. Label each bin with both word and picture to help pre-readers identify what’s inside. When kids can see and read what’s inside, they’ll be more likely to return supplies to the right place.
Step 3: Create a Simple Label System
Label every container with a color-coded sticker and a short word or picture. Place labels toward the front so kids can glance down and know where to go. If a label wears off, replace it right away—consistency matters more than perfection. A frequent mistake is labeling only once and then forgetting to maintain it.
Step 4: Design a Dedicated Craft Corner
Set up a low table or a small mat with a nearby storage station. Keep scissors, glue, and a pad of paper within arm’s reach, but out of kids’ reach of choking hazards and sharp blades. If space is tight, use a rolling cart that slides between rooms. The trick is keeping the workspace tidy while giving kids control over their project choices.
Step 5: Use Bins for Small Parts and Quick Cleanup
Put small items like googly eyes, stickers, and beads into labeled cups or small jars inside a larger bin. This reduces spills and makes it easy to refill. Teach kids to return items to their cups before closing the bin to avoid tidy-up battles later.
Step 6: Build a Quick Refuel Station
Offer a small, dedicated bin with basic supplies—paper scraps, crayons, tape, and scissors (kid-safe). When a project ends, kids can grab from this “go-to” bin rather than rooting through hardware. A frequent pitfall is letting glue lids stay off; always snap lids back on to prevent dried glue and crusty brushes.
Step 7: Review and Tidy Together
Set a 5-minute cleanup timer after craft time and involve kids in returning items to their homes. Make it a game: who can return the most items correctly? Consistency builds independence, while occasional disorganization teaches kids where things belong. If you notice a bin is consistently empty or overfull, adjust the contents or the height of the storage.
Key Takeaways
- Clear, reachable storage turns chaos into a routine kids can own.
- Labeling with words and pictures helps early readers and non-readers alike.
- A dedicated craft corner reduces wandering and keeps supplies organized.
- Frequent quick checks prevent buildup and make future projects faster to start.
Final Thoughts
Storing kids craft supplies so they can reach them is worth the effort because it invites creativity rather than detours to the closet. If I had to personalize it, I’d place a small, labeled “in use” bin near the table for ongoing projects and rotate a couple of favorite items weekly to stay fresh. Save this for your next party prep night.