
How to Paint Cardboard Without It Warping

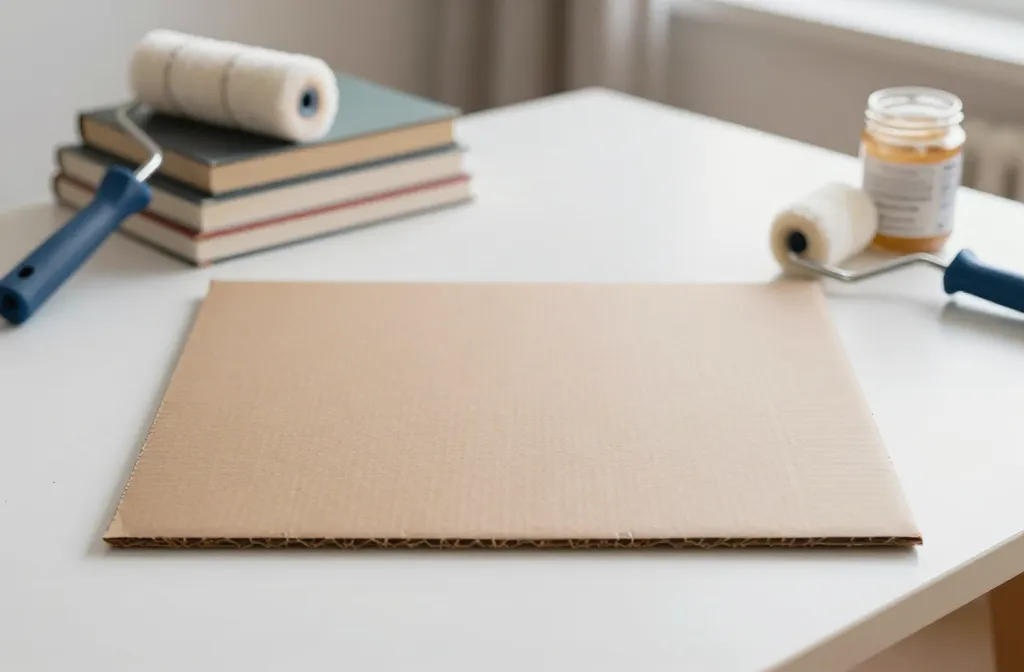
Painting cardboard without it warping is a tiny battle you can win. You don’t need fancy materials or a science degree—just smart prep and a few tricks. Let’s dive in and get your cardboard looking pro-level without the wobble.
Why Cardboard Warps in the First Place
Cardboard loves to bend when water, weight, or heat shows up. Paint adds moisture, and two things happen: the surface layer dries faster than the core, and the board absorbs moisture unevenly. Result? A wavy or bowed finish that ruins your look. FYI, the warp isn’t a failure—it’s a sign you need to even out moisture and weight across the sheet.
- Moisture imbalance: water-based paints pull moisture into fibers unevenly.
- Thickness and ratios: thin cardboard warps easier than heavy-duty corrugate.
- Drying dynamics: air flow and temperature affect how fast layers cure.
Prep Like a Pro: Get Flat Before You Paint
Prepping is where most people mess up or skip. Don’t skip. A flat, sealed surface makes every brushstroke behave.
- Seal the edges: Use a light layer of gesso, acrylic primer, or even glue sealer around the edges to slow moisture transfer.
- Heat flattening trick: Place the cardboard under a stack of books or a flat, heavy object for 24–48 hours to minimize bend. No peeking, no cheating.
- Dry-run with a weight test: Lay the sheet flat on a table and add a few weights at the corners. If it stays put 24 hours later, you’re good to go.
- Edge reinforcement: A strip of masking tape along the back adds stability without looking bulky.
Choosing the Right Paint System
What you use to paint matters just as much as how you apply it. Water-based acrylics are the easiest path to vibrant color with manageable drying times.
- Acrylics: Fast-drying, forgiving, and easy to skin over for details.
- Gouache: Great for flat, even finishes, but can re-wet if you’re heavy-handed.
- Spray paints: Quick base coats; they can cause more warping if you spray too thickly. Use light, multiple coats.
Technique: How to Layer Without the Warp
The order of operations can save you from a warped disaster.
- Base coat in thin layers: Fine-sand the surface between layers and keep coats ultra-thin. Fat layers soak moisture and warp faster.
- Dry between coats: Give every layer ample dry time. Rushing triggers solvents or moisture buildup.
- Use acrylic matte medium as a barrier: Mix a small amount into your paint to reduce moisture transfer and add strength.
- Finish with a protective topcoat: A clear matte acrylic sealant locks everything in and minimizes micro-movements as it cures.
Edge Care: Keeping Edges Straight
Edges are where warping often reveals itself, so treat them specially.
- Seal edges early: A quick sealant coat keeps moisture from pouring in at the edge.
- Shim technique for tight edges: Place a thin shim or card under the edge while it dries to encourage a flat finish.
- Avoid thick edge paint at first: If you must paint the edge, do it in very thin layers or with a small brush to prevent swelling.
Questionable Shapes? Use a Frame
If you’re making a panel or a curved piece, consider mounting the cardboard onto a lightweight frame (foam board or poster board) on the back. It acts like a skeleton and reduces sagging.
Finishing Touches: Seal, Store, and Show Off

A good finish not only looks sharp but helps keep the warp at bay as the piece cures.
- Seal with a flexible finish: Matte or satin clear coats are kinder to the surface than hard, crack-prone gloss layers.
- Store flat when possible: If you can’t mount it, lay it flat with a weight evenly distributed on top.
- Keep humidity steady: Ideal humidity is around 40–60%. Extreme dry or damp will not do you any favors.
Dealing with a Slight Warp That Won’t Budge
If your piece still bows a bit after everything, try this quick fix: gently re-wet the back with a fine mist and press it flat under weight. Don’t soak—just a mist. Then let it dry completely before applying the final coat.
Creative Hacks: Quick Wins for Busy Makers
Here are some shortcut tricks that actually work without sacrificing quality.
- Use corrugated cardboard: The multi-layered structure resists warping better than single-layer boards.
- Apply PVA glue on the back: A thin glue wash helps hold fibers together and reduces warping risk.
- Work in a controlled environment: A steady temperature and no rapid changes help paints cure evenly.
If You’re Pressure-Caint: Lightweight Materials
For big installations or cardboard sculptures, consider using lightweight foam board as a base and only painting the visible cardboard face. It dramatically cuts warping risk and still looks great from the front.
FAQ: Quick Answers to Common Cardboard Painting Woes
Will acrylic paint really stop warping on cardboard?
Acrylics themselves won’t magically prevent warping, but their water content and quick dry time mean you can control moisture transfer better than heavy oil-based paints. The key is applying in thin layers and sealing with a protective topcoat.
Can I just use water-based paints full strength on cardboard?
Avoid thick coats. Water-based paints work best in very thin, even layers. Build up color gradually and dry between layers to minimize moisture creep and uneven drying.
What if my cardboard piece already warped before painting?
Lightly re-wet the back with a fine spray, press flat with weights, and let dry completely. Then proceed with a thin primer coat and build up color slowly.
Do I need a primer, or can I skip it?
Primer helps create a uniform surface and reduces uneven absorption. It also adds a tiny bit of stiffness to the surface. If you have a smooth, sealed surface, you can skip it—but primer is your friend for best results.
Is heat or sun exposure bad for painted cardboard?
Both can cause distortion over time. Avoid direct sun and high heat after painting. Store in a cool, dry place to preserve the finish and shape.
Conclusion
Cardboard can be a surprisingly sturdy canvas—when you respect its quirks. Start with proper prep, pick the right paints, and layer thoughtfully. Keep edges sealed, use light coats, and give drying times the respect they deserve. With these moves, your cardboard projects stay flat, vibrant, and ready to shine. If you try one new trick this week, let it be the edge-sealing plan—you’ll notice the difference in the final look and stability.