
How to Make Cardboard Waterproof for Outdoor Crafts

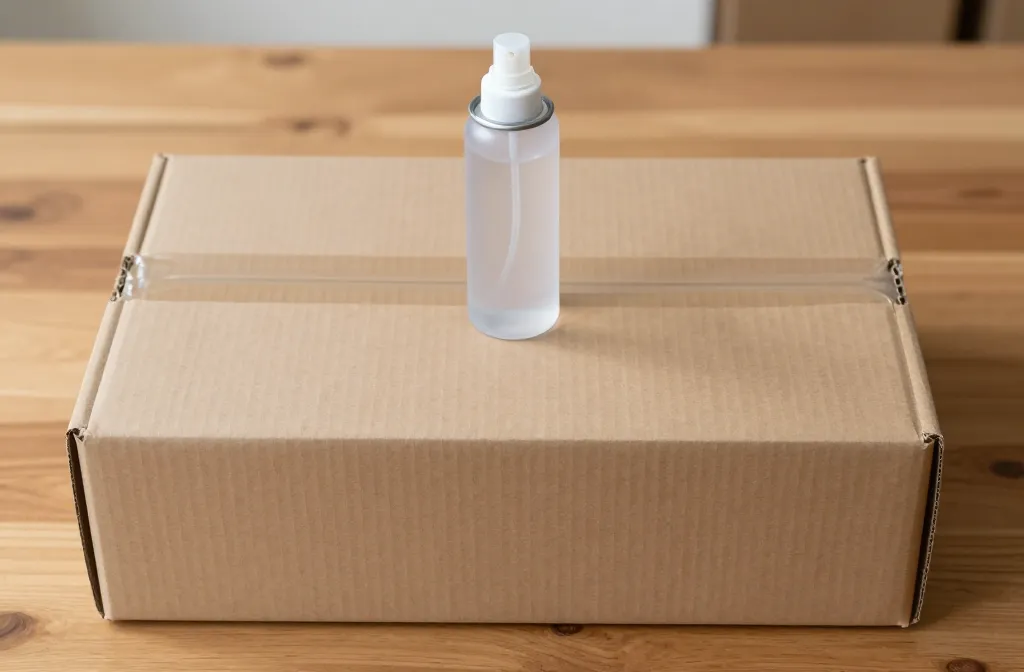
An easy, practical guide to turning humble cardboard into a weatherproof craft companion. You’ll learn simple coatings, smart techniques, and quick fixes that actually hold up outside. Let’s dive in and keep your projects looking fresh, no soggy surprises.
Why Cardboard Fails Outside and How Waterproofing Helps
Cardboard isn’t naturally rain-friendly, but it’s cheap, light, and versatile. Waterproofing doesn’t make it indestructible, it just buys you time. Do you want your DIY fairy-torture-kit castle to survive a weekend campout or a week of weekend wind and drizzle? Then you need a plan that’s simple, flexible, and affordable.
Prep Your Cardboard Like a Pro
Before you seal anything, you need clean, dry, and smooth surfaces. Rough edges soak up sealant and peel later.
- Trim any torn bits and remove loose fibers.
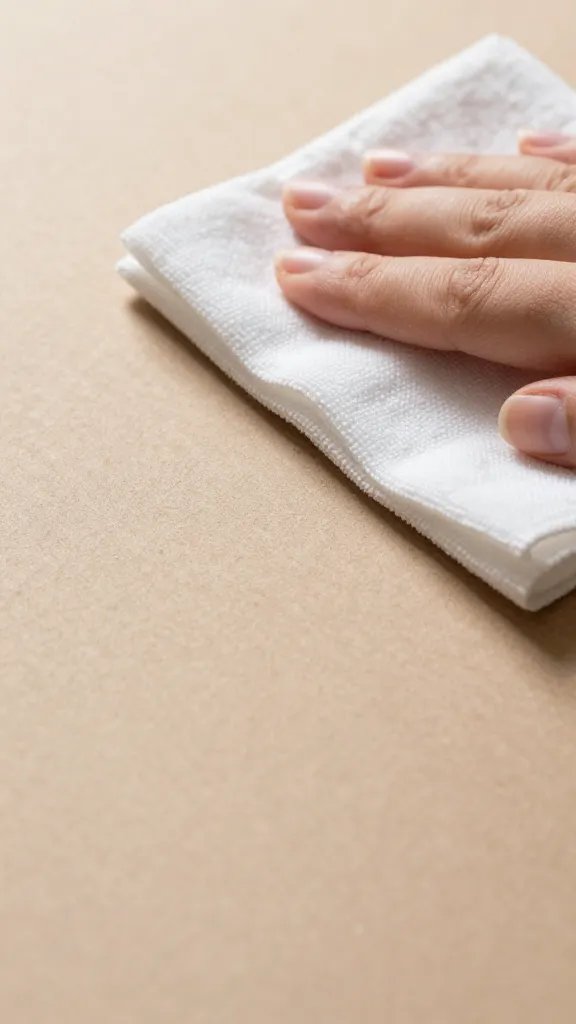
- Wipe with a damp cloth and let it dry completely.
- Light sand the surface for better adhesion if you have a bit of time.
Why all the fuss? Because preparation determines how long your waterproofing actually lasts. FYI, skipping this step is basically asking for a soggy setback.
The Quick, EasyCoat Method: Laminating and Sealing

This approach is friendly for beginners and teachers alike. It combines surface sealing with a little armor for the edges.
- Choose a sealant: PVA glue (slightly thinned) works well, or a spray-on sealant for bigger areas.
- Apply a thin, even coat across the surface. Let it dry fully before adding more layers.
- Laminate with packing tape or a clear adhesive film on both sides if you can. This creates a moisture barrier and adds rigidity.
Tip: Add a second layer at a right angle to the first for extra strength. Do not overdo it—weight becomes an issue.
DIY Waterproof Coatings You Can Trust
There are several routes, from budget-friendly to heavy-duty. Pick what fits your project and climate.
Water-Based Sealers
- Clear acrylic spray sealants
- PVA glue mixed with water as a wash coat
- Wood sealers that are safe for crafts
Pros: Easy to apply, usually kid-friendly. Cons: Not the best in full submersion scenarios.
Natural and Eco-Friendly Options
- Beeswax or wax-based coatings for a flexible barrier
- Coconut oil or soy wax blends for a DIY wax seal
Pros: Good for kids’ projects, low toxicity. Cons: Might require reapplication after heavy rain or sun.
Composite Sprays for Tougher Jobs
- Polysiloxane or silicone-based sprays
- Marine-grade sealants for long-lasting durability
Pros: Strong barrier, excellent in wet environments. Cons: Can be pricier and may require ventilation during application.
Sealing Edges and Open Holes—Often the Achilles’ Heel
Edges soak up water fast. Treat them like vulnerable vampires and guard them with extra coats.
Edge Protection Hacks
- Wrap edges with duct tape or reinforced packing tape before sealing the surface.
- Use a thin bead of sealant along the edge and cap it with a small strip of clear tape to keep moisture out.
- Consider a molded edge with a lightweight cardboard lip covered in wax or sealant for added resilience.
Creative Design Tricks to Reduce Water Damage
Sometimes the best defense is a design that sheds water rather than soaking it.
- Keep surfaces angled so rain runs off rather than pooling.
- Use raised platforms or feet to keep the bottom slightly off the ground.
- Incorporate small drip edges under overhangs in your build plan.
Test and Tweak: Real-World Drying, Wetness, and Re-application
Testing helps you dial in the right coat thickness and product choice.
Quick Field Test
- Let your project cure fully in a dry place.
- Spray or drizzle water on it for 10-15 minutes.
- Check for damp spots and edge seepage. If you see moisture, add another light layer or switch products.
Maintenance: When and How to Re-Apply
Even the best coatings fade. Plan for a little upkeep, not a complete overhaul.
- Every few months in sunny, dry climates, re-seal exposed surfaces.
- After heavy rain or if you notice peeling, re-coat the affected areas first.
- Store crafts in dry, shaded spaces when not in use to extend life.
Safety and Sustainability: Smart, Simple Choices
You don’t need a chemistry degree to stay safe.
- Ventilate when using sprays or solvent-based coatings.
- Choose non-toxic, kid-friendly products when crafting with children.
- Dispose of leftover coatings according to local rules—don’t pour them down the drain.
FAQ
Will any cardboard become waterproof with one coat?
Waterproofing depends on the coating, climate, and thickness. One coat can make a big difference, but most durable protection comes from multiple thin layers and proper edge sealing. If you’re in a humid or rainy area, expect to reapply periodically.
Can I waterproof cardboard outdoors for a long-term project?
Absolutely, but plan for maintenance. Use a combination of edge sealing, a strong topcoat, and a design that sheds water. In very wet climates, you may want to use a protective underlayer or secondary material for critical parts.
Is spraying better than brushing for coatings?
Spraying gives even coverage and quick drying, especially on flat surfaces. Brushing can control thickness and reduce overspray on intricate shapes. FYI, both work—just pick the method that fits your project and space.
Are eco-friendly coatings effective enough?
Yes, many eco-friendly options perform well for craft projects. They may require more frequent re-application in harsh weather, but they’re safer for kids and the planet.
What about moisture after storage? Will boards warp?
Cardboard can warp if moisture seeps in during storage. Keep boxes flat or supported and store in a dry, well-ventilated area. If you suspect moisture exposure, give the piece a light recondition with your chosen sealant.
Conclusion
Cardboard doesn’t have to be fragile when you put a little love (and a smart seal) into it. With the right prep, coatings, and edge protection, you can turn a simple sheet into outdoor-ready crafts that survive weekend adventures and balcony rain alike. Start with a plan, test, and tweak—your future cardboard masterpieces will thank you. Ready to get your hands a little sticky and a lot more confident? Let’s seal and build something awesome.