
How to Hang Wall Crafts Without Damaging Rental Walls

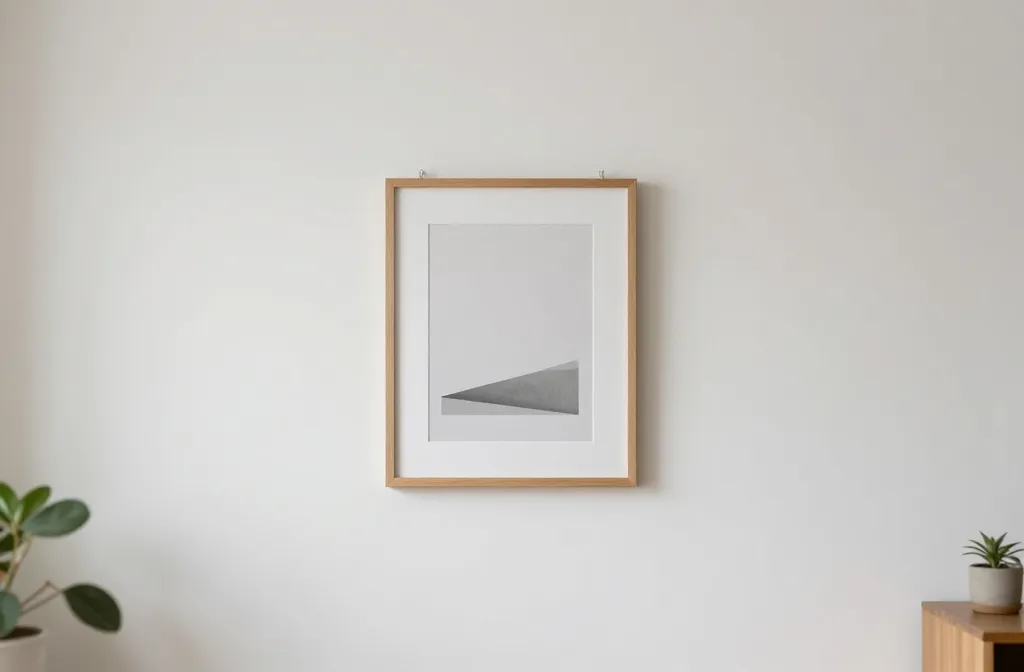
An eye-catching gallery on a rental wall sounds ideal, right? You want personality, not pinboard-level vibes. You can have both, no damage required. Here’s how to hang wall crafts like a pro without turning your landlord into a DIY critic.
Set Yourself Up With the Right Tools (And Mindset)
Starting strong saves you from a ceiling-cracking fiasco later. Gather a few essentials: removable picture-hanging strips, adhesive hooks rated for small frames, painter’s tape, a level, and a painter’s or masking film to protect surfaces. FYI, not all removals are created equal—read weight ratings and test a small spot first. Hooking up a heavy piece with the wrong method is how you end up with a mysterious hole in the drywall that your deposit won’t forgive.
Test Before You Commit
– Pick a quiet corner and mount a light sample piece with your chosen method.
– Leave it for 24 hours to see if it budges or leaves residue.
– If it sticks without drama, you’re good to scale up.
Know Your Wall Type and What It Demands

Not all walls are created equal. Drywall with a skim coat behaves differently from plaster, and brick or concrete walls need different tricks altogether. The key is matching the method to the wall. If you’re in a rental, assume you’re dealing with drywall unless you know for sure.
Drywall Do’s and Don’ts
– Do use removable picture-hanging strips for light to medium frames.
– Don’t ignore weight limits; a heavier piece may need two strips or a different approach.
– Do test on a small area; nails, screws, or permanent hooks can damage finish.
Plaster and Brick Realities
– Plaster walls love small, evenly distributed weight—think a few lightweight frames rather than one giant piece.
– Brick or concrete walls respond best to adhesive hooks designed for masonry or to simple, removable mounting putty that supports light items.
– If you must, rent a stud finder and avoid single-point support for heavy items.
Creative, Damage-Free Hangers You Can Actually Use
There are several options that balance ease, cost, and landlord-friendliness. Pick a system that matches your art’s weight and your wall type.
Removable Adhesive Strips
– Great for lightweight crafts and canvases.
– Easy to remove with no wall damage; pull slowly and straight to minimize any pull on the paint.
– Pro tip: keep strips clean and stick to smooth surfaces for a stronger grip.
Removable Mounting Putty
– Perfect for irregularly shaped pieces or delicate frames.
– It’s almost invisible and leaves little to no residue when you remove it gently.
– Use sparingly and replace as needed if you notice a slippage.
Command Hooks and Picture Hangers
– Classic option with a proven track record on rental walls.
– Choose the correct weight rating and follow the instructions to the letter.
– For a balanced display, use multiple hooks or a rail system to distribute weight evenly.
Floating Shelves and Ledges
– A clever way to hang multiple pieces without directly attaching every single item.
– Use slim, sturdy shelves that won’t dominate the wall space.
– This method gives you flexibility to rearrange without extra damage.
Smart Layouts: How to Plan Your Gallery Like a Designer

The arrangement matters as much as the hang method. A well-planned layout makes your space feel intentional, not cluttered, and it keeps your wall safe.
Measure Twice, Hang Once
– Measure your wall area and map out a grid or a organic layout that suits your art size.
– Use painter’s tape to mark the layout on the wall before committing. It’s like a dress rehearsal for your wall.
Center and Spacing
– Center pieces at eye level for the most natural viewing experience.
– Aim for 2–4 inches of spacing between pieces; more if you have larger items or a minimalist vibe.
– If you’re mixing horizontal and vertical pieces, keep a consistent margin to avoid a chaotic feel.
Maintenance Tips That Keep Things Looking Fresh
Removable doesn’t mean never-check. A little upkeep goes a long way.
– Check periodically for weight shift. Even with tape or strips, a sudden tug can loosen.
– Keep walls clean before re-hanging. Dust builds up under edges, which can reduce adhesive effectiveness.
– If a piece is light but wobbly, add a second hanging point to distribute the load.
Seasonal Swaps Without the DIY Heartache
– Rotate art with the seasons using the same hanging system.
– Clear off or replace adhesive strips during swaps to keep them strong.
– Store removed pieces safely so you can rehang them later without damage.
FAQ: Quick Answers for Rental-Wall Dares
Are there any risks with removable hanging systems on rental walls?
Removable systems are designed to protect walls, but no method is completely foolproof. Always test first, respect weight limits, and remove slowly to minimize paint peel. If something feels like it’s pulling too hard, stop and adjust.
What should I do if my landlord says no nails or screws at all?
Stick to adhesive strips, hooks, and putty. These options are specifically designed for renters. If you must hang something heavy, consider a freestanding display or a tension rod gallery in a doorway or alcove that doesn’t require wall damage.
How do I remove mounted pieces without leaving residue?
Follow the product’s instructions, usually involving lifting the edge of the strip slowly and peeling away at a shallow angle. Have a damp cloth handy to wipe away any adhesive residue. If there’s a stubborn mark, a little warmth from a hairdryer can help release it.
Can I hang a large piece without hitting studs?
Yes, with the right mounting system. Use multiple strips or hooks and ensure you distribute weight evenly. For heavier items, consider a rail system that distributes load across a wider area.
What’s the best way to mix textures and sizes without chaos?
Plan your layout ahead of time. Use a scale cutout or paper templates of your frames to map out spacing. Start with your largest piece as an anchor, then fill in with smaller items. The goal is balance, not a random collage of stuff.
Conclusion: Your Rental Walls, Your Personal Gallery
You don’t need to drill, patch, or beg your landlord for permission to create a cozy, stylish space. With the right removable hardware, smart planning, and a dash of creative vision, you can hang wall crafts that feel personal and polished. The key is to test, respect weight limits, and keep the layout flexible. FYI, you’ll probably end up rearranging a few times before you’re totally satisfied—and that’s totally fine. So grab your tape, pick a piece you love, and start building a temporary gallery that feels like you, not like a showroom.