
How to Flatten and Store Cardboard for Future Crafts

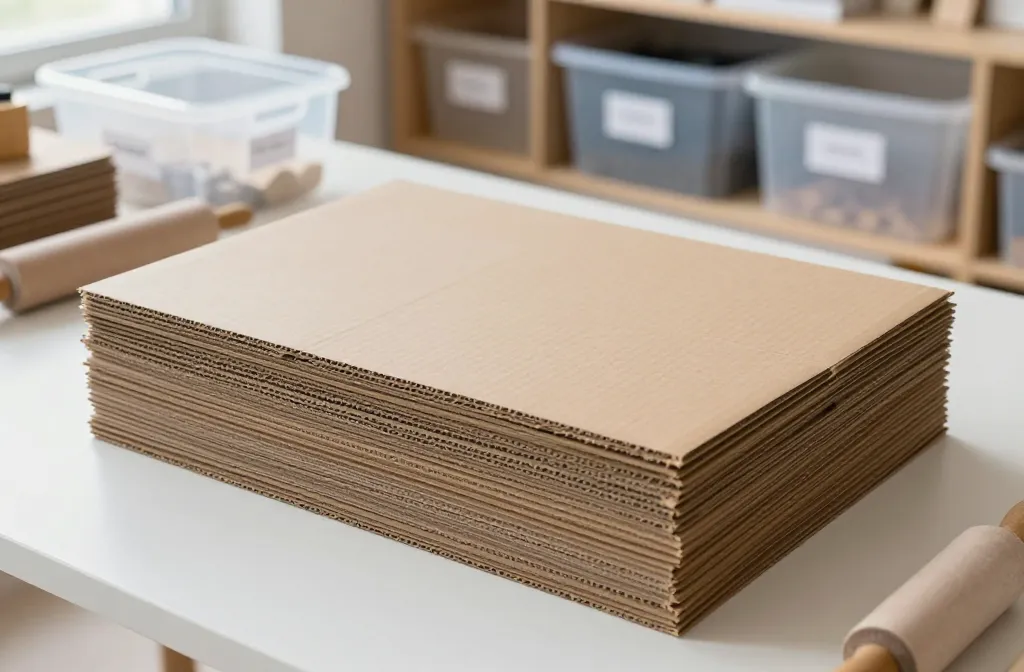
An easy, friendly guide to turning messy boxes into crafting gold. If you’ve got a mountain of cardboard piling up, you’re in the right place. Let’s get it flat, neat, and ready for your next DIY project.
Why Flattening Cardboard Actually Matters
Cardboard takes up serious space when it’s all crumpled and stored haphazardly. Flattened sheets save room, protect fragile pieces, and make grabbing what you need a breeze. FYI, a little organization now saves hours later when you’re chasing inspiration for your next project. Ready to reclaim your closet? Let’s dive in.
Gather Your Tools and Your Attitude
Before you start, assemble a few simple items:
- Box cutter or scissors
- Heavy books or a rolling pin
- Plastic bins or stackable boxes
- Labeling supplies (markers, tape, sticky notes)
- Optional: a laminator or contact paper for extra protection
Having the right gear makes flattening feel less like a chore and more like a tiny DIY ritual. Do you have a dedicated cardboard corner yet? If not, this is your sign.
Steps to Flatten Cardboard Like a Pro

- Sort by thickness and reuse potential. Keep sturdy, clean pieces separate from shredded or damaged scraps.
- Release the flaps. Open up boxes so folds aren’t fighting each other. It’s like untangling a messy headphone cord—annoying but worth it.
- Flatten with care. Start at one end and press along the ridges. Use the edge of a table for leverage, or run a rolling pin over the surface to press seams flat.
- Cool down and stack smartly. Place a weight (books, a tray, or a small dumbbell) on top for 15–30 minutes. Then tape or band the sheets to keep them flat.
Storage Solutions That Actually Work
- Clear plastic bins. See-through = saves time. Label the contents by size and type so you can grab the exact sheet you need.
- Flat file or drawer system. If you’re serious about DIY, a shallow file drawer will be your best friend for flat sheets and large scraps.
- Vertical storage in a labeled tote. Stand sheets up like files in a cabinet to maximize space in a small crafting nook.
Tips for Keeping It Neat (Even If You’re a Serial Crafter)
- Rotate stock. When you bring in new cardboard, retire the oldest or damaged sheets.
- Keep a mini cutting board nearby. A quick trim on rough edges prevents jams later on.
- Label by thickness and type. Cards, corrugate, and triple-wall—keep them distinguishable at a glance.
Extra Protection for Long-Term Stash
If you want to store cardboard for months or years, consider these steps:
- Wrap sheets in breathable kraft paper to prevent moisture buildup.
- Store in a cool, dry place away from direct sunlight to prevent warping and fading.
- Use desiccant packets in storage bins for extra humidity control—your future crafts will thank you.
Creative Ways to Use Flattened Cardboard Later

Cardboard isn’t just a waste product—it’s a versatile building block for future crafts. Here are a few ideas:
- DIY organizers and trays. Cut and fold to make mini compartments for desk supplies.
- Wall art and decorative panels. Layer and paint for a rustic, eco-friendly vibe.
- Kids crafts. Create stencils, masks, or theater props without spending a fortune on materials.
Sturdy Projects You Can Start Tomorrow
– Cardboard loom for weaving small pieces.
– Custom storage bins with lids using reinforced edges.
– Lightweight picture frames with a pop of color.
Common Pitfalls (And How to Avoid Them)
- Warping from moisture. Keep sheets dry and don’t stack too aggressively if one piece is damp.
- Over-stacking. It slows you down when you need to find a sheet fast. Store by size and thickness.
- Razor cuts. Use a sharp blade and a steady hand. Dull blades make ragged edges that snag on other pieces.
Quick Fixes for Damaged Sheets
If you find a sheet with a corner tear or minor dent, flatten it again under a heavier stack for longer, then flip it and use it for scrap projects where imperfections add character.
FAQ
Can I reuse cardboard with tape on it?
Yes. Tape residue doesn’t ruin flat sheets. Just cut away any thick tape chunks that might prevent flattening, and you’ll be good to go.
What’s the best way to label stored cardboard?
Use a durable marker on the outside of each bin or on a label attached with packing tape. Include size range, thickness, and the date you flattened it. FYI, consistency helps you find what you need in seconds, not minutes.
How long can flattened cardboard stay stored without warping?
If kept dry and in a cool place, flat corrugated sheets can last months to a couple of years. Humidity and heat are the enemies, so aim for a stable climate.
Should I remove all tape before storing?
If possible, remove bulky tape and string. It saves space and prevents snagging. If a few adhesive remnants stay, it won’t ruin your future crafts—just note it when you go to reuse.
Is rolling cardboard a better option than stacking?
Rolling can help with irregular pieces, but flat sheets store more compactly if you can press them evenly. Try a hybrid approach: flatten, stack, and roll only the long, wide sheets in a controlled way.
Conclusion
Flattening and storing cardboard is less about the chore and more about setting up your future crafting joy. With the right approach, you’ll reclaim space, cut down clutter, and unlock a steady stream of ready-to-use materials. So grab a tub, make a plan, and start flattening today. FYI, your future DIY self will thank you for it. Happy crafting!