
How to Photograph Handmade Crafts for Instagram

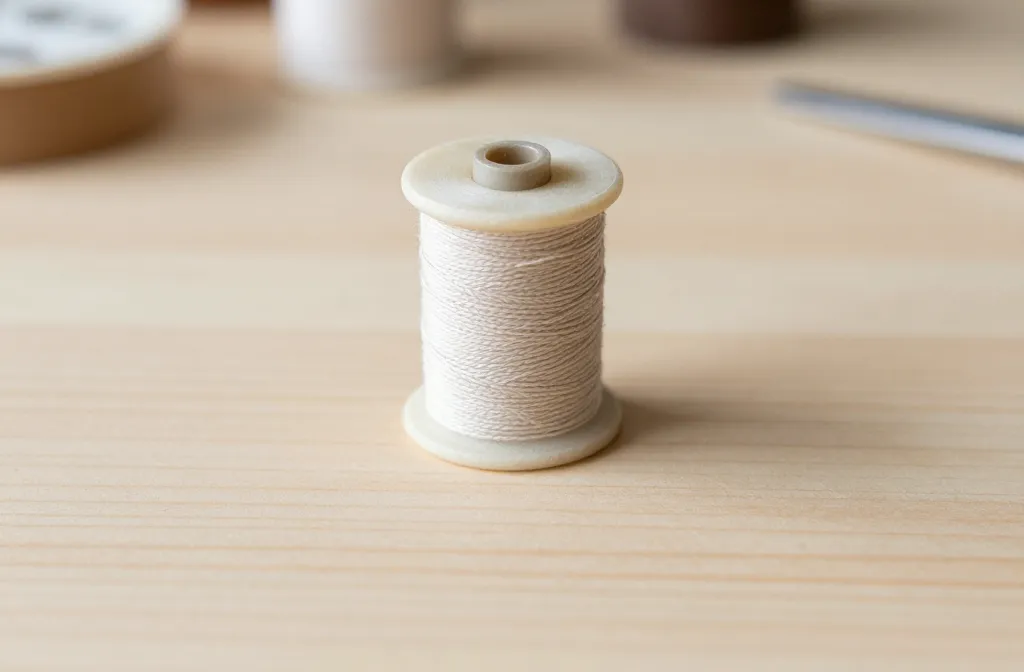
An eye-catching feed starts with you and your crafts. You don’t need a fancy studio to glow on Instagram—just a few smart tricks and a bit of personality. Let’s makes things look as handmade as your skills, not like a stock photo from a catalog.
Set the Scene: Lighting That Says “Handmade”
Good lighting is the secret sauce. Natural light from a window often beats artificial setups, and it keeps colors honest. Aim for soft, diffused light—think overcast days or a white curtain acting as a giant softbox.
– Position your workspace near a window at the right time of day.
– Use a reflector (or a white sheet) to bounce light back onto the craft.
– Avoid harsh midday sun; it creates sharp shadows that hide textures.
– If you must shoot in artificial light, use daylight-balanced bulbs and keep the setup consistent.
- Experiment with side lighting to highlight texture—threads, wood grain, clay imperfections all tell your story.
- Natural shadows can be drama; embrace them, don’t fight them.
- Consider a light tent if you’re shooting tiny pieces—soft, even light helps every detail pop.
Backgrounds That Don’t Steal the Show
Your craft deserves the spotlight, not a chaotic backdrop. Choose clean, complementary backgrounds that emphasize texture.
– Use neutral fabrics, wood boards, or pale marble as bases.
– Keep clutter to a minimum; a single intentional prop can go a long way.
– Match your brand vibe: cozy and earthy vs. modern and glossy.
How to Pick the Right Prop
Props should support the story, not steal it. A sketchbook, a bundle of yarn, or the tools you used can give context.
– Limit to 1–2 props per shot to maintain focus.
– Props should echo color tones in your piece.
– Change up props across photos to show process and versatility.
Showcasing Craft: Angles and Compositions
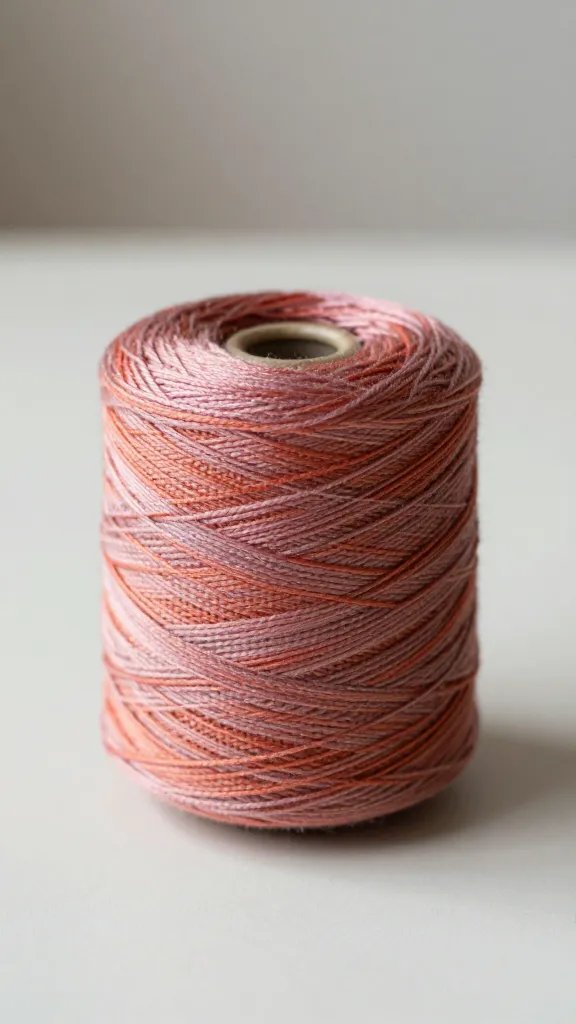
Angle selection transforms plain flat pieces into tactile treasures. Try a mix of close-ups and lifestyle shots.
– Close-ups highlight texture: stitching, resin swirls, tiny beads.
– Overhead shots reveal pattern or assembly steps.
– Slightly angled shots add depth without distortion.
Composition Hacks That Help Your Reel
– Use the rule of thirds, but don’t feel married to it. Place your piece off-center for drama.
– Leave negative space for captions and hashtags.
– Create a three-shot story: flat lay, up-close texture, and in-use shot.
Texture Wins: Capturing Detail That Feels TFM (Too Freakin’ Magnetic)
Textures sell crafts. Your audience wants to almost feel the yarn, glaze, or wood grain.
– Macro shots reveal the magic: stitches, brush strokes, grain.
– Use a smaller aperture for sharper texture, then switch to a wider one for context.
– Keep color accurate; your editing should reflect real life as closely as possible.
Color Consistency Without Hollywood-Levels
If your palette is cohesive, your feed will look intentional. Use a limited color range and let your pieces stand out.
– Calibrate your camera or phone screen if you can.
– Shoot a color swatch card occasionally to check skin tones and hues.
– In post, tweak white balance subtly to keep colors honest.
Hands, Tools, and Process: The People Factor
People love knowing how things are made. Show the hands, the tools, the messy middle—not just the finished product.
– Include a hand in action: threading a needle, pouring glaze, sanding wood.
– Capture the assembly steps with quick, clear shots.
– Show the pile of materials: yarn skeins, beads, or raw wood to convey scale.
Tip: The “Step-By-Step” Carousel
Turn a small process into a mini-table of contents. Each slide can be a stage, with a short caption that reveals a tip or a challenge you overcame.
Editing Essentials: Quick Fixes That Don’t Run You Off-Brand
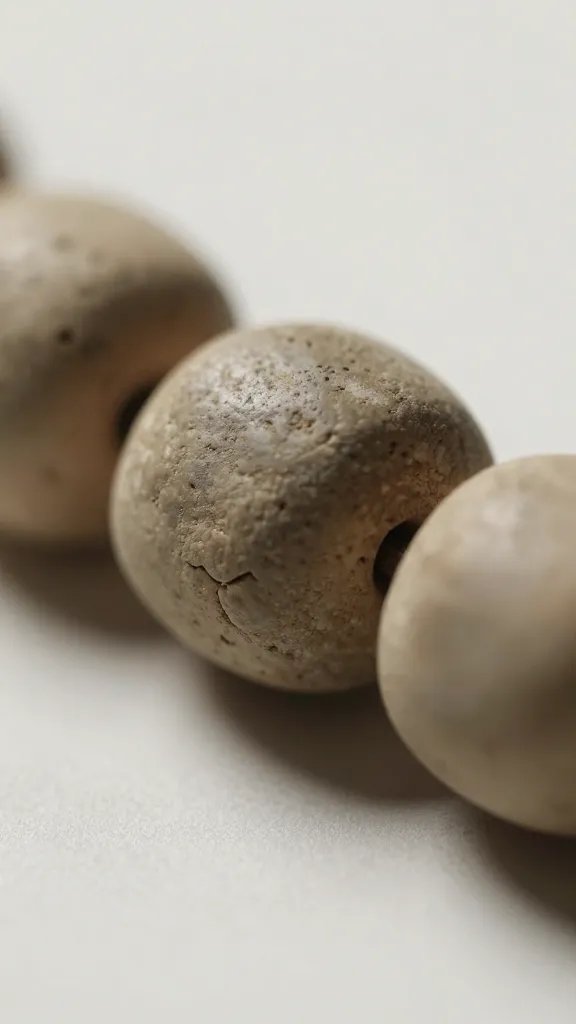
Editing should enhance, not erase your craft’s soul. Keep edits crisp and consistent with your style.
– Shoot in RAW or a high-quality JPEG to preserve detail.
– Tweak exposure and contrast to bring out texture without washing colors.
– Use a subtle vignette to focus attention on the piece.
– Maintain color profiles so your post looks the same on different screens.
Editing Flow You’ll Actually Use
– Start with global adjustments: exposure, contrast, white balance.
– Fine-tune color hues to match reality.
– Sharpen just enough to reveal texture; avoid halos around edges.
– Save a preferred preset for consistency across posts.
Captions That Sell the Craft, Not Just the Product
A good caption adds story, not fluff. People follow makers who share their journey, not just the result.
– Lead with a hook: what inspired this piece?
– Include a brief process note or challenge you solved.
– Add practical details: materials, sizes, care instructions.
– End with a call-to-action: save this for future purchases, check the shop link, or DM for commissions.
Hashtags that Reach the Right Eyes
– Mix broad and niche tags: #Handmade, #CraftsStudio, #ShopSmall, #TextileArt, #CeramicsOfInstagram
– Create and use a brand-specific tag once you’re comfortable.
– Don’t overstuff; 8–12 targeted hashtags work well.
Behind-the-Scenes: Consistency Without Burnout
Consistency builds trust. You don’t need to reinvent the wheel every week; you just need a plan you can actually stick to.
– Create a simple content calendar: 1–2 posts per week, plus 1 story per day.
– Batch-shoot on a single day to save time.
– Keep a running list of shoot ideas and angles to avoid writer’s block.
Template Ideas for Regular Posts
– Piece Spotlight: one shot, one close-up, one process shot.
– Tool Tuesday: show the tools you used with a mini-tip.
– Texture Thursday: focus on surface details of your work.
FAQ
What kind of camera should I use for crafting photos?
Use whatever you have, honestly. A good smartphone camera can produce stunning Instagram photos. If you have a DSLR or mirrorless, shoot in RAW for maximum editing flexibility. The most important thing is steady shots and good lighting.
How do I keep my photos looking cohesive across the feed?
Develop a consistent editing style and color palette. Use a recurring set of light, backdrop, and color tweaks. Consider a simple watermark or brand color to tie images together.
How can I shoot small items without them looking tiny?
Use a shallow depth of field with a macro lens or phone macro settings to emphasize detail. Place the piece on a clean, contrasting background to boost scale. Include a familiar object (a ruler, a coin) for scale.
Should I model in my photos or keep it product-focused?
Mix it up. Small, controlled lifestyle shots with hands or tools add personality, while clean product shots maintain focus on the craft. A balance keeps your feed engaging without feeling gimmicky.
How often should I post new craft photos?
Aim for 1–2 high-quality posts per week, plus daily stories or reels. Consistency matters more than total volume. FYI, your audience loves regular glimpses into your process.
Conclusion
You don’t need a studio full of gear to make Instagram-worthy photos of handmade crafts. Nail the lighting, clean backgrounds, smart angles, and a touch of your personality. When you share the story behind the piece as well as the finish, you invite people to connect with your craft—and that’s what turns followers into fans. Ready to grab your camera or phone and start snapping? Your handmade magic deserves to shine.