
How to Store Classroom Craft Supplies in a Small Room

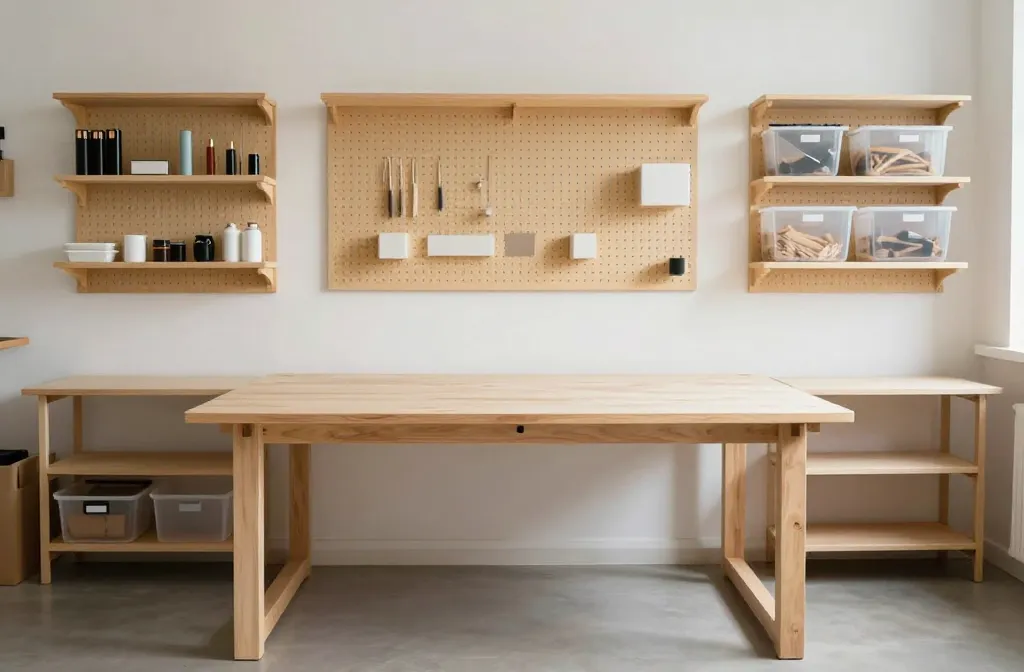
Want to keep craft chaos at bay without turning your tiny classroom into a storage unit? You’re in the right place. We’ll ditch the overwhelm, share practical tricks, and make space feel calm, creative, and totally doable.
Maximize Vertical Space Without Mapping the Galaxy
If your floor plan looks like a game of Tetris, you’re not alone. The secret is to look up, not out. Install wall-mounted pegboards or magnetic strips where you actually teach. Quick-access bins hang from sturdy hooks, so you grab what you need without rummaging forever.
- Use pegboard grids to hold scissors, paintbrushes, and small jars.
- Attach labeled baskets to wall rails for paper, glue, and googly eyes.
- Color-code by subject or project to speed up setup.
Deep Dive: Tiered Wall Shelves
Consider slim, stackable wall shelves that don’t intrude on usable space. They keep brushes, markers, and stencils within arm’s reach of your workstation. FYI, avoid wall-mounted shelves that sag under heavy jars. Choose sturdy materials and secure anchors.
Smart Storage Solutions for Tiny Tubs
Tiny tubs are your best friend in a small room. Each tub should hold a specific type of supply, and clear lids let you see what’s inside without opening everything.
- Label both sides of each tub—front-facing when shelved, side-facing in drawers.
- Group by project: painting, paper crafts, sewing, etc.
- Keep a “grab-and-go” tub near the door for quick setup.
Labeling That Actually Works
Use a combination of color and words. For example, blue labels for painting, yellow for paper crafts. Make the font large enough for quick recognition. If you can, add tiny icons—smiley brush for painting, star for glitter, etc. It sounds nerdy, but it saves you time.
Under-Desk and Behind-The-Door Ninja Moves

If you’re running out of floor space, under-desk drawers and behind-the-door organizers can save the day. These spots don’t scream “craft supplies,” but they store a surprising amount.
- Under-desk rolling drawers hold scissors, tape, and small tools.
- Over-the-door shoe organizers become mini supply cabinets for stickers, ribbons, and stamps.
- Keep frequently used items in the top tier for easy reach.
Safety First in Small Rooms
If you’re tight on space, safety matters. Ensure cords don’t trail across walkways and that flammable items stay away from heat sources. Use closed containers for potentially messy materials and keep a basic cleanup kit on hand.
Creative Zones That Stop the Mess Before It Starts
Create three compact zones that guide students to use and return supplies properly. A little structure goes a long way in a small room.
- Warm-Up Zone: Quick glue, scissors, and paper. Everything students can grab and go.
- Creation Zone: The main craft table where messy projects happen. Use a rolling cart nearby for extra supplies.
- Clean-Up Zone: Paper towels, wipes, trash, and a mini recycling bin. Teach students to return items here first.
Rolling Carts: The Workhorse of Small Rooms
Invest in a couple of lightweight rolling carts. They’re perfect for moving supplies between stations or stashing finished projects. Lock the wheels for stability, and label each cart by project type.
Digital Aids That Lighten the Load
Tech can help you organize without killing floor space. Digital inventory keeps you from buying the same glitter again and again.
- Take photos of container contents and create a quick reference slide for your laptop or projector.
- Maintain a simple spreadsheet or note list for supplies, quantities, and reordering reminders.
- Use QR codes on tubs to link to the contents list on your device. Boom, instant clarity.
Low-Tech Backup That Works
Not everyone loves tech. Create a simple, printable inventory sheet posted near the supply station. Quick, reliable, and always accessible.
Seasonal and Project-Based Routines
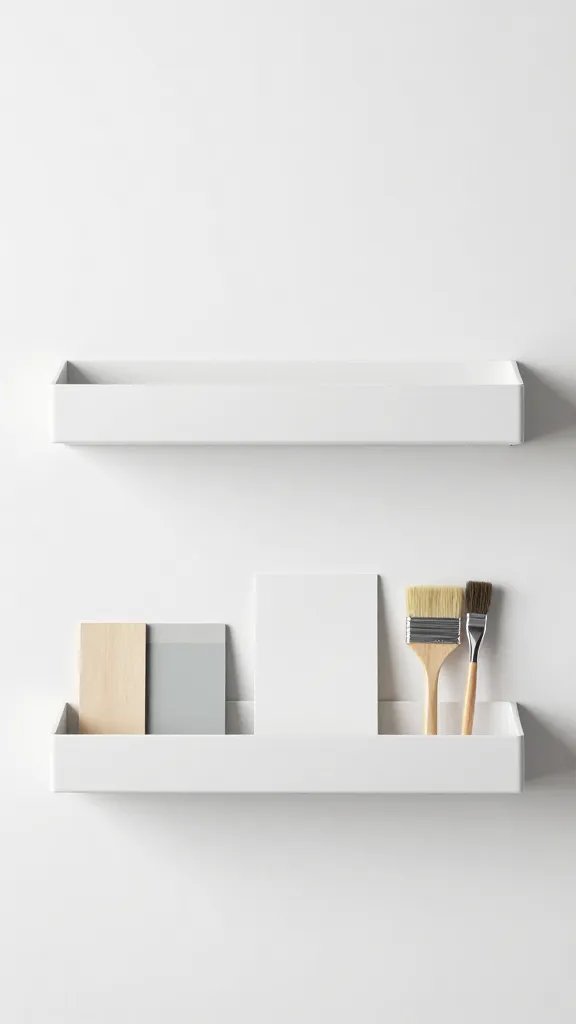
Tiny rooms shine when you rotate what’s out. Keep a small stash of seasonal or project-specific supplies in a separate corner or bin. It reduces clutter and makes it easier to prep for upcoming lessons.
- Establish a monthly rotation: keep a few staple items out year-round, swap the rest as needed.
- Store seasonal kits in labeled containers labeled with the month and project type.
- Set a timer for clean-up at the end of class—students can speed through the routine if it’s fun and fast.
Student Involvement: Make It a Team Effort
Students love ownership, and in a small room, they’re your best allies. Teach them simple systems and let them run the show for small tasks.
- Assign roles: “Cart Captain,” “Label Leader,” “Clean-Up Chief.”
- Use checklists so students know exactly where things go after use.
- Encourage quick, cheerful clean-ups with a timer and a cheesy victory dance.
Keeping Supplies Engaging for Kids
Involve students in color-coding and labeling. It’s a quick, fun way to reinforce organization while they learn accountability.
FAQ
How can I store craft supplies in a room with no windows or natural light?
Keepsakes of color start with good lighting. Use bright, cool-toned LED shop lights or daylight bulbs. Clear containers help you see contents, and label everything clearly. A small corner lamp can lighten the mood too.
What is the most efficient way to organize paints and brushes?
Group paints by type and size in shallow trays or bins. Keep brushes upright in a painted jar or a dedicated caddy to prevent bristle damage. Label containers for quick grab-and-go.
How do I keep small items from scattering everywhere?
Use small, stackable containers with snug-fitting lids. Think of a shoebox-sized tub with a latch. Label and store by project or material. A quick “one in, one out” rule for loose items helps too.
Any tips for budget-friendly organization?
Repurpose cereal or snack boxes with dividers for smaller items. Use binder clips to group cords and tapes. Dollar-store bins and pegboard systems can be surprisingly sturdy if you mount them well.
How often should I rotate supplies to maintain order?
Aim for a monthly quick audit. Remove items you’re not using, restock what’s missing, and refresh labels. FYI, a seasonal reset helps you avoid the dreaded supply creep.
Conclusion
Small rooms don’t have to be chaos central. With clever vertical storage, clearly labeled bins, and routines that involve students, you create a craft-friendly space that feels bigger than it is. Start with a couple of simple swaps, and you’ll see the difference—less hunt, more make. IMO, a little planning goes a long way, and your students will thank you with more creativity and fewer detours. Ready to tidy up and get crafty? Let’s do this.