
How to Set Up a Kids Craft Station in a Small Kitchen

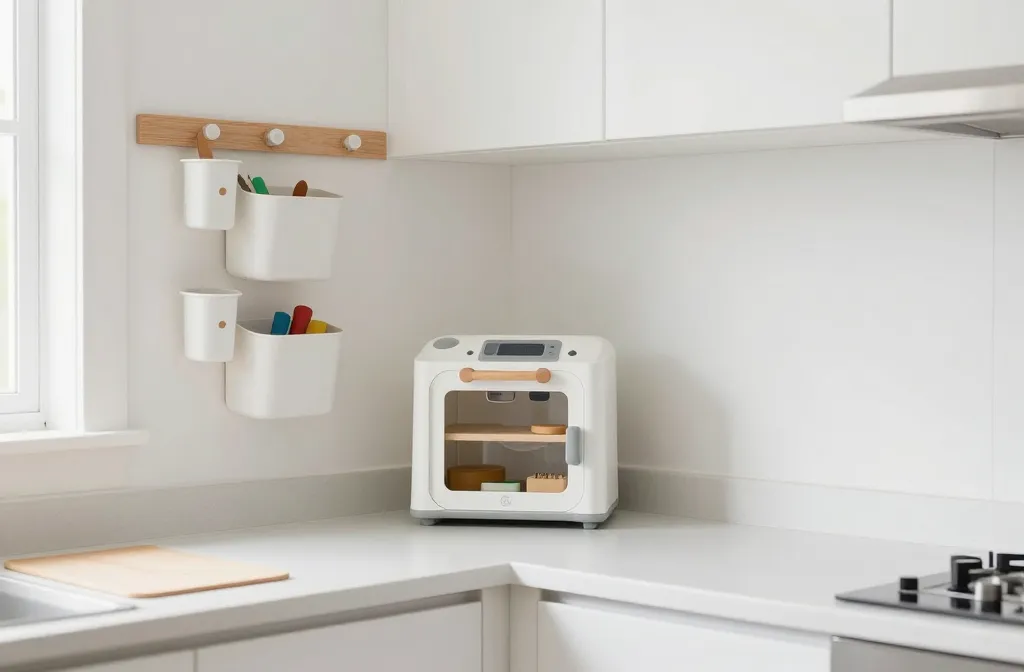
An epic craft corner in a pint-sized kitchen? Yes please. If you’ve got a counter, a chair, and a wild imagination, we can make a kids craft station shine without turning your home into a tornado zone. Let’s turn that tiny space into a bright, organized zone where creativity flourishes and clean-up is actually doable.
Plan the Perfect Nano-C crafting nook
Setting up a kids craft station in a small kitchen starts with smart planning. Think vertical, think multi-use, think easy access. You want a setup that invites spontaneous creativity without stealing all your counter space.
- Define a compact footprint: Choose a corner or a slim stretch of counter where supplies won’t intrude on meal prep.
- Use vertical storage: Wall-mounted bins, magnetic strips, or pegboards keep items reachable but off the surfaces.
- Pick a simple surface: A small tray or folding mat works as a dedicated craft area that’s easy to wipe down.
Choosing the Right Spot
Consider traffic flow in your kitchen. Place the station near good lighting but away from the stove or sink. You want creativity without chaos near hot pots. If you have a window, let natural light do the heavy lifting—it makes colors pop and moods rise.
Storage that Keeps the Mess Contained
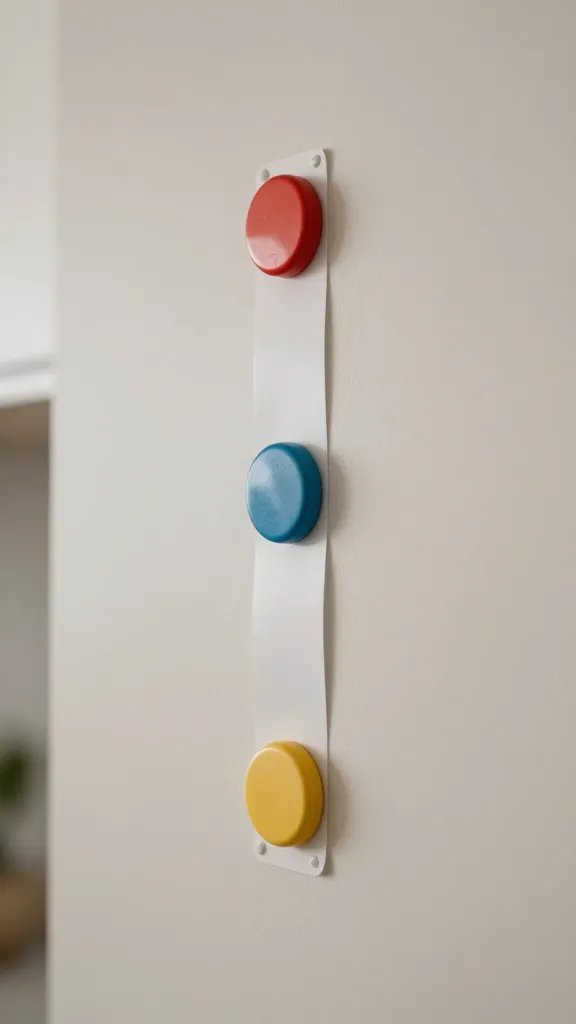
Storage is the backbone of a tiny craft palace. The right containers prevent clutter from sabotaging your kitchen safety and your sanity.
- Clear, stackable bins for easy visibility and quick tidying.
- Labels with big, bold words or cute pictures for kids to read themselves.
- A rolling caddy for moving supplies to the table or den—it’s like a portable craft club in disguise.
Labeling Magic
Invest a few minutes to label everything. It pays off every time you hear, “Where did the scissors go?” Kids learn independence when they can grab what they need without you playing detective.
Materials That Don’t Obliterate Your Countertops
Choose kid-friendly, washable, and durable supplies. The goal: vibrant projects with minimal cleanup drama.
- Non-toxic basics: crayons, washable markers, safety scissors, glue sticks, and coloring pencils.
- Tempting-but-tidy options: pre-cut paper packs, sticker sheets, and sticker books to reduce prep time.
- Mess-friendly mats: a silicone craft mat or old shower curtain as a table protector that wipes clean.
Mess-Management Hacks
Lay down a wipeable mat and keep a damp cloth handy. FYI, a small spray bottle with water and a drop of dish soap makes quick cleanups a breeze. Make cleanup a mini ritual—kids love routines when they’re obvious and doable.
DIY Zones: Color, Craft, Create
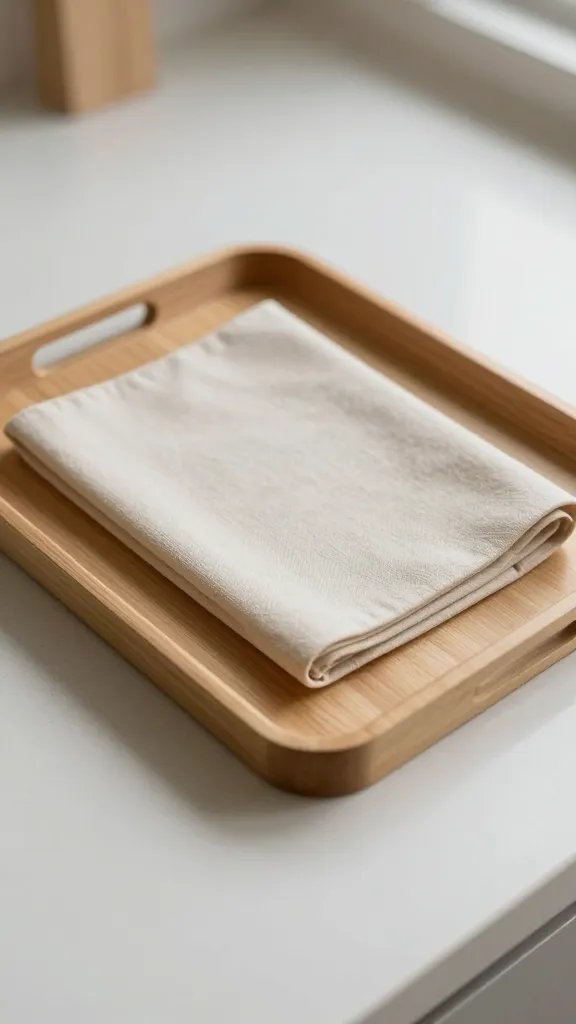
Divide the space into tiny zones that serve different creative needs. It keeps things organized and gives kids a sense of control.
- Color Zone — crayons, markers, color pencils, and a scrap paper pack.
- Glue & Texture Zone — glue sticks, tapes, stickers, and a few safe textures like fabric scraps and cereal boxes.
- Playful Projects Zone — scissors (kid-safe), pre-cut shapes, and simple instructions for quick wins.
Quick Project Ideas
– Paper collages with leftover junk-mail bits
– Painted rocks from the garden using a small cup of water and brushes
– Greeting cards for family—low-pressure but high-fun
Safety as the Secret Sauce
Tiny kitchens still deserve serious safety vibes. Set up rules and use gear that protects curious little hands.
- Kid-safe tools only—round-tipped scissors and blunt-tipped craft knives for older kids under supervision.
- Non-toxic materials are non-negotiable.
- Supervise, but don’t hover—encourage independence while keeping an eye on sharp objects and hot surfaces.
Establish a Quick Safety Routine
Start with a 60-second check: “Are the cords out of reach? Is the glue cap on? Do we know where the water cup is?” It sounds silly, but it creates muscle memory for safe play.
Aesthetic Vibes: Bright, Cheerful, and Calm
Your tiny craft zone should feel inviting, not chaotic. A splash of color and a dash of personality make all the difference.
- Color story: Choose 2-3 bright accents and keep the rest neutral for visual calm.
- Personal touches: Let kids add a name sign, a mini calendar, or a rotating gallery of their favorite art.
- Natural elements: A tiny plant or a bowl of smooth stones adds texture and reduces the “industrial craft” vibe.
Incorporating Quiet Time
If chaos erupts during mealtime prep, reserve a small basket with a quiet project to redirect energy. Sometimes a quick, independent activity saves your sanity and the kitchen floor from a war-zone vibe.
<h2 Involving Kids: Ownership and Pride
The best crafts come from kids who feel like they own the space. Let them help set up, rearrange, and decide what stays or goes.
- Invitations to participate—ask questions: “Where should this go? Which colors should we use?”
- Decision power—let them choose what to donate or store away when supplies get low.
- Mini-rituals—a quick “craft check-in” after activities to celebrate what they made.
Rotating Projects for Momentum
Keep enthusiasm high by rotating a few simple projects weekly. It’s easier than redesigning the whole space and gives kids something to look forward to.
<h2 FAQ
Is a kids craft station in a small kitchen practical for every family?
If you manage space cleverly, yes. The key is vertical storage, a compact work surface, and a dedicated but portable setup. You’ll want to keep the station near a table or accessible countertop so it’s part of daily rhythm rather than a separate room we pretend doesn’t exist.
What materials are essential for beginners?
Start with non-toxic crayons, markers, colored pencils, glue sticks, safety scissors, a small stack of paper, and a wipeable mat. Add a small stash of stickers and texture scraps for easy quick projects.
How can I keep the mess under control?
Use a wipeable mat, labeled bins, and a rolling caddy for supplies. Establish a 2-minute cleanup routine after each session and keep a damp cloth handy. FYI, a quick spray of water and soap on the mat makes cleanup a breeze.
How do I balance safety and creativity?
Choose age-appropriate tools, supervise without micromanaging, and make safety a game. For younger kids, limit sharp tools and hot items. For older kids, explain risk and let them make responsible choices.
How can I involve kids in maintaining the station?
Give them ownership: let them choose what stays, where things go, and how the space looks. Create a rotating “gallery” wall for their newest projects and reward tidy cleanup with a small celebration.
What if I have allergies or smells in a small kitchen?
Pick scent-free or hypoallergenic supplies when possible and ensure good ventilation. If smells linger, swap markers for colored pencils and use water-based paints instead of solvent-based options.
Conclusion
A well-loved kids craft station in a small kitchen isn’t just possible — it’s a total game changer. When you plan smart, store smart, and keep the vibe bright, you’ll turn chaos into cozy creativity. So grab a few vertical organizers, a wipe-clean mat, and a rolling caddy, and start crafting your tiny kitchen into a big, joyful art corner. Ready to try a quick setup today? IMO, you’ll be surprised how much a dedicated craft zone can upgrade family time.