
14 Decorative Craft Ideas Using Things You Already Own

# 14 Decorative Craft Ideas Using Things You Already Own
You don’t need to order supplies or wait for a delivery to change up a room. Most homes already hold the raw materials for decorations that look intentional and pulled together, not scraped from the back of a closet.
These fourteen decorative craft ideas use things you already own, from glass jars to old magazines to produce bags. Each one turns something ordinary into something worth keeping on display.
Pick the idea that fits what you have on hand right now.
1. Stack Books Into Side Table Risers
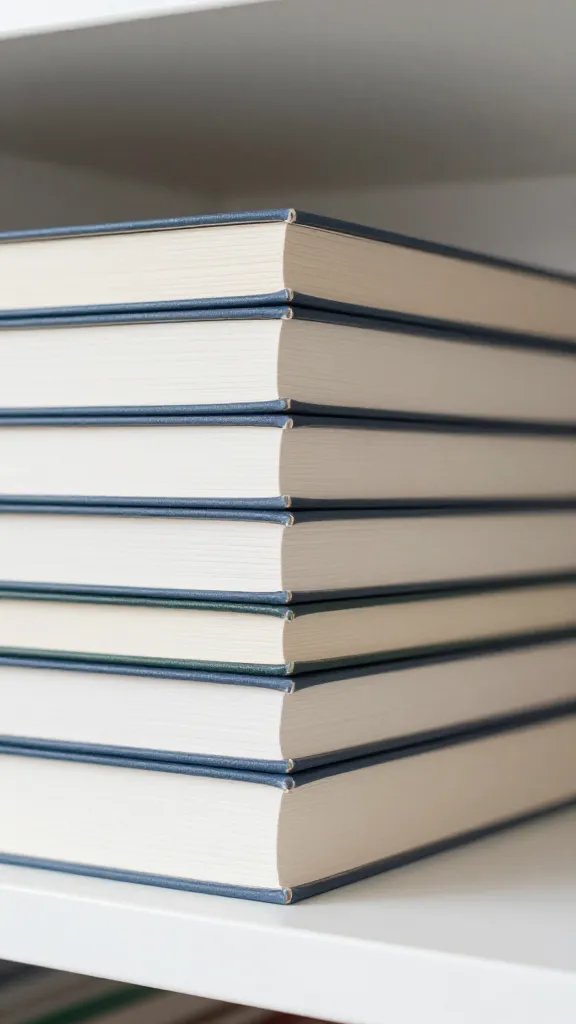
Hardcover books make sturdy platforms that lift vases, candles, or frames off a flat surface. The height adds dimension to a shelf or mantel that feels too horizontal.
The detail to steal: Turn all the spines inward so only the pages show. The neutral edge gives you a clean column without worrying about title colors clashing.
Use three to five books per stack depending on how high you want to go. Anchor the arrangement with your heaviest book at the bottom so it doesn’t tip when you set something on top.
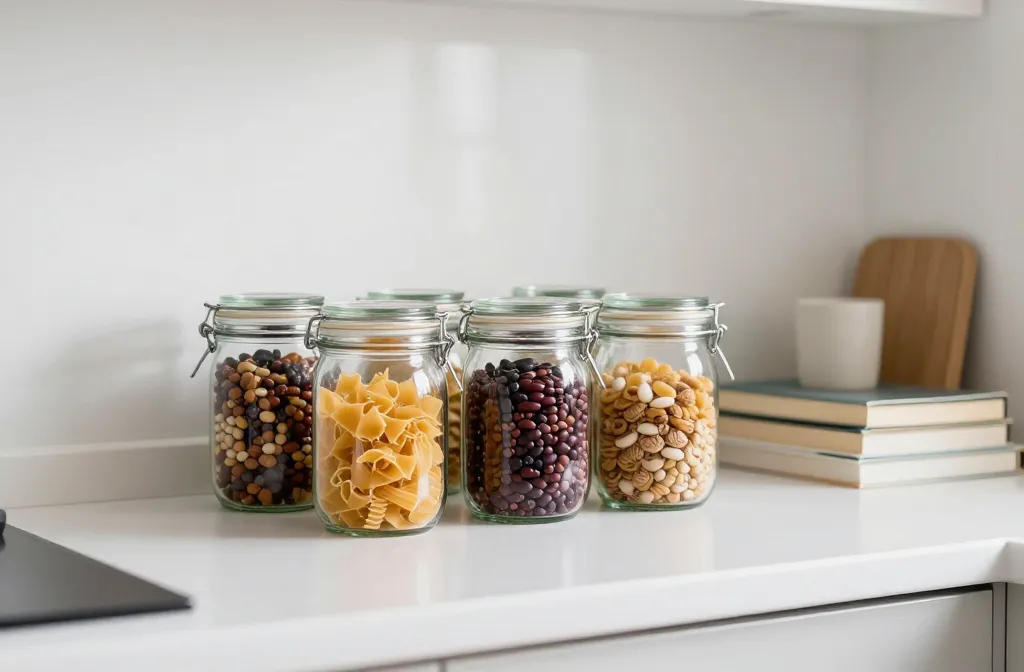
2. Fill Clear Jars With Pantry Staples for Counter Display
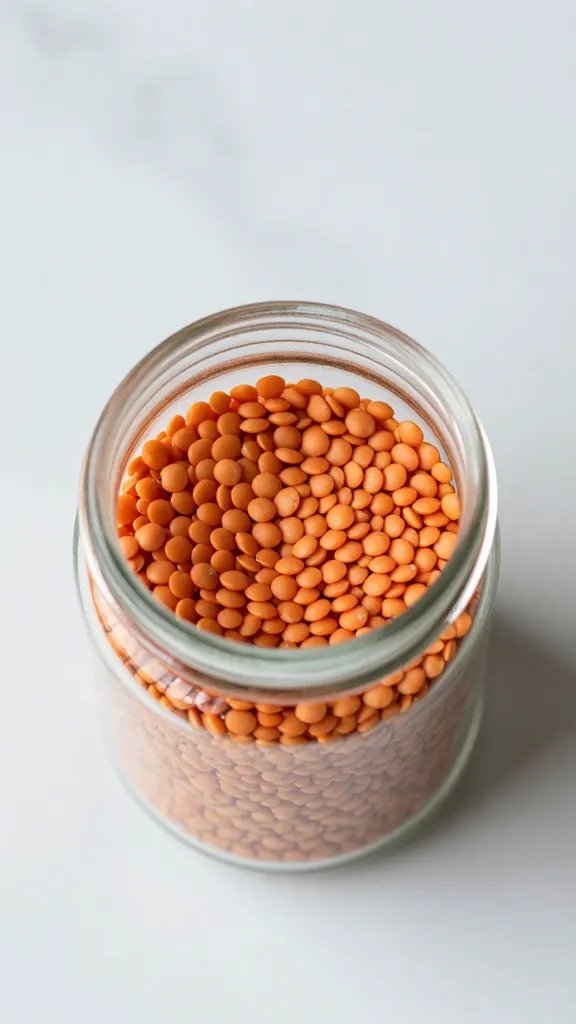
Pasta, rice, dried beans, and lentils sit in their original bags looking like clutter. Pour them into matching glass jars and suddenly they’re texture and color on your counter.
- Mason jars, old pickle jars, or any clear container with a lid
- Dry goods you already cook with: white rice, red lentils, black beans, rotini
- A damp cloth to wipe jar labels off before filling
- Group jars in sets of three or five for visual balance
Storage tip: You can still cook from these jars. Just scoop what you need and refill from the bag in the pantry.
3. Arrange Produce Bags as Textured Wall Art

Those mesh bags that hold onions and citrus have a grid pattern that photographs well. Stretch them flat inside a frame or tack them directly to the wall in a row.
Best for: Kitchens, laundry rooms, or anywhere you want a casual textural moment without spending money on fabric.
Rinse the bags first and let them dry completely. Layer two or three bags in different colors for depth. The loose weave casts small shadows that make the whole piece feel more dimensional than it is. Iron them on low heat if they arrive too crumpled to flatten.
4. Turn Old Magazines Into Paper Bead Garlands
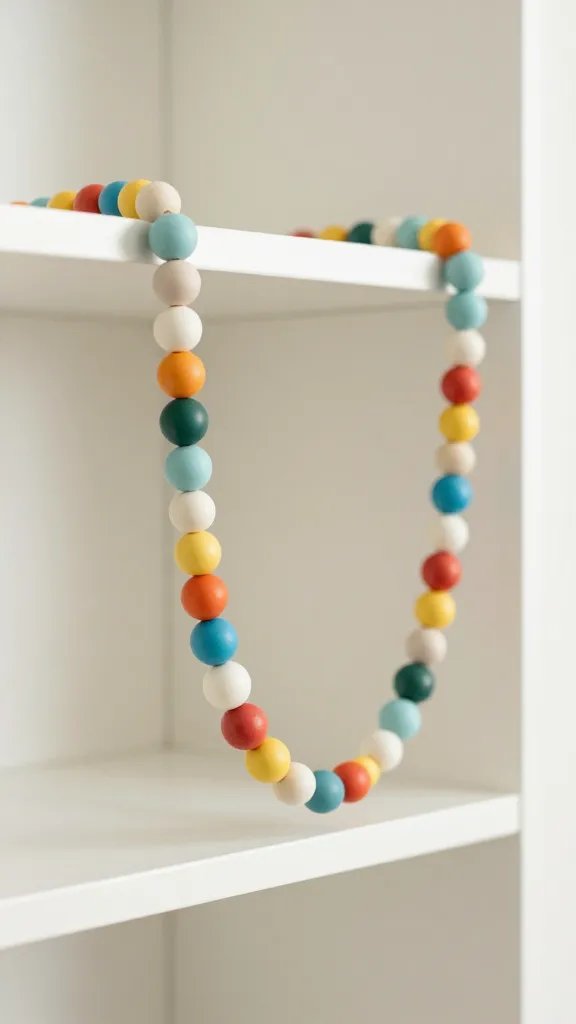
Magazine pages roll into beads that look glossy and intentional once they’re strung together. This is a slow project but uses zero new supplies.
Why it works:
- The ink and images inside each bead make every one different without you planning it.
- Rolling paper around a skewer takes almost no skill, so kids can help with most of it.
- A finished garland drapes across a bookshelf or above a doorway and reads as décor, not as a school craft.
Seal each bead with a dot of glue. String them on thread or thin twine once the glue dries.
5. Fold Cloth Napkins Into Standing Fans for the Table
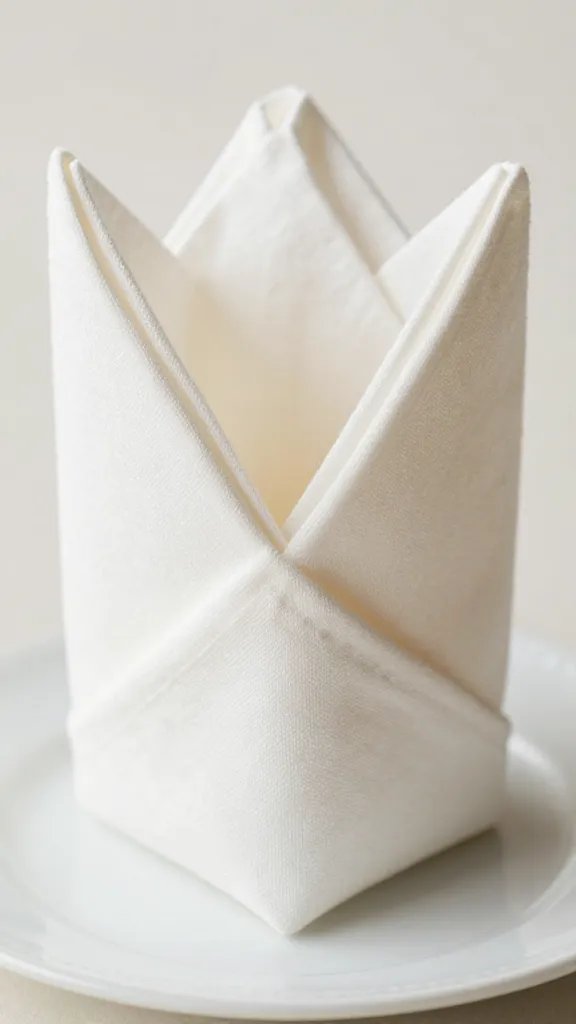
Cloth napkins spend most of their time folded in a drawer. A simple accordion fold turns them into small sculptural pieces you can stand upright on a plate or tuck into a glass.
Fold the napkin lengthwise in even pleats, about an inch wide. Pinch the bottom third together and let the top fan out. Set it on the table so the fanned edge faces up.
Color note: Mix two napkin colors and alternate the folds for a striped fan effect.
Small space fix: One fan per place setting adds shape without taking up room the way a centerpiece does.
6. Clip Recipe Cards and Postcards to a Wire Hanger Display
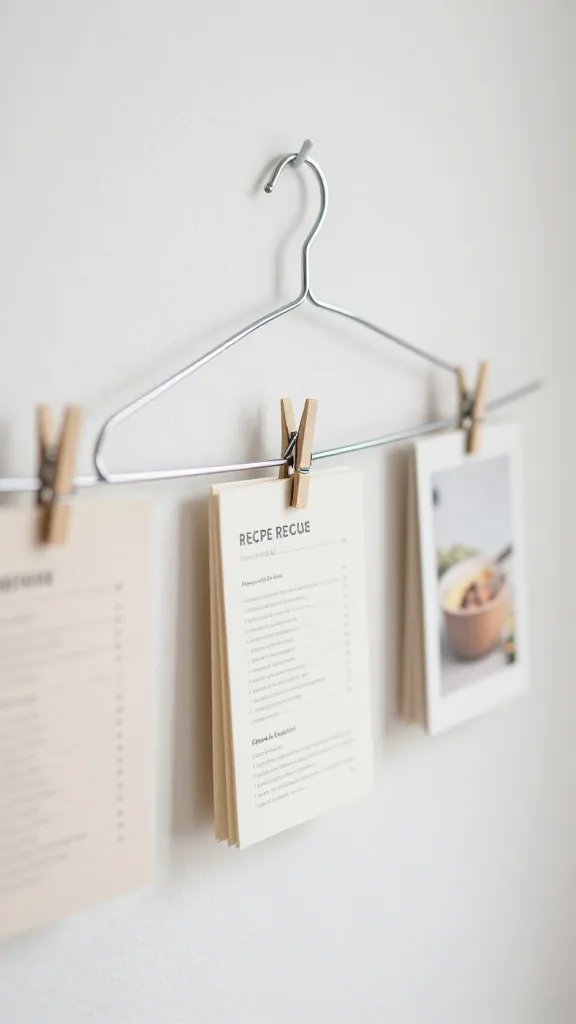
Bend a wire hanger into a diamond or leave it as a triangle, then use small clothespins or binder clips to attach flat paper items. Hang it from a hook and rotate what you clip on.
Supplies: One wire hanger, a handful of clips, and paper items like recipe cards, old postcards, or photos printed at home.
This takes five minutes to set up and works in a kitchen where you want recipes visible or in a bedroom where you cycle through inspiration images. The hanger wire is thin enough that it nearly disappears and the clipped items do the talking.
7. Bundle Towels With Ribbon and Stack Them Like Décor
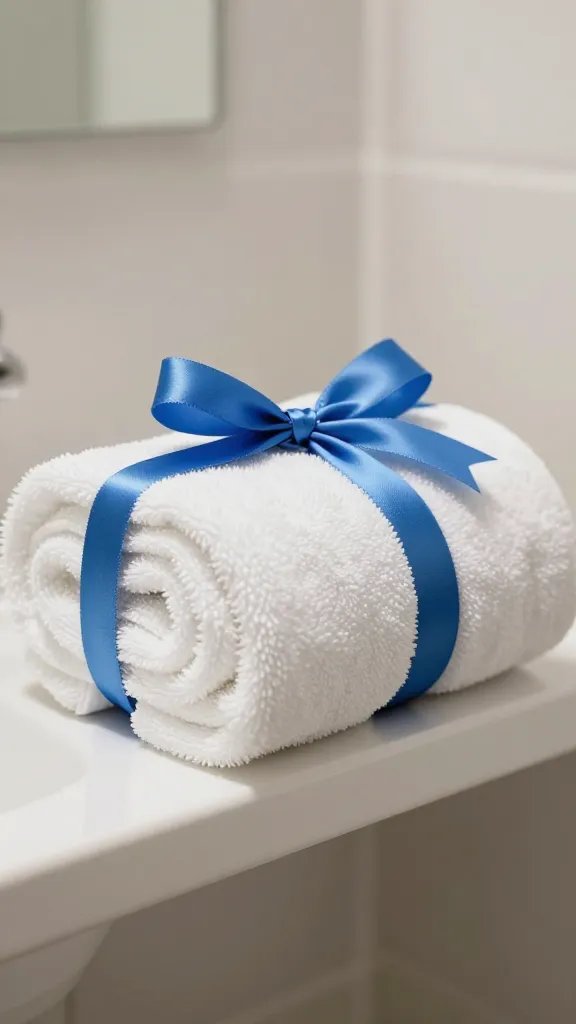
Rolled towels tied with a ribbon or a scrap of fabric turn a bathroom shelf from storage into display. The roll shows off the towel color and the ribbon adds a finished edge.
Choose towels in colors that already work in the room. Roll them tightly from the short end and tie once around the middle. Stack three rolls in a basket or set them directly on an open shelf.
Budget swap: Use kitchen twine or a strip cut from an old pillowcase instead of buying ribbon.
Guests can still use the towels. Just roll a fresh one to replace it.
8. Arrange Silverware in a Jar by the Stove
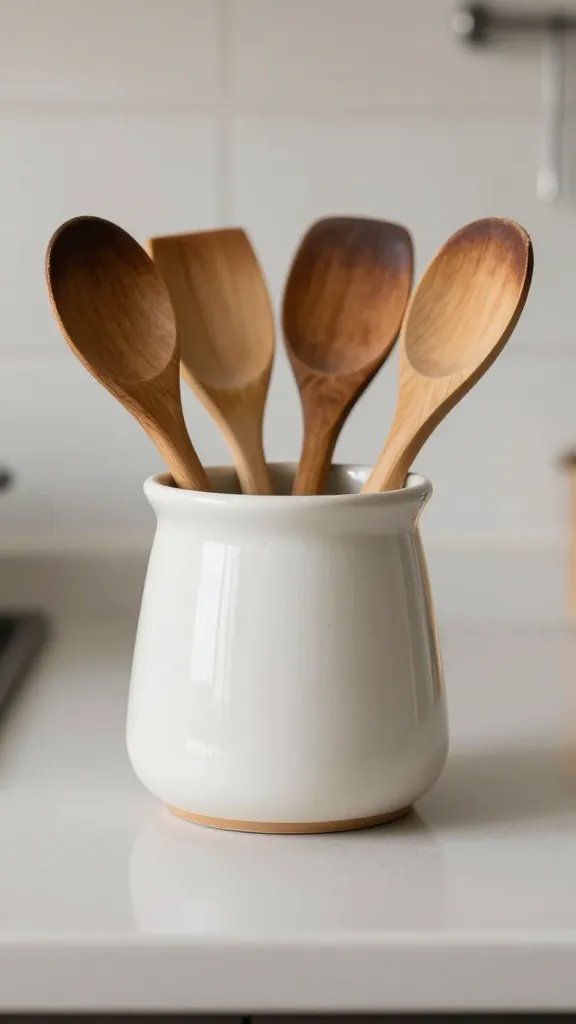
Wooden spoons, spatulas, and whisks usually hide in a drawer or lean against the backsplash. A wide jar or ceramic crock next to the stove keeps them upright and easy to grab.
Why it works:
- You’re using tools you already reach for every day, so nothing sits there just for show.
- The mix of handles and shapes creates variety without you hunting for matching pieces.
- A jar anchors one corner of the counter and fills vertical space that otherwise stays empty.
Wipe down the handles before you arrange them. A little polish makes everyday tools look intentional.
9. Layer Plates on the Wall in a Tight Cluster
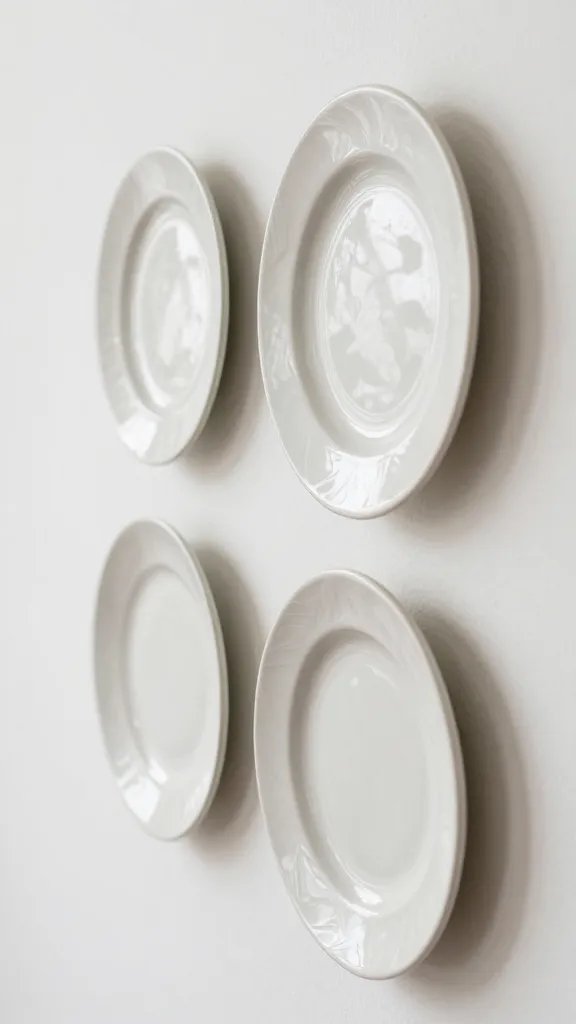
Decorative plates usually live in a cabinet. Hanging them creates a focal point on a blank wall, especially when you group them close together instead of spacing them out.
Start with three to seven plates in a mix of sizes. Use plate hangers or adhesive disc hangers that stick to the back. Arrange them on the floor first to find a layout you like, then transfer the pattern to the wall.
Placement note: Keep the gaps between plates smaller than the width of your palm so the cluster reads as one shape, not scattered circles.
10. Tie Fabric Scraps Around Throw Pillow Corners

Plain throw pillows sit there doing nothing. Small fabric scraps tied around each corner add color and movement without sewing or stuffing a whole new cover.
The make: Cut fabric into strips about two inches wide and ten inches long. Tie one around each corner of the pillow in a simple knot. Trim the ends at an angle or leave them frayed.
Old T-shirts, dish towels, or bandanas all work. The tied ends flutter a little when someone sits down, which makes the pillow feel less static. Swap the ties out when you want a different color or when the season changes.
11. Fill a Tray With Collected Shells or Stones

Shells and smooth stones from past trips usually end up in a jar you never open. Spread them in a shallow tray and they become a textured centerpiece or coffee table accent.
- A rimmed tray, baking sheet, or shallow box lid
- Shells, stones, or even interesting sticks from a walk
- Rinse everything first and let it dry completely
- Arrange in a single layer so each piece is visible
Reuse it later: Swap the contents by season. Pinecones in fall, ornaments in winter, flowers in spring.
12. Drape a Tablecloth as a Temporary Window Curtain
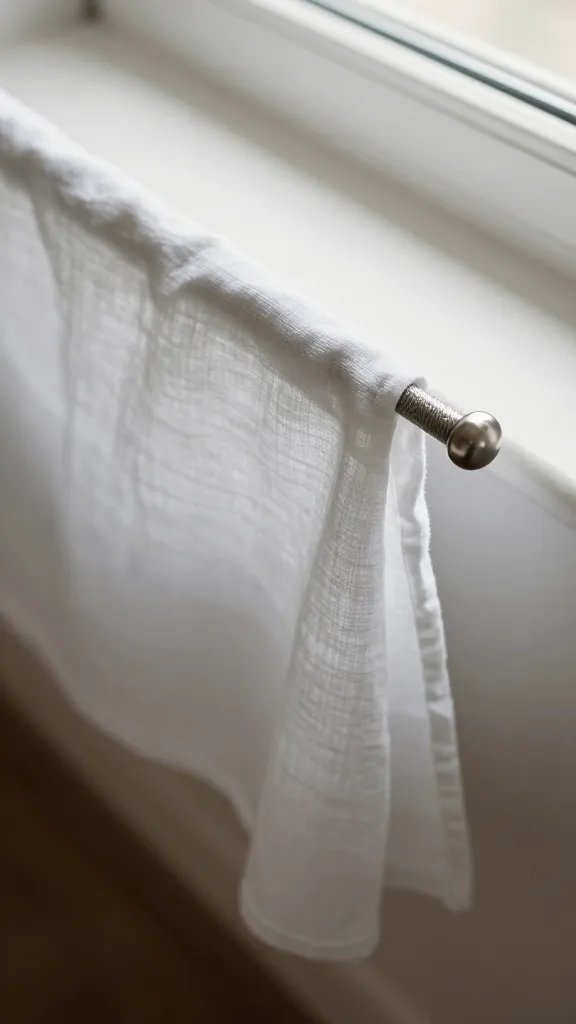
A lightweight tablecloth can hang from a tension rod or a few thumbtacks to soften a window that feels too bare. This works when you need something up fast or when you’re renting and can’t install hardware.
Best for: Kitchens, bathrooms, or any room where you want filtered light but don’t need blackout coverage.
Fold the tablecloth in half if it’s too long. The hemmed edges already look finished, so no sewing required. A cotton or linen cloth lets light through without showing every shadow from outside. Swap it back to the table when you host and hang it again after.
13. Stand Framed Photos on Stacked Bowls
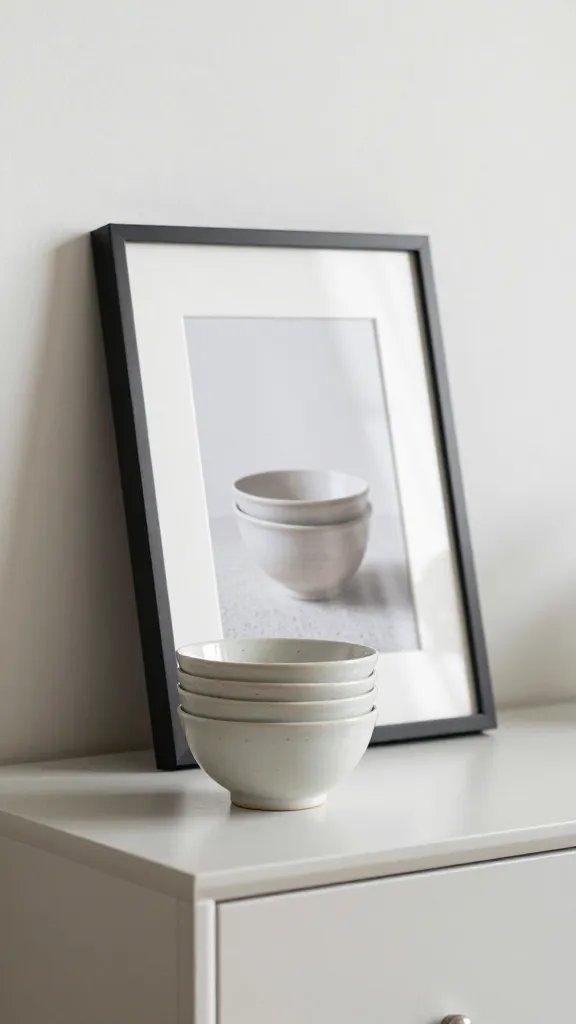
Two or three bowls stacked upside down make a pedestal that holds a framed photo or small plant. The height draws your eye up and breaks the flat plane of a sideboard or dresser.
Use bowls you don’t reach for often but like the look of. Stack them by size with the largest on the bottom. Set the frame on top, leaning it against the wall if it feels unstable on its own.
Safety note: Skip this in homes with small kids who might pull the stack down. Try a single shallow bowl turned upright with the frame inside instead.
14. Arrange Utensils by Color in a Drawer Organizer on the Counter
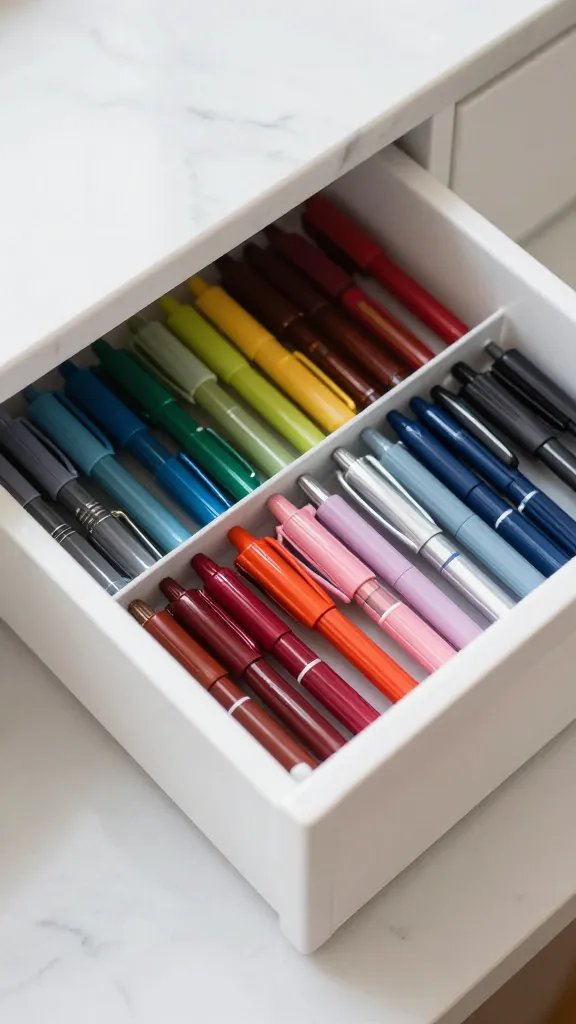
Drawer organizers don’t have to stay hidden. Set one on the counter and sort small items by color instead of by type. Pens, markers, kitchen tools, or craft supplies all work.
Why it works:
- Sorting by color makes a random collection of objects look curated and calm.
- The compartments keep everything visible and contained, which stops counter clutter before it starts.
- You can pull what you need without digging, so it’s functional and decorative at once.
Wipe the organizer clean first. Choose a spot where you actually use those items so it earns its counter space.
These ideas prove you don’t need new supplies to make a room feel more finished. What you already own just needs a small shift in how you arrange or display it. Save this for the next time you want a refresh without leaving the house.